Need to spruce up your Valentine’s Day decorations? Make this Valentine’s Garland DIY this year. This craft involves making various sizes of strips of paper and stapling them all together into paper hearts. Learn how to make this fun craft with step-by-step instructions.
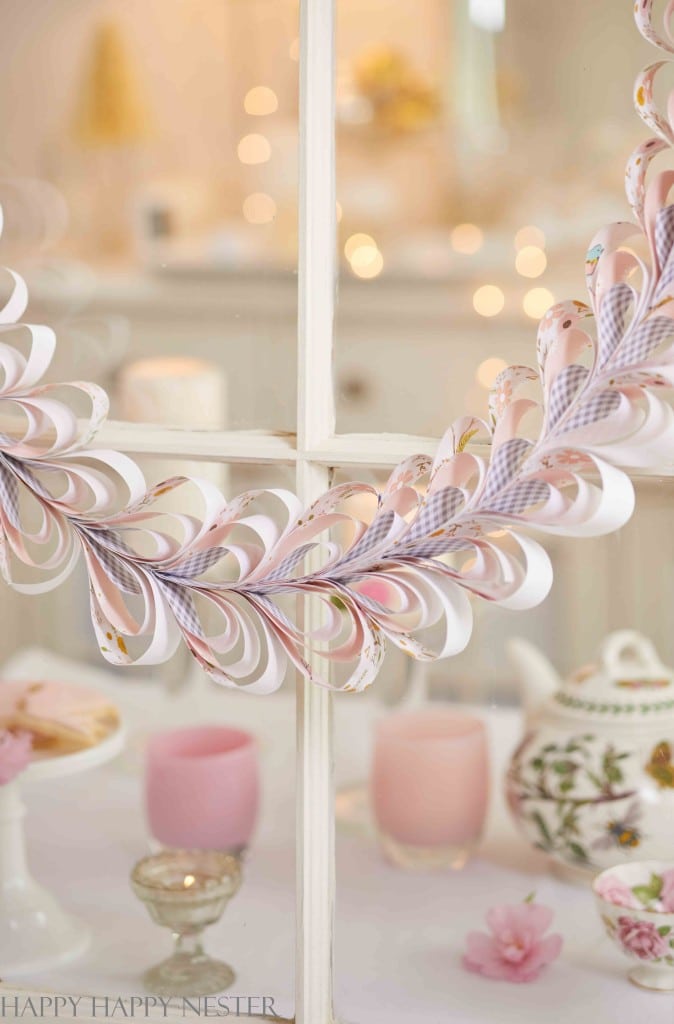
Valentine’s Day is a sweet and fun holiday. If you have some pretty scrapbooking paper kicking around your house, why not make this beautiful garland? If you don’t have extra paper, buy some digital paper and print them out at home. That’s all you’ll need to make this garland.
Before I begin this tutorial, I need to mention that this post is a part of a fun Valentine’s Day DIY blog hop. So check out my friend’s DIY projects at the end of this post.
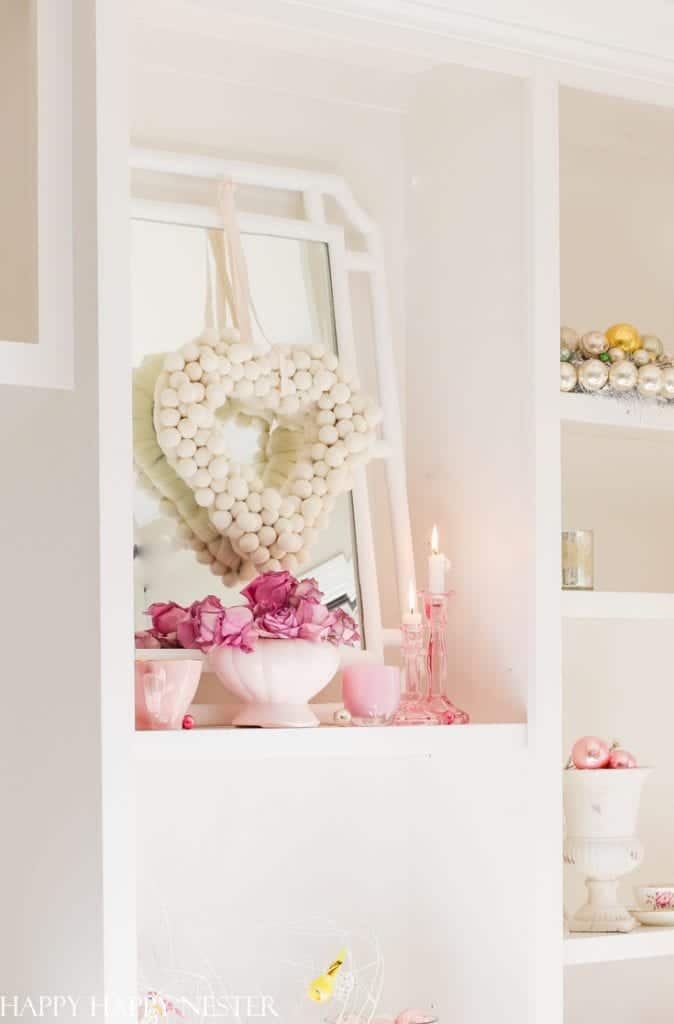

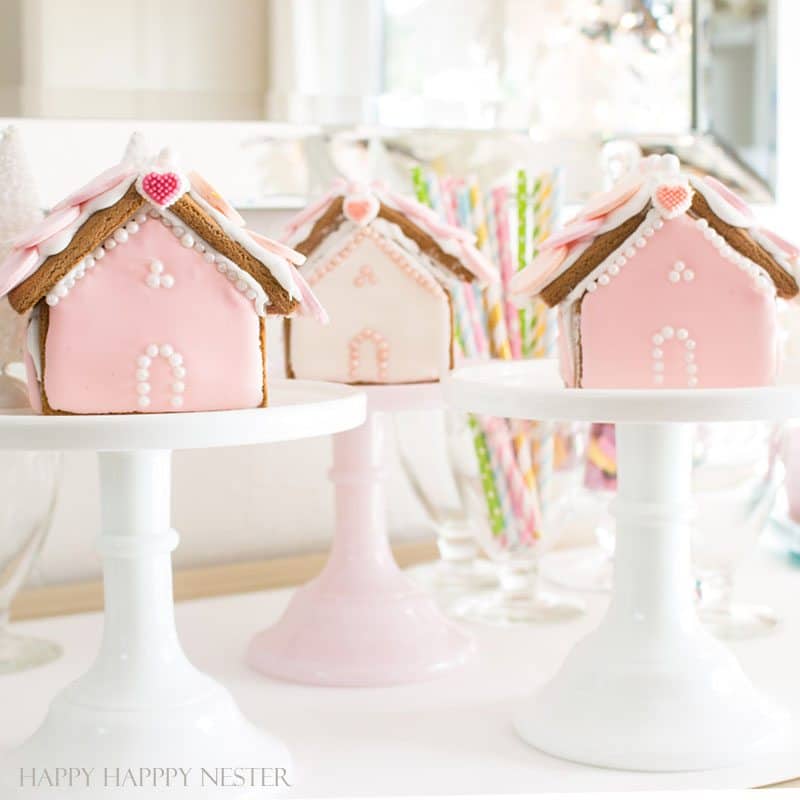

I enjoy making Valentine’s decorations, so here are a few that I have made over the years.
- Valentine’s Day Wreath DIY
- Valentine’s Day Gift Box Easy DIY
- Gingerbread House Ideas: A Valentine’s Day Craft
- Valentine’s Day Donuts – Heart Shaped
Paper Hearts
I love that this paper garland is so inexpensive to make. It’s the cost of the paper and staples that you need to invest. The rest is a time commitment and I always break up my craft projects over a couple of days. That way it’s not as overwhelming to make this garland.
The cool thing about this project is you can make a short or long garland. The stopping point is up to you!
Scrapbooking Paper
The first step is to choose your paper.
Scrapbooking was so popular back in the day, but now, craft stores like Michael’s and Hobby Lobby have such a small supply. But, you should still check out your local craft store, and then check my links.
Another great idea for finding cute paper is to buy digital scrapbooking paper. The bonus about digital paper is you can print out as many as you like, and they are relatively pretty inexpensive. Here are a few that I love.
Ok, let’s get this craft project started!
Valentine’s Day Garland Materials List
- Craft Paper (personalize your garland and choose different colors)
- Scissors
- Ruler
- Stapler
- Hot Glue Gun
DIY Heart Garland Step-by-Step Instructions
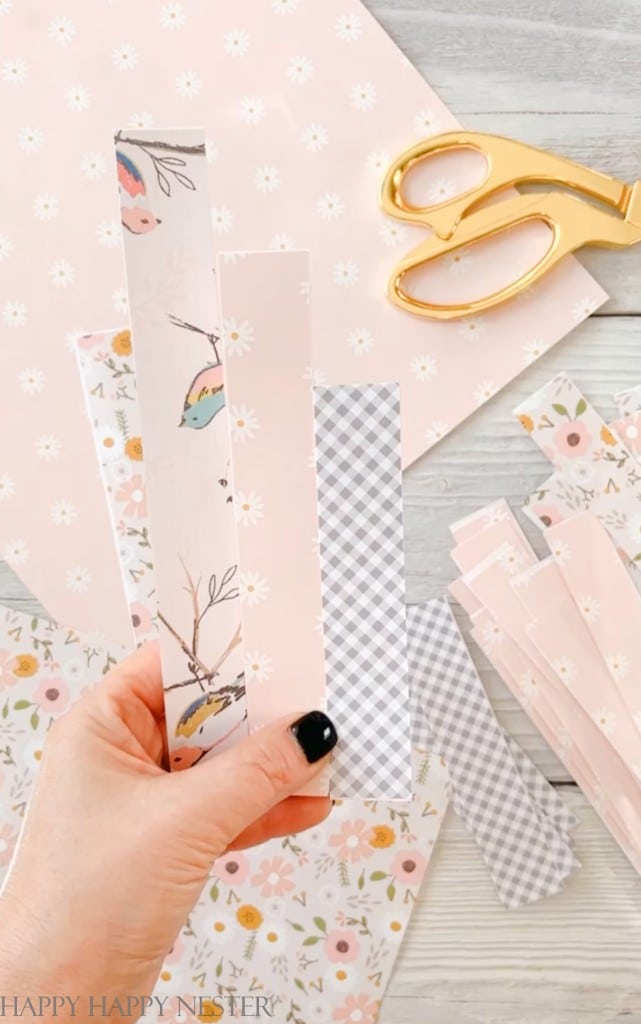
Step 1 – Cut Strips of Paper
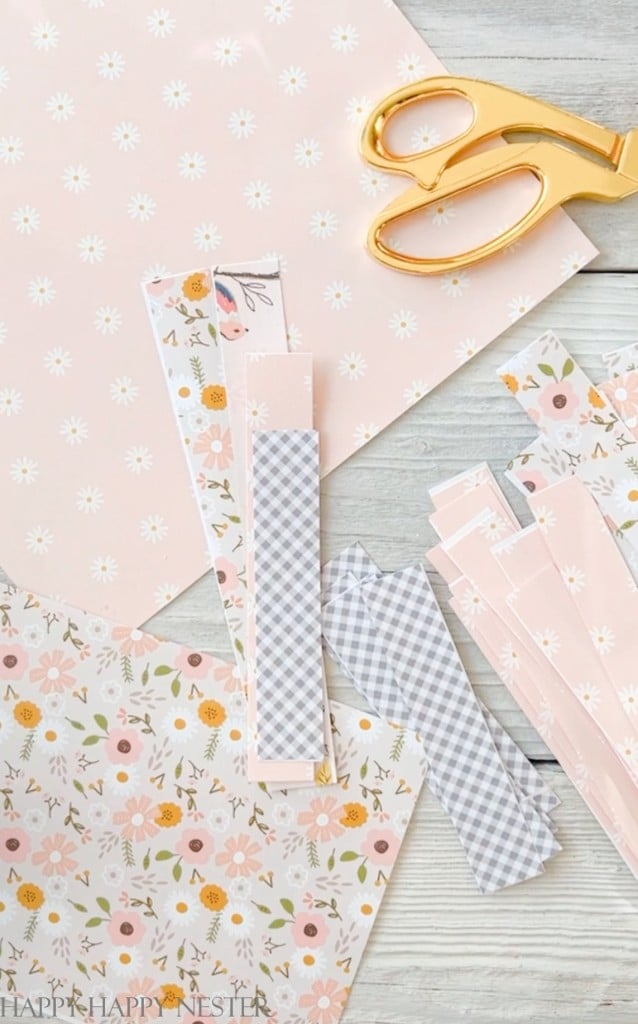
A simple way to cut scrapbook paper is with a paper cutter. It makes cutting the strips so easy. But if you don’t have a paper cutter, a ruler and scissors will work just as well. So to make the paper hearts, you’ll need to cut out three different sizes of paper strips. Making them different sizes creates the heart shape with the paper.
Here are the sizes you’ll need:
8 inches
6 1/2 inches
5 inches
To make one heart, you’ll need two of each of those sizes.
Watch this DIY Valentine’s Day decoration video tutorial to see the details on how to make this paper garland!
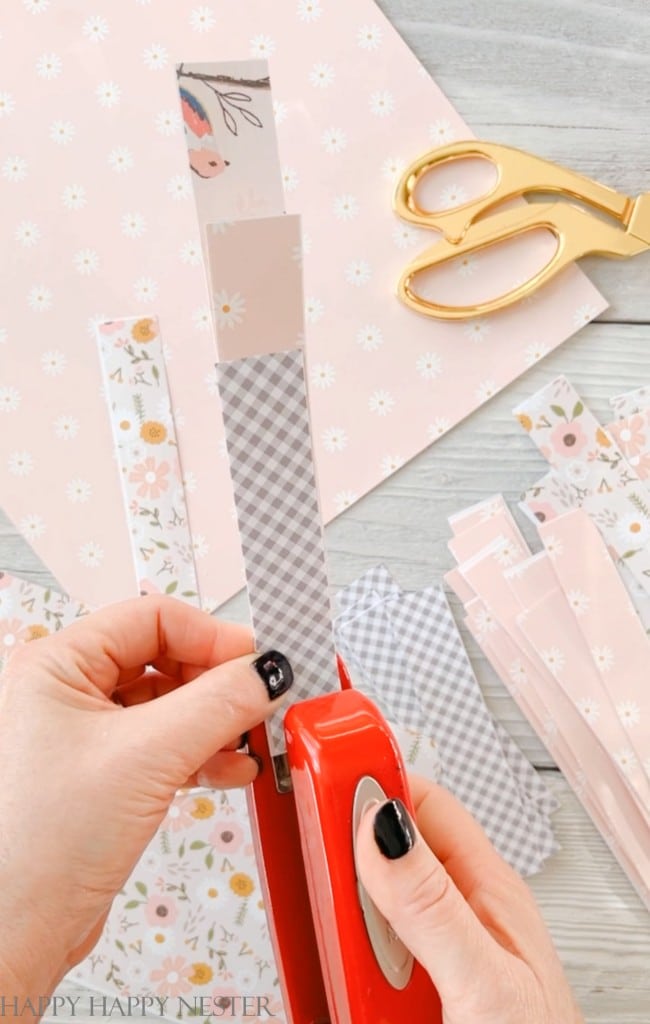
Step 2 – Staple the Paper
Take a strip of each size of paper. You’ll have three papers. Layer them, so the bottom is the longest, then the middle, and the shortest is on top. Line the edges of all the papers on one end and staple them at the top. Repeat this with another three strips, so now you’ll have two sets.

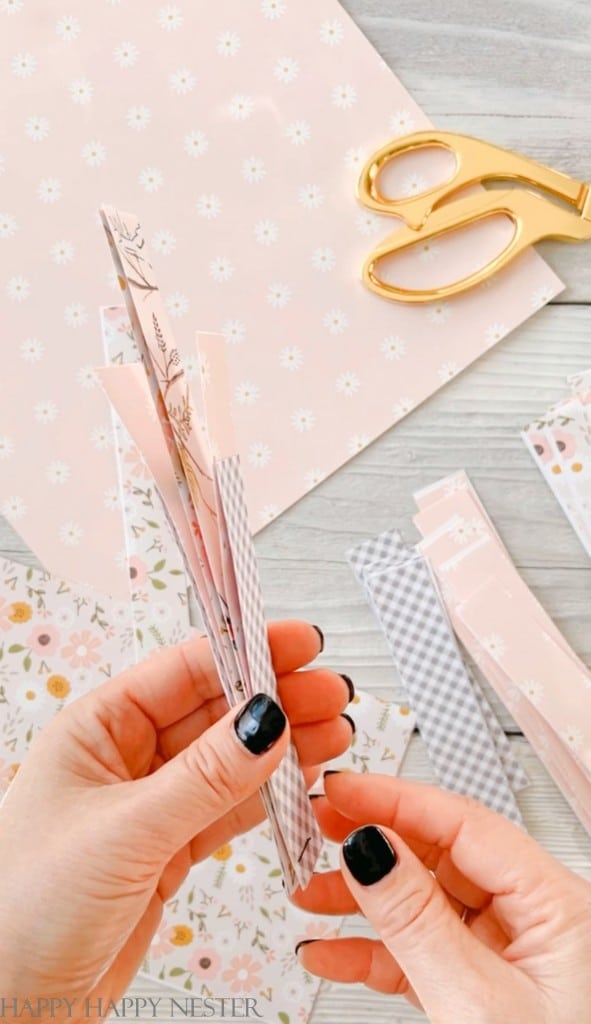
Step 3 – Staple Each Set Together
Now place the two sets together, ensuring they line up back to back. This means that if you have a paper only printed on one side, the non-printed back will line up against the back of the other set of papers.
Line up the paper at the bottom (where you stapled) and staple the two sets together.
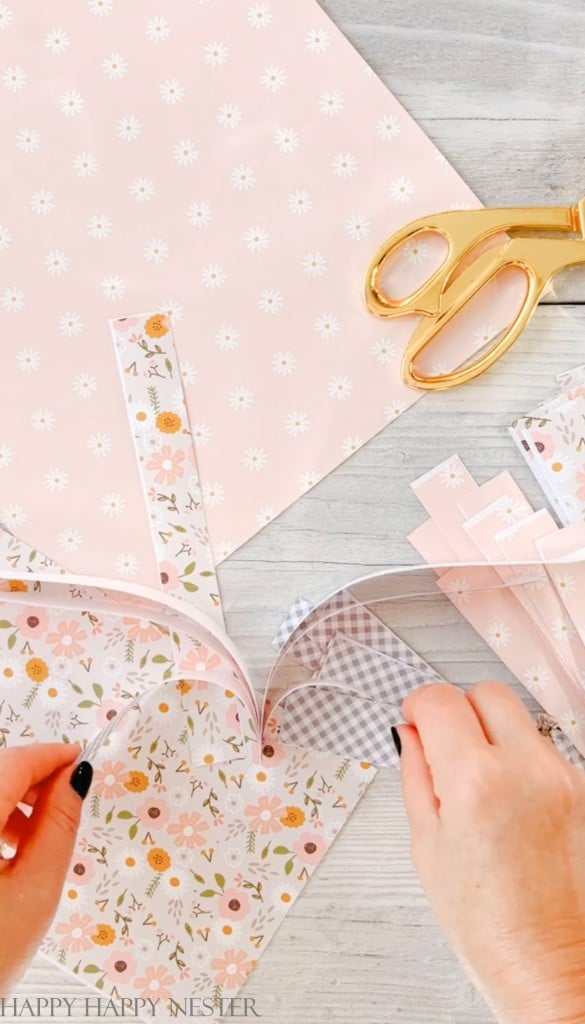
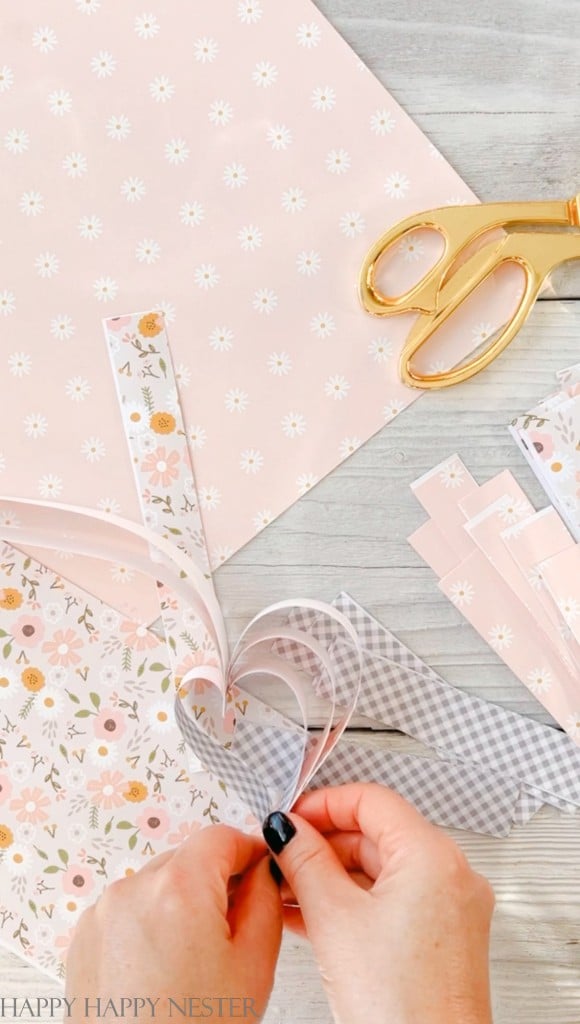
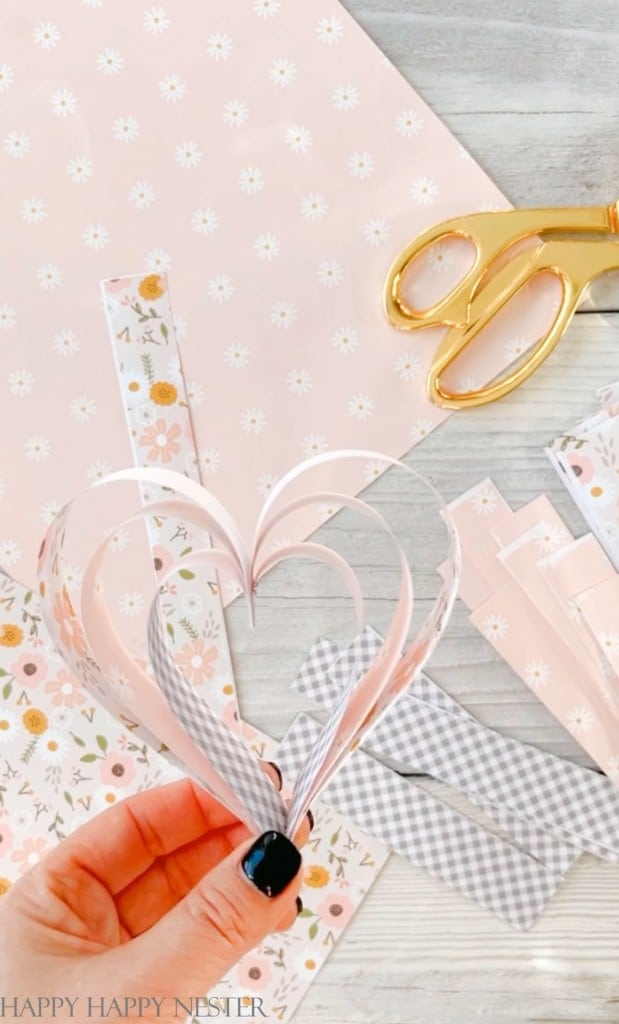
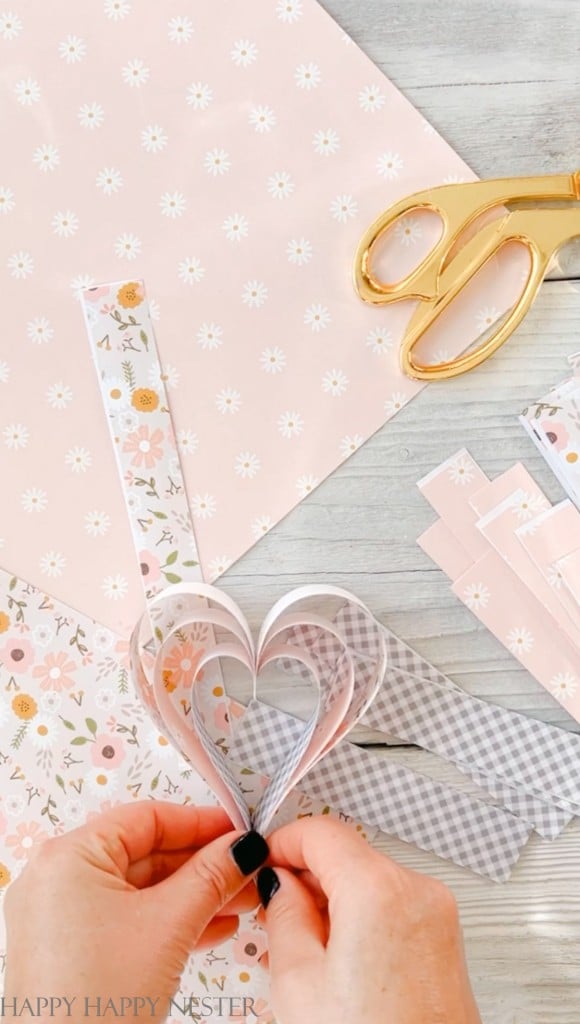
Step 4 – Make the Heart
Place your papers so the main staple is on the top with the paper strips pointing upwards. Bring down the shortest paper and line up the ends with the other short paper.
Bring down the 6 1/2″ length paper and line it up with the shortest. Then bring down the 8″ paper and line it up with the others. This gathering of all the ends is the point of your heart. You’ll see that you now have a paper heart shape.
Staple them all together at the end.
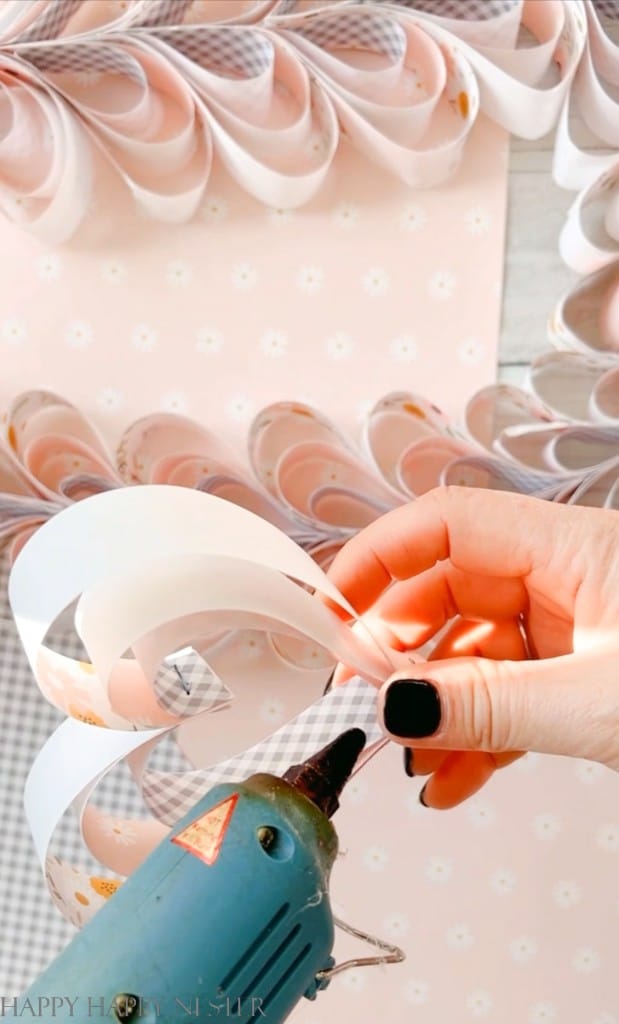
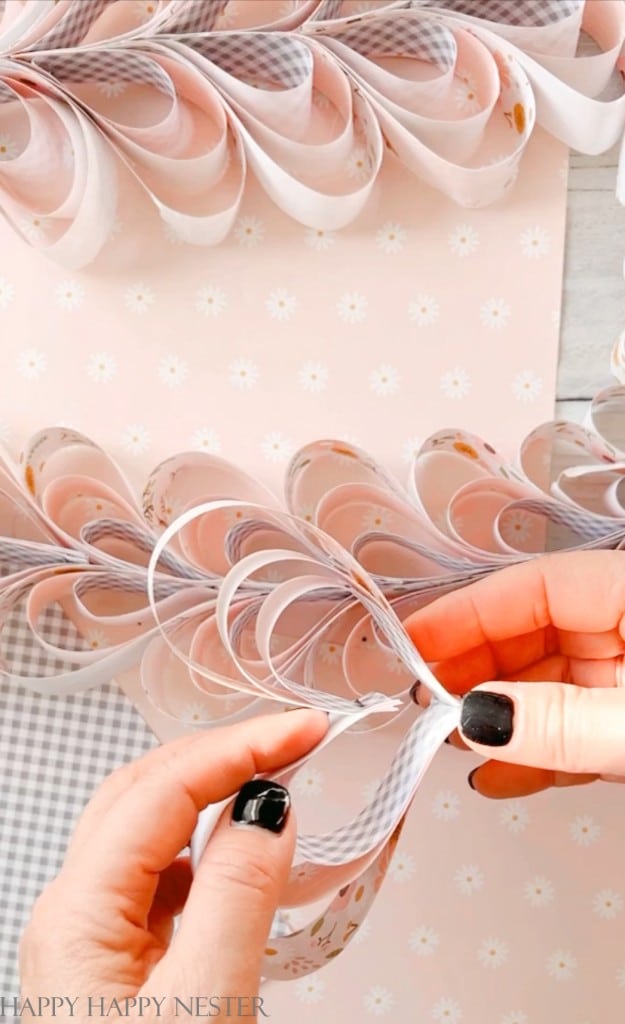
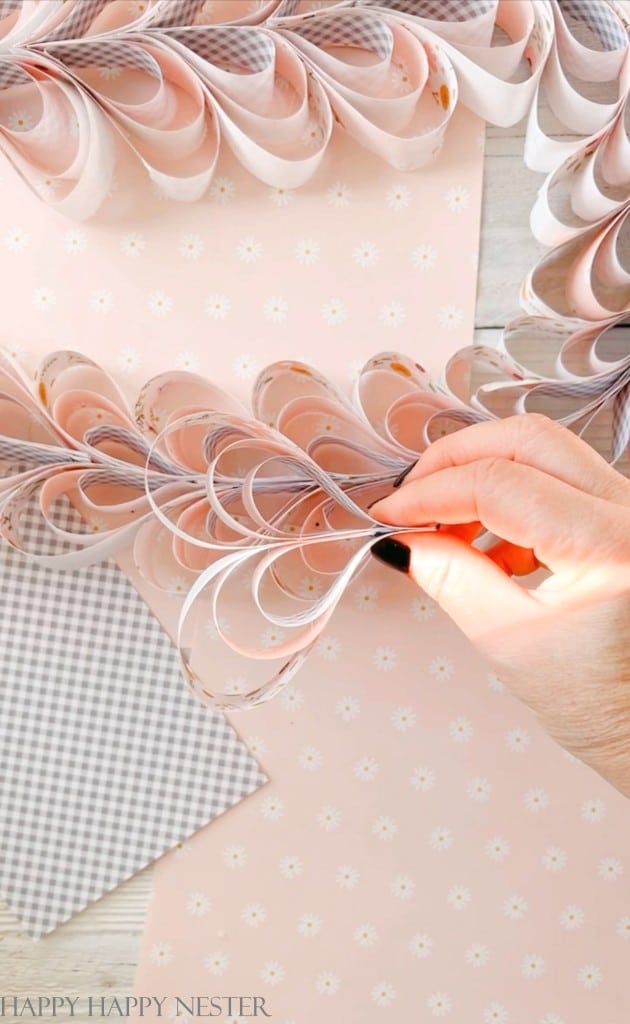
Step 5 – Glue Heart
Place some hot glue inside the bottom point of the heart. Bring down the top inner edge that is stapled and place it in the glue. Hold the paper together while the glue dries. You’re collapsing the heart inside itself.
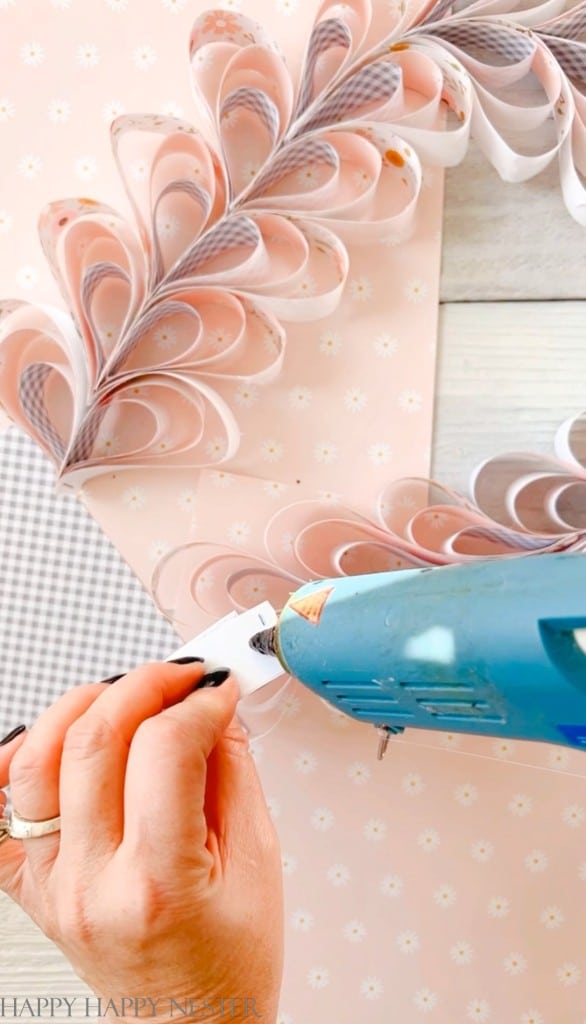
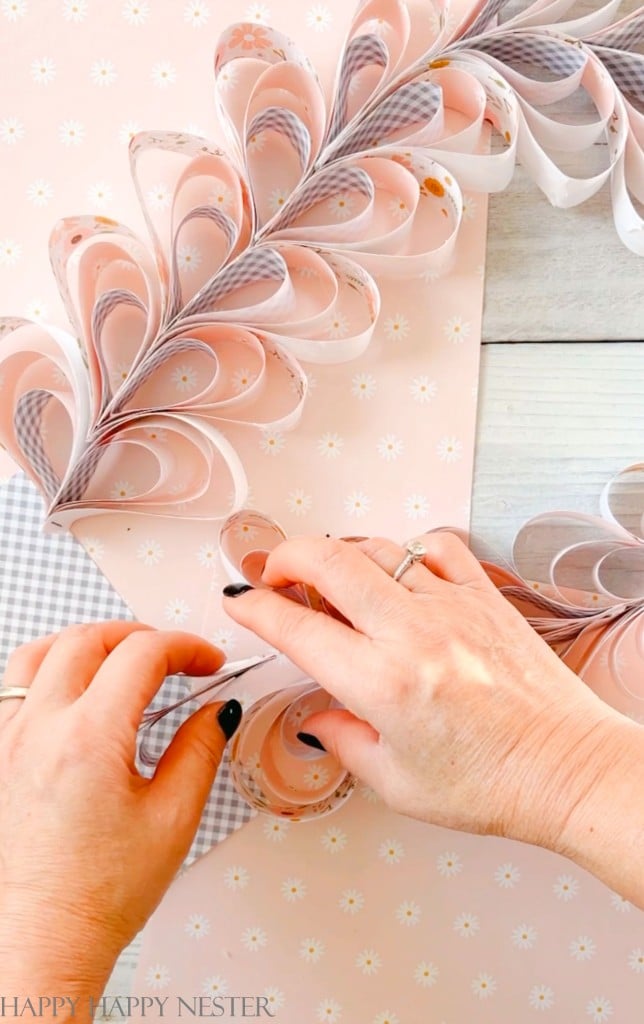
Step 6 – Glue Hearts Together
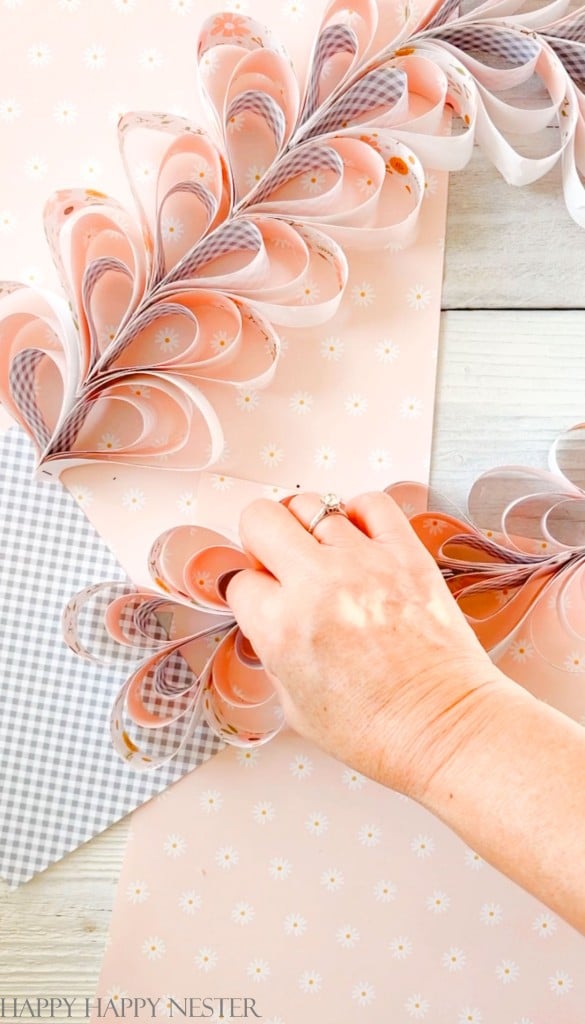
Once you have two hearts made, glue the bottom side of one heart. Then open up the other heart at the top. Then place your glued heart into the other heart, as pictured above.
You’ll repeat this with each new heart until you have a beautiful garland of hearts. To ensure that your garland is flat, you’ll want to glue and place the hearts on a counter. This keeps the back of the heart flat, so it doesn’t twist at an angle when you glue them together. If you don’t want glue on your countertop, cover the counter with a piece of cardboard.
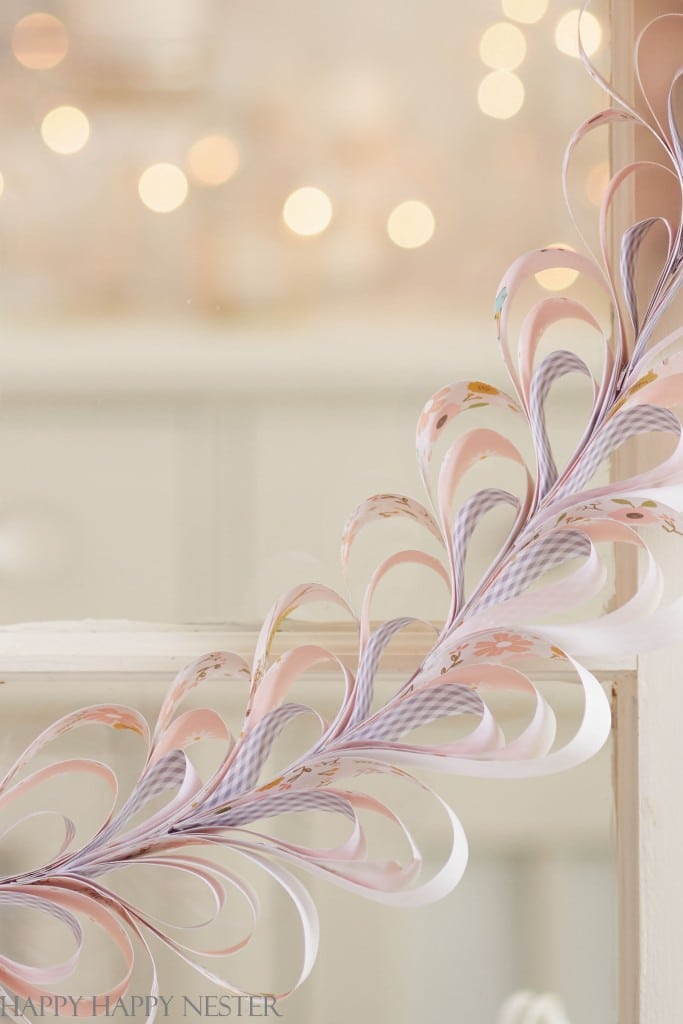
Make this DIY Valentine garland as long as you like. It uses a lot of paper hearts, so I went with a short garland.
A Few Important Tips
- Step 5 gives the heart stability. If you don’t glue the heart down, the heart’s sides are unstable. So, I tried to skip this step, and when I glued the hearts together the middle of the heart took on a whole different form. So as much as you might be tempted to not collapse the heart don’t skip this step.
- My paper doesn’t have print on both sides so I tried gluing another strip on the backside of my paper. This didn’t work when I made my heart. The glue didn’t stick well and I had the paper buckle. So, if you want your heart to have print on both sides, then the easiest way is to buy scrapbooking paper that comes that way. I think if I make another I will buy the double print paper. It would be nice to see a pretty print on the side of the heart.
- I tried stringing the hearts altogether with a piece of yarn, and the pull of the yarn tugged at the paper. As a result, my heart shape looked wonky.
- This is a simple DIY, but it does take a bit of time to complete it. So, I highly recommend that you pick away at each step. Make your strips one day. Then next, make your paper hearts. Then the final day, glue them all together. I always space out my craft projects so I don’t get overwhelmed.
- Pace yourself so you don’t get burnt out.
You’ll love this fun project and you’ll find it was worth the little bit of effort crafting it.

Places to Hang Your Paper Hearts
- Over Your Front Door
- Fireplace Mantel
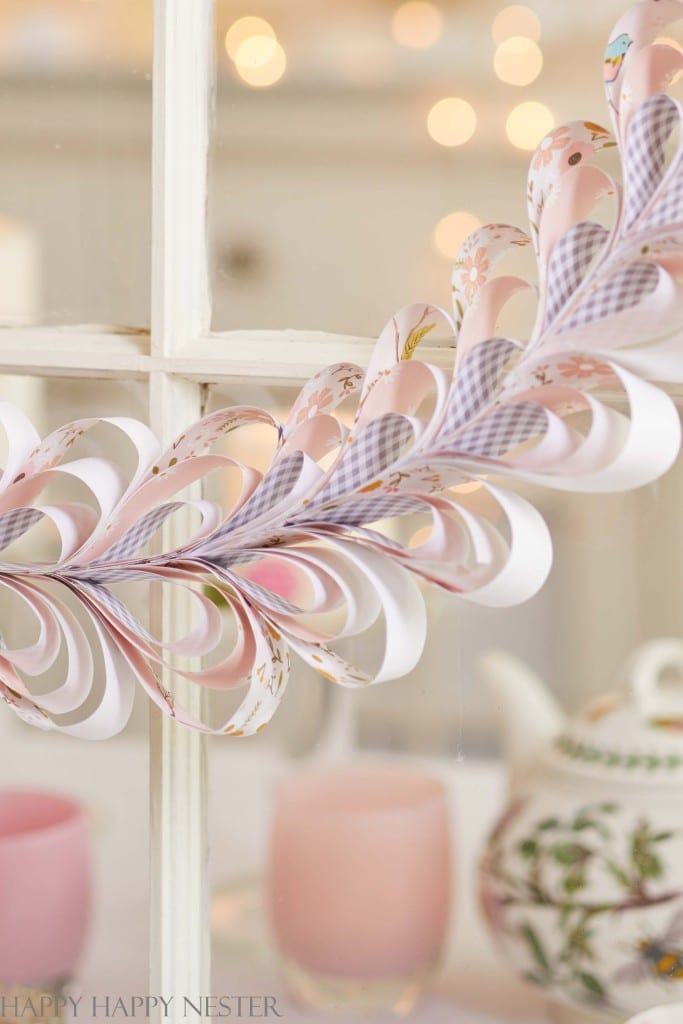
- Window
- Drape Over a Picture Frame in Your Living Room
This adorable Valentine’s garland DIY is a perfect decoration. Who doesn’t like a heart decoration around their home in February?
After the holidays and all the Christmas decorations are put away, I look forward to spring and Valentine’s Day. It’s one of my favorite holidays since Christmas tends to be so busy. Valentine’s is so fresh and full of love and hearts!
It’s nice to have a little bit of pink and red colors around the house.
So, get your Valentine’s decor out this week or make this fun Valentine’s Garland DIY.
Happy Valentine’s Day to you!


Blogger’s Best Valentine Decor
- Concrete Conversation Heart Napkin Rings | My Sweet Savannah
- Copper Valentine Table Decorations | My 100 Year Old Home
- DIY Coffee Table Books for Valentine’s Day | Craftberry Bush
- Valentine’s Garland DIY | Happy Happy Nester
- Dollar Store Heart Wreath | Tatertots and Jello

- Heart Shaped Brownies Recipe - February 13, 2026
- Framed Artwork from Amazon - February 12, 2026
- Chocolate Covered Quinoa Recipe - February 5, 2026


Melaine Thompson
Love this!
Janine Waite
Thank you, Melaine!
jennifer s. hadfield
So pretty, Janine! I love the scrapbook paper you used! I pinned it to my Valentine board to share 🙂
xoxo
Janine Waite
Thanks so much, Jennifer!