yummy granola…
over the last month we had our pediatrician recommend a gluten free diet for my daughter. turns out that it has been an awesome thing for her digestive tract! so for the last month i’ve been trying to get my head and kitchen reorganized around this whole gluten free diet. i must admit that i have been preoccupied with it and so you haven’t seen that many blog posts. i have about 4-5 different gluten free flours and baking mixes on my shelves. i have been busy baking with the new flours as well as trying the different brownie and cookie mixes. once i figure out the best recipes, i will share them. but, for now i came across this yummy paleo diet granola (www.eatdrinkpaleo.com.au) which happens to be gluten free. you can improvise and put whatever nuts and fruit you like. i must admit that i have never made my own granola and i’m not sure why that is! thanks for stopping by and try making this recipe…
2 cups mixed nuts
1 cup dried fruit…cranberries, apricots etc…
1/2 cup pumpkin seeds
1/2 cup hazelnut or almond meal (flour)…redmill makes this flour
1 cup coconut shreds (unsweetened)
1/2 cup coconut flakes (unsweetened)
1/2 cup melted coconut oil
5-6 tbs honey or rice syrup or maple syrup
1 tsp vanilla extract
zest of one orange
on the eat drink paleo website she goes into soaking your nuts for 2-3 hours and then drying and roasting them. i guess this gets out the phytic acid found in nuts.
instructions:
– preheat the oven to 330F
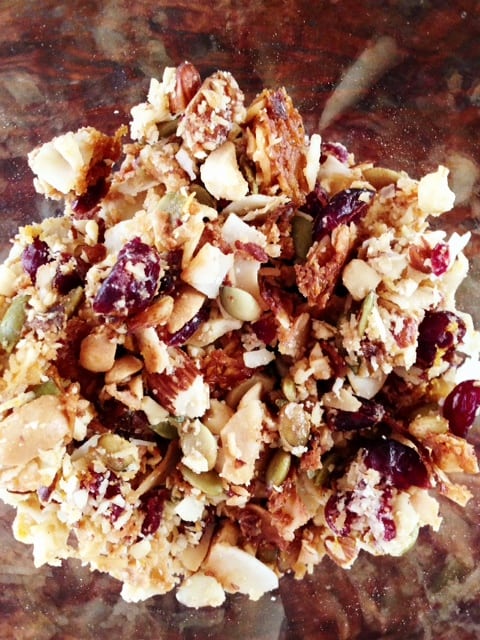
– add whole nuts and dried fruit into a food processor. process the mixture into medium size crumbs. some of it will turn into fine flour while the other ingredients will be bigger. this is ok, since you want a granola that have various sizes.
in a large bowl combine the nut mixture with all the other ingredients and mix.
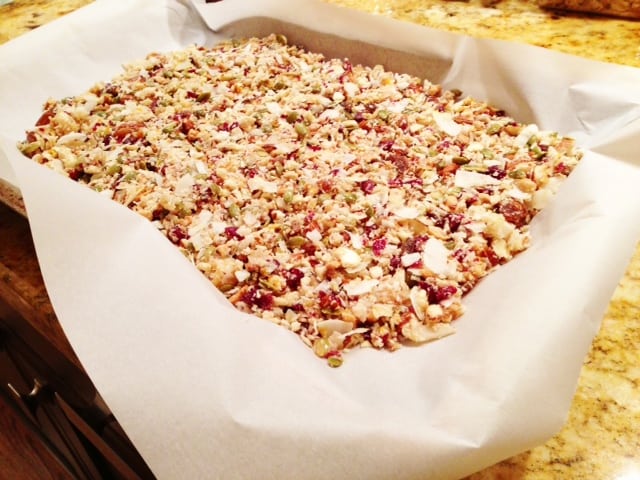
– line a cookie sheet with parchment paper and spoon the granola onto the sheet. pat down the granola.
as you can tell i’m not a perfectionists…. i didn’t have the patience to cut the parchment paper. :o)
– bake for about 20-30 minutes. it seem to take longer than the directions mentioned. i also stirred the mixture a couple of times during the baking process.
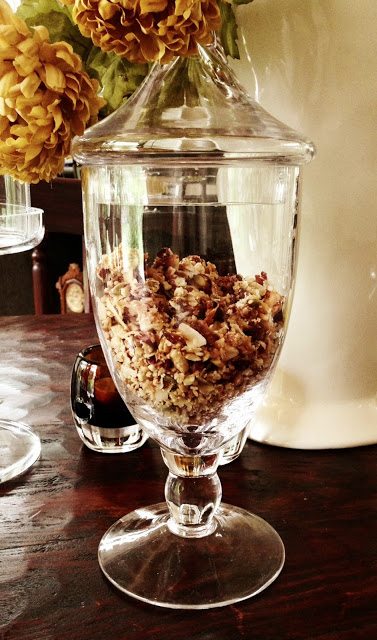
– after baking, take out the pan and completely cool it and break up the clumps. store in an airtight container…and enjoy for breakfast!
Latest posts by Janine Waite (see all)
- Heart Shaped Brownies Recipe - February 13, 2026
- Framed Artwork from Amazon - February 12, 2026
- Chocolate Covered Quinoa Recipe - February 5, 2026
Leave a Reply