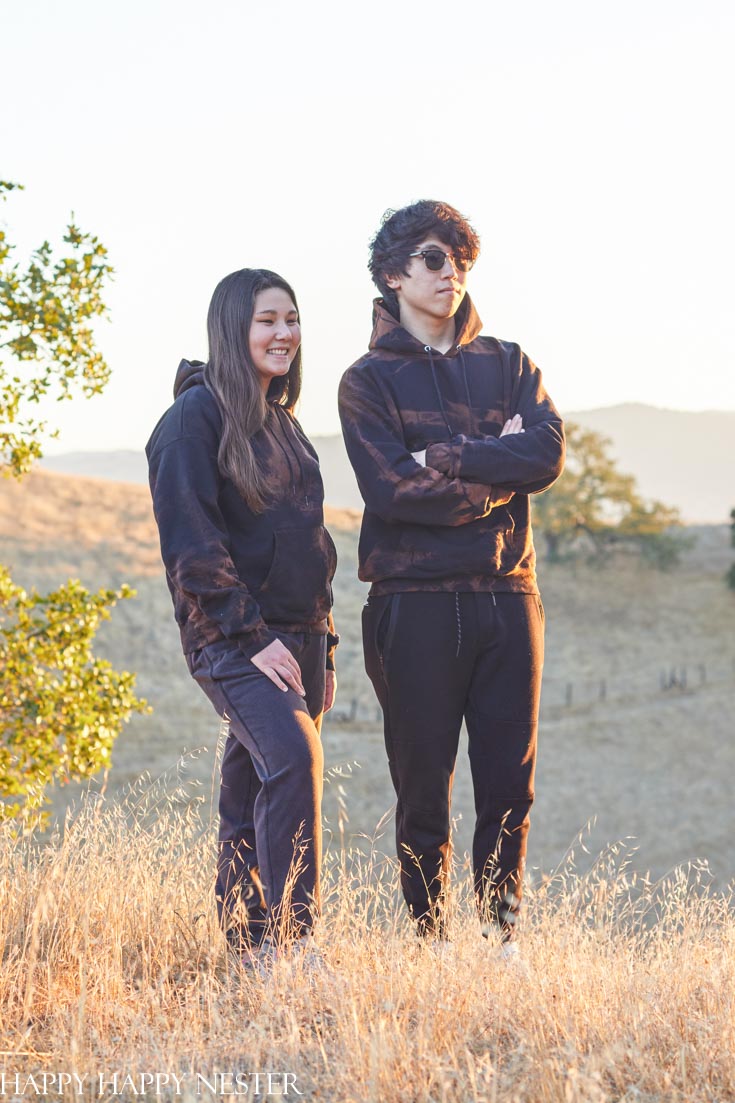
My kiddos are on Tik Tok, and all the kids are sharing these cool sweatshirts. So we got busy and came up with this post on How to Tie Dye a Sweatshirt with Bleach. The results are this unique and stylish sweatshirt that looks expensive.

We made two sweatshirts and prepped each one differently. So, if you know the basics on how to dye your sweatshirt, then you’ll succeed at this pretty easy craft project.
By the way, the photo from above is from a fashion post. I rarely post fashion over here on the blog, but we do love clothes. So, who knows, maybe I’ll share a bit more on our casual style.
Speaking of our fashion style, our family gravitates towards comfy clothes. And what is more comfortable than a soft and warm hoodie! So, here is a new look to a black sweatshirt hoodie. And by the way, around silicon valley, everyone wears hoodies to work!

My kids mentioned that they saw these bleached sweatshirts, and could they make one. I always love it when they want to do a project, so I quickly jumped on the idea.
We found that this tie dye sweatshirt project is so simple since we weren’t that picky about the design.
A Couple of Facts About Our Project
- We used an all-cotton sweatshirt. I know that bleach can react to polyester, so I wanted to eliminate that variable.
- Our prep was random, and our design came out random.
- Our first sweatshirt sat in the bleach for 15 minutes and the other one for 1 1/2 hours. Both of them came out the same.
- The bleach we used is chlorine bleach. Here is what the website The Spruce shares about Bleach.
Chlorine Bleach
Chlorine bleach usually comes in a liquid form, but it can occasionally be found in a powdered form. Chlorine bleach contains sodium hypochlorite diluted with water. This type of bleach is potent. It disinfects laundry, but it isn’t safe for many fabric types, particularly colored clothing or clothing patterns.
Oxygen Bleach
Oxygen bleach is safe for many fabrics and is sometimes referred to as color-safe bleach or all-fabric bleach. Unlike chlorine bleach, this bleach does not remove color or patterns on most types of colorfast clothing.
*The following post contains affiliate links
How to Tie Dye a Sweatshirt
Supplies for Your Tie Dye Project
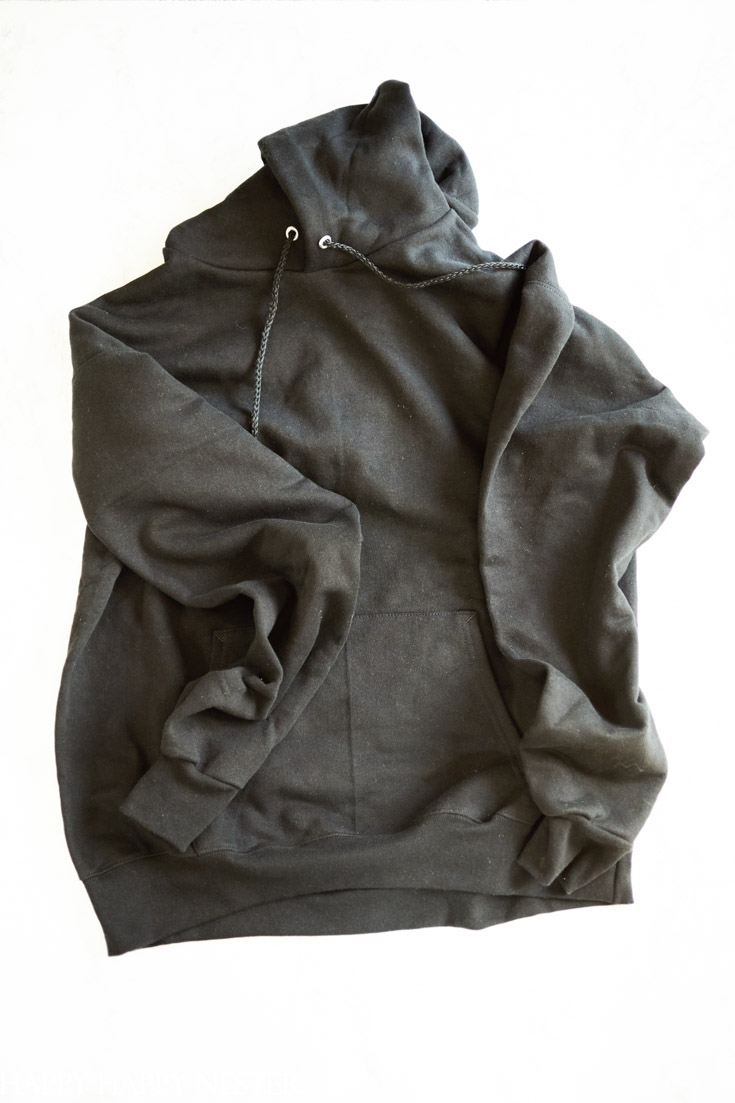
1 Black Sweatshirt (we used all-cotton)
1. So when it comes to tie dying, there are many techniques to the different patterns. For my daughter’s sweatshirt, we laid it out on a table and started to gather up the fabric in different parts. Once we gathered up a section, we then tied it up, crisscrossing the rubber bands. So, we had balls of material with like a star pattern of rubber bands.
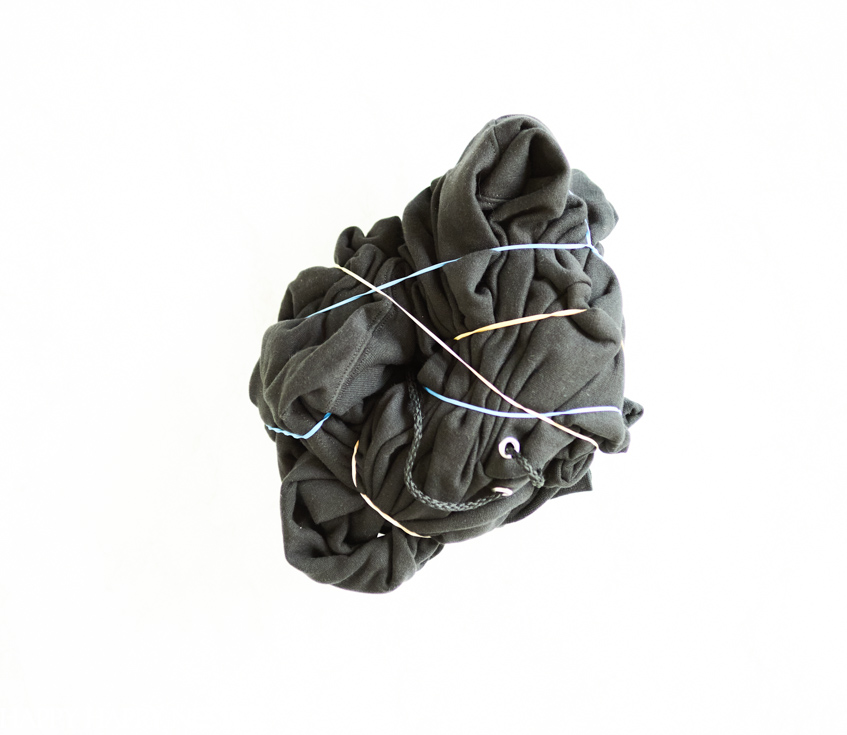
My son made his, and this a photo of what he did. He just randomly brought the sweatshirt together and then rubberbanded the whole thing. He glanced over the instructions on how to tie dye a sweatshirt and then jumped right in without much thought.
2. Place the rubberband sweatshirt in a sink and soak in a solution of half bleach and half water. For our first project, we placed it in a container and filled it up with the mixture. We let it sit for 10-15 minutes. Halfway through the soaking, we flipped the sweatshirt. It soaked up the solution after 10 or 15 minutes. This method is probably the best out of the two ways to tie dye a sweatshirt with bleach.
3. For the second sweatshirt, my son filled the laundry room sink up with water and bleach. He filled the sink up about 12 inches or more of bleach and water. After 15 minutes, he didn’t see any results, so he kept adding bleach. It sat for quite a while, maybe an hour and a half. We didn’t see results in my daughter’s project, but we just rinsed and washed it after 15 minutes.
4. After soaking your sweatshirt for either 15 minutes or an hour, take the rubber bands off and rinse. You won’t see anything at this point, but don’t panic. Wash in cold water and then place it in the dryer.

I think that my son thought he would see a change and so he let it sit. But, you really don’t see anything until you wash and dry the sweatshirt. Trust me on this.
If you want to tie dye a sweatshirt, don’t stress out about this project. No matter what you do, the results are so amazing. I think that is the beauty of this project, anything goes. But, if you want the classic spiral design, then maybe you need to wrap it up a bit more carefully with a technique that we didn’t do over here. 🙂
Our designs are random, and so was our technique. It is nice to have an easy DIY project with such beautiful results.
Other fun DIY posts:
Have a great weekend!


- Ai Kitchen Remodel - June 12, 2026
- Lemon Aioli Sauce Recipe - June 5, 2026
- Ginger Beer Mocktail Recipe - May 28, 2026


Leave a Reply