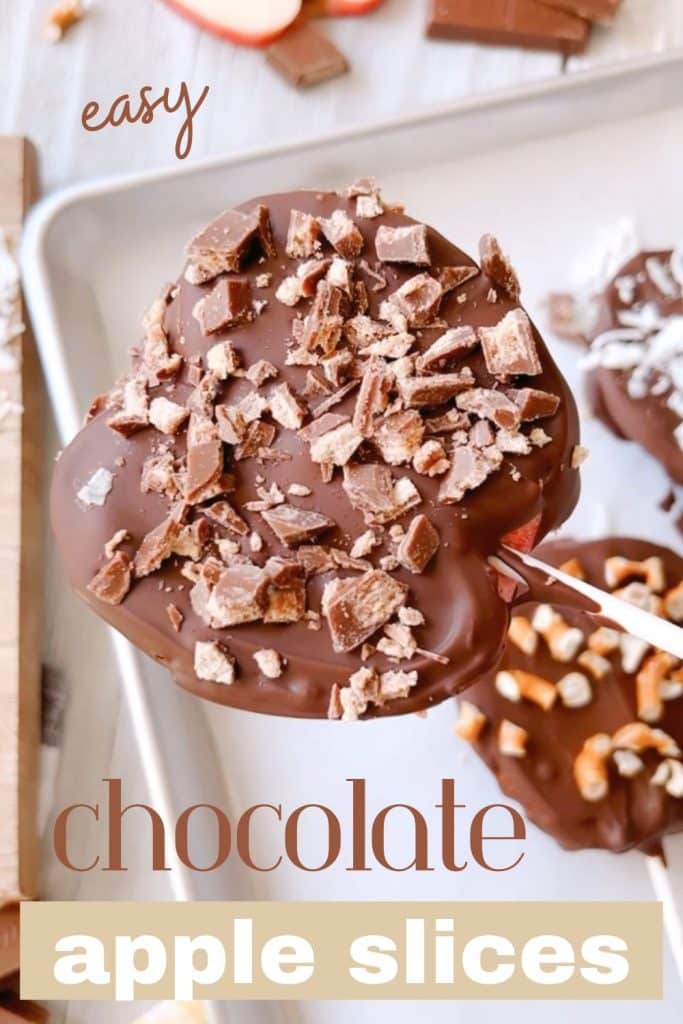
These Chocolate Covered Apple Slices are not only delicious but also visually appealing. The shiny chocolate coating is garnished with sprinkles or crushed cookies, making the apple slices impossible to resist. It’s a treat that looks as good as it tastes, making it the perfect dessert.
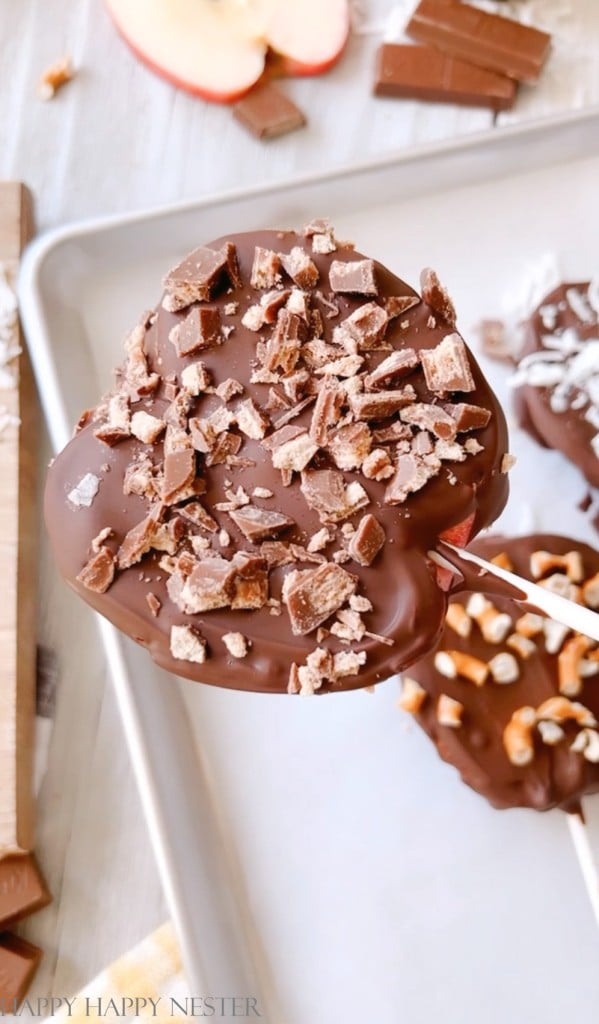
Whether you chow down on these apple slices with cookie butter and chocolate at a party or sneak them as a guilty pleasure, they satisfy your craving for something sweet. But you’ll find that once you take a bite, you won’t be able to resist grabbing more than just a single slice.
What’s great about these candied apple slices is that you can indulge in a single piece without feeling obligated to devour the entire apple.
And the best part is, you can throw on any toppings you and your fam are crazy about!

The first time I tasted these delicious chocolate-covered apples was when we received a fruit bouquet.
They took these cute little slices and put them on wooden skewers like shish kabobs. I enjoyed the yummy caramel apple flavor without devouring a whole apple.
The fruit bouquet was not only stunning but also such a creative and thoughtful gift. So, if you’re feeling crafty, you can include these unique candied apple slices in a gift basket for someone special.
Even though making these chocolate-covered apples is relatively simple, I had a slight learning curve. But fear not! I enjoy sharing all my tips and tricks with you, ensuring you can create these delectable treats without hiccups.
Tips To Making These Candied Apples
Chocolate-covered apple slices can be a bit challenging to make at first, but I’m here to provide you with some helpful tips and tricks.
Best Apples to Use
When making chocolate-covered apple slices, you’ll want to choose firm and crisp apples, as they hold up better during the dipping and coating process. Here are a few apple varieties that work well:
- Granny Smith: Known for their tartness and firm texture, Granny Smith apples provide a nice contrast to the sweet chocolate coating.
- Honeycrisp: Honeycrisp apples are crisp, juicy, and slightly sweet, making them a delightful choice for chocolate-covered apple slices.
- Gala: Gala apples are sweet and have a pleasant flavor. They are slightly softer than Granny Smith and Honeycrisp but still work well if you prefer a sweeter taste.
- Pink Lady: Pink Lady apples are firm, slightly tart, and have a subtle sweetness. They hold their shape nicely and provide a great flavor balance with the chocolate.
Apple Slice Thickness
Hey, here’s a super important tip for you when it comes to slicing those apples.
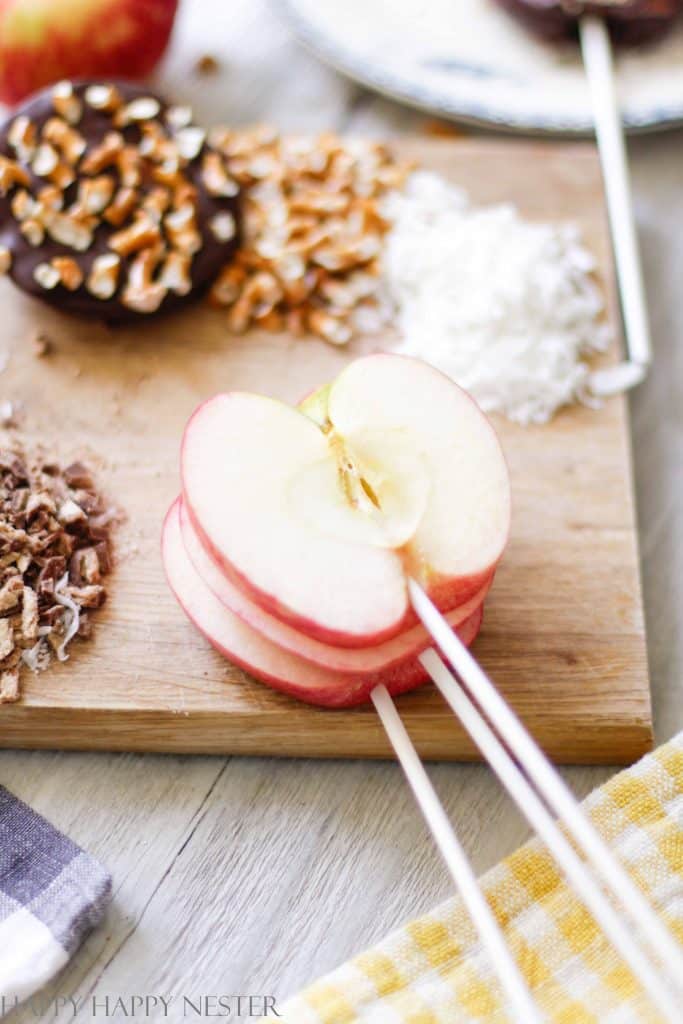
Aim for slices that are around 1/2 inch thick. You see, if you want to stick a lollipop stick on the bottom of the apple, you need a nice, chunky slice. If the slice is too thin, the stick might poke out the sides and fail to hold the apple properly.
So, go for that hearty thickness to keep things in place and make those chocolate-covered apple slices look amazing!
Sticks to Use
So, when it comes to picking the sticks for your chocolate-covered apple slices, you’ve got a couple of options. You can go for a classic wooden popsicle stick or opt for a smaller lollipop stick.
Personally, I found the paper lollipop stick to be super easy to insert into the apple slice. Oh, and here’s a neat trick: I used a small metal shish kabob skewer to make a tiny hole before popping in the lollipop stick.
It made the whole process go smoother!
The Best Way to Insert The Sticks
I must admit, inserting those sticks into the apples was a bit of a challenge at first. However, I discovered a neat trick that made it so much easier. By using my small round metal shish kabob skewer to pre-poke the apples, the task became surprisingly simple.
How to Make Sure Chocolate and Cookie Butter Stick to the Apple Slices
So, once you’ve sliced those apples, you might notice some juice on the cut sides, which can make it a bit tricky for the cookie butter to stick. But don’t worry, grab a paper towel and give those slices a gentle blot, getting rid of as much moisture as you can. This little trick guarantees that the chocolate and the butter cling to those apple slices like glue.
Melt Chocolate in a Double Boiler
a double boiler is like a chocolate whisperer. It prevents the chocolate from scorching or burning, which can happen easily if you try to melt it directly over direct heat. That means no more sad, clumpy chocolate disasters!
By using a double boiler, you create a gentle and controlled heat environment for your chocolate. You simply need a saucepan filled with a bit of water and a heatproof bowl on top. As the water in the saucepan simmers, the steam gently warms the bowl, melting the chocolate in a slow and steady manner.
The beauty of this method is that the chocolate melts evenly, avoiding those dreaded lumps and preserving its smooth texture.
Plus, you have better control over the temperature. Chocolate can be quite sensitive, and even a little overheating can cause it to seize or become grainy. With a double boiler, you can keep the temperature low and steady, ensuring your chocolate stays in its happy, melted state.
Once your chocolate is beautifully melted, if you keep the heat as low as possible, you can actually keep it warm for a good while. This means you don’t have to rush and can take your sweet time covering those apple slices with chocolate.
How to Store Chocolate Apples
Unlike traditional whole candied apples, these sliced apples have exposed surfaces, and their juices may seep out. To keep them fresh, it’s best to store them in the refrigerator and enjoy them within three days.
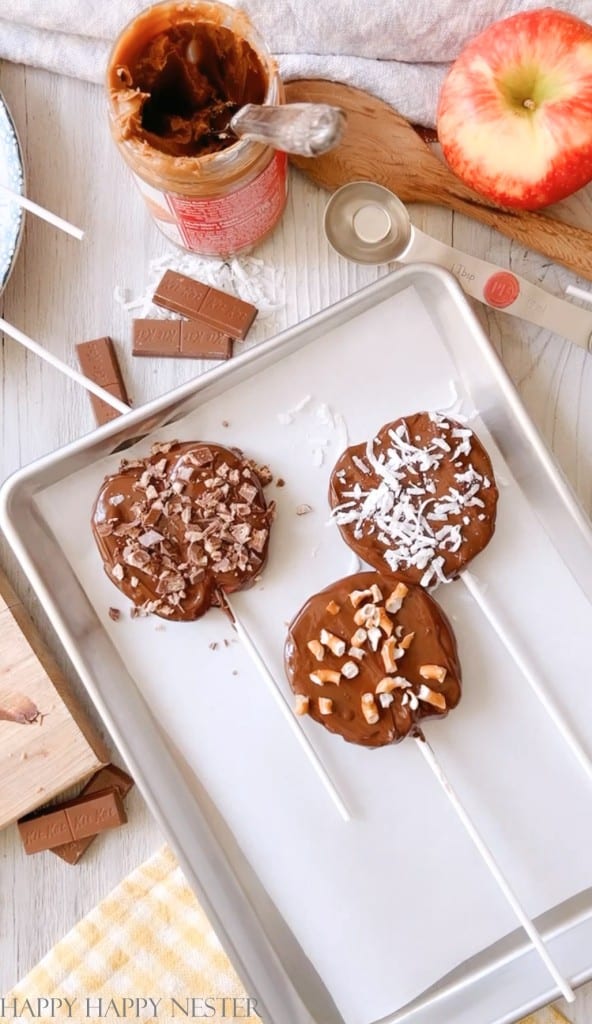
How to Make Chocolate-Covered Apple Slices
Ingredients You’ll Need:
- Apples
- Bischoff Cookie Butter
- Chocolate Chips
- Lollipop Sticks
- Candy Toppings
Directions on Making Chocolate Dipped Apples
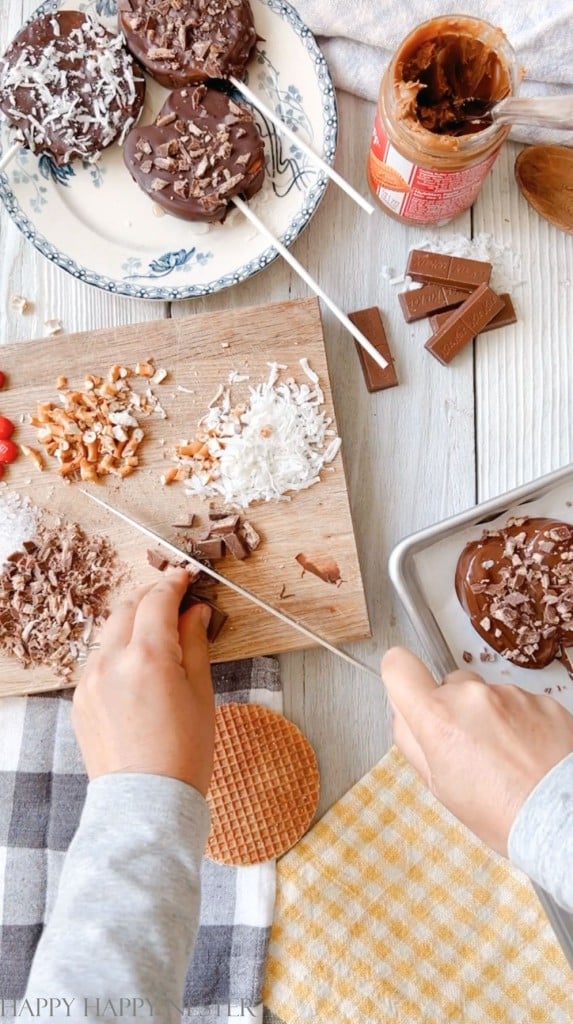
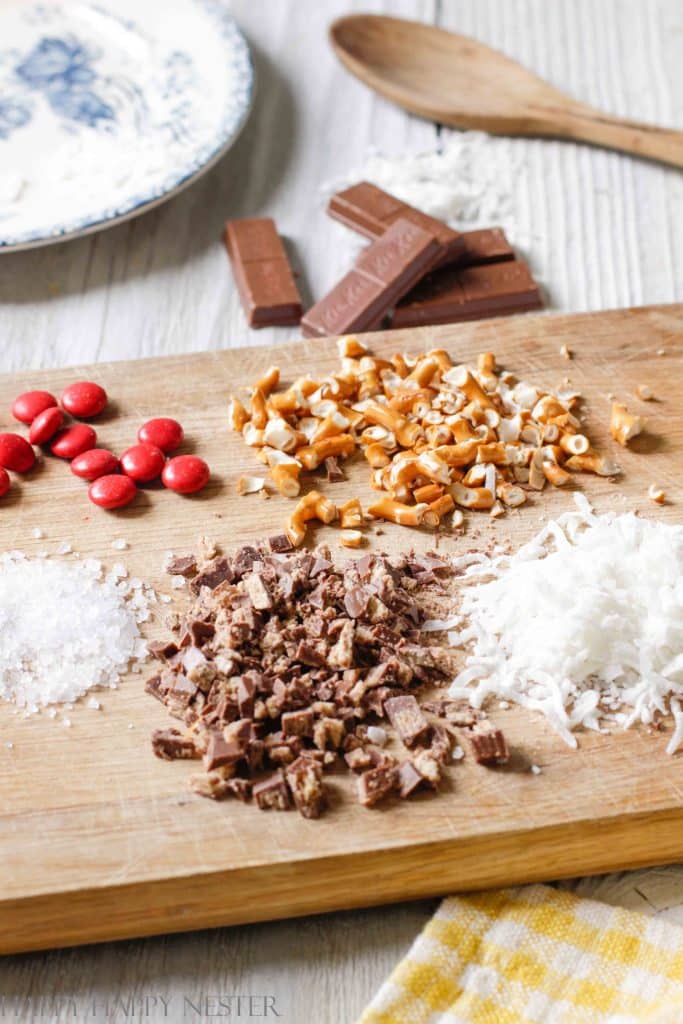
Step 1 – Prep Topping
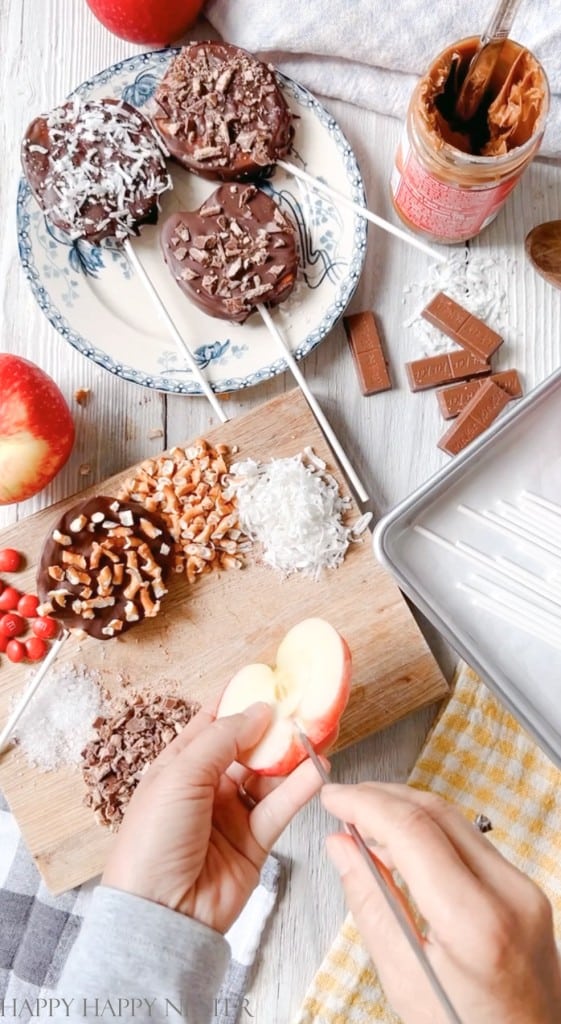
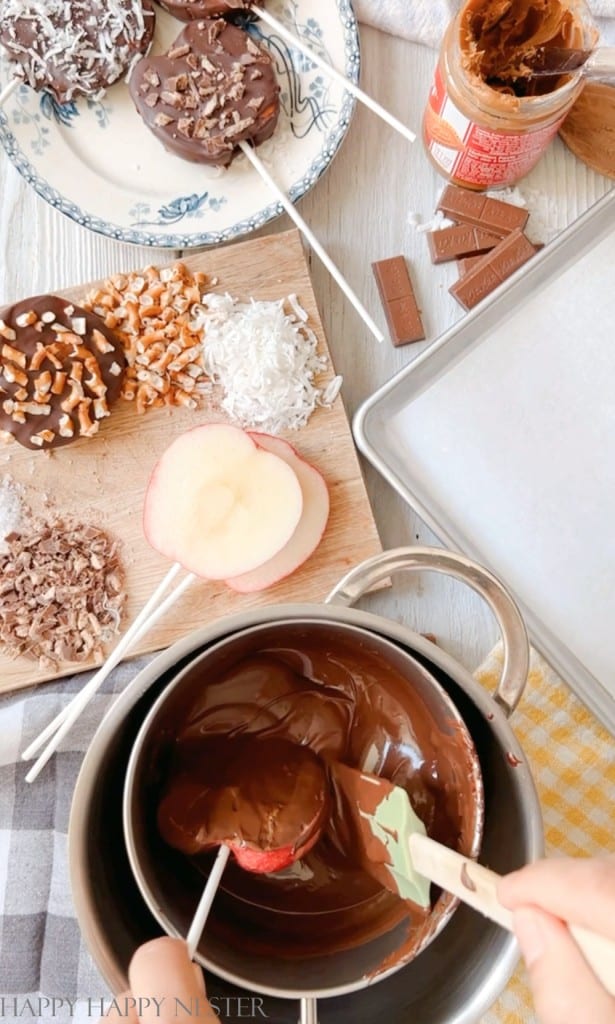
Before diving into this recipe, I made sure to prep all my toppings in advance. Once the chocolate is melted and it’s time to dip those apple slices, having everything ready and within reach will make the process much smoother.
So unwrap your candies and chop everything for the apples.
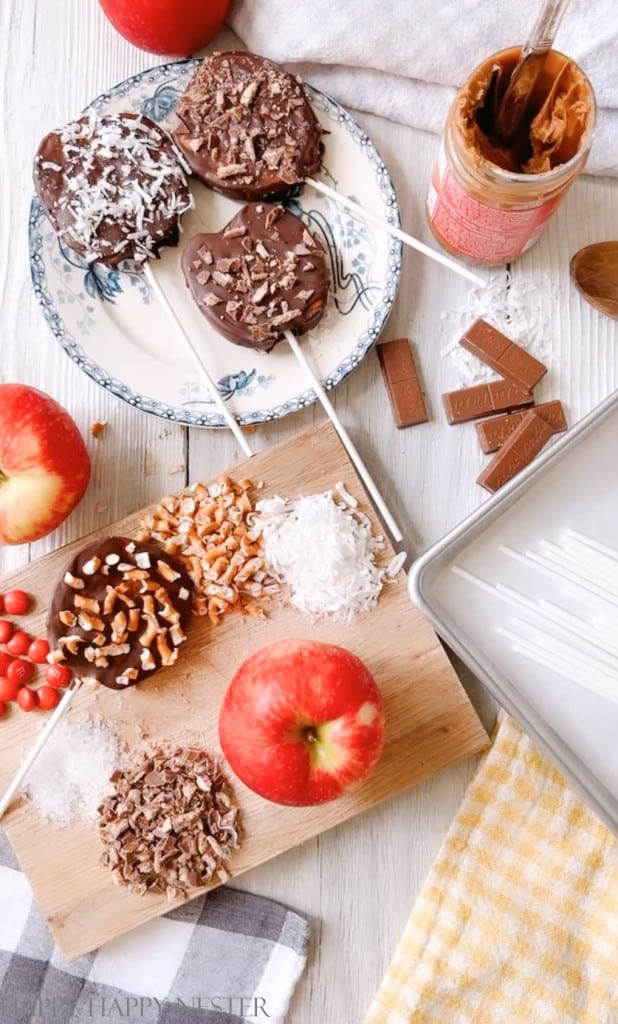
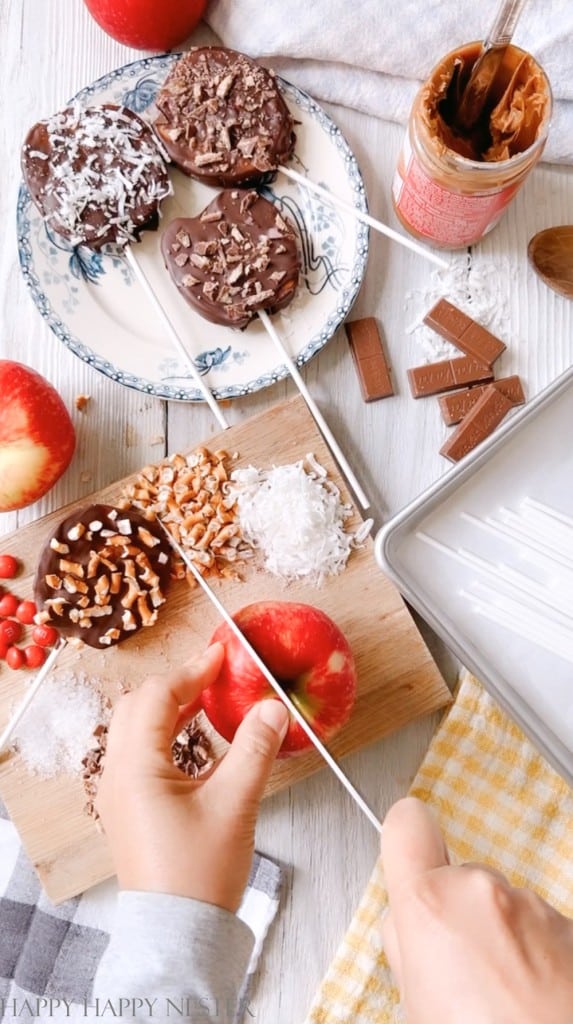
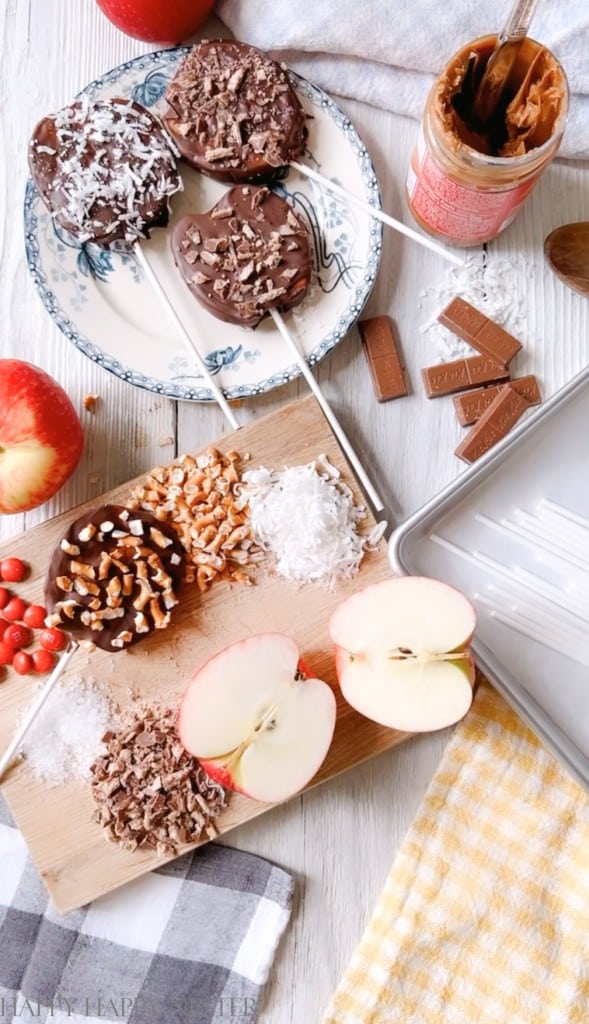
Step 2 – Slice Apples
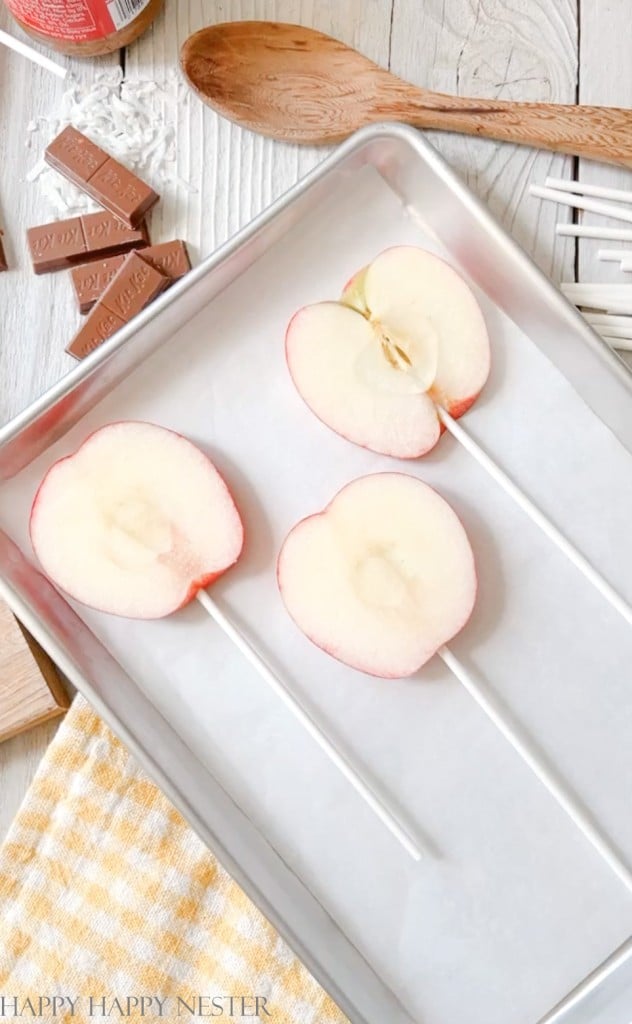
Slice apple at least a 1/2 inch in thickness. Take out any seeds that might be in the apple slice.
Step 3 – Insert Sticks
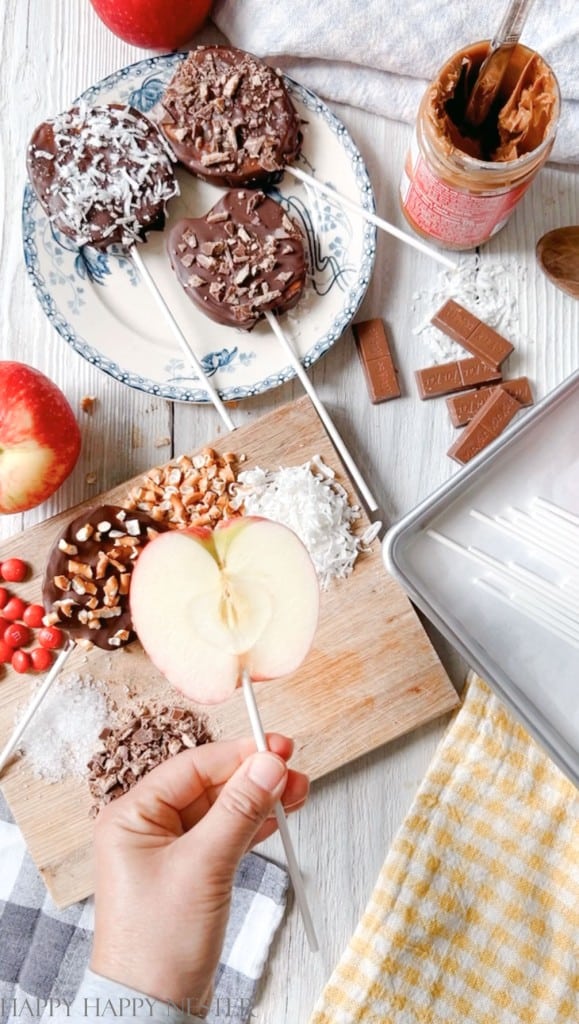
To create the perfect spot for your lollipop stick, gently poke a small hole in the bottom of your apple slice. Just make sure that the metal skewer you use for poking is smaller than the lollipop sticks itself, and carefully insert it straight up into the slice.
Carefully insert the lollipop stick into the pre-made hole, making sure not to poke it out the sides of the apple slice.
Step 4 – Melt Chocolate
While it may be tempting to melt your chocolate in the microwave, I highly recommend avoiding it. Instead, opt for a double boiler method by filling the bottom pan with about two inches of water and heating it until it reaches a gentle boil. This ensures a safer and more controlled melting process for your chocolate.
Place a second pot on top of the boiling water pan and add your chocolate chips. Once the chocolate starts melting, reduce the heat to the lowest setting and stir continuously until the chocolate is fully melted.
Step 6 – Cover Apple Slice with Cookie Butter
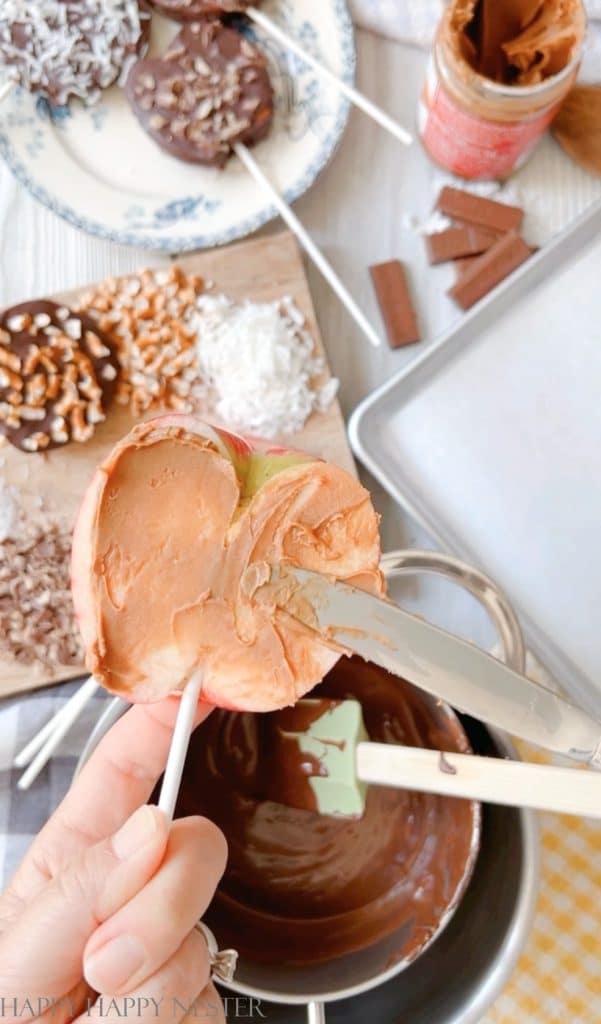
Blot-dry the apple slices with paper towels. Then lightly spread a thin coating of cookie butter on both sides of the apple slice.
Step 5 – Coat Apples
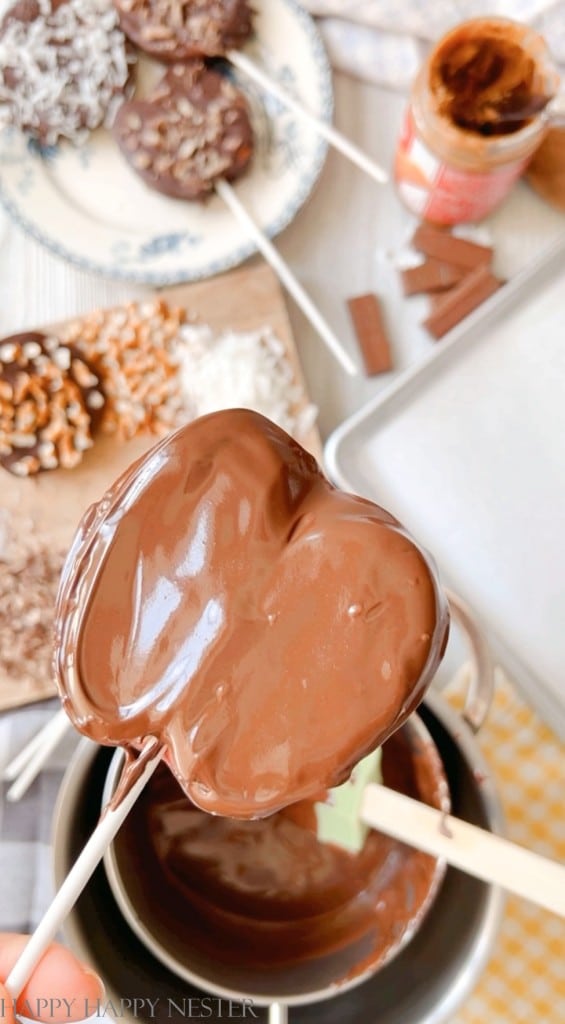
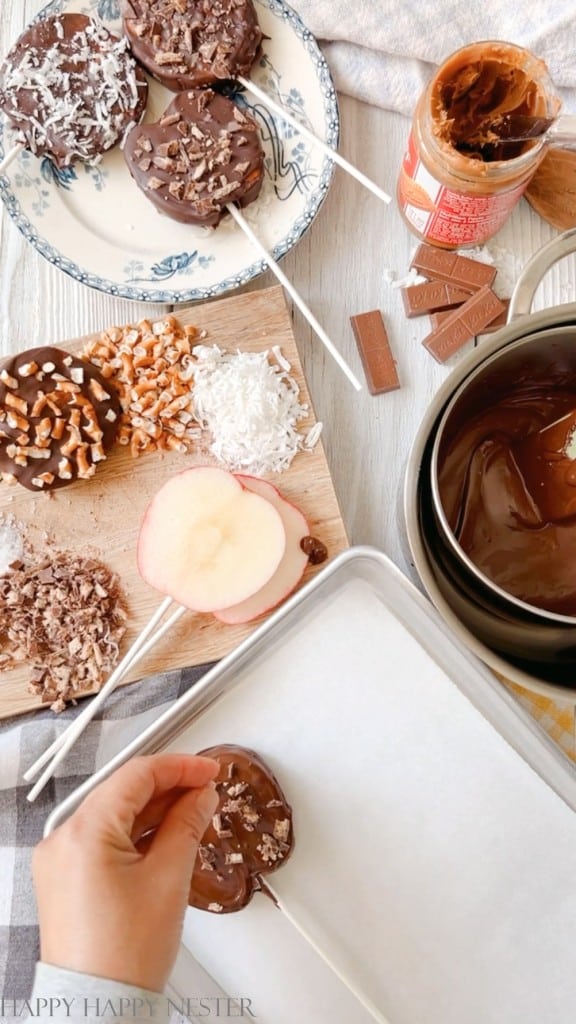
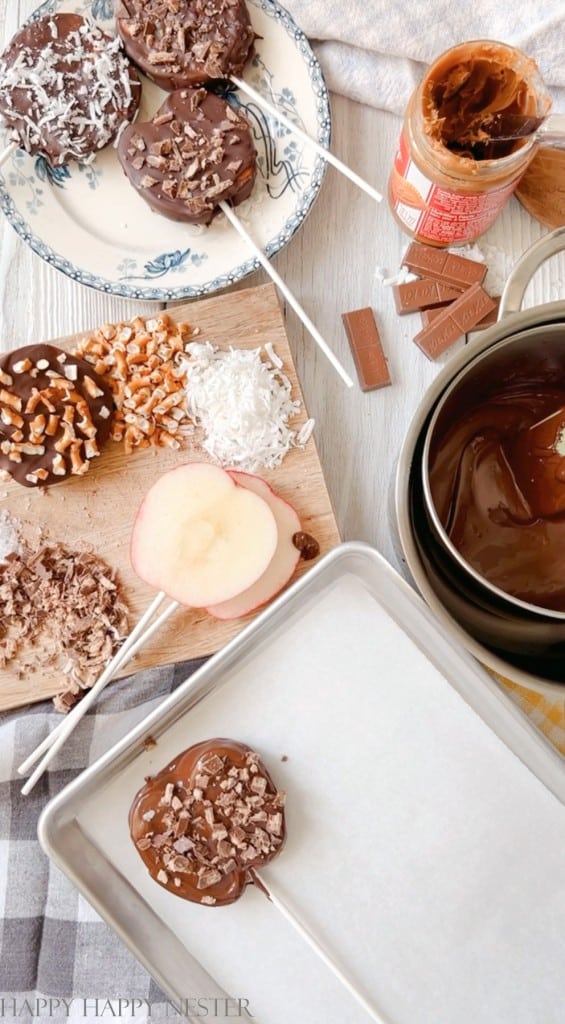
Dip your apple slice into the melted chocolate, using a spoon to ensure it is fully covered. Once coated, transfer the slices to a baking tray lined with parchment paper for them to set.
For faster chocolate hardening, simply refrigerate the chocolate-covered apple slices.
Chocolate Covered Apple Slices
Ingredients
Main Recipe for Chocolate Covered Apple Slices
- 2 apples
- 2 cups chocolate chips melted in a double boiler
- cookie butter I like Bishcoff's Cookie Butter
Toppings
- shredded coconut
- Thin Kit Kat Cookies chopped
- pretzels chopped
Instructions
Prep Toppings
- Before diving into this recipe, I prepared all my toppings in advance.
Prep Apples
- Slice apple at least a 1/2 inch in thickness. Take out any seeds that might be in the apple slices.
- To create the perfect spot for your lollipop stick, gently poke a small hole in the bottom of your apple slice. Just ensure that the metal skewer you use for poking is smaller than the lollipop sticks, and carefully insert it straight up into the slice.Carefully insert the lollipop stick into the pre-made hole, ensuring not to poke out the sides of the apple slice.
- Blot-dry the apple slices with paper towels. Then lightly spread a thin coating of cookie butter on both sides of the apple slice.
Melt Chocolate
- While it may be tempting to melt your chocolate in the microwave, I recommend avoiding it. Instead, opt for a double boiler method by filling the bottom pan with about two inches of water and heating it until it reaches a gentle boil. This ensures a safer and more controlled melting process for your chocolate.Place a second pot on the boiling water pan and add chocolate chips. Once the chocolate starts melting, reduce the heat to the lowest setting and stir continuously until the chocolate is fully melted.
Coat Apples in Chocolate
- Dip your apple slice into the melted chocolate, using a spoon to ensure it is fully covered. Once coated, transfer the slices to a baking tray lined with parchment paper for them to set.For faster chocolate hardening, refrigerate the chocolate-covered apple slices.
Nutrition
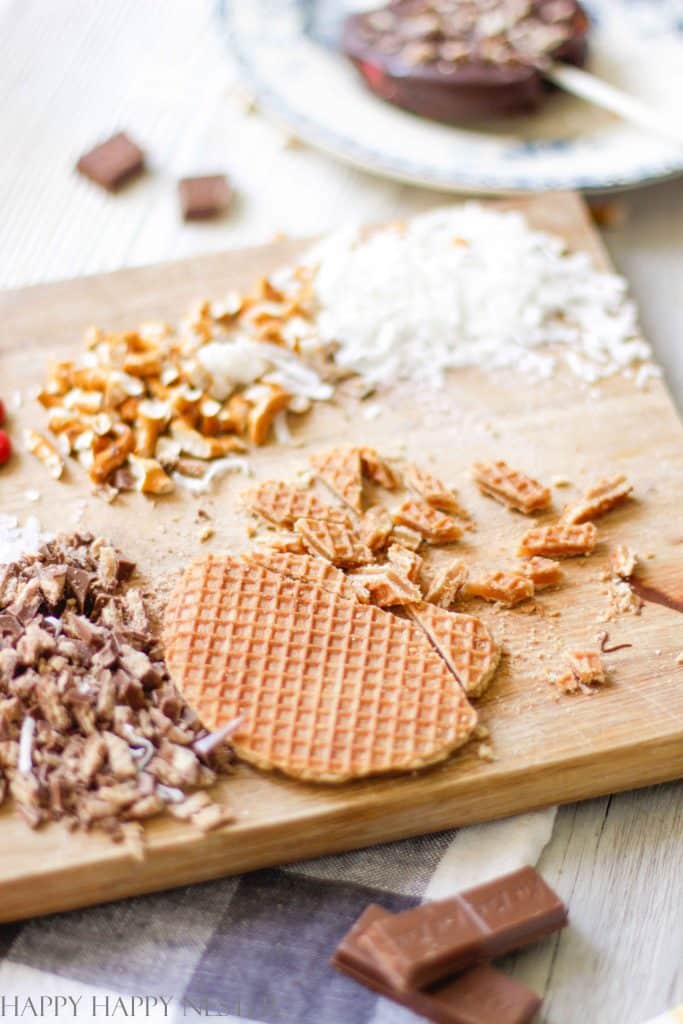
Photo: MyPhotography.com
Topping Options
The sky is the limit when it comes to toppings. Have fun, and add your favorite treats to your covered apple slices.
- Mini-Chocolate Chips
- Chopped Nuts
- Kit Kat Candies (Chopped)
- Shredded Coconut
- Pretzels (Chopped)
- M&M’s (Mini)
- Caramel Sauce
- Sprinkles
- Coarse Grains of Sea Salt
- Mini-Marshmallows
- Oreo Cookies (Chopped)
- Stroopwafels Cookies (Chopped)
- Granola
- Pistachios (Chopped)
I’ve got a bunch of delicious sweet treats right here. Take a look at these awesome recipes:
Whether you gobble up these amazing candied apple slices with cookie butter and chocolate at a party or treat yourself to a moment of pure indulgence, get ready for a fun and yummy treat.
You’ll find that the flavors are so incredible that you might find it hard to resist the temptation of having just one slice!
Thanks so much for stopping by.
Happy Baking!


- Valentine’s Day Gifts from Amazon - February 4, 2026
- My Favorite Cleaning Items from Amazon - January 28, 2026
- Machine Washable Rugs - January 21, 2026




Leave a Reply