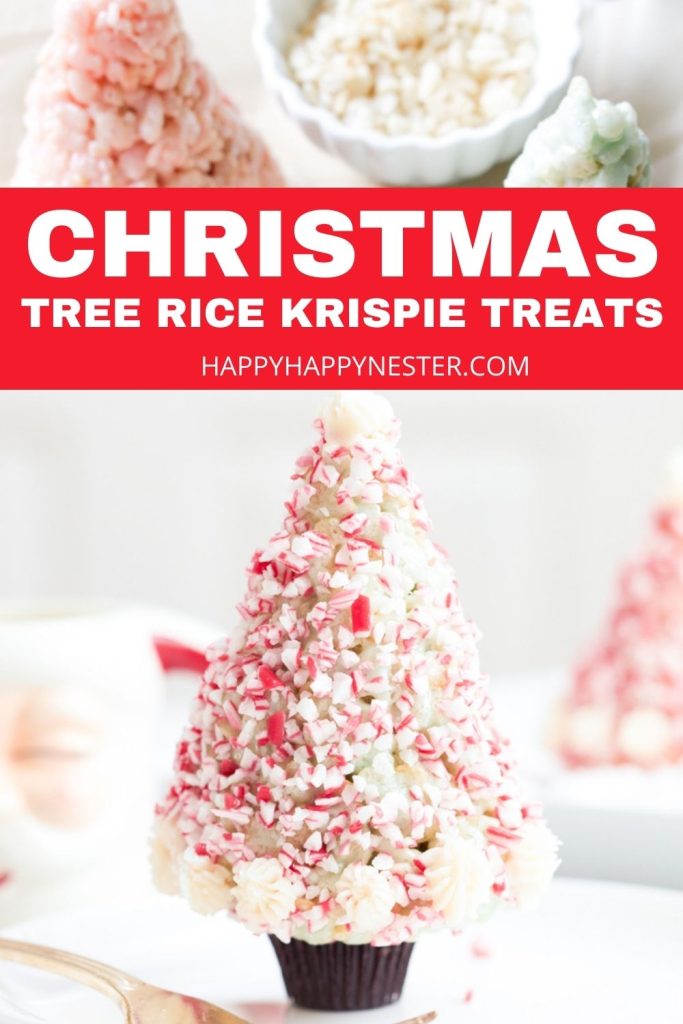
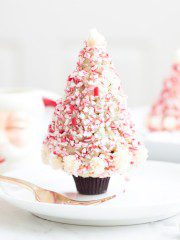
These adorable Christmas Tree Rice Krispie Treats are so easy to make. Add some crushed candy canes and Reese’s peanut butter cups, and the cereal quickly transforms into a holiday dessert. Kids love to make these fun no-bake Christmas trees during the holidays.
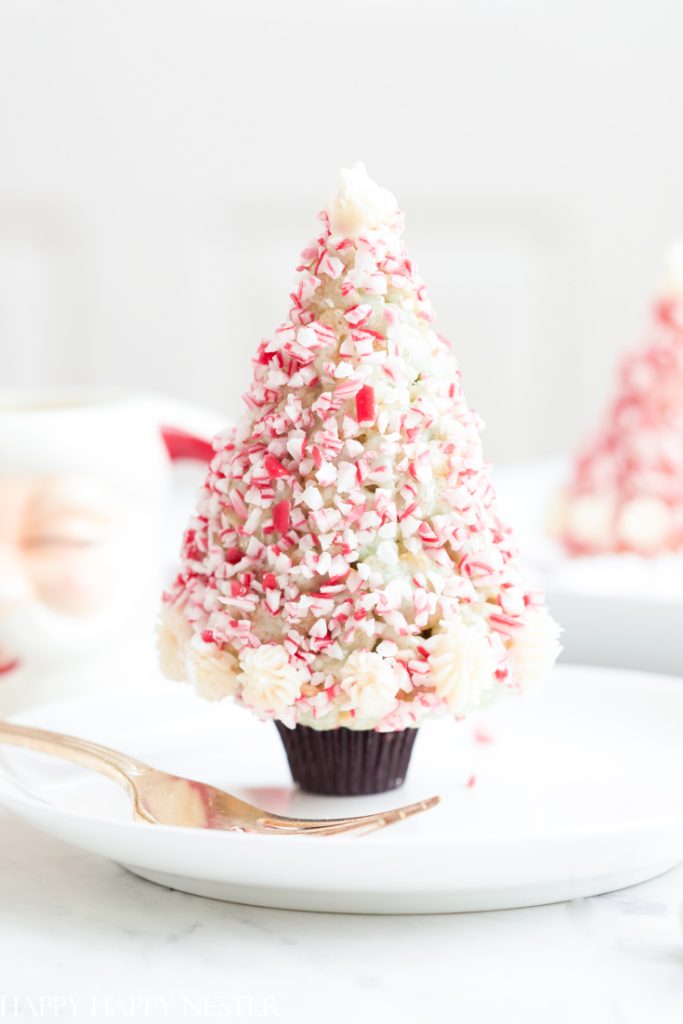
My daughter loves to make Rice Krispie treats, so we decided to make them festive for Christmas this year. And what better way to add a bit of the holiday cheer with cute trees!
So she and I got busy researching how to make these little desserts. First, of course, I had to add my little unique touches with the crushed peppermint candies, food coloring, and piping.
It’s funny because I don’t find baking intimidating, but some people do. So, this little treat is perfect if you are learning to bake. This recipe requires minimal supplies, and the only tricky part is melting the marshmallows. But, other than that step, the rest is easy peasy.
I promise!
But, if you want a few baking projects for this Christmas, I might be able to help you!
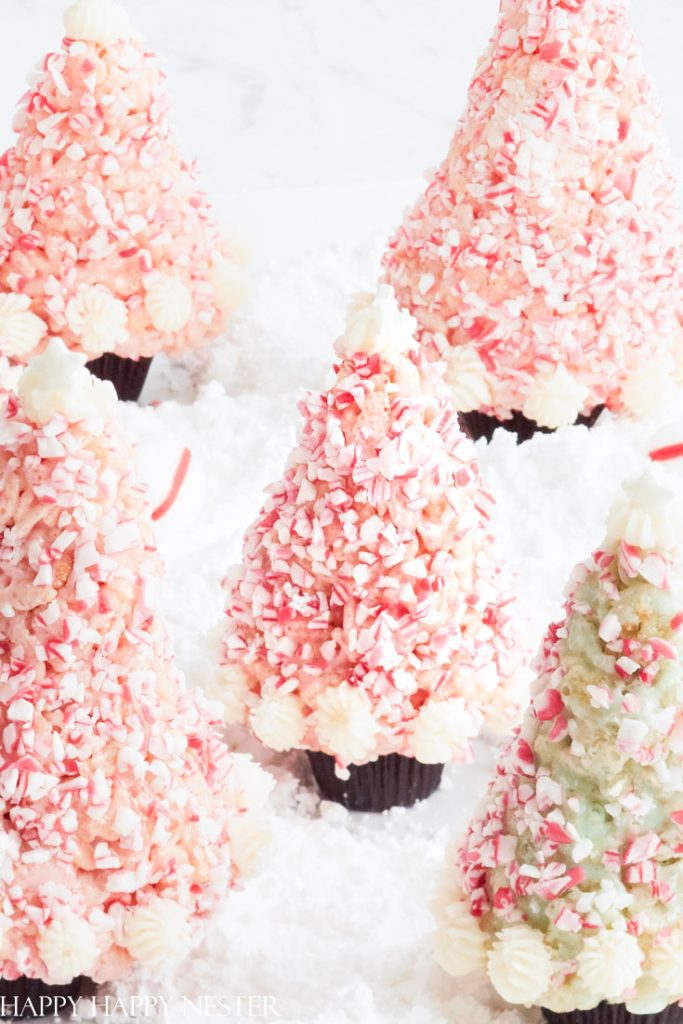
I love how these treats came out! I’m also amazed how these holiday trees look nothing like Rice Krispie cereal!
Also, these trees are a fantastic project to tackle with your kids or grandkids this year. The sky’s the limit when it comes to adding more candy for ornaments and lights.
Let them create their fun versions!
How to Make Christmas Tree Rice Krispie Treats
*The following post contains affiliate links
Step 1 – Make Rice Krispie Treats
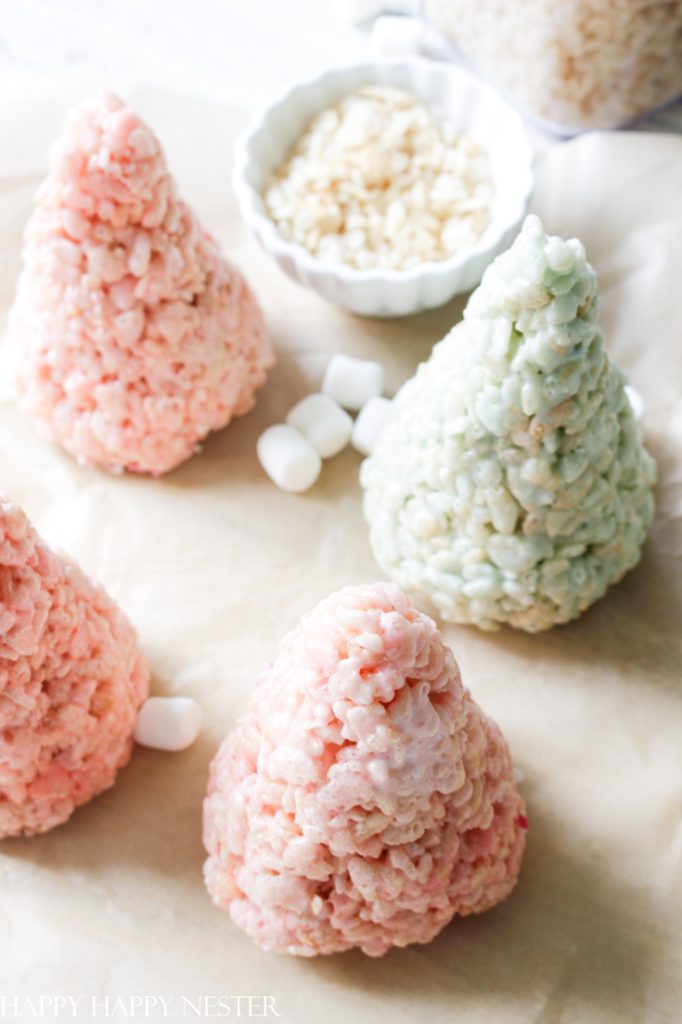
Melt marshmallows in a large pan. Add food coloring and then mix in Rice Krispies. Mix thoroughly until food coloring is well blended.
Step 2 – Mold into Trees into Cones
Spray hands with non-stick cooking spray. The spray oil makes it easy to mold the trees without sticking to your fingers.
By the way, you can make small and giant Christmas trees with your Rice Krispie treats.
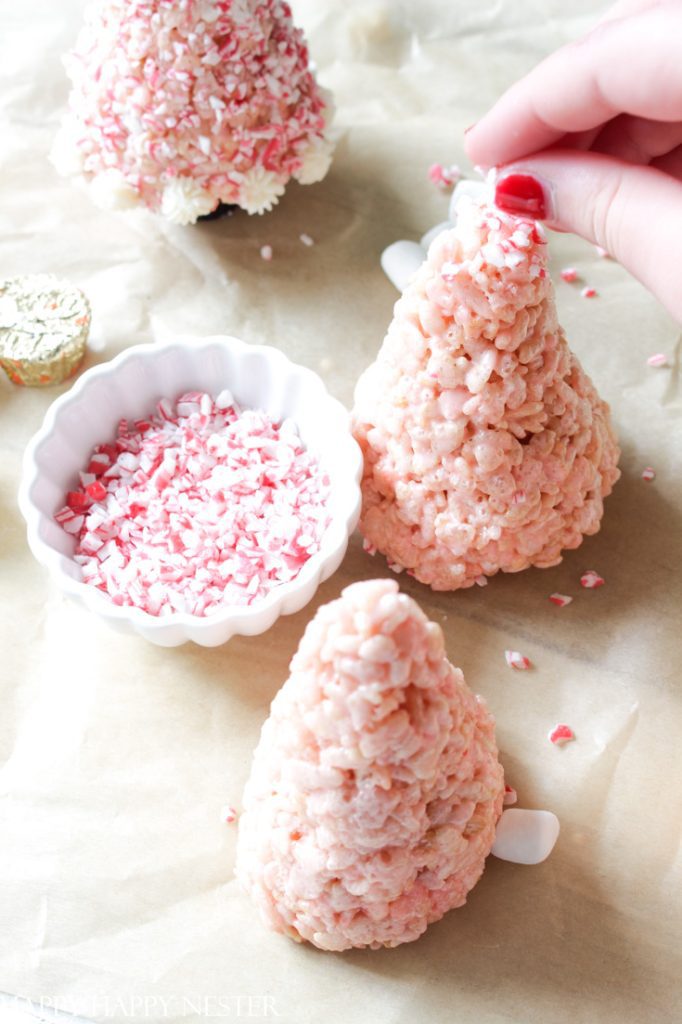
Step 3 – Top with Crushed Peppermint Candies
Add crushed peppermint candies to the newly sculpted trees. Cover the whole tree surface.
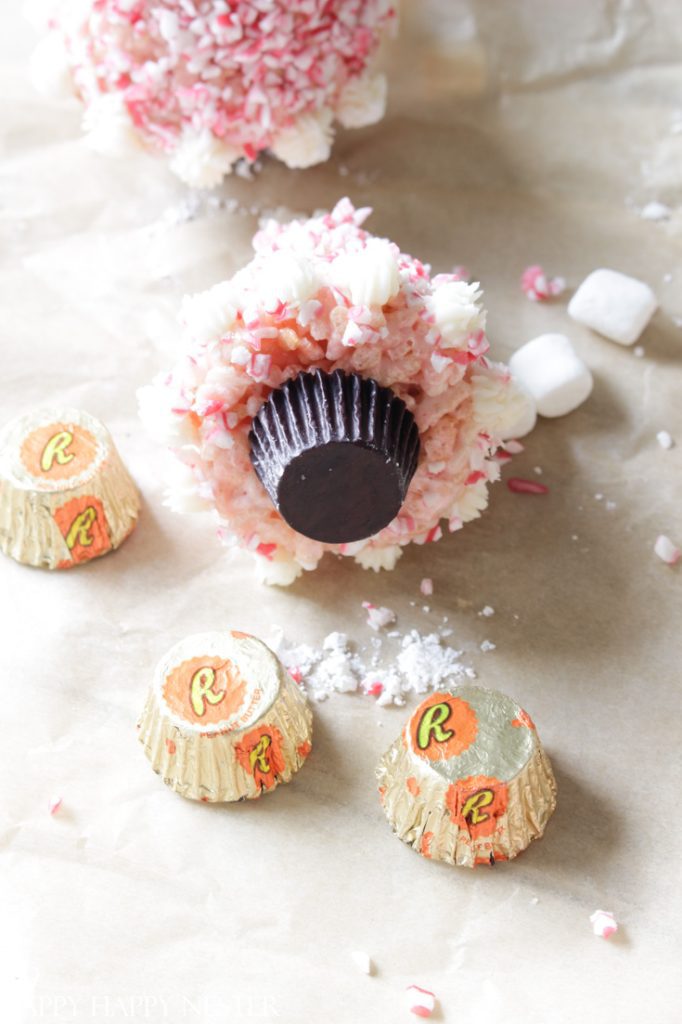
Step 4 – Add Tree Base
Remove the tin foil wrapper from the peanut butter cup. Place the candy at the bottom of the tree. Make sure to place it in the middle of the tree bottom. If the tree is not balanced, you’ll have to put the Reese’s cup in a spot so that the tree doesn’t fall over.
Also, if it doesn’t stick to the bottom, place some peanut butter in between the candy and tree. The peanut butter will help the candy to stay in place.
Step 5 – Pipe Buttercream at Tree Base and Top
This step is optional. I piped (I used store-bought frosting) little doodads at the bottom of the tree. And then added a cute little candy star on top. Once piped, allow the frosting to set up before handling.
Christmas Tree Rice Krispie Treats
Ingredients
Rice Krispie Treats
- 3 tbsp butter
- 10 oz Marshmallows
- 6 cups Rice Krispie Cereal
Trees
- 1 can non-stick cooking oil
- 1 cup crushed peppermint candies
- 12 Reese's Peanut Butter Cups
- 12 star candy
Instructions
Rice Krispie Treats
- In large saucepan melt butter over low heat. Add marshmallows and stir until completely melted. Remove from heat.
- Add food coloring to melted marshmallows and mix.
- Next, add Rice Krispie cereal. Stir until well coated.
Tree Instructions
- Coat hands with non-sticking cooking oil.
- Shape Rice krispie treats into cone shape trees.
- Add crushed peppermint candies to the newly sculpted trees. Cover the whole tree surface.
- Remove the tin foil wrapper from the peanut butter cup. Place the candy at the bottom of the tree. Make sure to place it in the middle of the tree bottom. If the tree is not balanced, you'll have to place the candy in a spot so that the tree doesn't fall over.
- Also, if it doesn't stick to the bottom, place some peanut butter in between the candy and tree. The peanut butter will help the candy to stay in place.
- Pipe base of tree and top with buttercream icing. This step is optional. I also place a little candy star at the top of the tree.
Nutrition
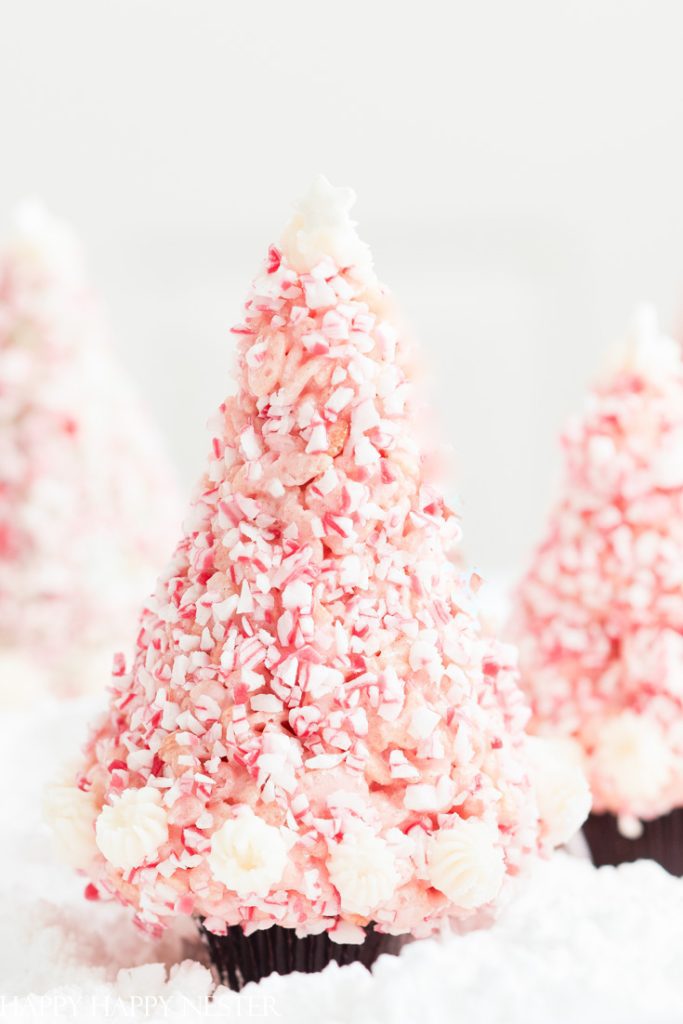
Thanks so much for visiting my Christmas tree Rice Krispie tutorial!
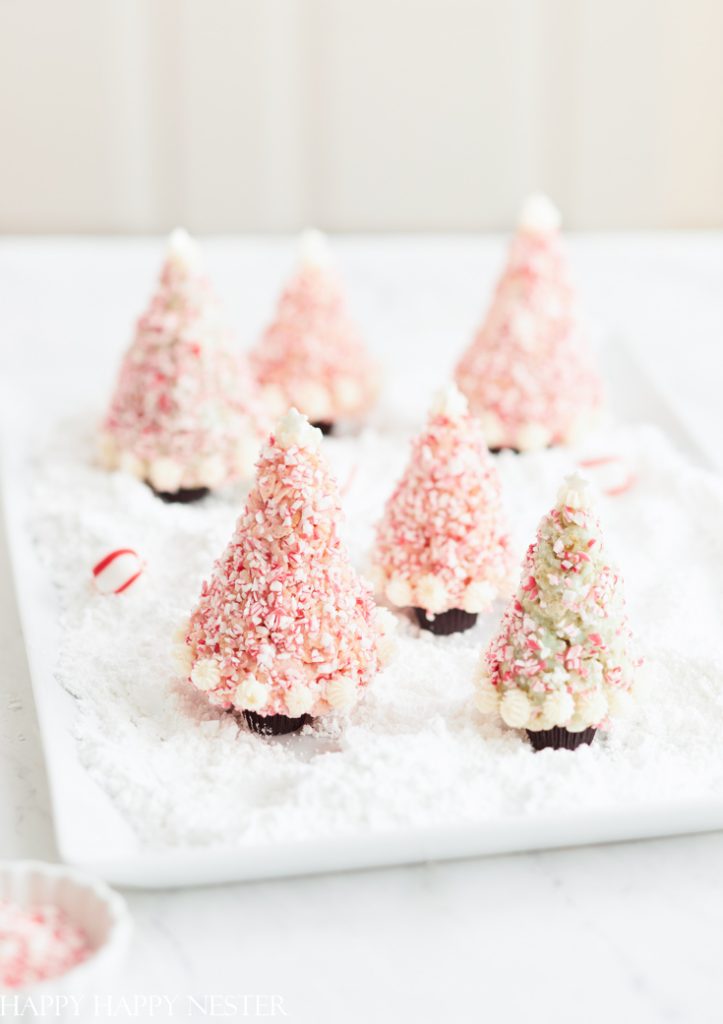
My daughter and I had a great time creating these holiday desserts. We wanted to display them in a winter wonderland, so we added a bit of powdered sugar to a ceramic platter. Then we placed the little trees among the sugar snow!
It’s such a cute dessert scene.
I hope you can make them this year with your family.
Happy Baking,


- Framed Artwork from Amazon - February 12, 2026
- Chocolate Covered Quinoa Recipe - February 5, 2026
- Valentine’s Day Gifts from Amazon - February 4, 2026

Leave a Reply