You’re going to enjoy this DIY Winter Wreath Ideas Roundup. It’s so cool that there are many styles and colors of wreaths for any Christmas or winter decorations in this blog hop.
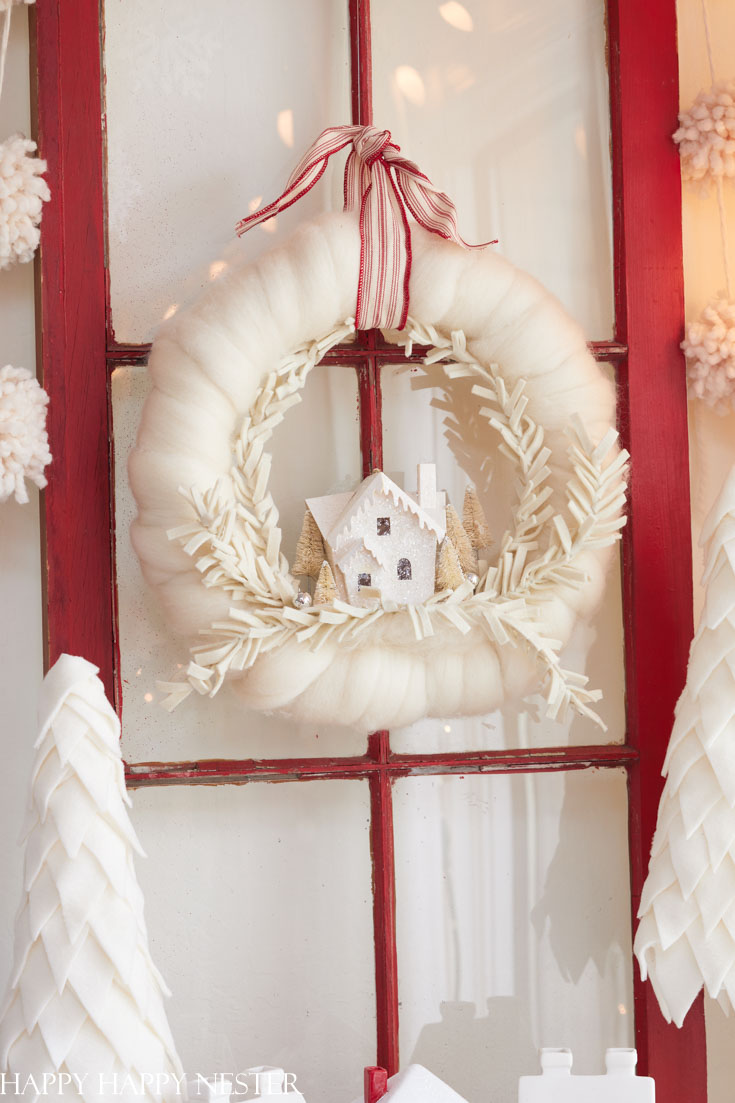
Today I’m in a group of 16 bloggers who are sharing their Christmas wreaths. And boy, I love that my friends are so creative.
So, now that Thanksgiving is passed, it is officially the countdown to Christmas! It also means that I’m busy like Buddy the Elf with projects. If you haven’t noticed, I enjoy creating.
Well, this is my third-holiday project this year, and I must admit that my wreath is not the typical fir wreath. Rather it’s a winter white wool one. When I was mulling over my wreath ideas, I quickly decided to create a wool wreath. You see, I love my other arm-knitted wreath that is popular on the blog. So, I collaborated with Larissa from BeCozi and made this fun project.

And by the way, this DIY winter wreath is pretty easy to create. The most time-consuming part to make is the felt pine branches. And even that isn’t complicated. They take a little bit of time, so make them when you’re sitting around and watching a holiday movie.
But, if you don’t have the time to make one, maybe you might like these similar wreaths over on Etsy.
DIY Winter Wreath
Supplies:
Chunky wool (1/2 pound will be plenty of yarn, and you’ll have leftovers)
Felt (I bought a felt sheet at Hobby Lobby, but this roll that I linked to should work)
Directions:
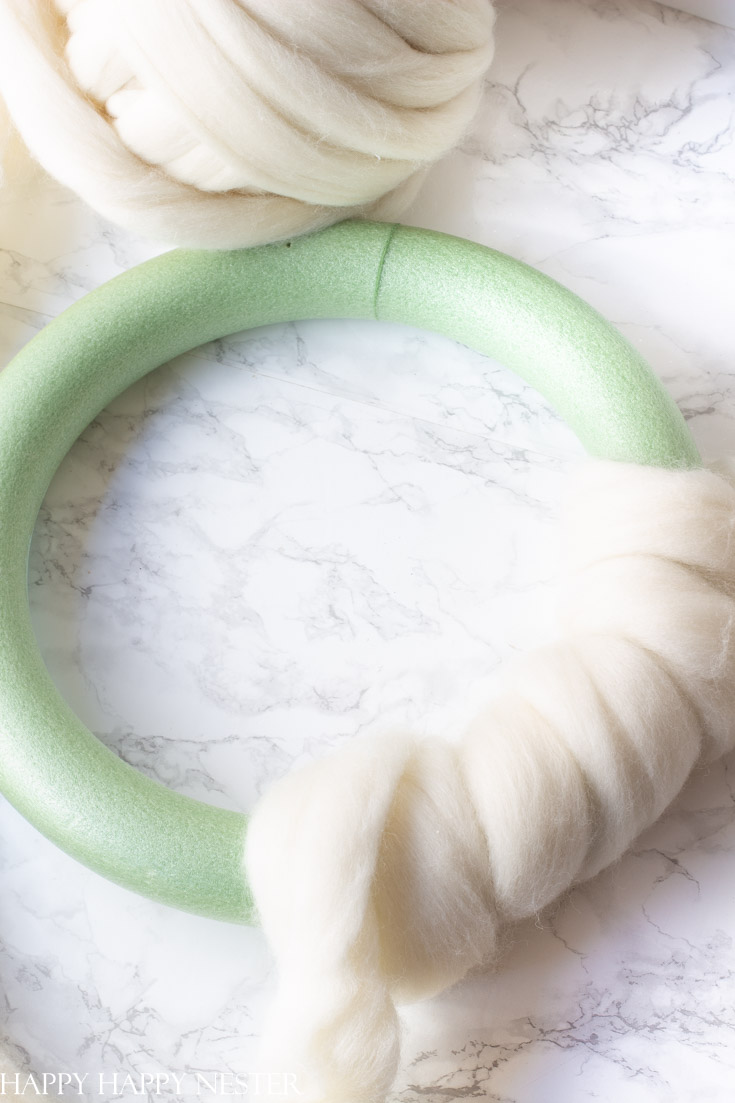
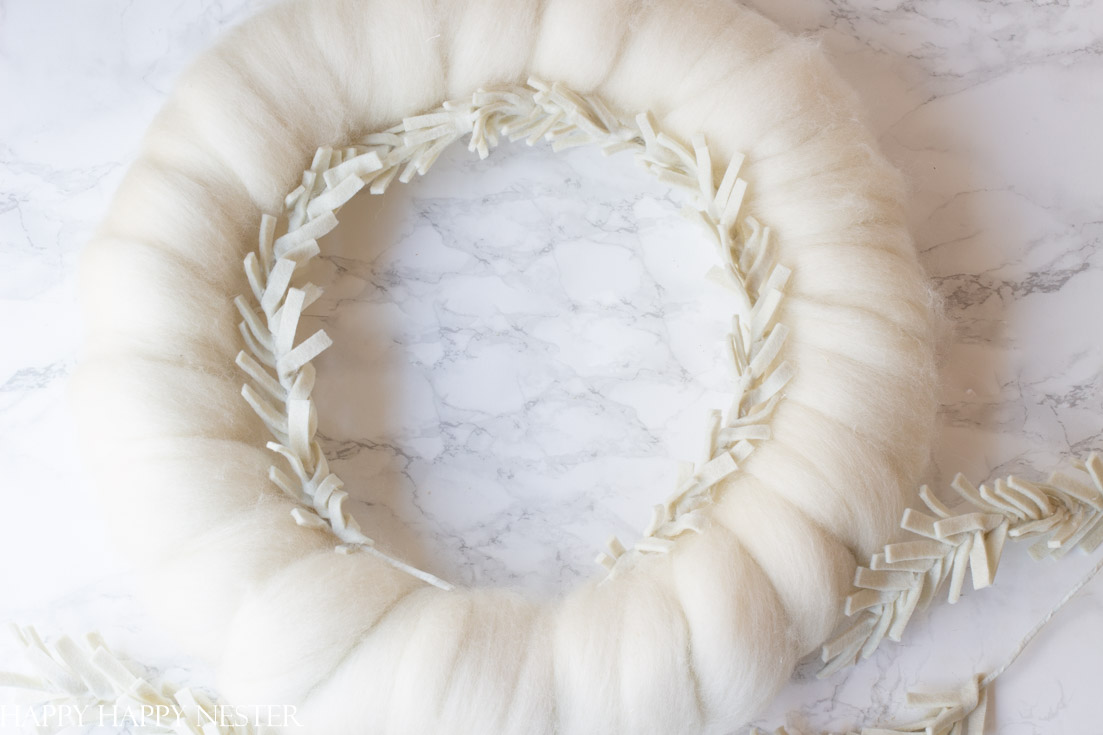
1. Wrap the Foam Wreath
Wrap the wreath with chunky wool. Make sure to cover the structure fully with the yarn.
2. Finish Off Yarn
Glue ends of the yarn to the back of the foam wreath.
3. Cut White Floral Wire
Make
5 – 8″ wires
2 – 6″ wires
4. Cut Felt
Make strips of 1 1/4″ strips. When you cut your strips, make sure to use the longest side of your felt.
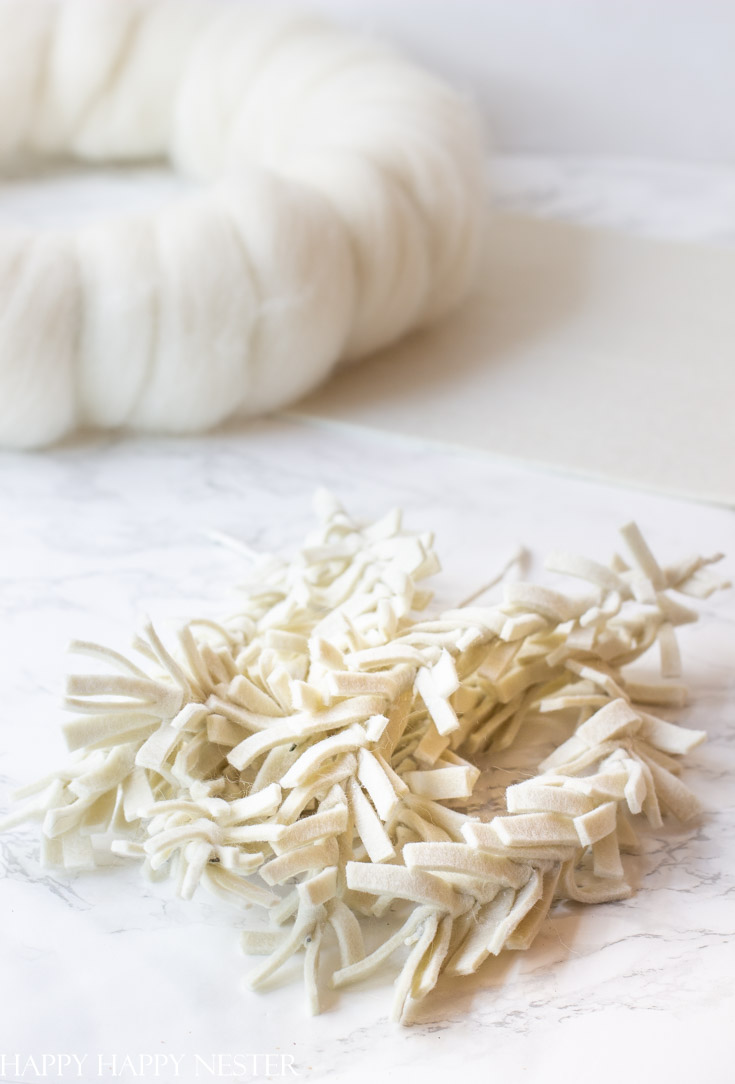
5. Make the Felt Fringe
Take your felt strip and snip 1/4″ fringe, making sure not to cut all the way to the top. Here are the instructions for the rest of the fringe.
How to Make the Felt Pine Branches
6. Glue House to the Wreath
7. Glue the Branches to the Wreath
The first branches glue to the inner circle of the wreath. Make sure to leave room for the house at the bottom.
Glue the other two branches off the house and make sure to bend them a bit like pictured below. And then add two more branches that veer off to the sides.
8. Hang Wreath with Ribbon
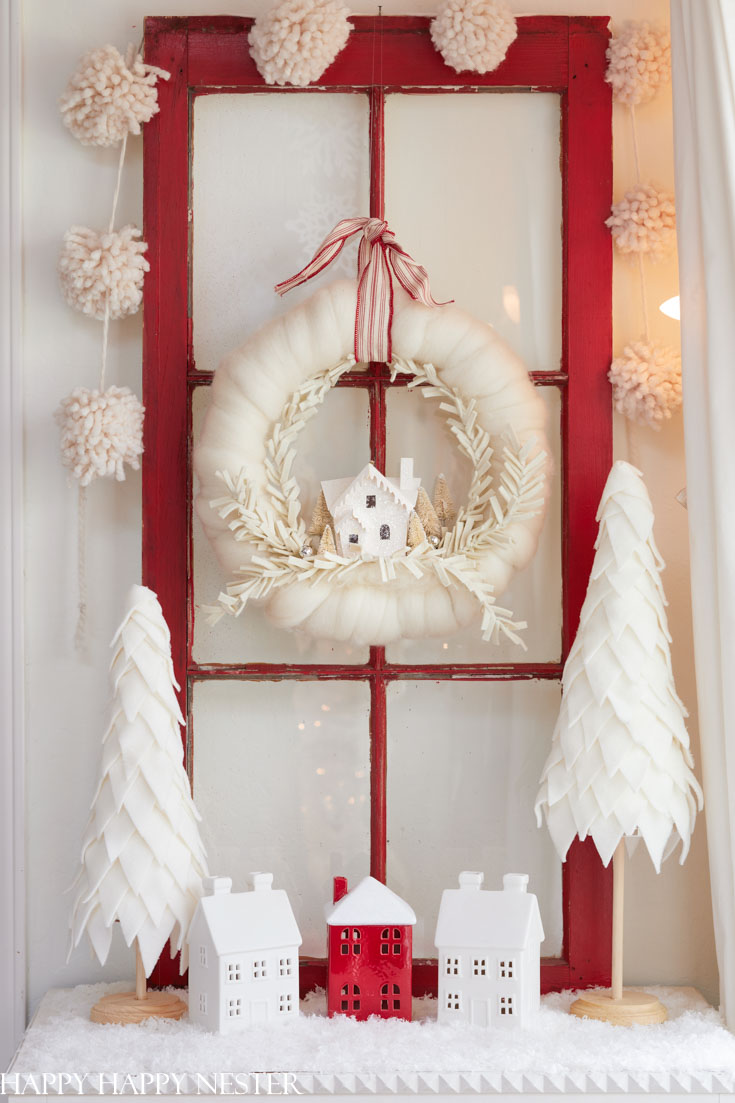
I love it when a project comes out better than what you had in mind! I knew that I wanted to make a chunky wool wreath with a mini-house but didn’t know anything more than that when I started out. I’m quite happy that it all came together and that it isn’t a difficult wreath to create.
This adorable DIY winter wreath makes me smile when I spy it in our living room. I hope you have a chance to make it this holiday. Also, enjoy my friend’s gorgeous wreaths.
Thanks for stopping by!
Cheers,
16 Unique DIY Christmas Wreaths
Colorful Embroidery Hoop Ornament Wreath // Tatertots & Jello
Vintage Christmas Lights DIY Holiday Wreath // The Happy Housie
DIY Winter Wreath Ideas Roundup // Happy Happy Nester
Boxwood Christmas Wreath // Jennifer Maune
Full & Gorgeous Christmas Wreath Hack // The DIY Mommy
DIY Christmas Wreath // My 100 Year Old Home
Natural Holiday Wreaths // Finding Lovely
Colonial Christmas Wreath // A Blue Nest
Minimalist Christmas Wreath // Modern Glam
DIY Holiday Wreath Multi-Greenery with Bells // Zevy Joy
Dollar Store Wreath Makeover // Craftberry Bush
DIY Easy Garland Wreath // My Sweet Savannah
Make an Easy Embroidery Hoop Wreath // Jennifer Rizzo
Winter Split Wood Bead Wreath // Lolly Jane
DIY Paper Bag Wreath for the Holidays // Twelve On Main
Dried Orange Wreath // Hallstrom Home
- Heart Shaped Brownies Recipe - February 13, 2026
- Framed Artwork from Amazon - February 12, 2026
- Chocolate Covered Quinoa Recipe - February 5, 2026





Leave a Reply