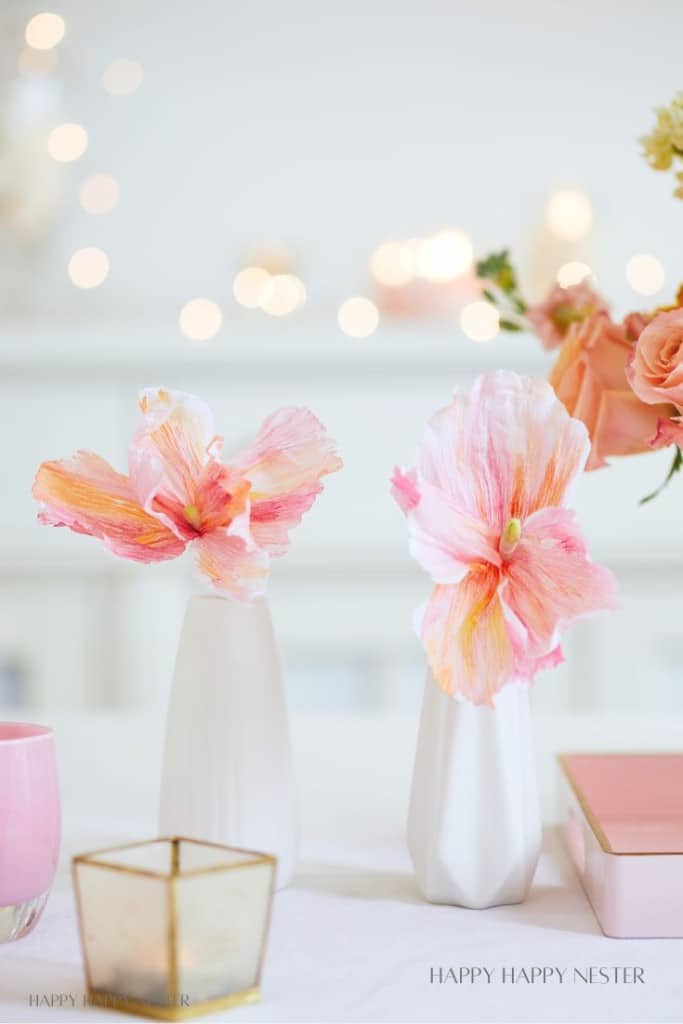
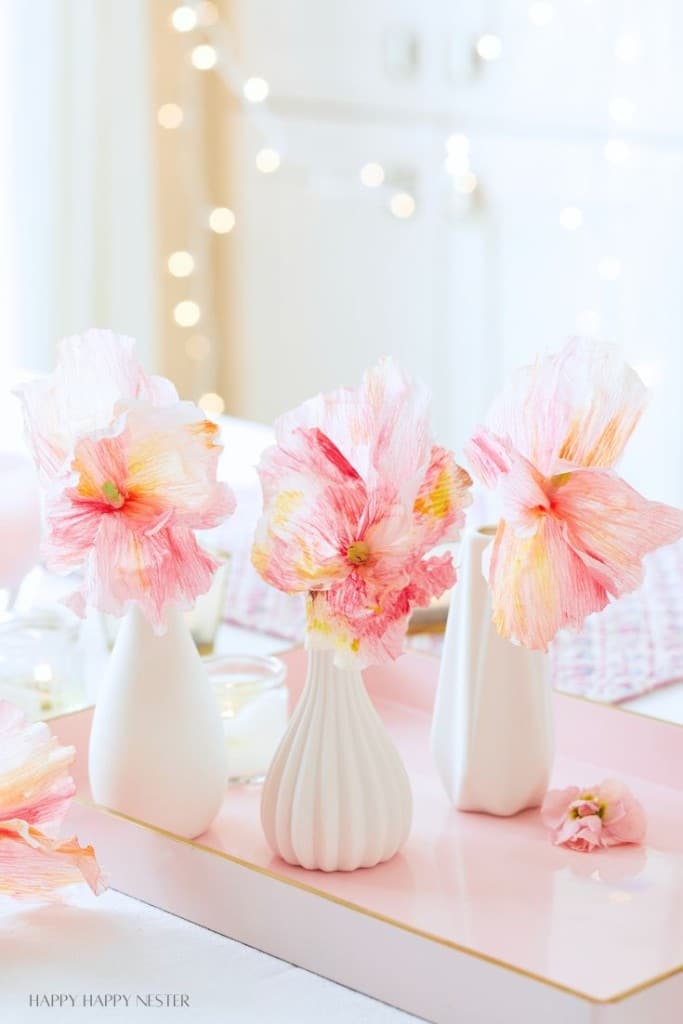
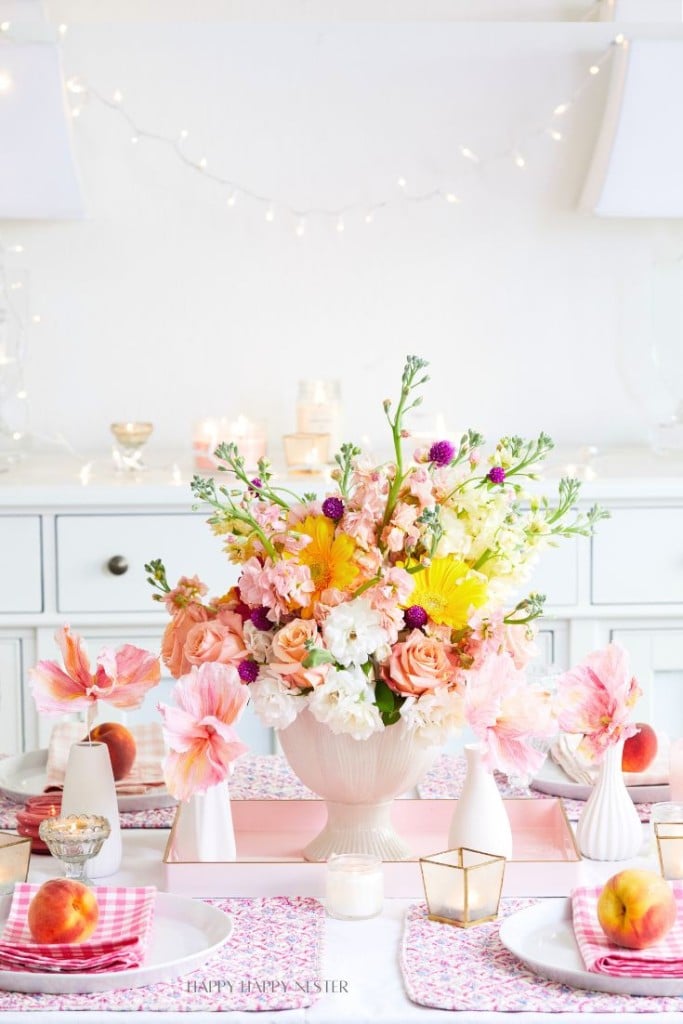
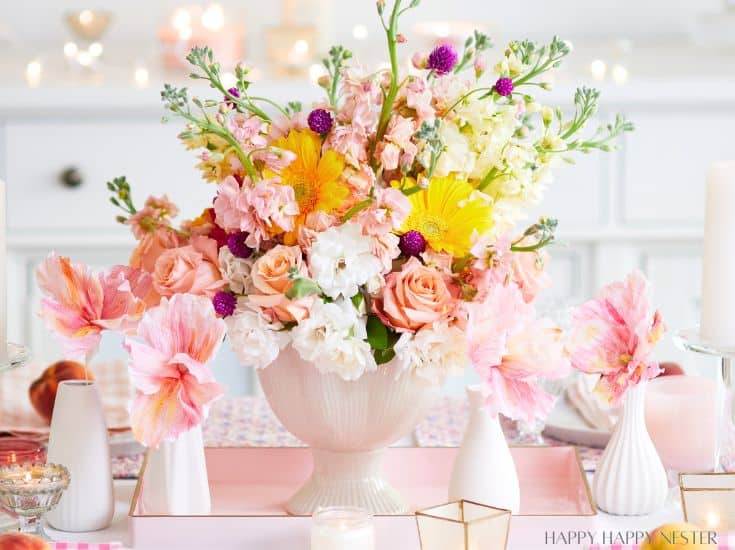
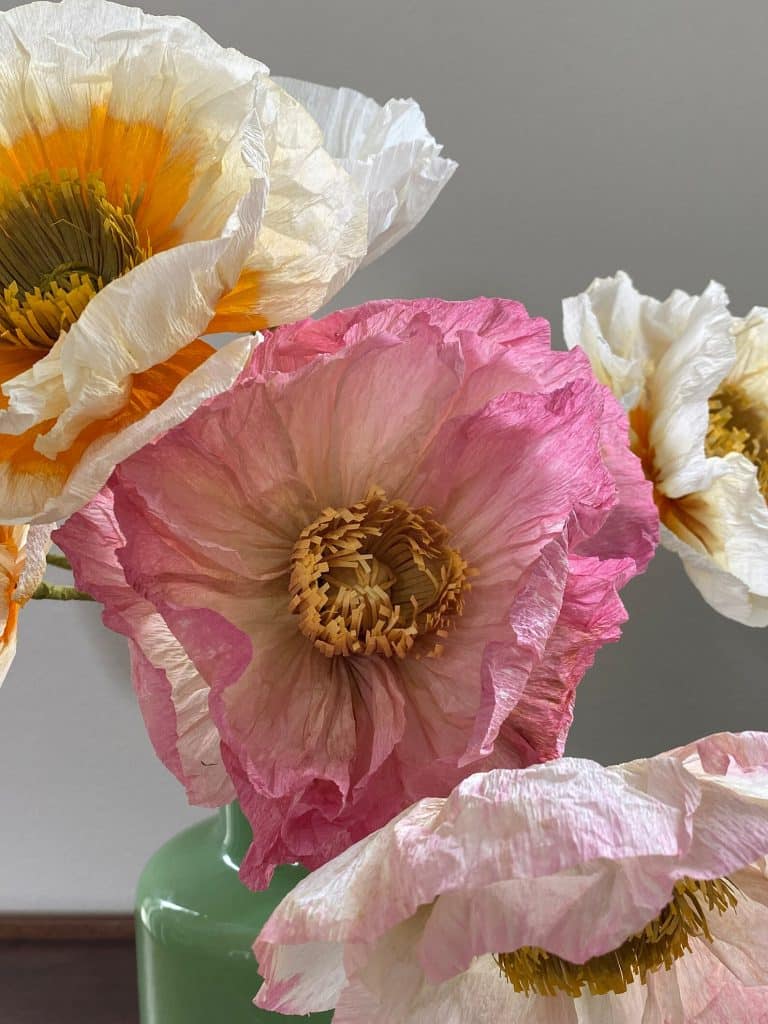
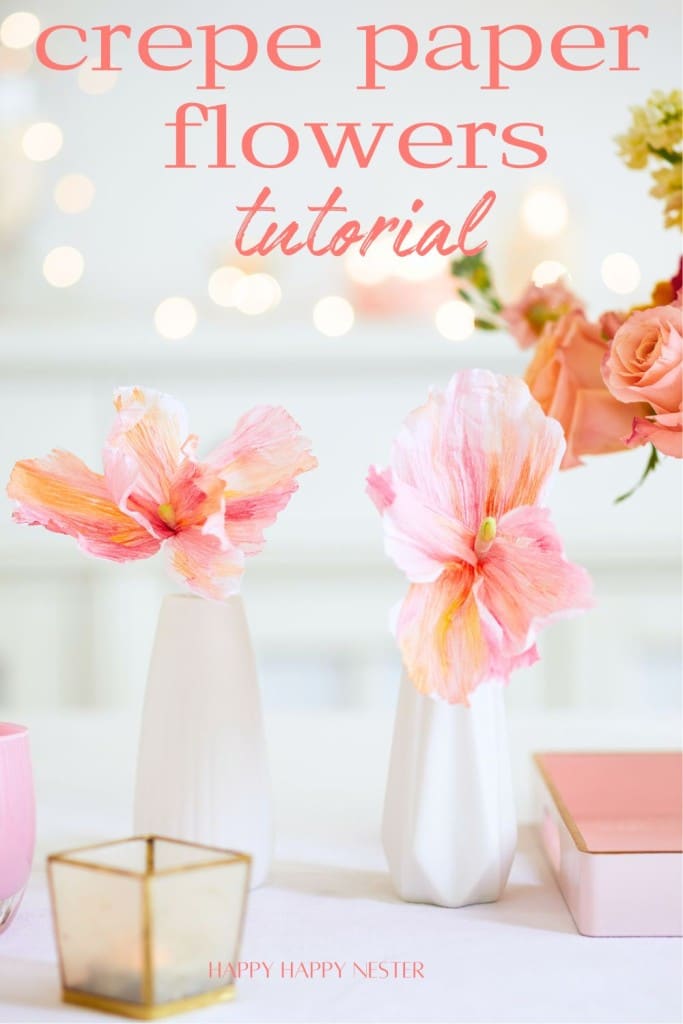
This Easy Crepe Paper Flowers Tutorial for beginners is a fun and easy project. I gave mine a little extra flair by watercoloring the paper petals. The splashes of color really make them pop and add a fun touch. When painting your petals, pick colors that you love that will look great with your home decor. It’s a simple way to create beautiful, custom crepe paper flowers to brighten your home!
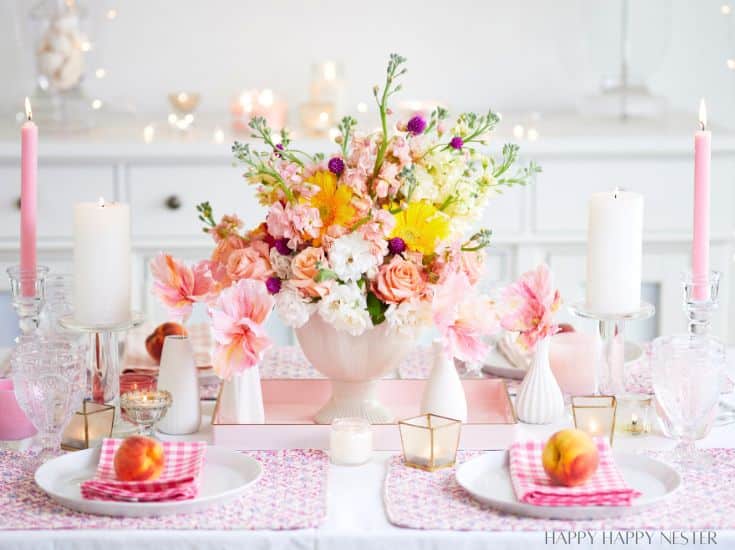
In this tutorial, I’ll guide you through how to make crepe paper flowers step by step. I’ve kept the design simple by leaving out a few intricate features, making it easier for you to create these lovely paper flowers.
Have you ever made paper flowers? If not, you’re in luck because this flower is pretty simple to make. To simplify the project, you can skip water coloring the petals and use colored crepe paper instead. If you don’t want to watercolor but have some pastels in your craft supplies, add a few accents and smudge the color into the paper.
No Experience Needed to Make These Crepe Paper Flowers!
I’ve made several paper flowers, knowing firsthand that they can be time-consuming. However, when I created these pretty paper flowers, I aimed to design something simple and easy to make.
- Minimal Materials Needed: These flowers require only basic materials, such as crepe paper, a Q-tip, white wire, a kid’s watercolor set, and floral tape, making them easy and affordable to create.
- Minimal Flower Parts: This flower only requires four petals, a flower center, and a white stem. You don’t need to add a leaf to these crepe paper flowers.
- Step-by-Step Instructions: I provide many photos of my process so it’s clear how to make these simple flowers.
- No Special Tools Required: You don’t need any special crafting tools; common household items like scissors, glue, and a paintbrush are sufficient.
- Customizable Design: You can easily customize the flowers by choosing different colors of crepe paper or adding simple accents with pastels, making the project versatile and adaptable to your preferences.
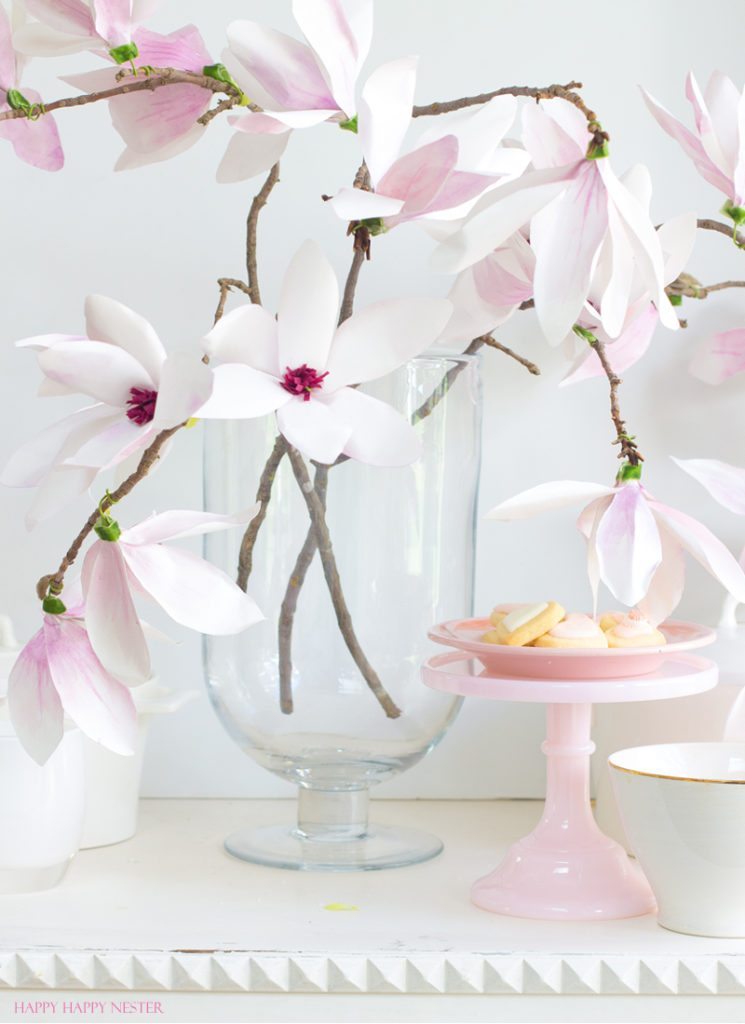
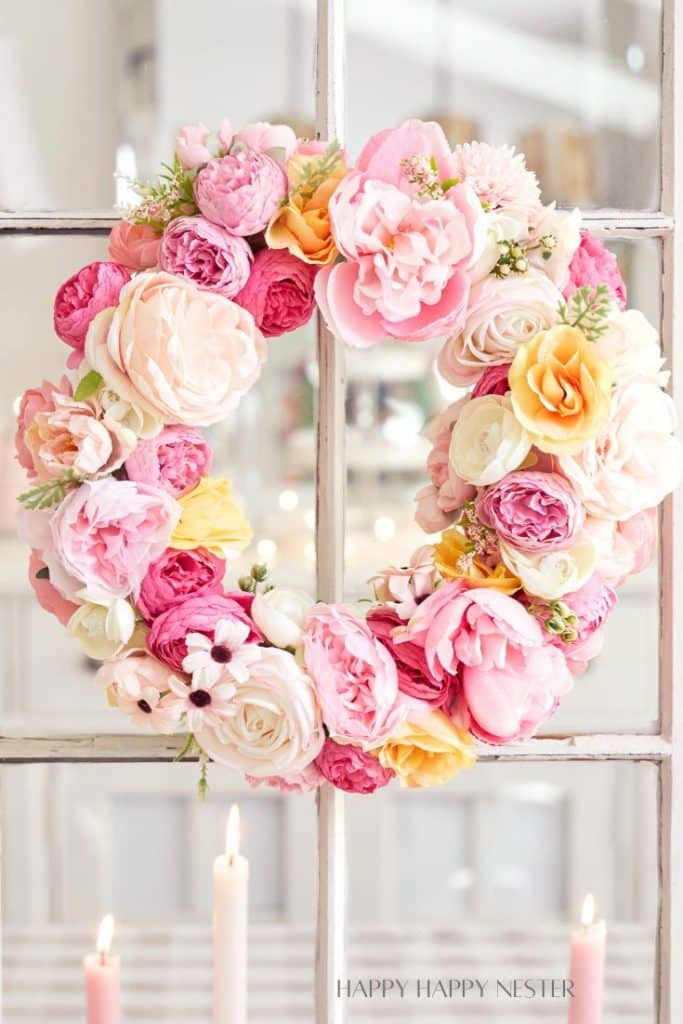
I have a few other paper flower projects if you’re interested.
About this Flower Project!
Choosing Crepe Paper
You don’t have to stress too much about choosing your paper since I provide a link to the paper you want to use. The paper I used is a bit thin, but I like that it’s a bit transparent and easy to shape.
- Thickness: Choose a thiner crepe paper for more organic petals but still can hold their shape well.
- Color: Choose vibrant colors that match the flower type you want to create or select colors that complement your decor.
- Texture: Look for crepe paper with a fine texture for a more realistic and delicate appearance.
- Stretchability: Select crepe paper with good stretchability, which makes it easier to shape and mold the petals.
- Quality: Invest in high-quality crepe paper to ensure your flowers look professional and last longer.
Cutting the Paper
- Sharp Scissors: Use sharp scissors to ensure clean and precise cuts, which help create more realistic flower petals.
- Cut So the Grain is Vertical: Cut your petals so the direction of the grain is going up and down to maintain the paper’s stretchability and flexibility.
- Templates: Use templates for consistent petal shapes and sizes, which makes the assembly process smoother and more uniform.
- Multiple Layers: Cut multiple layers of crepe paper at once to save time and ensure that all petals are identical in shape and size.
Painting the Petals
- Use Plenty of Water: Ensure your brush is wet with plenty of water to create soft, blended colors on the crepe paper petals.
- Test Colors First: Test your watercolors on a small piece of crepe paper to see how they absorb and blend before painting the actual petals.
- Careful Not to Rip Paper: Handle the wet crepe paper gently while painting to avoid ripping or tearing the delicate material.
- Layer Colors: Apply colors in layers, starting with light washes and adding deeper shades gradually for more depth and dimension.
- Dilute Strong Colors: If a color is too intense, dilute it with more water to achieve a softer, more natural look.
- Allow Drying Time: Let the painted petals dry completely before handling them to prevent smudging and to maintain the vibrant colors.
Floral Tape Tips
- Stretch as You Wrap: Stretch the floral tape slightly as you wrap it around the flower and stem to activate its adhesive properties and ensure a secure hold.
- Overlap Slightly: Overlap the tape slightly with each wrap to cover the stem completely and provide additional stability.
- Start at the Base: Begin wrapping the floral tape at the base of the flower, securing the petals first before moving down to cover the wire stem.
- Use Consistent Tension: Maintain consistent tension while wrapping to create a smooth and even finish without gaps or bunching.
- Secure with a Dab of Glue: Add a small dab of glue at the end of the floral tape to ensure it stays in place and doesn’t unravel over time.
Supplies You’ll Need to Make These Easy Paper Flowers
Click on the following bold links below
c
- Crepe Paper: Used to create the petals and leaves of the flower, providing texture and flexibility.
- Watercolors: Adds color to the petals, allowing for customized and vibrant flower designs.
- Watercolor Brush: Essential for applying the watercolor paint smoothly and evenly to the crepe paper petals.
- White Floral Tape: Used to wrap and secure the petals and stem, providing a cohesive and polished finish.
- White Floral Wire for the Stem: Forms the structure of the flower, giving it stability and shape.
- Petal Template: Ensures that each petal is cut to a consistent shape and size for a uniform appearance.
- Scissors: Necessary for cutting the crepe paper and shaping the petals according to the template.
- Q-tip for the Flower’s Middle: Acts as the center of the flower, around which the petals are arranged.
- Paper Towels for the Middle of the Flower: Painted and used to create a realistic-looking pistil for the flower’s center.
- Glue: Secures various components of the flower, such as petals and the floral tape, ensuring everything stays in place.
Fill out this form to receive your free petal template!
S
Paper Flower Instructions
Step 1 – Download Petal Template
I’m offering the flower petal template for free! Just sign up using the above form to receive your template. If you’re already a member, you can sign up again without worrying about being registered twice.
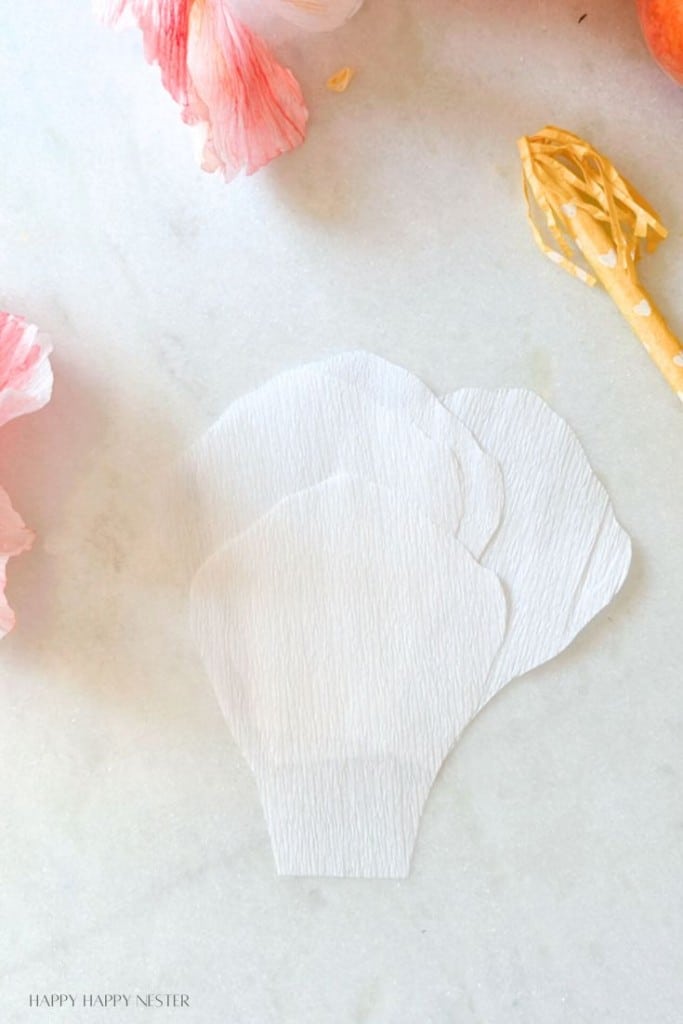
Step 2 – Cut Out Template
Cut out the template and place it on four sheets of crepe paper, ensuring the ridges run vertically. Trace the outline with a pencil. Then, cut out the petals from the stack of four sheets at once.
4
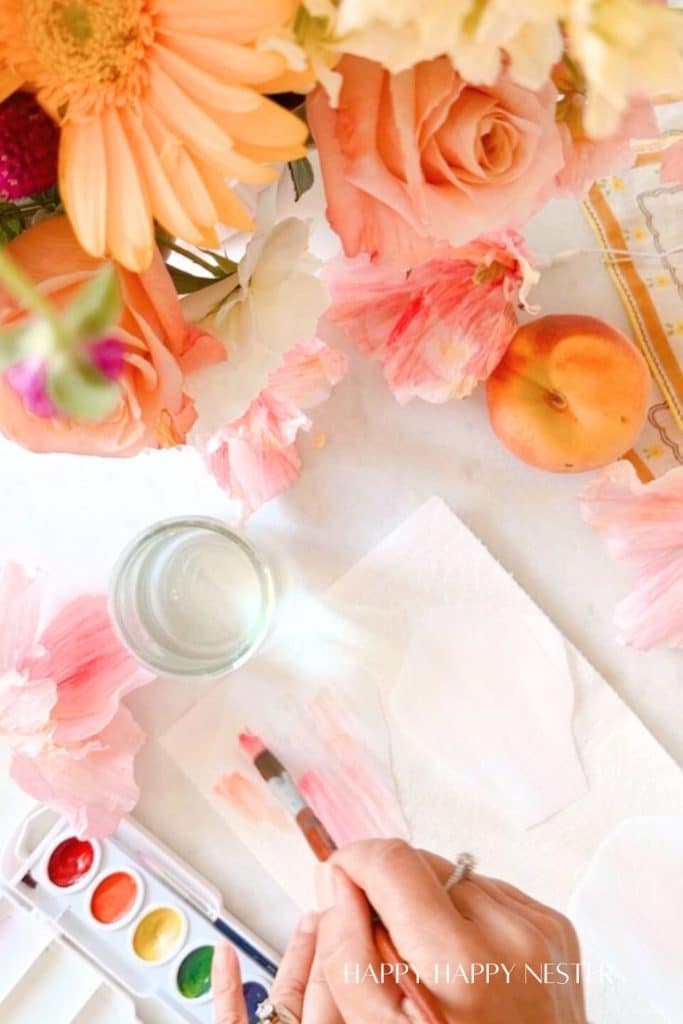
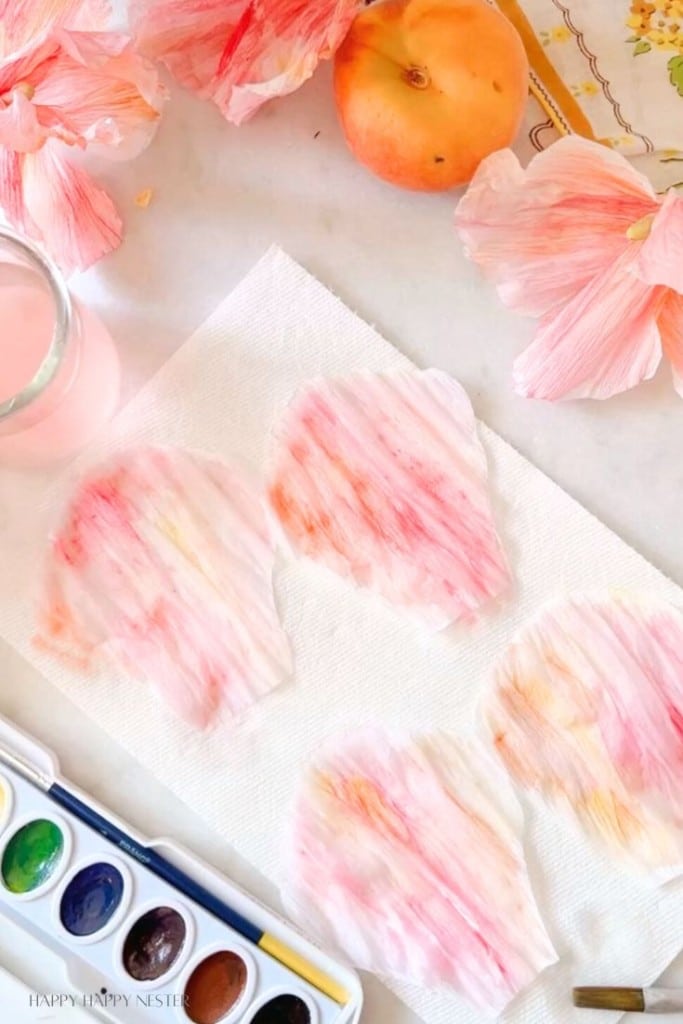
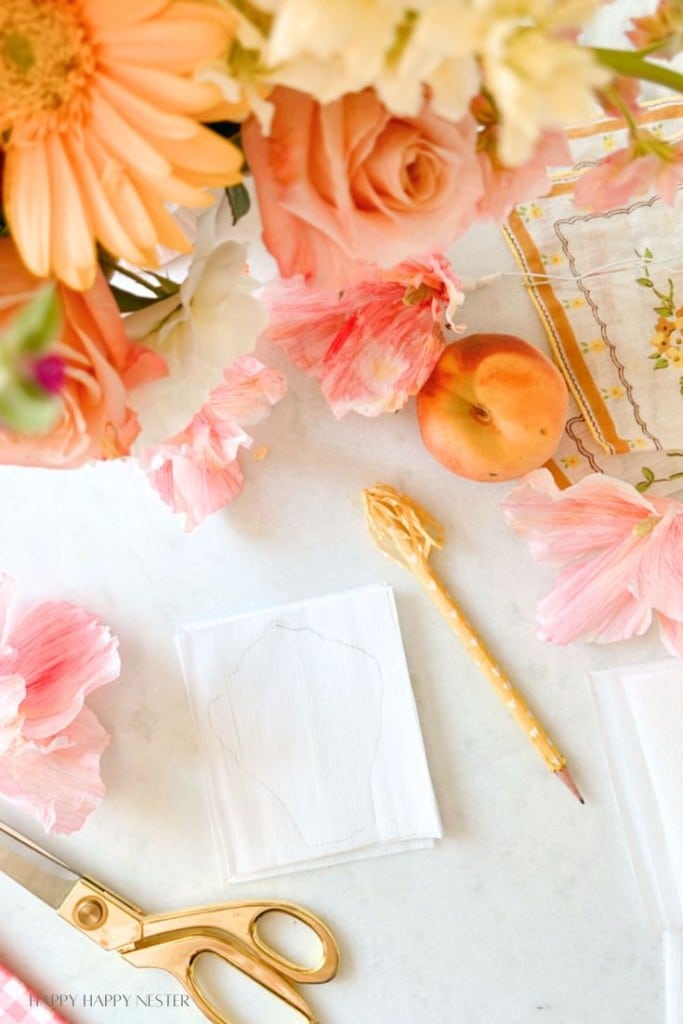
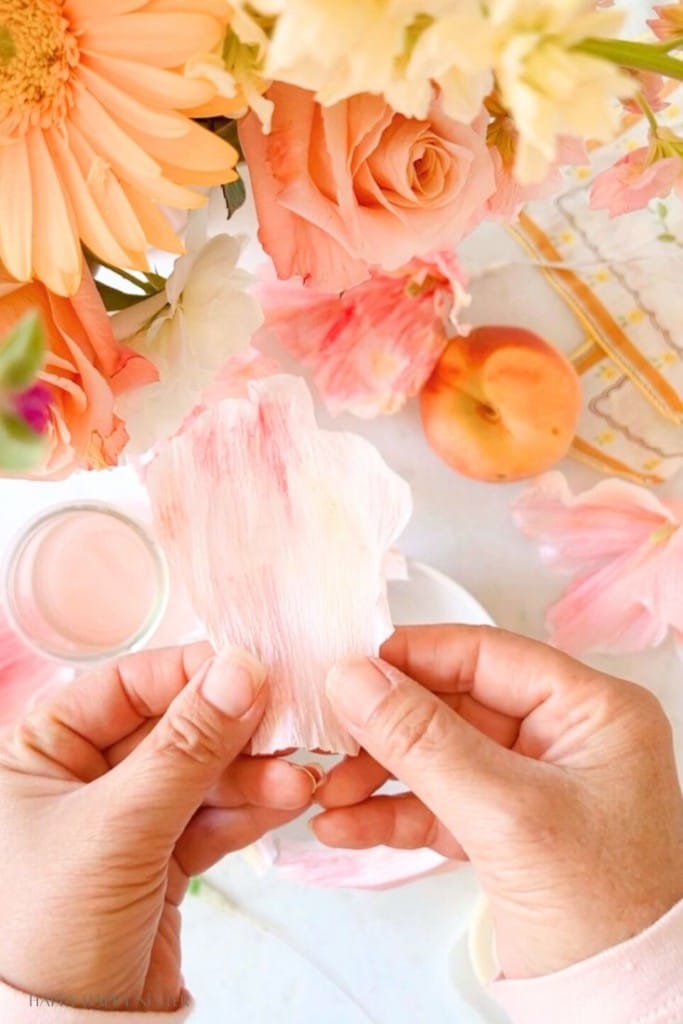
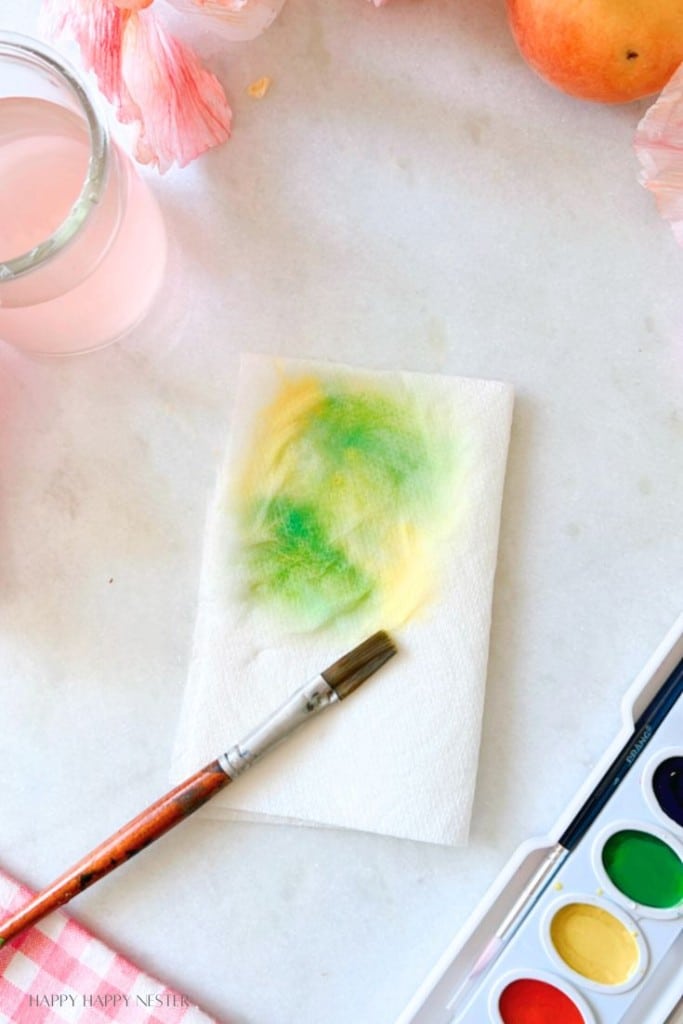
Step 3 – Watercolor Petals
Lay down a sheet of paper to protect your workspace. Then, arrange the petals on top of the paper. Start painting the petals with plenty of water and paint on your brush. I like adding colors directly onto the petals for a blended effect. If any lines of color are too strong, add more water to dilute them. I used basic watercolors in diluted red, orange, and yellow shades.
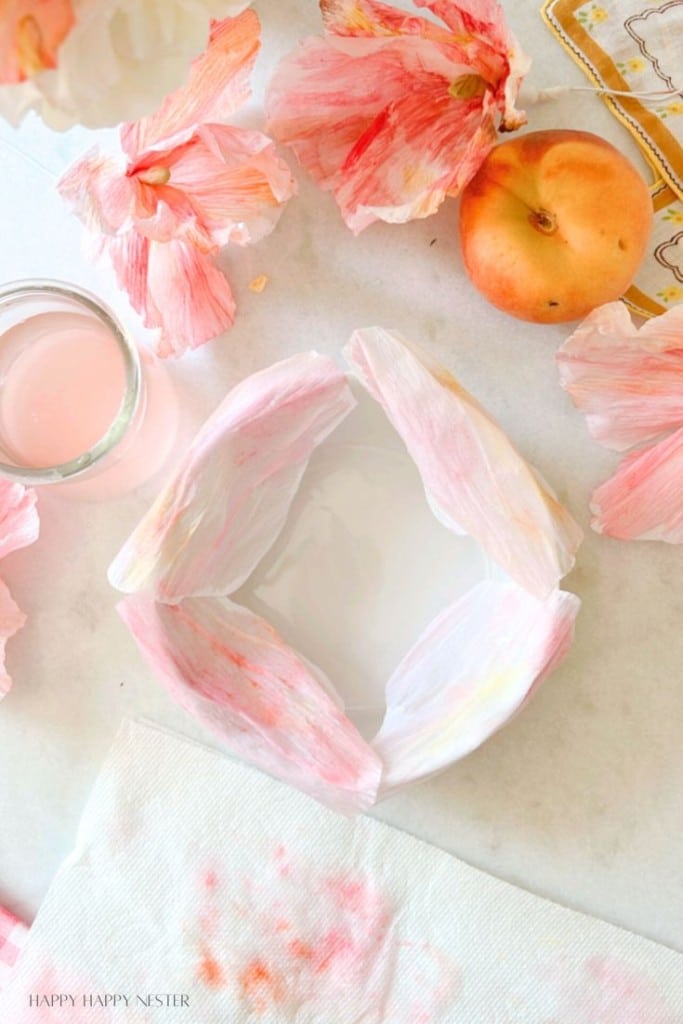
Step 4 – Dry Petals
Using a bowl, fold your petals over the rim and let them dry outside if it’s warm. The bowl’s rim helps shape the petals, giving them a natural and realistic look.
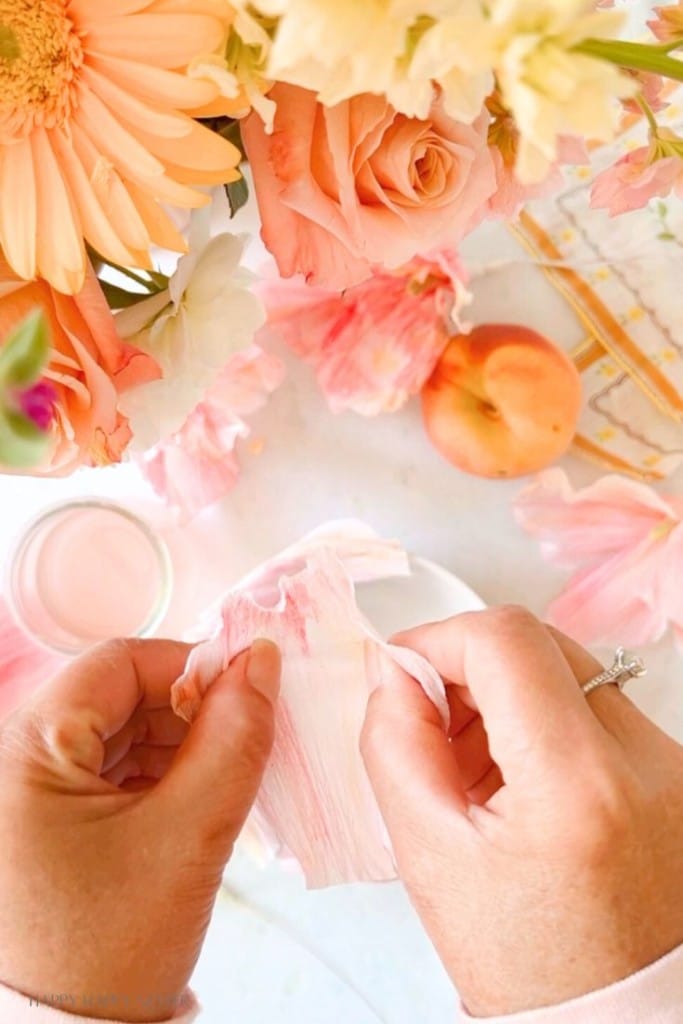
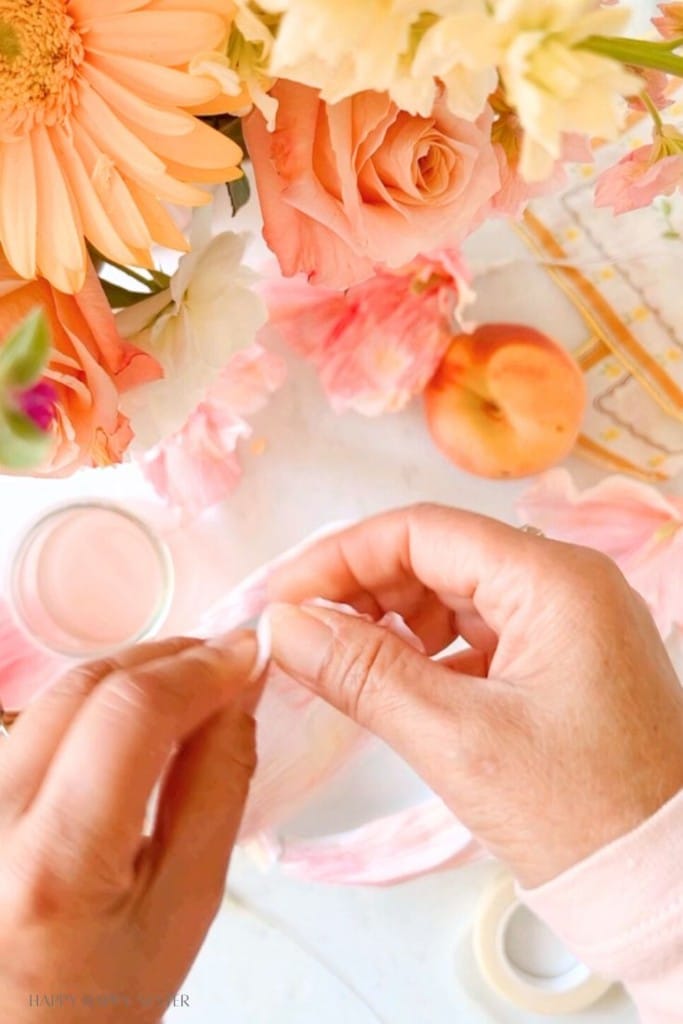
Step 5 – Shape Petals
To shape each petal, you’ll want to cup them. To do this, place both thumbs at the top center of the petal and your index finger on the backside. Gently pull the center outwards. This will create a curved, cup-like shape in the paper.
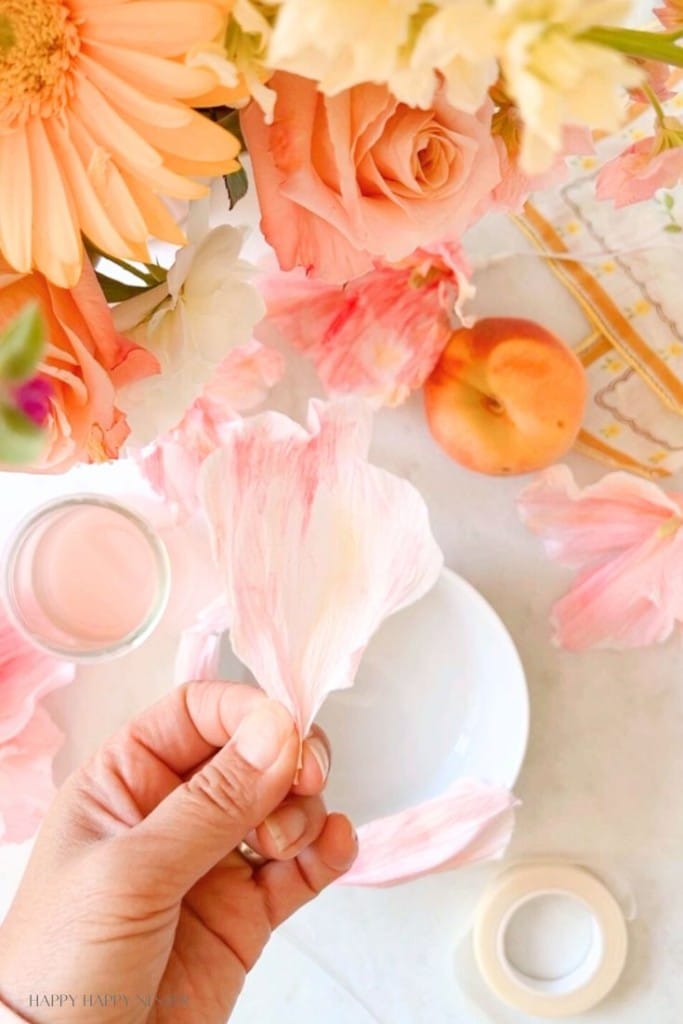
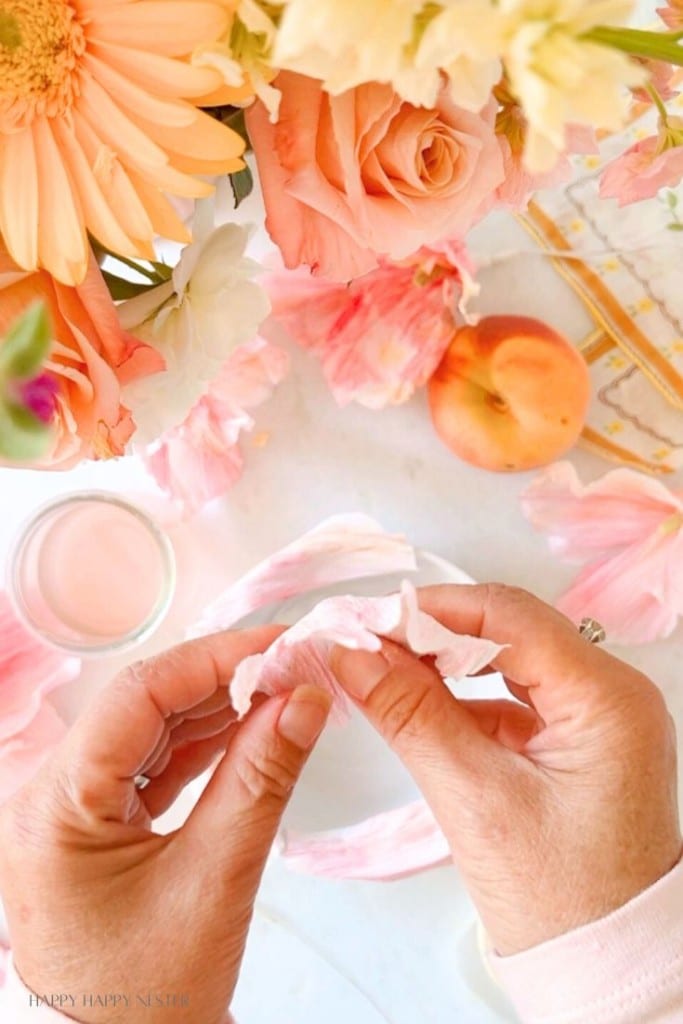
Next, you’ll want to flute the tops of the petals. Hold the top edge of the petal between your thumbs and index fingers on both hands. Gently move your hands in opposite directions, stretching the paper slightly. This will create beautiful ruffled edges on the top of the petals.
Fold and pleat the paper at the bottom of the petals to create an accordion-like effect.
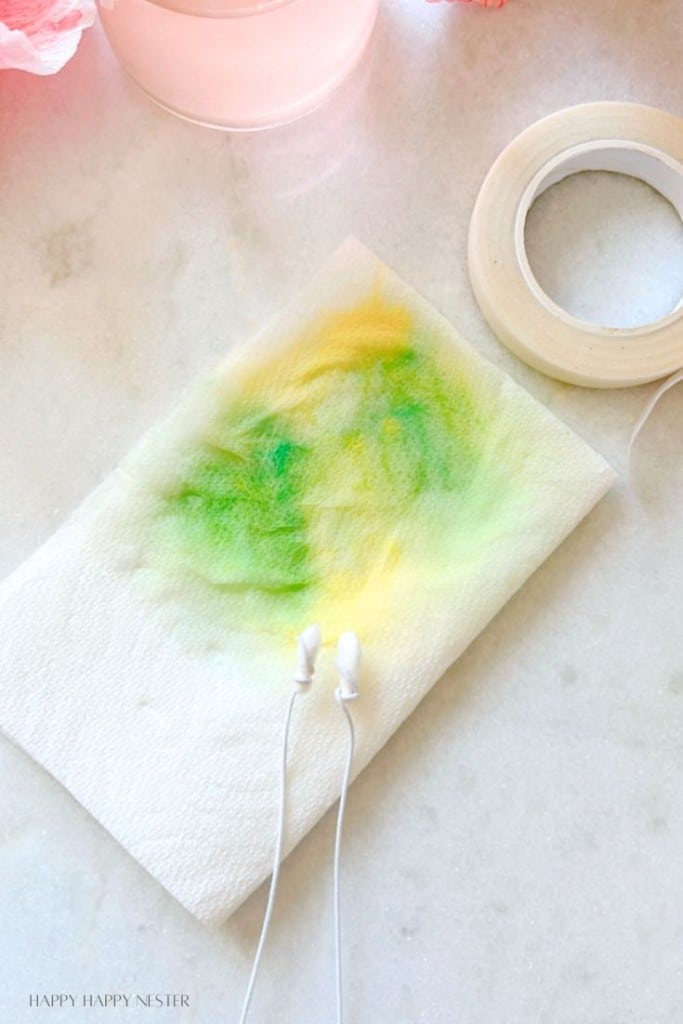
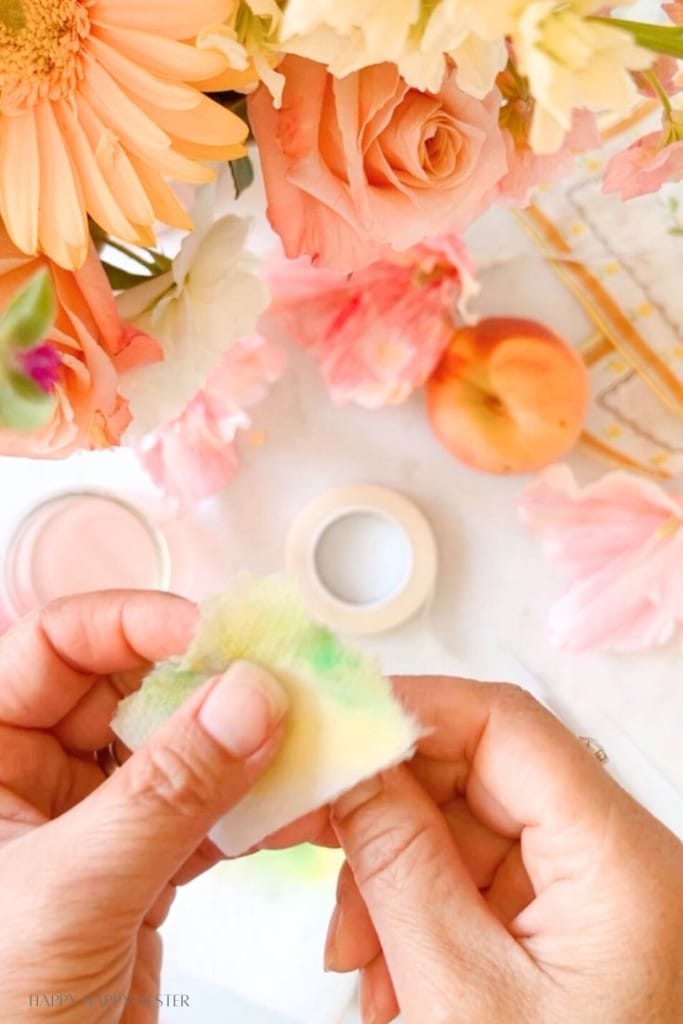
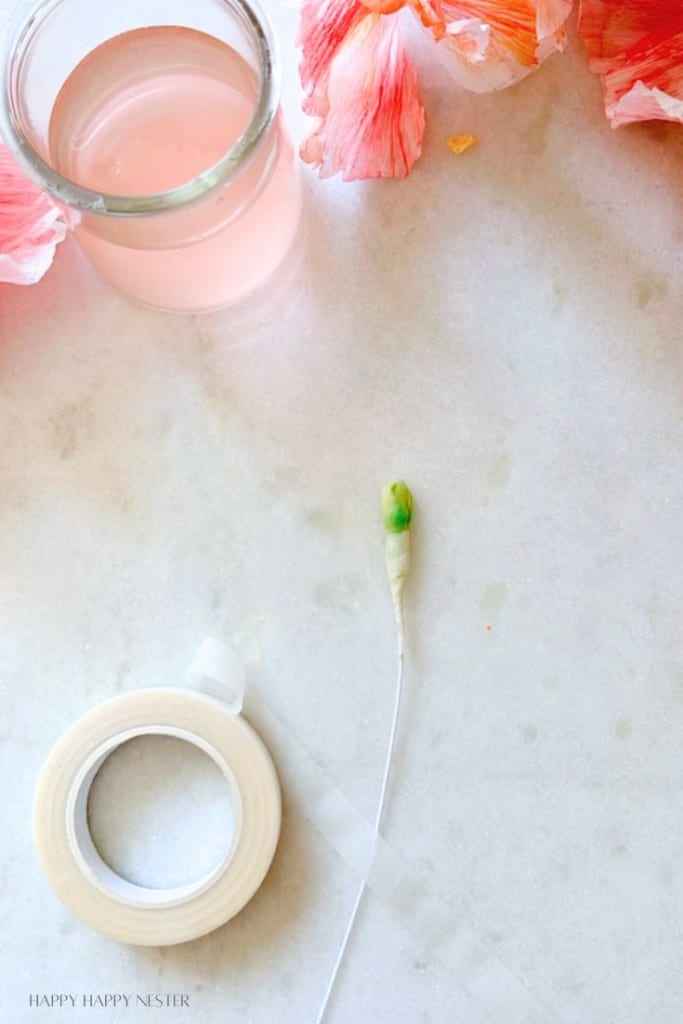
Step 6 – Make the Flower Middle
Paint a paper towel with green and yellow watercolors and let it dry partially. Next, take a Q-tip, cut off the cotton tip, and wrap the end of the white wire around the tip of the cotton Q-tip. Place the top of the Q-tip in the center of the painted green paper towel and twist the bottom around the neck of the Q-tip. You’ll want just a small piece of the painted paper towel when you do this part. Now, secure the base with white floral tape. Add a dab of glue at the end of the floral tape and secure it to the floral wire.
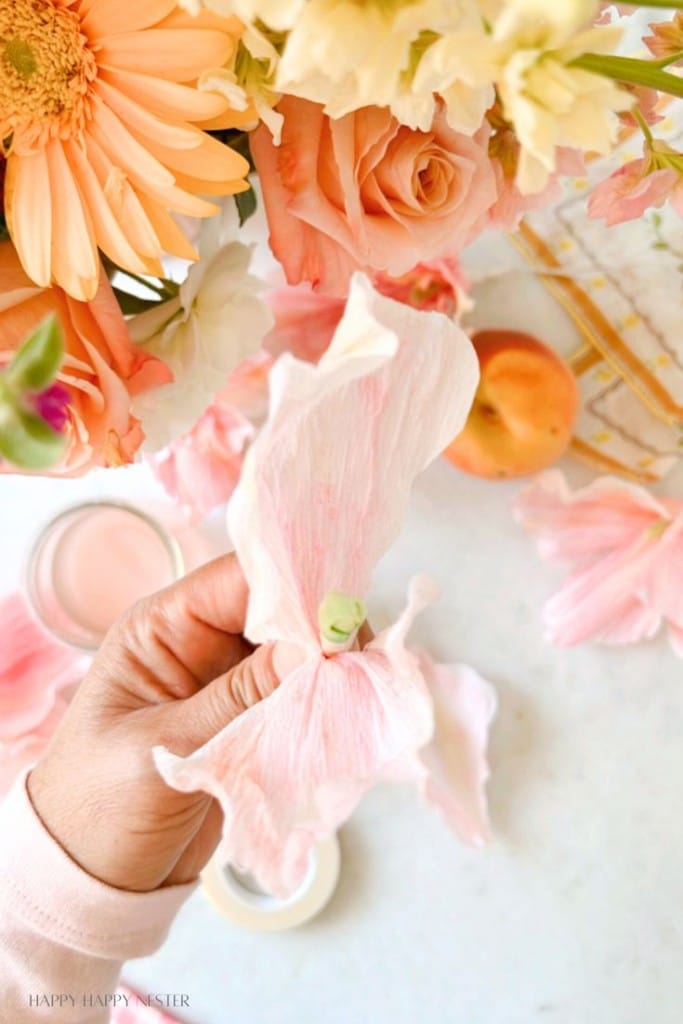
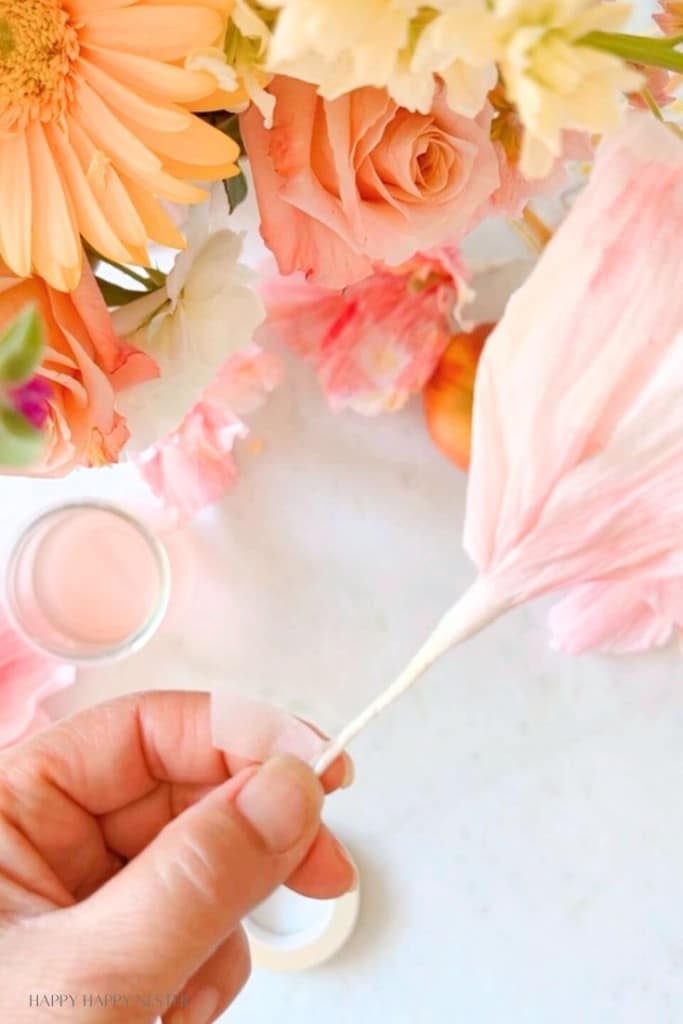
Step 7 – Attach Petals to the Stem
Take a petal and wrap its bottom around the base of the pistil, adding a little glue to help it stick to the stem. Place a second petal directly opposite the first one. Add the third petal to the sides of the first two petals, and place the final petal opposite the third one. Once all the petals are in place, wrap them and the pistil together with white floral tape, gently pulling the floral tape as you work. Continue wrapping the tape down beyond the petal onto the stem. Add glue if you need to secure the floral tape to the stem. If you stretch the tape, that makes it sticky and easier to attach to things.
A Note About Colored Crepe Paper
Does Crepe Paper Fade?
I recently discovered some crepe paper in my craft closet and noticed its color faded over time. This means that flowers displayed in a sunny spot might also experience color fading.
For this project, I used white crepe paper and watercolored it, which I believe will be less prone to fading than pre-colored crepe paper.
This is my only word of caution about using colored crepe paper.
Thanks so much for joining me on this easy crepe flowers tutorial! I hope you have a chance to make these flowers and feel informed on how to make them. I know that I often make crafts, so I may underestimate the time and skill needed to make them. But I’m pretty certain these aren’t too difficult since I eliminated the stamens and leaves. If you want to add them, I would highly recommend buying them! Here’s a link to these supplies:
Stamens and Faux Leaves
And just in case you don’t have the time or interest to make these flowers, you can purchase some!
Happy Crafting!
Cheers,

Photo Credits: MyPhotography.com


- Meringue Cookies Recipe - March 20, 2026
- Bathroom Accessories from Amazon - March 18, 2026
- Fluffy Japanese Pancake Recipe (Souffle) - March 16, 2026


")
Leave a Reply