Halloween wouldn’t be complete without a Halloween Gingerbread House! Make these adorable houses using any gingerbread kit. For mine, I used Trader Joe’s gingerbread houses since I love their shape.

There are so many gingerbread house kits in the stores, and any one of them will work with this project. I’m providing the basics and a few icing ideas to inspire you to create your own little house!
Halloween is fun and brings out the kid in all of us. I don’t like the gory or scary Halloween decorations and instead, everything is cute over here at our house!
Here are a few other Halloween projects that you might enjoy!
You can make your own gingerbread house from scratch, but I would rather buy the pre-made ones to save time and energy.
Make this a family or friends gingerbread party! I attended a gingerbread party back in the day and I had so much fun. It’s a blast to have a ton of candy to choose from and everyone has such clever ideas.
But, if you can’t make the party, let’s have one over here!

How to Make a Halloween Gingerbread House
This project is a bit labor-intensive, so make sure to spread out the process over a couple of days. I always tackle my big project this way, so I don’t get overwhelmed.
Supplies You’ll Need
Homemade Icing – Powdered Sugar, Powdered Meringue, Water, Black, and Orange Food Coloring
Candies – Sprinkles, Necco Wafers, Orange Licorice, Stick Candy, Candy Corn, Candy Pumpkins
Royal Icing
Ingredients
- 3-5 oz warm water
- 2½ tbsp meringue powder
- 4 cups powdered sugar
Instructions
- Using your mixer bowl add warm water and meringue together.
- Whisk by hand until frothy.
- Place the mixing bowl on the mixer. Now add the powdered sugar all at once.
- Attach the paddle to the mixer and mix the icing at the lowest speed for 10 minutes.
- You are looking for a slightly runny frosting. If it is too thick, add small amounts of water to get the right consistency. Make sure to do the 10 – second icing test. (Make sure to read the notes below)
- Place icing in bowls and add desired colors.
- .Cover extra icing with plastic wrap. I place the plastic straight onto the icing preventing air from drying it out.
Notes
Nutrition
Day 1
Step 1 – Make the Icing
Use my no-fail icing recipe for this project. Also, make sure to read the recipe notes about the 10-Second Rule. It is key how to know if the icing consistency is correct!

Step 2 – Ice the Gingerbread Panels
How to Make the Icing: Make the icing according to the above recipe. I have a thorough tutorial on how to make icing and how to ice cookies. But here are the instructions on how to ice a gingerbread house.
- Place your tip (#2 round tip) and piping coupler on two bags. Then place each bag in a tall drinking glass and fold the bag on the outside of the glass. Fill the bag with icing.
- Outline the gingerbread wall with a thin line of icing. Then pipe inside the lines with more piping going in a concentric circle until the icing fills the cookie. Then gently shake the cookie to smooth out the icing and fill in the gaps.
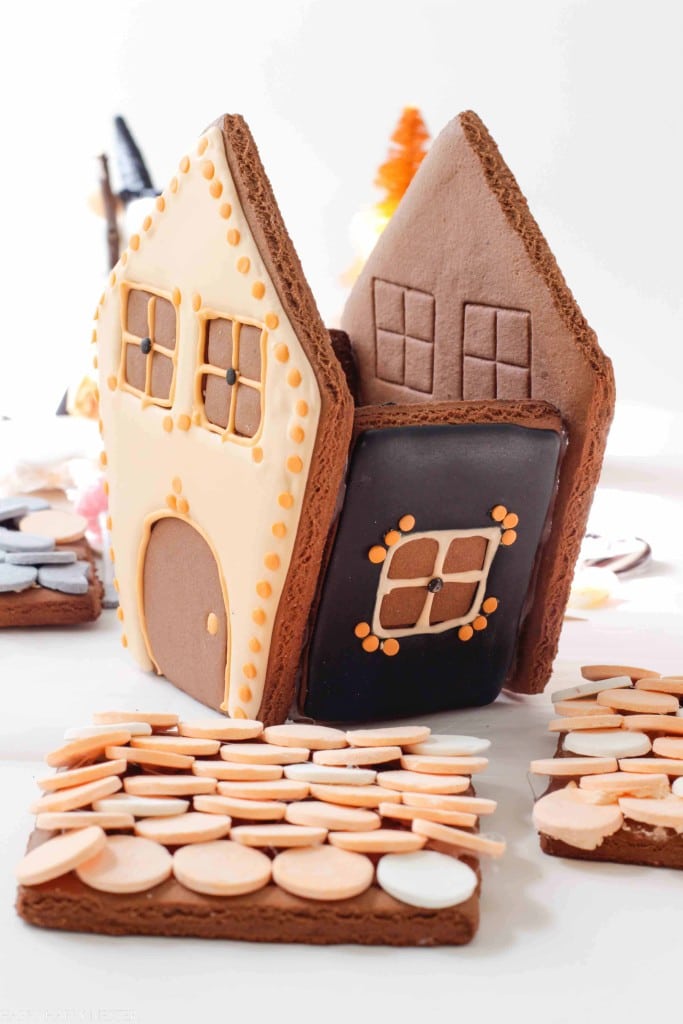
Black Icing: The most important thing about black icing is that you ice it and allow it to sit overnight to harden. If you place the orange pipping on it before it’s set, the black will seep into the orange! Yup, I made two new panels since this happened to me!
Also, I bought a bottle of black food coloring since I wanted the icing to be really dark. And if you do use the black food coloring be careful since it does stain your hands and everything it touches!
Once the icing is on the gingerbread, I placed little candy circles on top of the icing. I found that the candies were easier to use than piping the dots. I did add everything to the blackhouses on the second day!
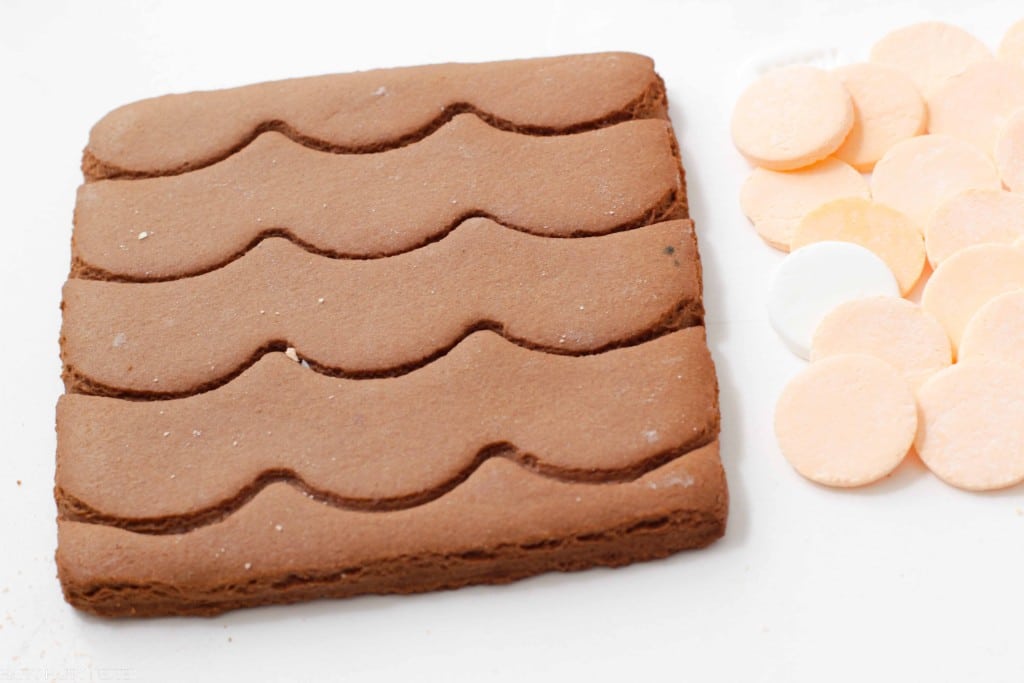
Constructing the Roof: Also, at this step, you’ll want to add the Necco wafers to the roof. I did alternate them and ended up trimming some of the ones that overhung. It was a bit of a nuisance to make the pattern but don’t stress too much over it.
Day 2
Step 3 – Add Accent Icing
If you go with the black icing for your house then you’ll want to come in on the second day and add any accent icing. This prevents any bleeding of the black into your orange icing.
Step 4 – Build the House
So, if you plan to eat the gingerbread house, then use the icing that comes with the kit to attach the walls together. But, if you plan to use it only for decoration, then you can do a little trick and use a hot glue gun. I did the latter since I don’t plan to eat the gingerbread.
But, before you put together the house, just make sure your icing is hard and secure. You don’t want to be messing up your icing with dents and fingerprints.

Day 3
Step 5 – Decorate with Candies
This is the fun part of the project. I added a stick candies in between the top of the roofs. Then I added a fun round candy and pink and orange candy corns to make a candy flower. I used orange licorice around the eves of the roof as well as little candy balls on the Necco wafers.
Here are the links to all the candies and decor that I used.
- Treader Joe’s Gingerbread House
- Candy Pumpkins
- Orange Licorice
- Orange and Pink Candy Corn
- Stick Candies
- Necco Wafers
- Black Dot Candies
- Sprinkles
- Halloween Mice
- Pink and Orange Bottle Brush Trees
- White Picket Fence
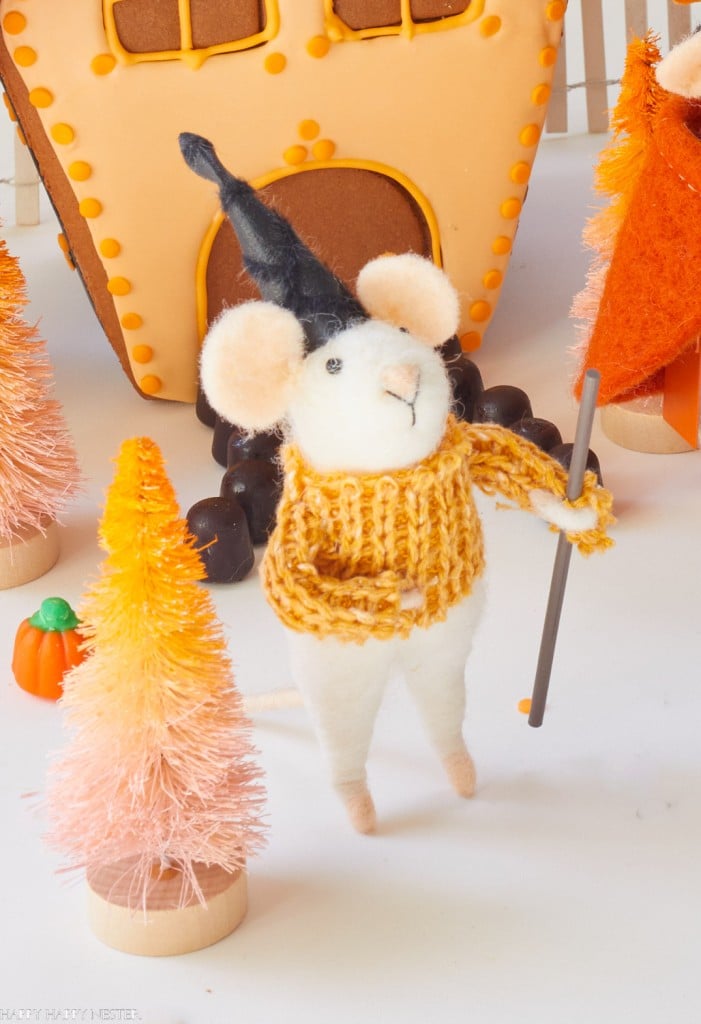
I hope I’ve inspired you to make a cute Halloween gingerbread house this year! Take my ideas and add your own to make a cute Halloween decoration.
I hope you are having a wonderful October with your family!
Happy Halloween my dear friends!
Cheers,



- Spring Doormats from Walmart - February 18, 2026
- Heart Shaped Brownies Recipe - February 13, 2026
- Framed Artwork from Amazon - February 12, 2026



Karina
Where did you get the darling mouse?
Janine Waite
Hi Karina,
Thanks for writing me. The link is listed in the post. But here is the url: https://amzn.to/3fxPWPs
Kay
Never have I ever made a gingerbread house, but seeing yours, I might change that this year! They are so very cute and look like fun to put together. I love the mice, and would love to add them to my house. Please tell me about them, did you make them or did you buy them?