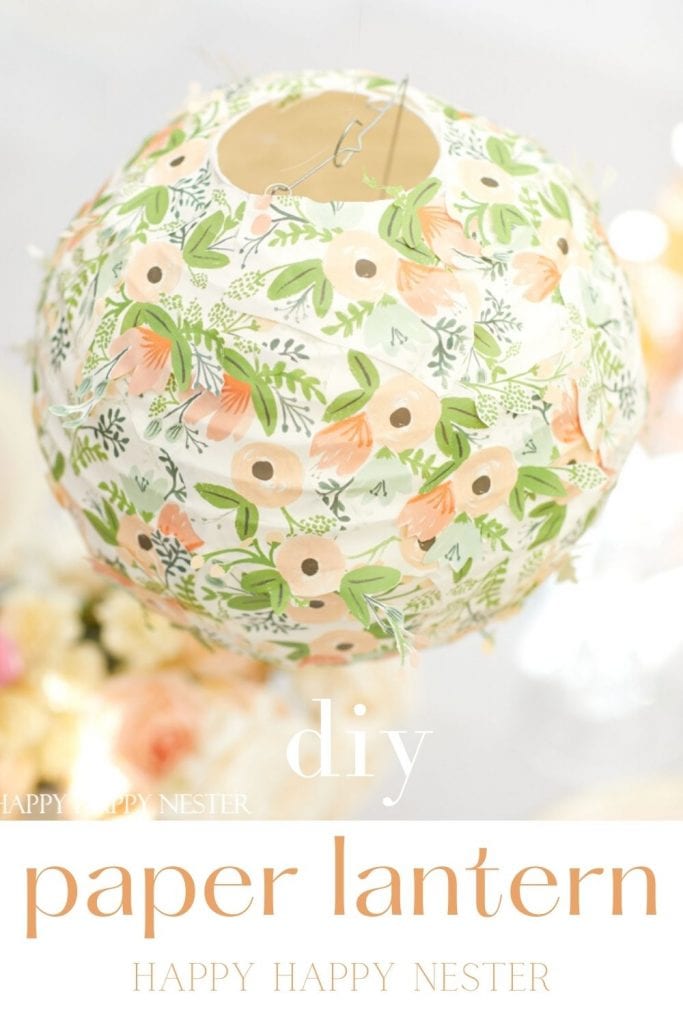
Do you want to learn how to Decorate a Paper Lantern for your home? This pretty lantern is so cute hanging outdoor or in a fun bedroom. Customize it with any paper that matches your home decor.
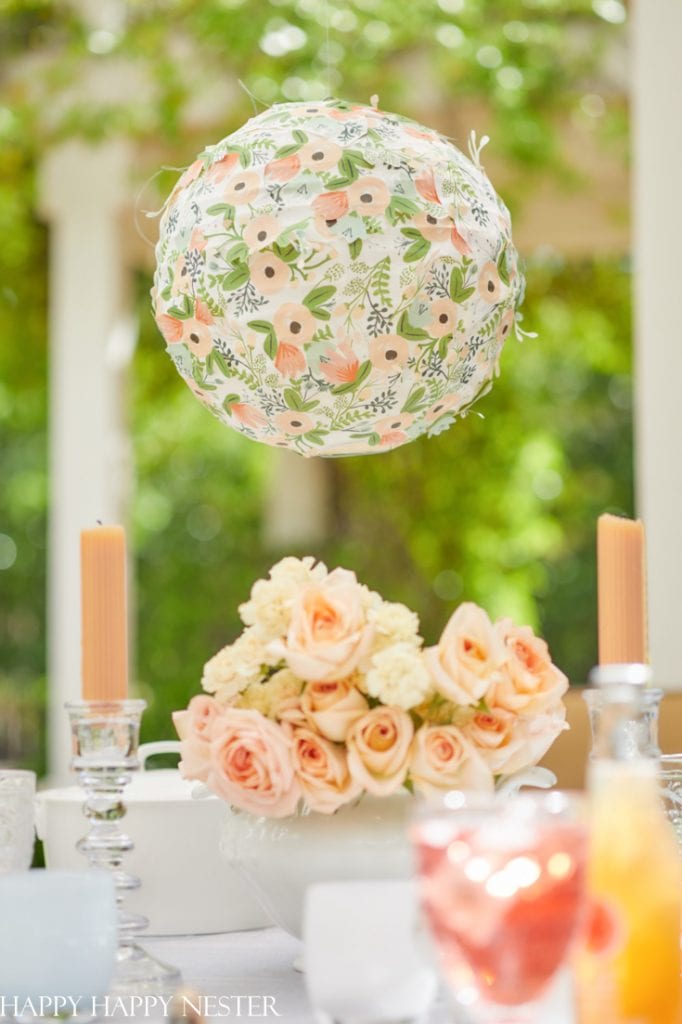
These unique lanterns are one of a kind and look like something you bought from a expensive boutique store. You don’t even have to be crafty. If you have a paper lantern and a pair of scissors and some glue, that’s all you need for this project.
Today’s craft is a part of a blog hop of paper projects. My friends are joining me and you can find their fun projects at the bottom of this post.
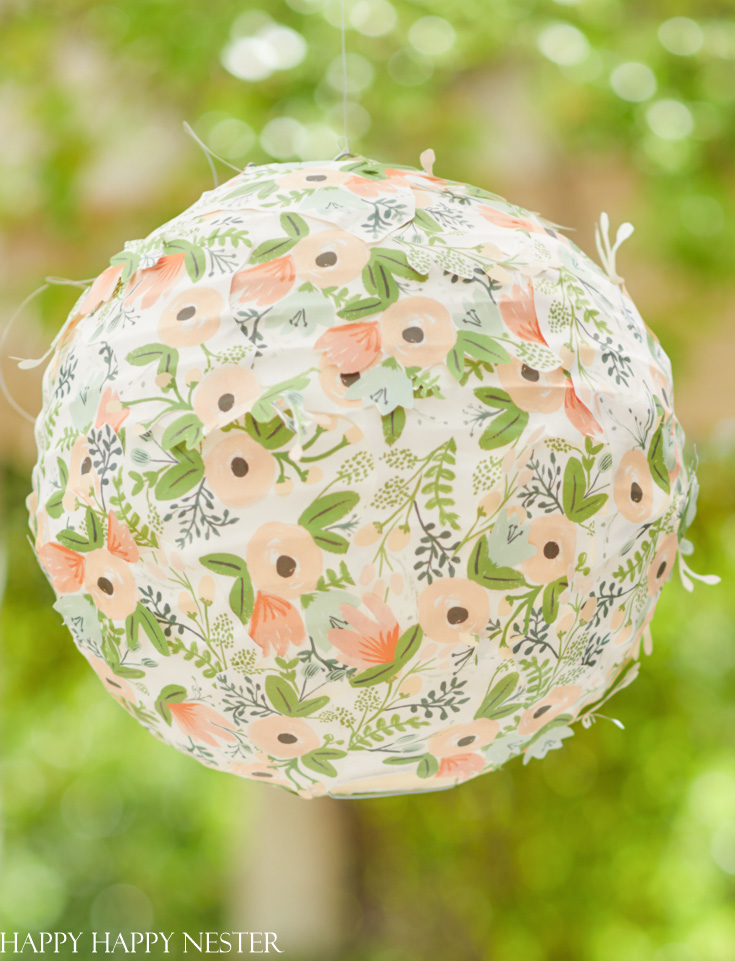
I love any paper project.
As you know, I’ve made many paper flowers, paper wreaths, paper banners, and more. But, the cheap paper lanterns have always intrigued me. I bought a ton of them last summer, and my brain has been busy trying to figure out how to decorate them.
Well, I came up with a fun paper project and I’m pretty happy how it turned out.
The possibilities are endless when it comes to decorating paper lanterns.
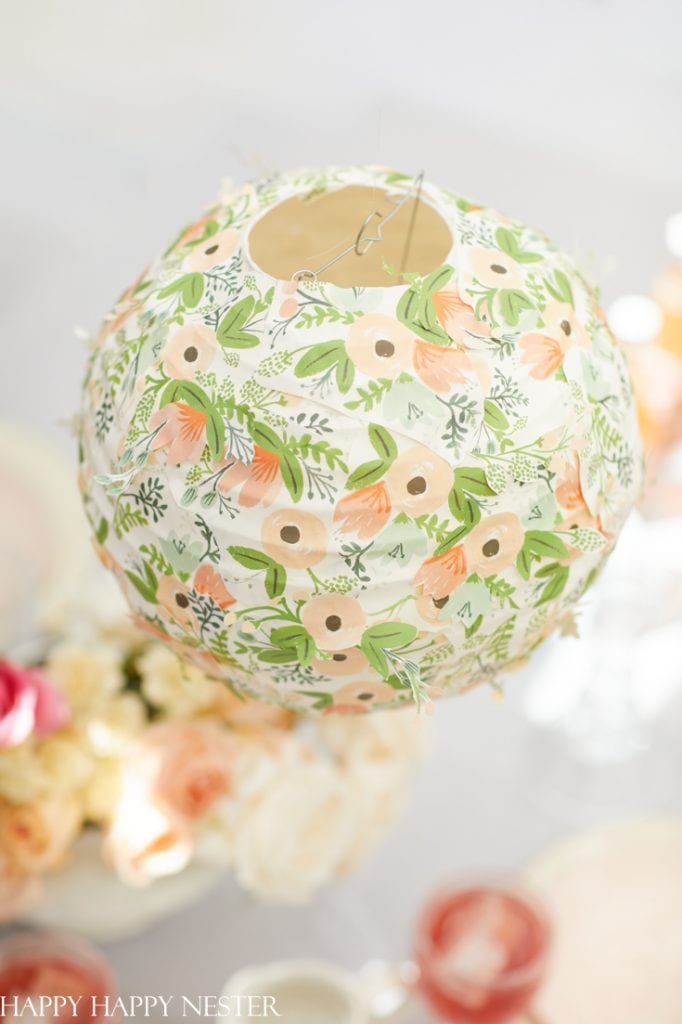
How to Decorate a Paper Lantern
*The following post contains affiliate links
Supplies:
Paper Lanterns (battery operated lights comes with lanterns)
7 Watt Solar Light Bulb (use an LED light bulb with this paper lantern)
Paper ( I bought two big sheets of paper at The Paper Source – Wildflower)
Scissors
Glue (Modge Podge or Elmers)
Paint Brush
Instructions:
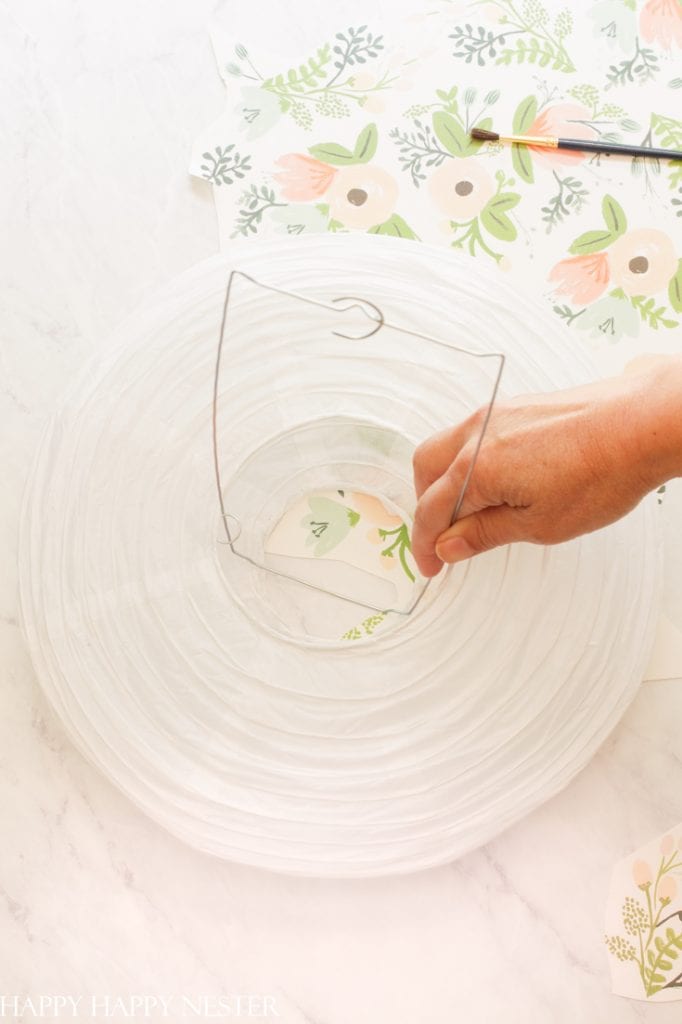
Step 1 – Expand the Lantern
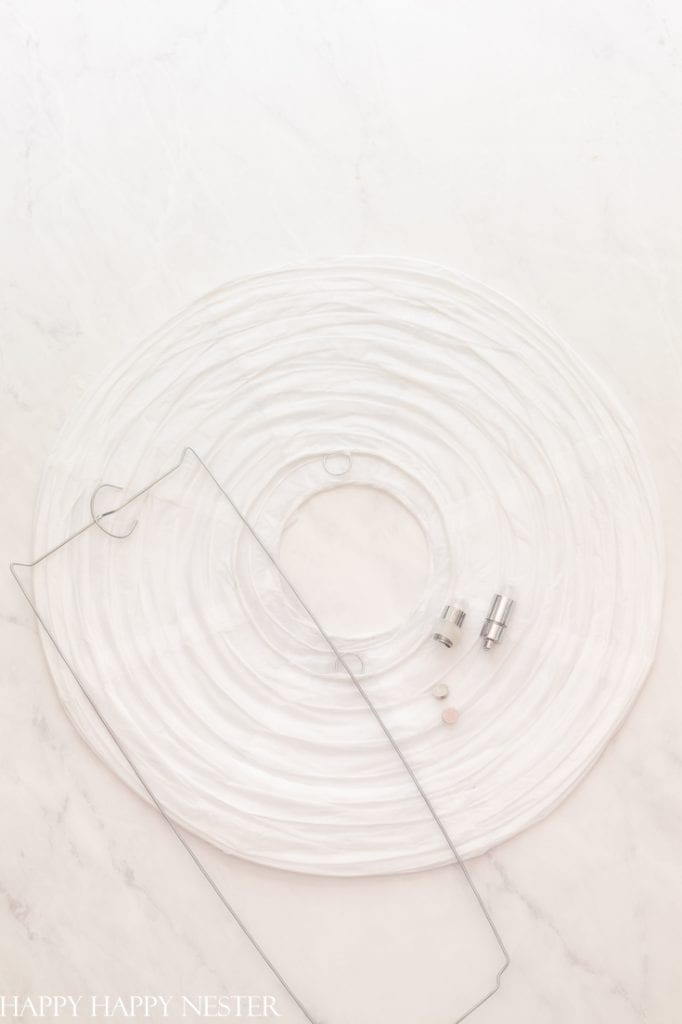
Use the metal expander and carefully insert through the larger opening. The top of the expander comes to two points on each corner. Place those points in the eyelets of the lantern opening. The bottom of the expander will line up with the smaller opening. Your expander should bend when installed correctly.
Step 2 – Cut Paper
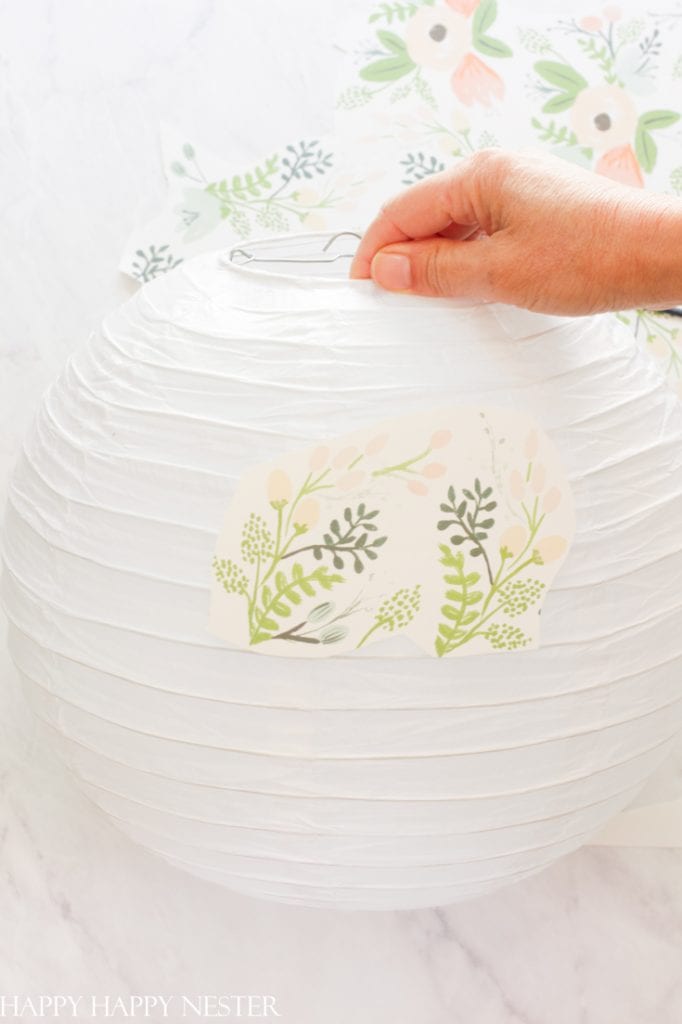
Determine the images you want to place on your lantern. I used about six-inch pieces. The bigger swatches, the harder it will be to attach to the lantern. You may get some creases. You can also cut the design to allow for overlap. You do this by cutting slits in your paper. Check out my Easter Decoupage Egg project.
Step 3 – Paste the Paper on the Lantern
Using a small paintbrush apply either Elmer’s glue or Modge Podge to the back of the paper and place it onto the lantern.
Step 4 – Cover the Whole Lantern with Your Paper
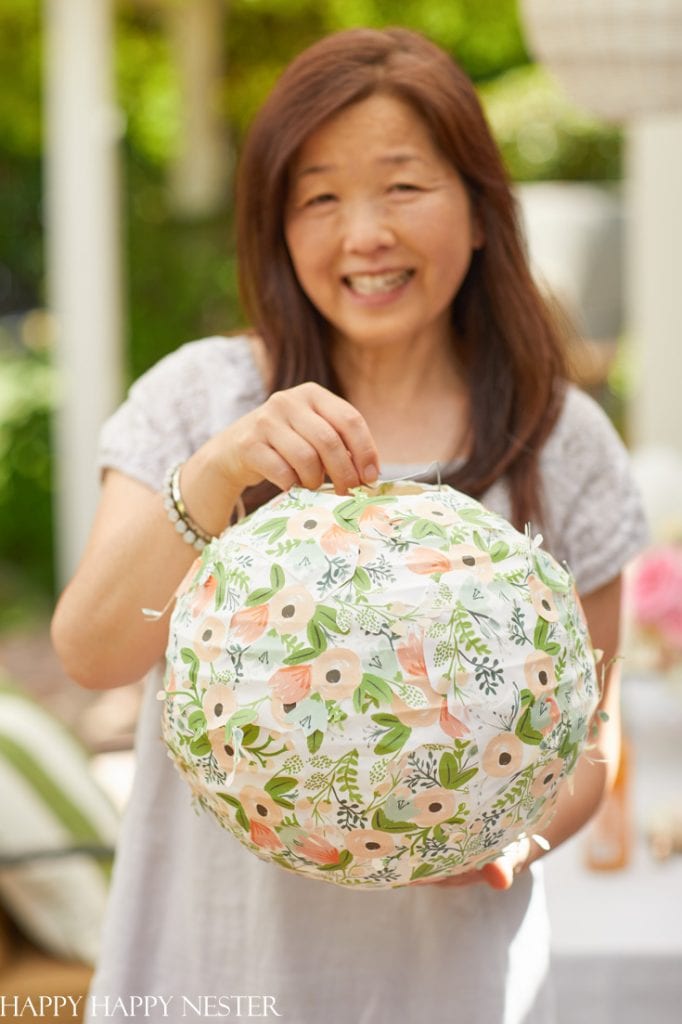
This is the part that is most time consuming. Take all the papers that you cut out and begin pasting them to your lantern. It’s ok to overlap the papers. Like I mentioned above, I cut out pieces that were about six inches in length. Obviously, if you have a smaller lantern cut out smaller pieces. I used the biggest lantern in the package that I bought from Amazon.


Step 5 – Make a Second Layer
Cut out a few pieces and paste them on top of your lantern. Don’t glue down all of it and allow some of the parts to hang freely. This gives your lantern and design an organic feel. It is optional if you like that look.
Step 6 – Light the Lantern
You can place a battery operated light inside your lantern or place an outdoor solar light in it. See the notes below. The little battery operated lights pictured above came with my lanterns. They are bit touchy to turn on. They need to be tightened just perfectly for the light to turn on, but otherwise they glow nicely. We ended up using two lights per lantern.
These battery lights are only for decoration and not for illuminating a significant amount of light.
Step 7 – Hang the Lantern
Attach a string, ribbon or fishing line to the top hook of the lantern. Then attach the other end to whatever you want to hang it from. We placed mine on our patio, so I attached it to a slat on our pergola.
What Kind of Light Should You Place in Your Lantern?
Use the battery light provided in the paper lantern package. For our outdoor summer table we used about two or three to get a glow.
If you want to use a light bulb inside your lantern only use LED lights. Here is the wattage chart for the paper lanterns:
8″ – 25W
10″ – 40W
12″ – 60W
14″ – 60W
16″ – 60W
18″ – 100W
It’s pretty obvious that you don’t want to use a real flame candle or a high watt incandescent light bulb in the paper lantern.
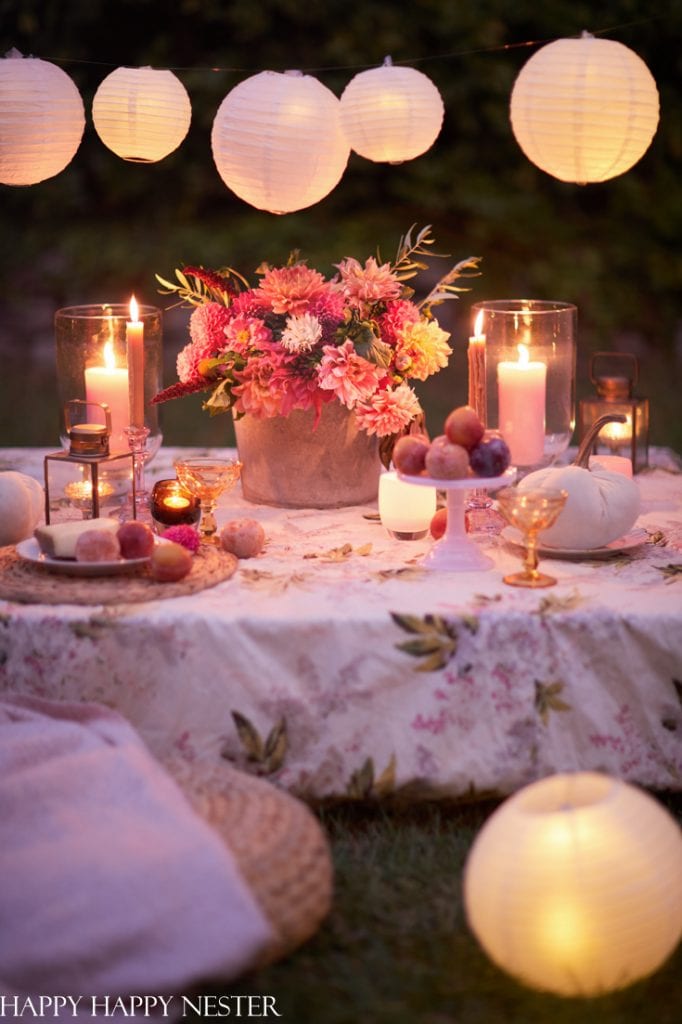
Paper lanterns are so magical on a warm summer evening. Here we used them to design an easy summer table.
I hope you have a chance to decorate a paper lantern in your choice of pretty papers.
It does take a while to cover the whole lantern so maybe do this project in sections. For example, cut out all your pieces of paper for the first layer and then cut out a few for the second layer. Or to save time, don’t even style with the second layer.
If you aren’t into covering the whole lantern, then carefully cut out pieces and randomly place them on the paper. I started off that way, and place flowers in a staggered pattern.
However you like to decorate a lantern, you’ll love the results.
Happy Crafting!

More Paper Crafting Ideas
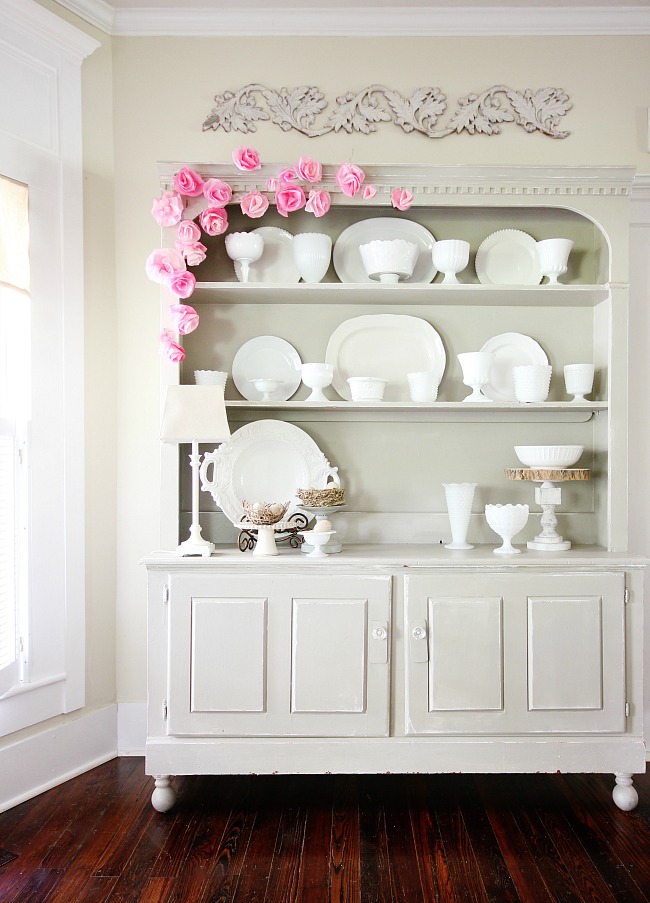
9 Creative Ideas to Decorate Your Home with Paper
Here are 9 simple, creative ideas to transform your home with paper. How to make a paper bowl, paper flowers, even a paper wreath and so much more.
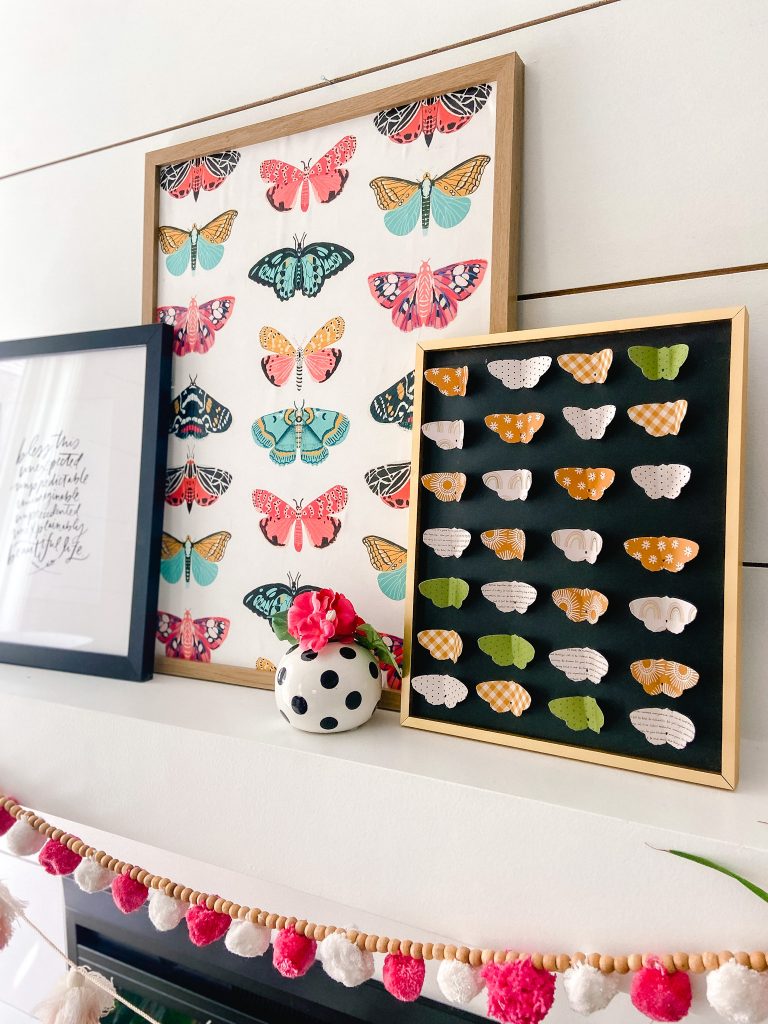
Butterfly Paper Specimen Art and Mantel
Use scrapbook paper and a butterfly die cut to create three-dimensional and whimsical specimen art for a summer mantel!
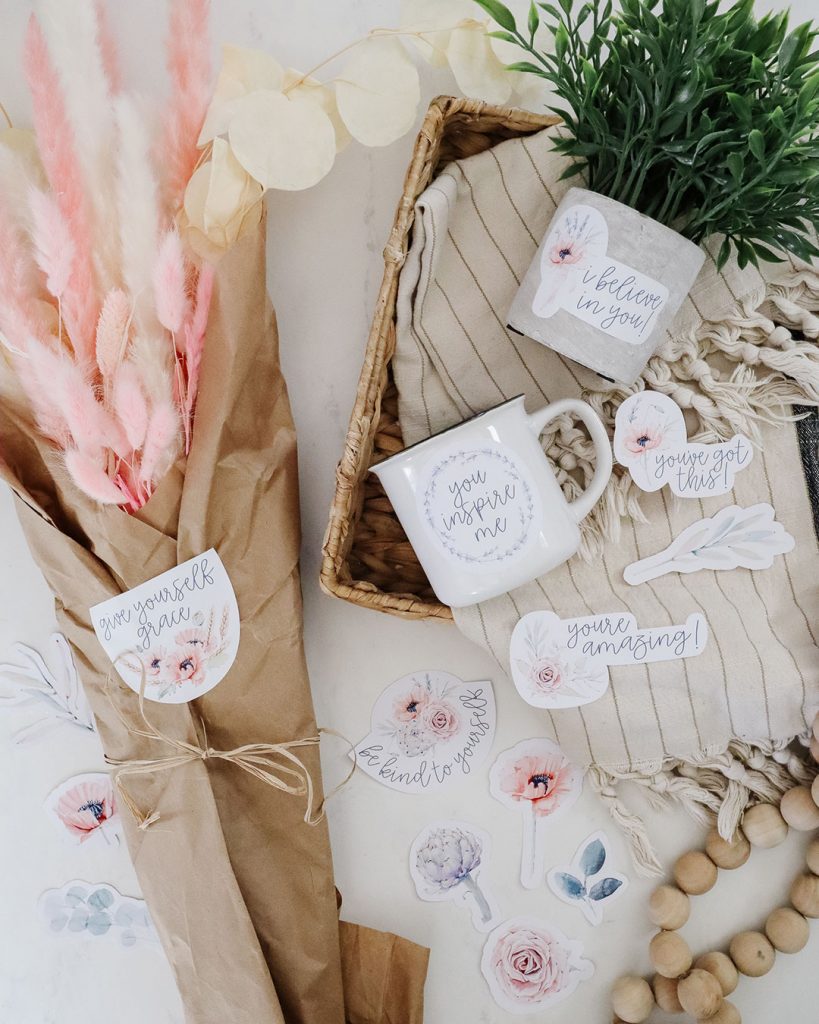
How to Make Stickers with Cricut (or without!) + Free Encouragement Stickers to Print
Let me show you how to make stickers with Cricut (or without!) and give you some pretty floral encouragement stickers as a free file you can print at home. These are simple to make, and they’re a great addition to a gift for a loved one this season.
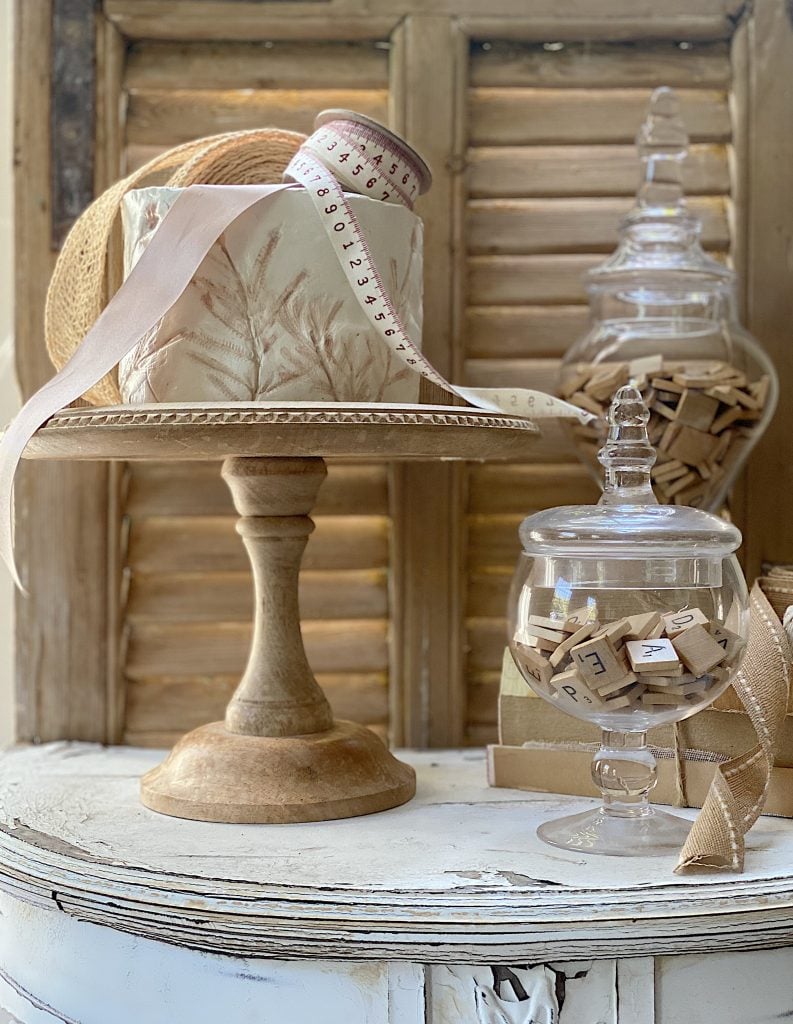
Learn how to use Paper Clay to make an adorable lavender inspired clay pot! This is a perfect craft for all ages.

- My Favorite Cakes - July 5, 2025
- Outdoor Tables and Chairs - July 2, 2025
- My Favorite Floral Desserts - June 28, 2025


Leave a Reply