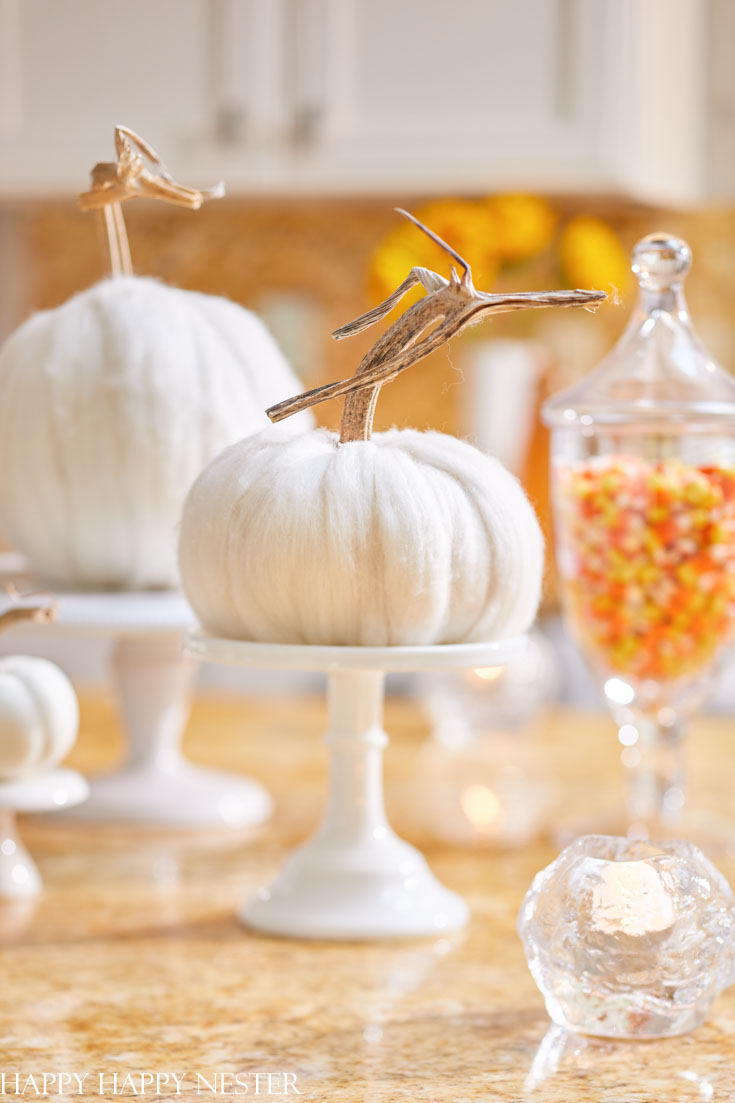
If you have a few faux pumpkins that you don’t know what to do with, then listen closely. Today, I’m going to show you How to Make a Wool Pumpkin with Chunky Wool.
This project requires only a few supplies to transform a faux pumpkin into a fluffy, cozy pumpkin. I’m pretty sure no one else has made these cute fuzzy pumpkins.
So, I’m a part of a Fall Kitchen Tour, and I decided to share not only my kitchen but also my fun pumpkin tutorial. You know that I am always multi-tasking or some may say, easily distracted!
But, first, let’s take a small tour of all the fall happenings in my kitchen.
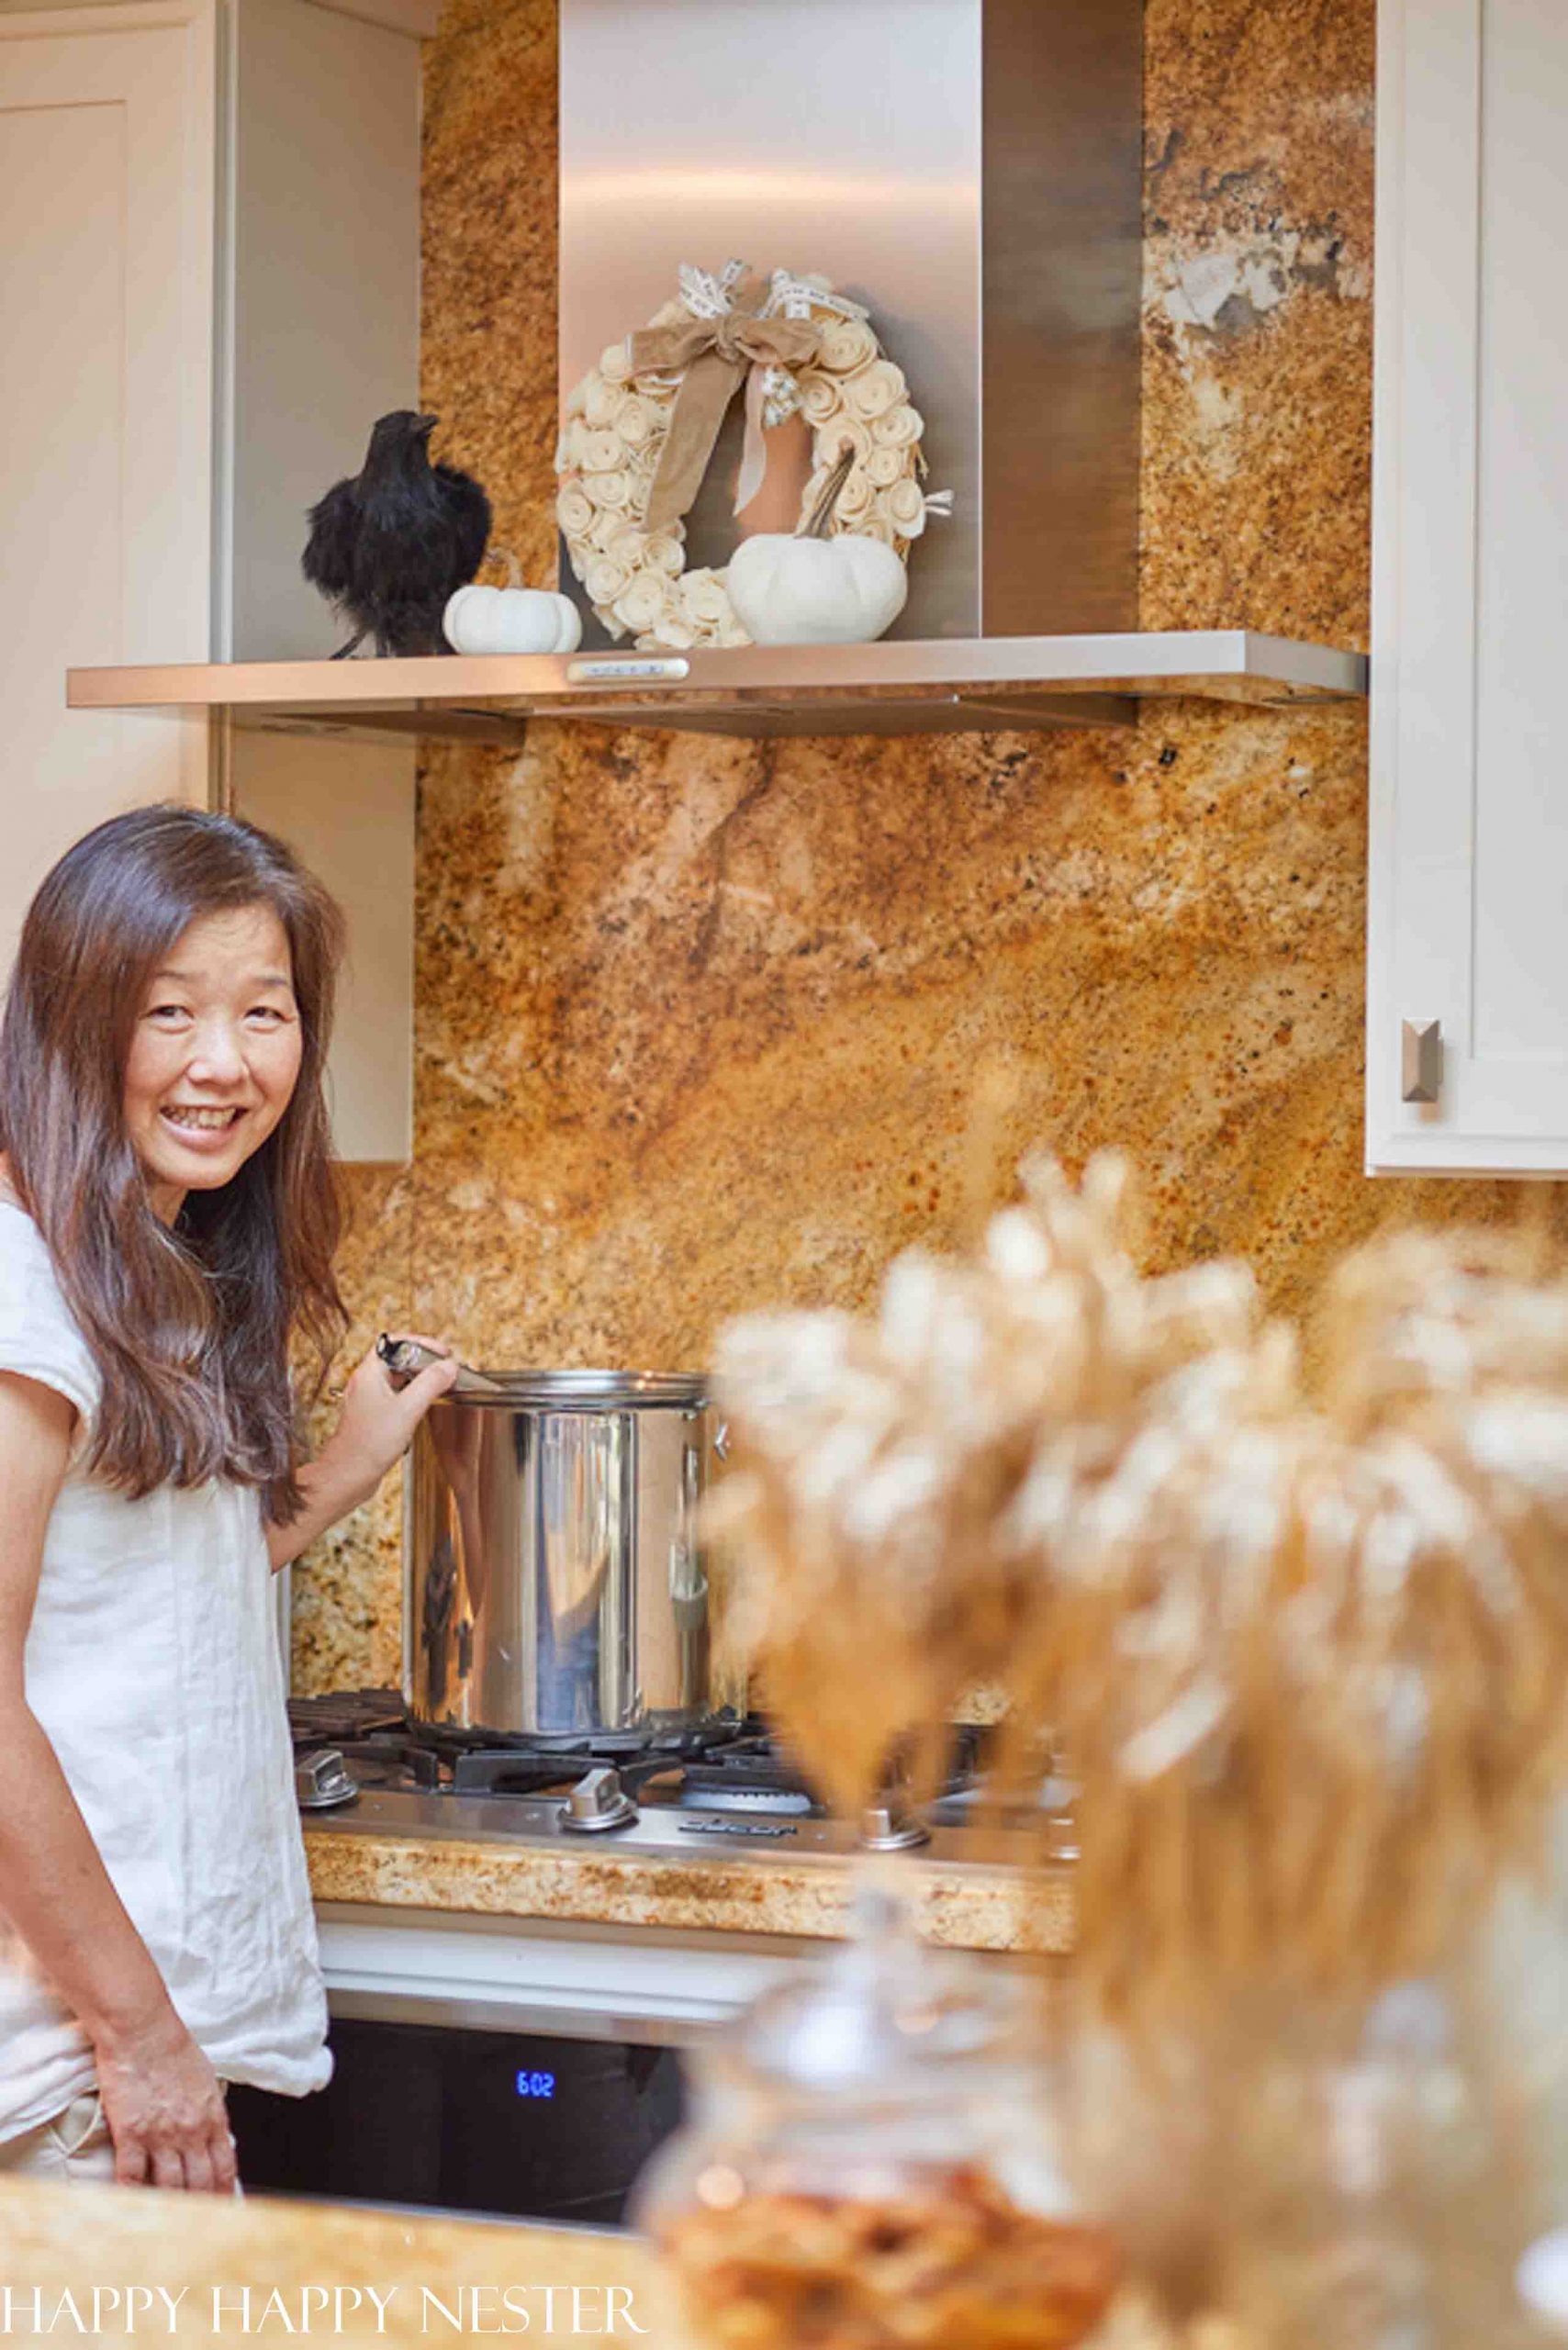
I love decorating our range hood. It is a fun way to add a little vignette to our kitchen. My beige-colored rosette wreath is on display throughout the seasons. I change up the ribbon and add a few seasonal items.
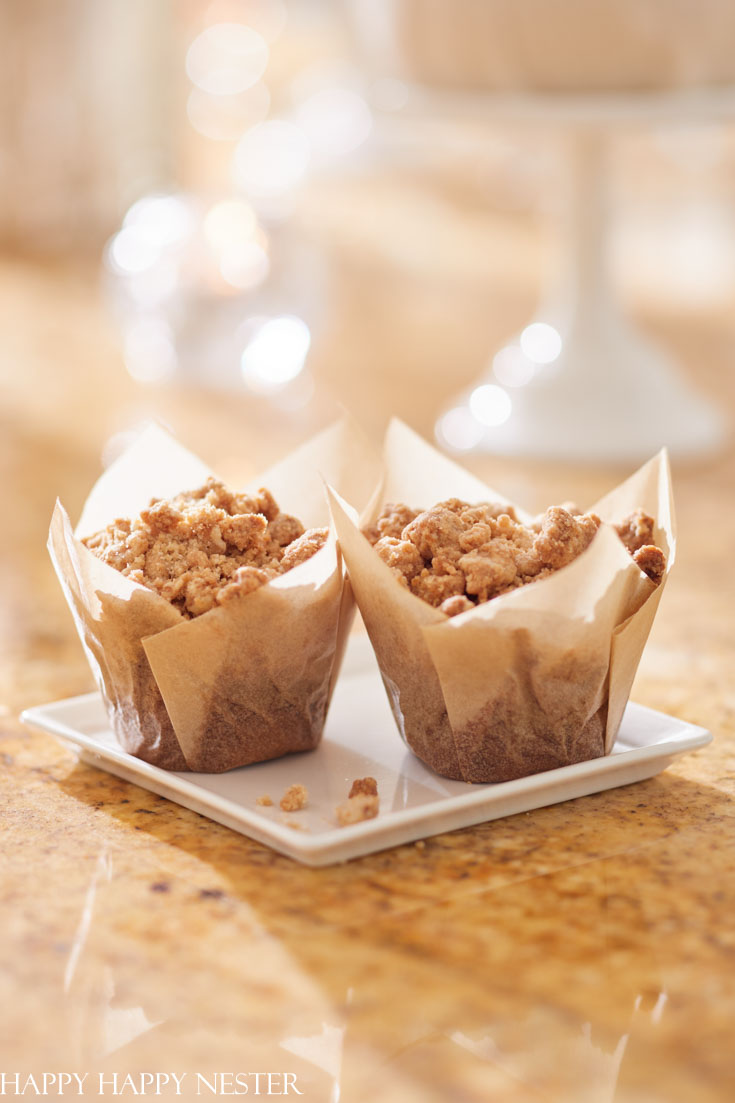
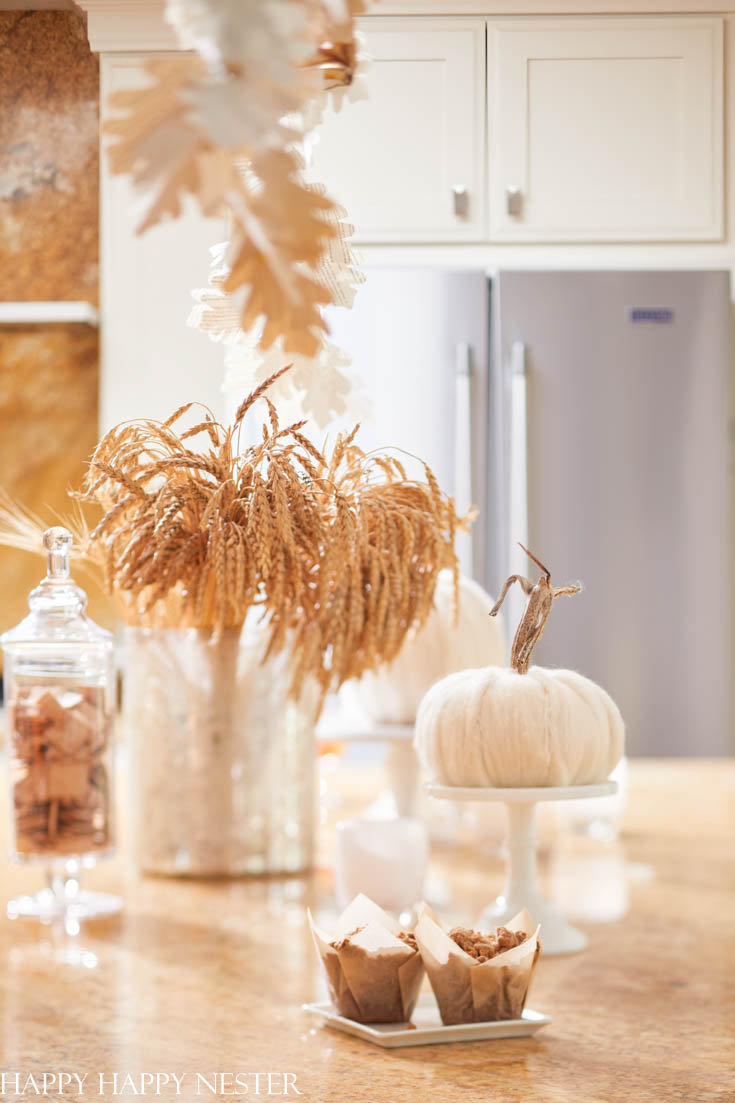
Of course, I’ve been busy cooking and baking and fattening up my family for winter months! I’ve been obsessed with making a muffin that has a thick layer of chunky crumble. And after a few attempts, I came up with a recipe that works!
My son said that these muffins tasted as if we bought them from a gourmet pastry shop. I promise to get the recipe on the blog before the end of the month. In the meantime, you might enjoy this pumpkin bread recipe.
Well, I have to say that it is a good thing I love biking and hiking as much as I love baking.
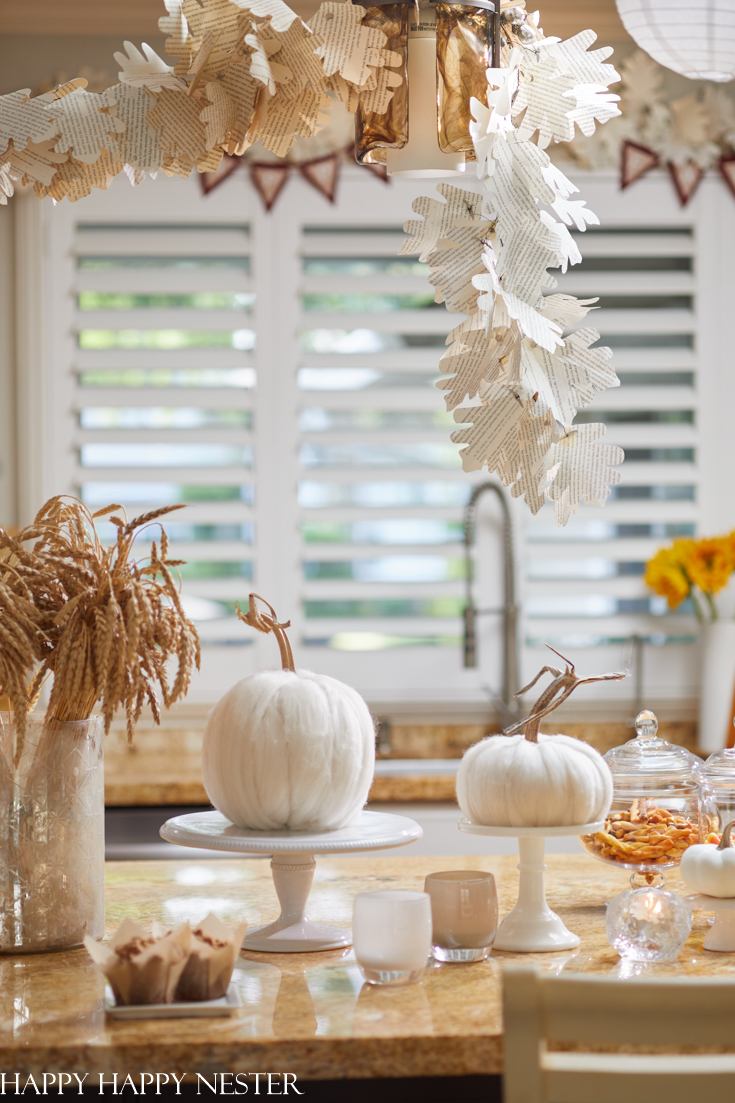
As you can see, I love decorating our home with my crafts. I draped our pendant lights with my paper book page garland. A couple of years ago, I made about five garlands. I’m a bit cray-cray, as my daughter would say.
Speaking of garlands, the cute burgundy Happy Fall garland (in the background) will be coming out soon over here on the blog. So without further adieu,
Let’s Get Started on Our Pumpkin Craft!
Supplies for the Wool Pumpkin
Chunky Wool (you can receive a 10% discount if you use the code: JAN10 when ordering) *
Glue Gun
Scissors
*A note about how much wool to order. My pumpkin is a 22 inch (diameter) pumpkin. I used about 2 yards of yarn. BeCozi sells 1/2 pound of wool that comes to 5 yards. So, if you buy 1/2 yard, you should make about two pumpkins that are the size of my pumpkin. Of course, if you make a bigger pumpkin than 22 inches, you’ll need more chunky wool.
Instructions for making a faux wool pumpkin
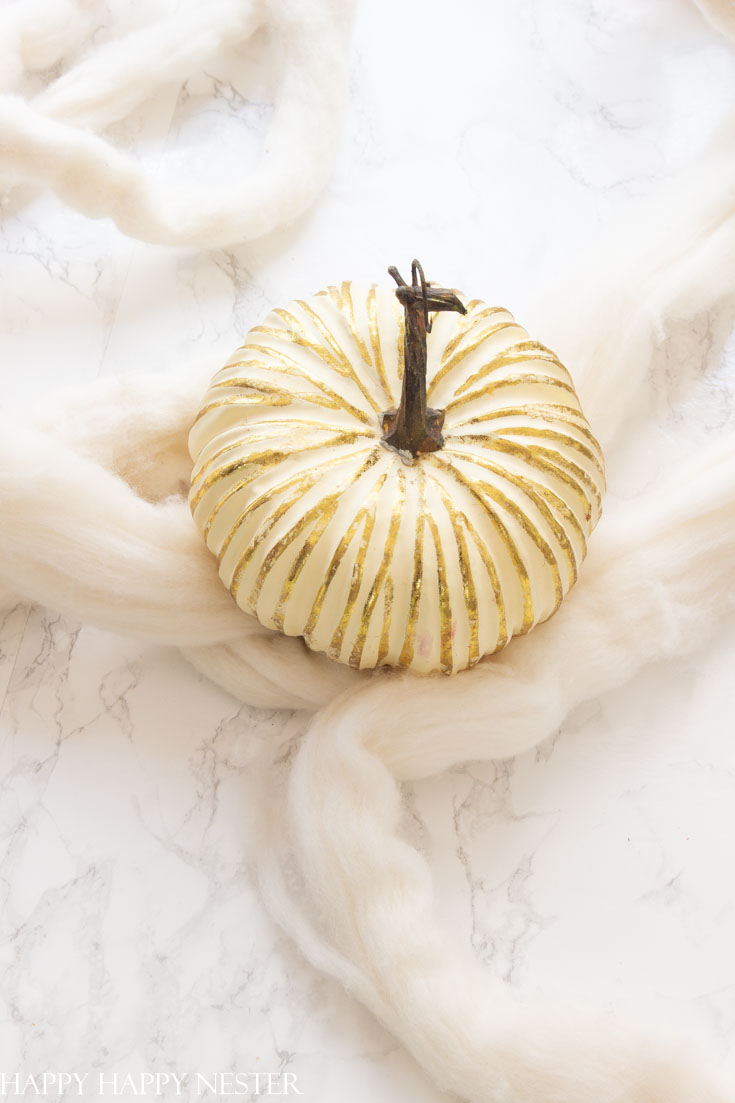
1. Take the stem off your faux pumpkin.
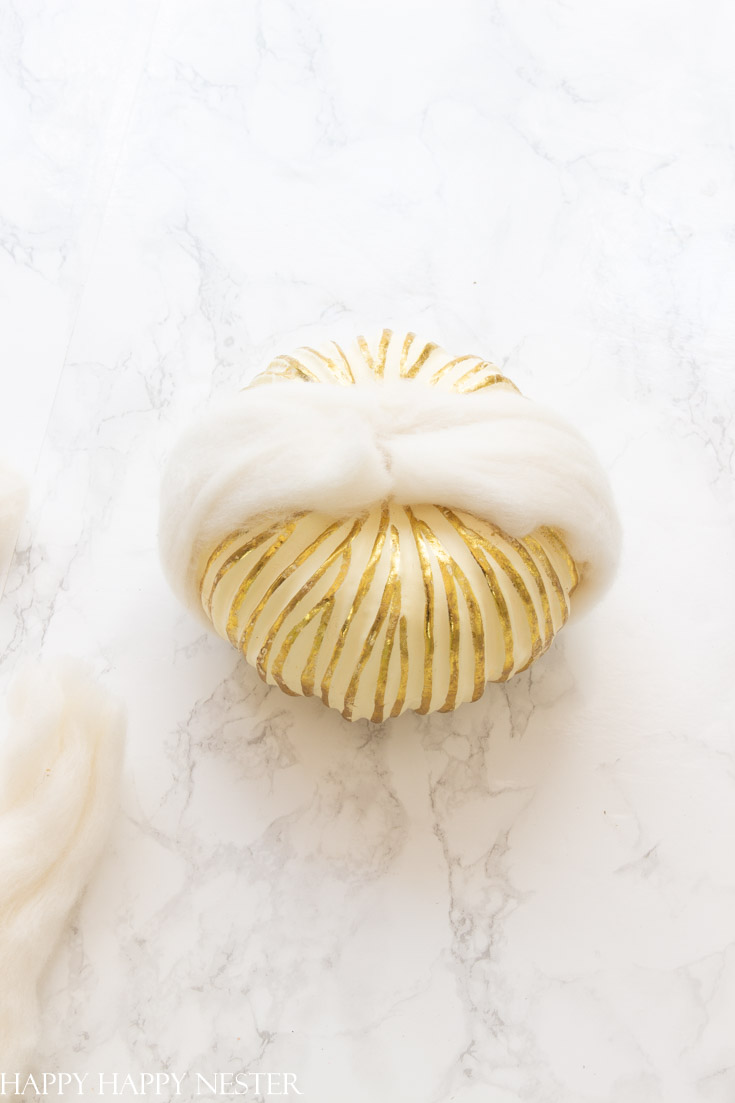
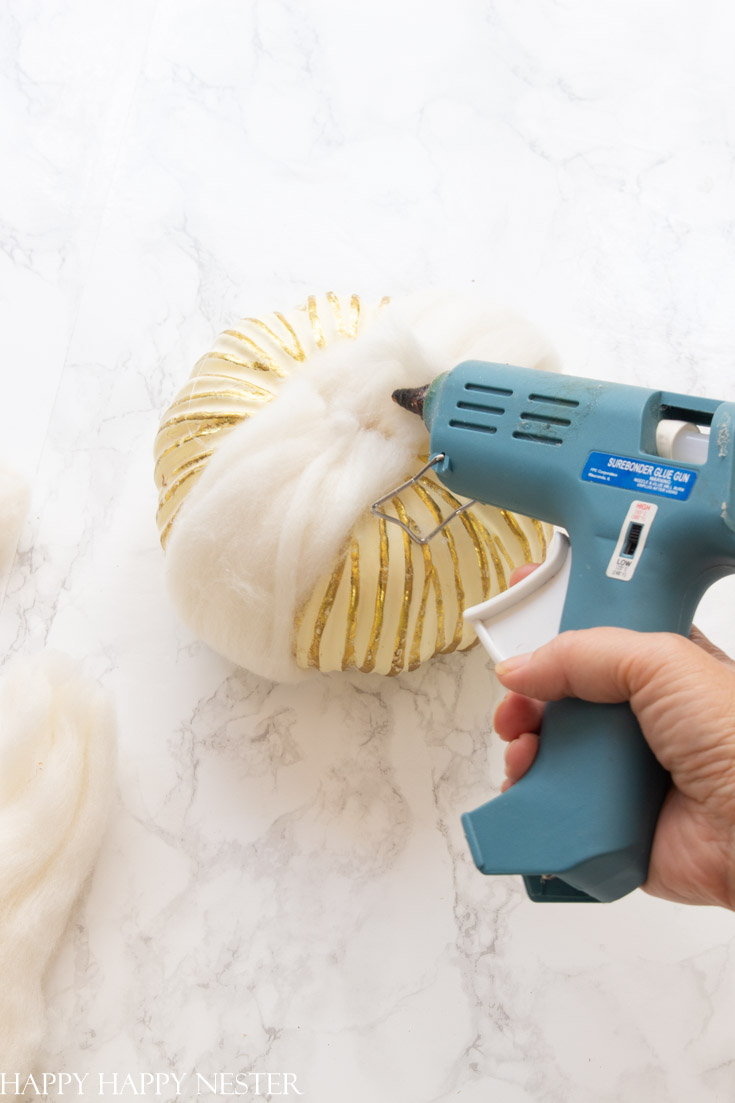
2. Place the end of the wool yarn on the top of your pumpkin. Then wrap the yarn around the pumpkin, making sure to go underneath the pumpkin and up to the top. Glue as you wrap. After gluing, hold the yarn in place to secure it down. It is best to glue in small sections since it tends to dry quickly.
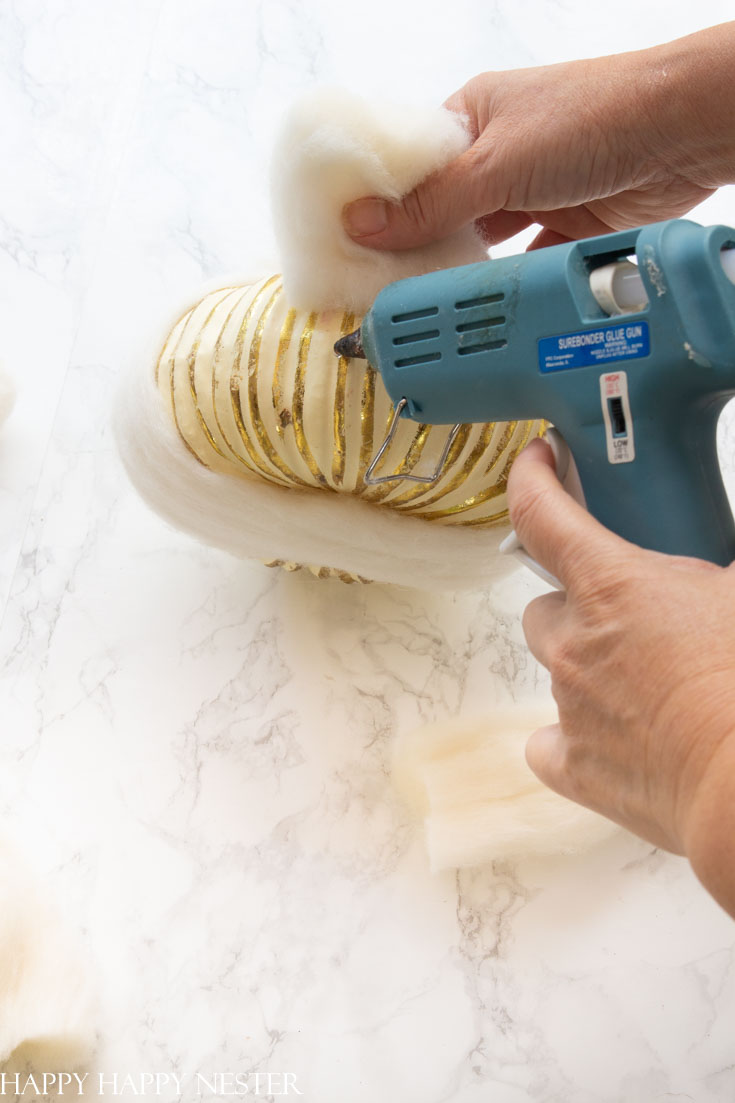
3. Once you have the first piece glued down securely, check and glue the ends at the top. You can do this by opening up the fuzzy yarn and place a dab of hot glue inside the yarn. Quickly place the yarn back on top of the glue and secure the yarn in place. Be careful not to burn yourself.
4. Your next section will go perpendicular to your first yarn. But instead of going all the way around the pumpkin, start at the top and end at the bottom. Make sure the end of the piece is butting up to the first and not overlapping. We want the bottom to be smooth and not bumpy so that it will sit nicely on a surface.
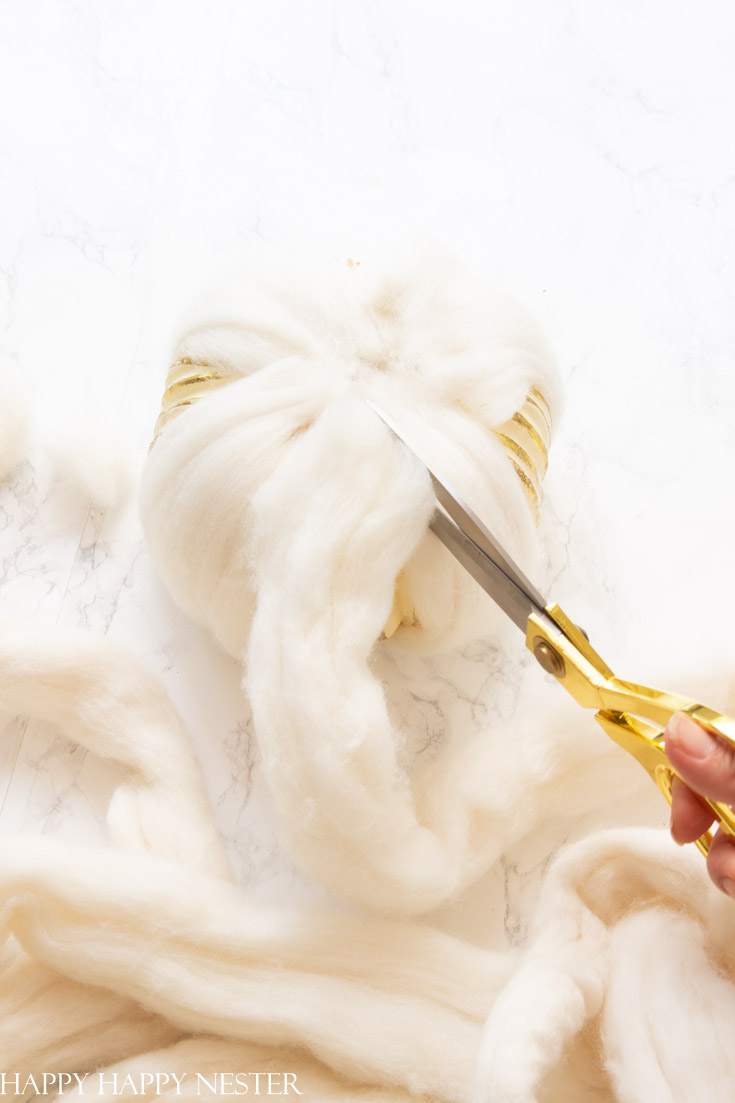
5. For the next sections, cut the ends to the shape it is covering. It is like you are making a puzzle piece that fits in the space. Glue the top and work your way down the pumpkin.
6. Cover all the spaces with the yarn. Then place glue in the seams that don’t look smooth or covered. Place your glue between each section of the wool and pull them together over the glue and hold in place until the glue is dry. This step will create a smoother wool surface for your pumpkin.
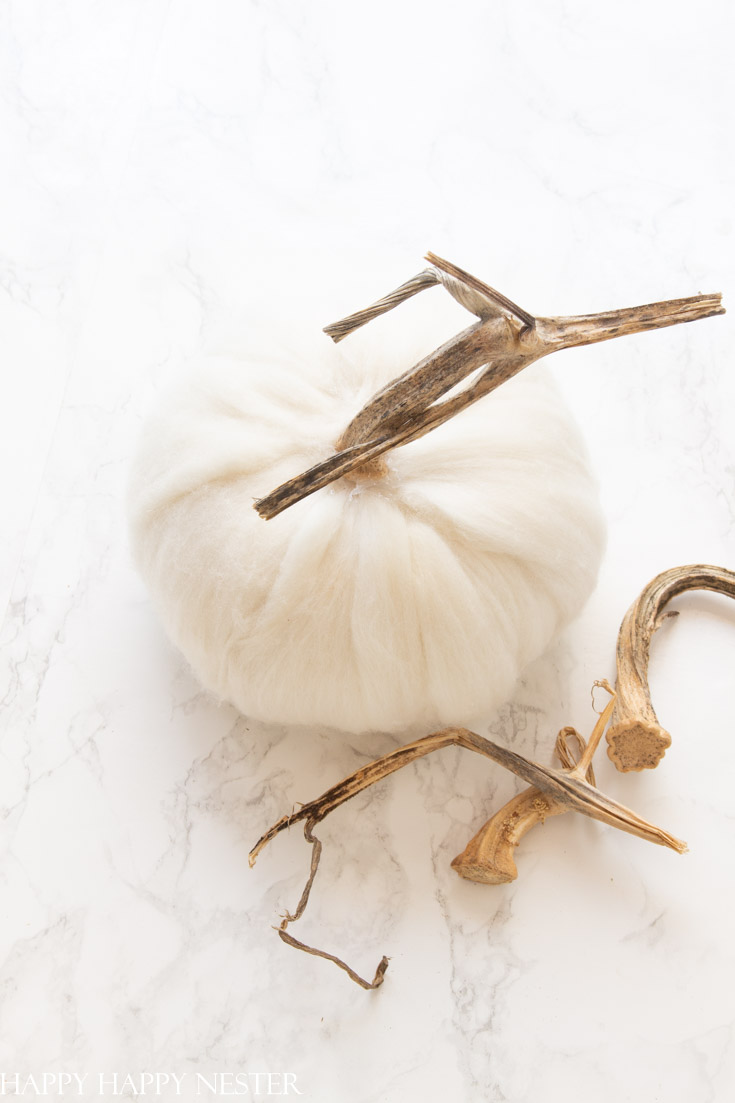
8. Once everything is smooth and tacked down, you’ll want to place a dab of glue on the top where the stem will attach. Quickly place the stem on the hot glue and hold it in place.
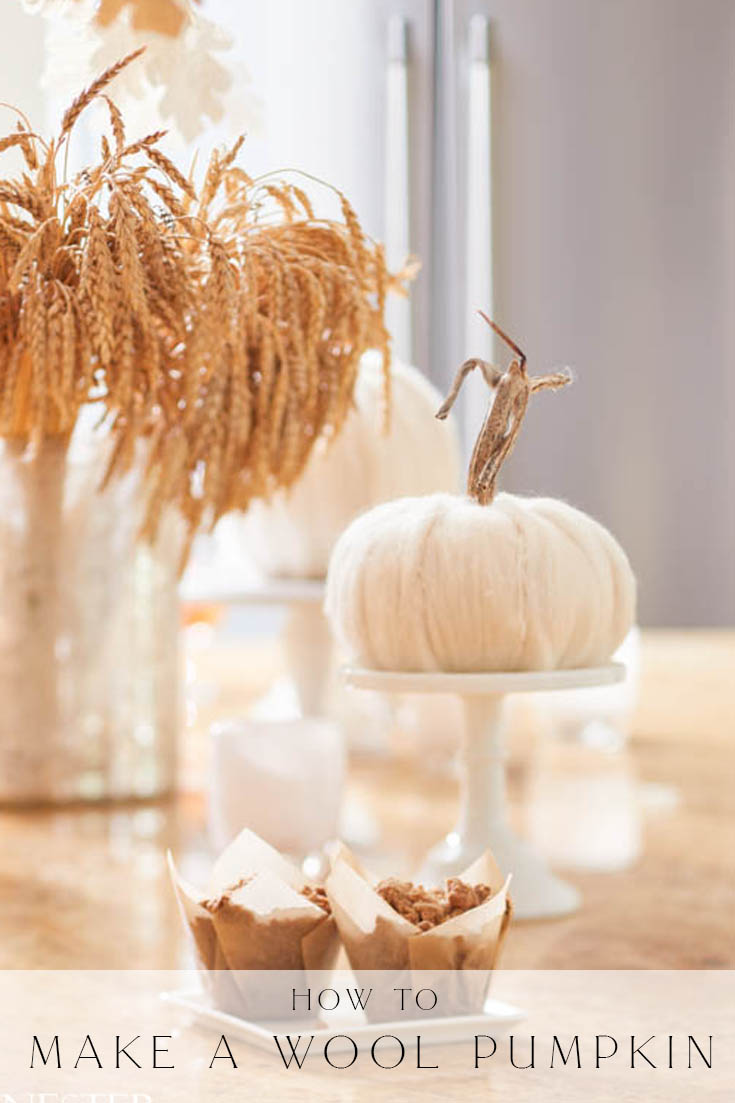
These pumpkins are so adorable and unique. I love how they took up residence in our kitchen. I also love that they aren’t terribly difficult to create and require very few supplies.
Thanks for joining us on this fall kitchen tour and how to make a wool pumpkin. I know that this year, I will enjoy my home a lot more. Home is where we are 24/7 so creating a festive home is more important than ever.
Happy Touring,
21 Fall Kitchen Tours
How to Make a Wool Pumpkin with Chunky Wool – Happy Happy Nester
Fall Kitchen Decor on a Budget – Hallstrom Home
Touches of Fall in The Kitchen – Craftberry Bush
Simple Fall Kitchen – A Blue Nest
How To Style Kitchen Shelves For Fall – Modern Glam
Hints of Fall Home Tour–Part 2 – Finding Lovely
How to Add Fall Decor to a Kitchen – Sanctuary Home Decor
Coffee Station For Fall – My Sweet Savannah
Fall Kitchen Decorations – My 100 Year Old Home
Fall Kitchen Decor Ideas – Jennifer Maune
Fall Entertaining in the Kitchen – Twelve on Main
Natural Decorating In The Kitchen – Jennifer Rizzo
Neutral Fall Decorating Ideas in the Kitchen – Grace In My Space
Fall Kitchen Decor – Lemon Grove Lane
Easy Elegant Fall Kitchen – Styled With Lace
1891 Cottage Fall Colorful Kitchen Tour – Tatertots and Jello
Early Fall Kitchen with Copper, Leaves & Eggplant – Pine & Prospect Home
Simple Fall Touches in the Kitchen – Dreaming of Homemaking
Decorating the Kitchen for Fall – Seeking Lavender Lane
Cozy Fall Kitchen Ideas to Add Warmth to Your Home – Life Is Better At Home
How to Decorate Your Kitchen for Fall – The Ginger Home
- Spring Doormats from Walmart - February 18, 2026
- Heart Shaped Brownies Recipe - February 13, 2026
- Framed Artwork from Amazon - February 12, 2026


ashley stringfellow
These pumpkins are so cute! Love that you used real stems for them. Pinned!
Leslie @lemongrovelane
Your kitchen looks so festive and pretty! Such a fun craft too and doesn’t seem too difficult:)
happyhappynester
Hi Leslie,
Yes, this wool pumpkin DIY is super easy. I kind of went crazy and made quite a few! 🙂
Rhonda Hallstrom
Love this pumpkin diy, it looks so fun!!
happyhappynester
Thank you, Rhonda! Have a wonderful fall day!
Sarah Symonds
Such a cool idea! I love the texture they add.
happyhappynester
They are too cute and they make me smile! Thanks, Sarah for your lovely comment and visit to the blog!
Jennifer Hadfield
OMG I love your pumpkins, Janine! I pinned them to my fall board to make!
xoxo
Jackie
I love these pumpkins Janine! So cute!
happyhappynester
Thanks so much, Jackie!