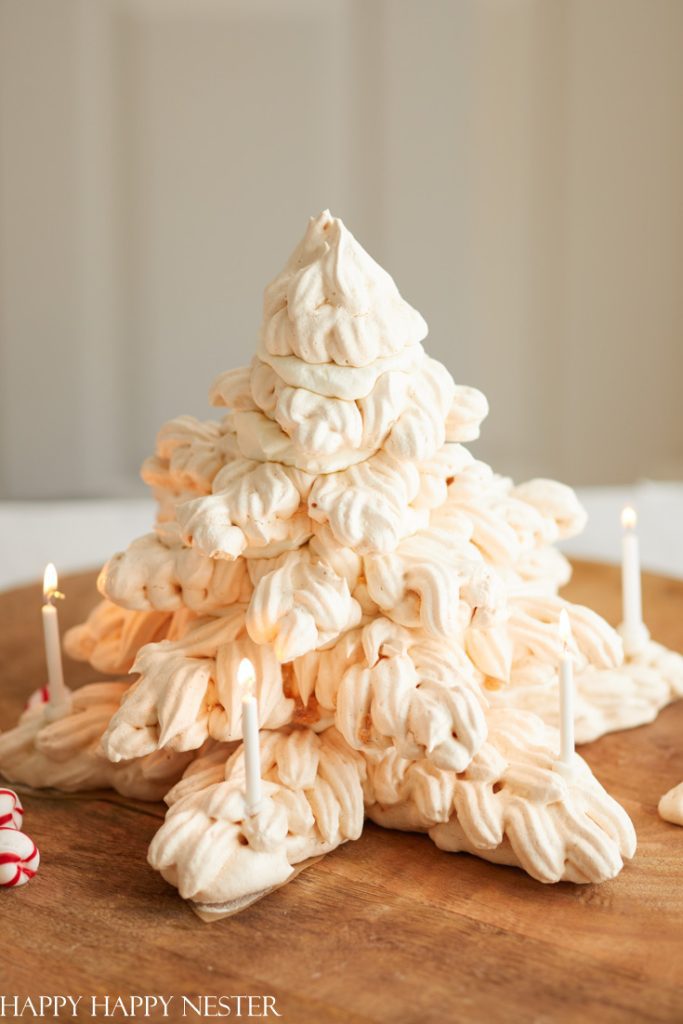
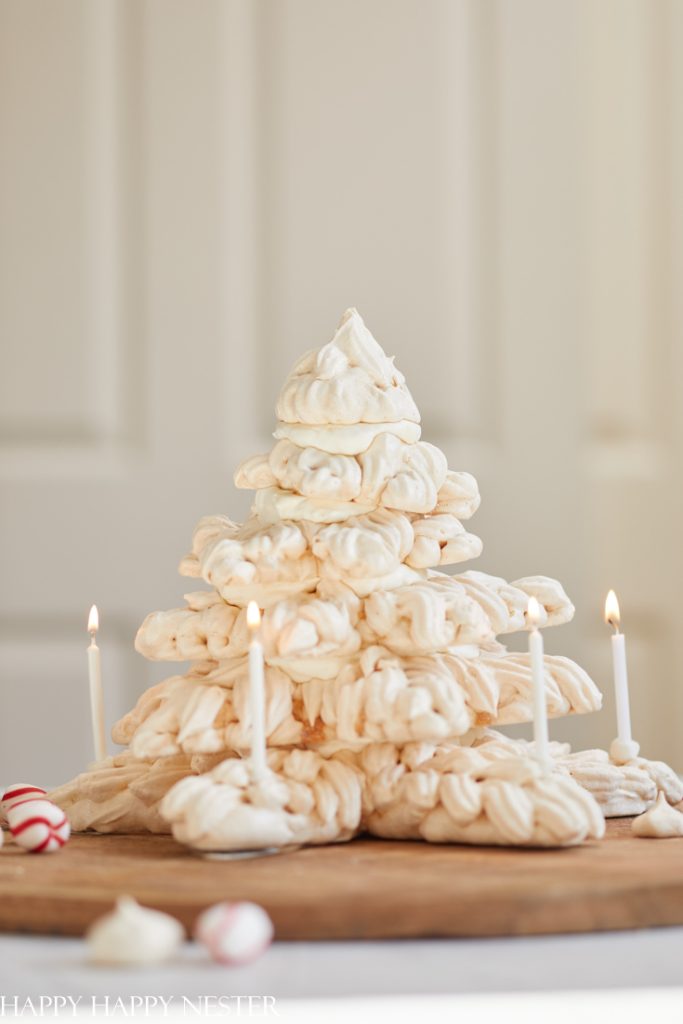
Here is a Meringue Tower Cake (Christmas Tree) for your holiday season. So take time off of Christmas shopping and bake this six-layered cake for your family. It is a sweet dessert with a slight crunch that fluffs once in your mouth. Simple to create, easy to put together, and delicious to taste! Add this recipe to the list if you want a light treat to enjoy this Christmas.
I think this recipe is the perfect choice for a sweet, simple, and light dessert to enjoy when you want a taste of Christmas. As we all know, it’s hard to enjoy all of the beautiful desserts we create this season without gaining weight, but this meringue Christmas tree is the one treat that will make you feel good while treating yourself.
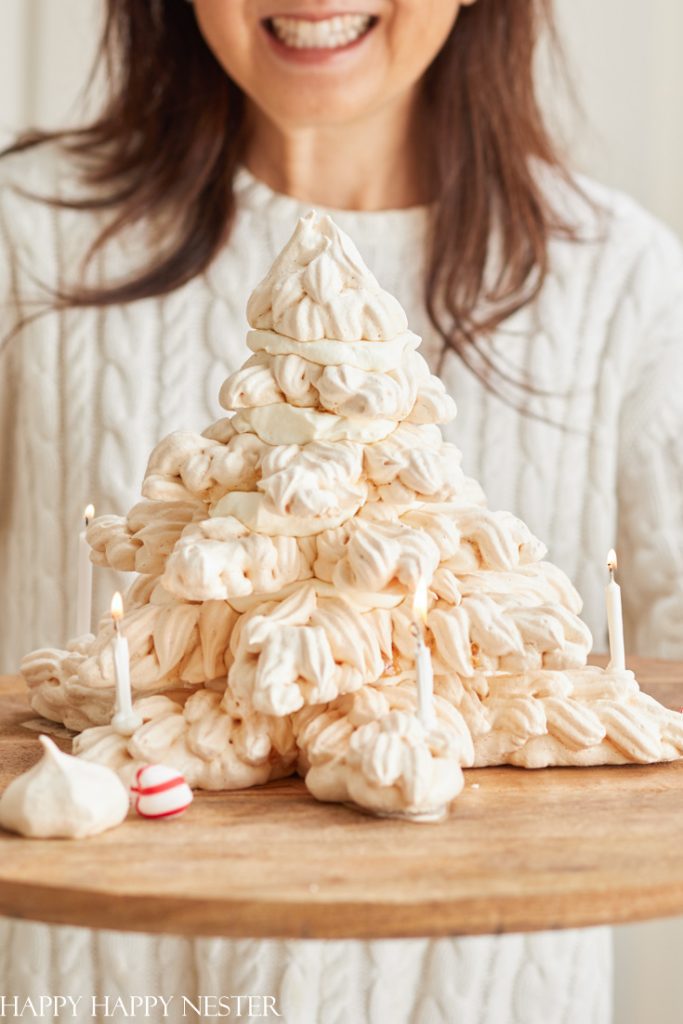
Now that it is prime time for holiday baking, I wanted to create something perfect. So, just a few nights ago, my husband and I decided on baking a meringue tower cake and layer them to look like a Christmas tree! It was so much fun baking with my best friend and creating a new dessert for the holidays!
Watch your go-to Hallmark movie or listen to Christmas music while you bake the meringue. The best part about this is that the recipe gives you time to relax and enjoy your night without worrying if your dessert is burning or underbaked. Once cooled and ready to layer, this is your time to shine! Have a blast while decorating and creating your meringue tower cake into a Christmas tree!
In honor of it being December and almost Christmas time, here are a few other holiday dessert recipes of mine!
Cranberry Almond Biscotti Recipe (Italian Cookie)
Christmas Tasty Treats Recipes
Christmas Cookie Recipe Twinkle Tree
Tips on Baking Meringue Tower Cake
Tip 1 – Adding Sugar
When adding sugar to the foamy egg whites mixture, add the sugar one tablespoon at a time while beating thirty seconds in between each addition of sugar.
Tip 2 – Avoid Cracking
To avoid cracking, bake the meringue at a low temperature, then once the meringue is fully cooked, leave it in the oven to cool. When cooling the meringue, leave it for a couple of hours or overnight for best results.
Tip 3 – Whipping Meringue
When adding sugar to the foamy egg whites mixture, add the sugar one tablespoon at a time while beating thirty seconds in between each addition of sugar. Once all of your sugar is added, whip the meringue on high speed for about four to five minutes.
Tip 4 – Grains of Sugar
Your meringue should have very few grains of sugar, meaning the sugar should be mixed and dissolved in your meringue. One way to find out if you have grains of sugar in your meringue is to rub in between your mixture to feel any clumps of sugar.
Tip 5 – No Water on Utensils
Before baking, make sure the mixing bowl, utensils, tools, and extra bowls have no water and are completely dry. This helps keep the mixture from sticking onto your baking utensils, affecting the correct measurements and overall jeopardizing the result of your meringue.
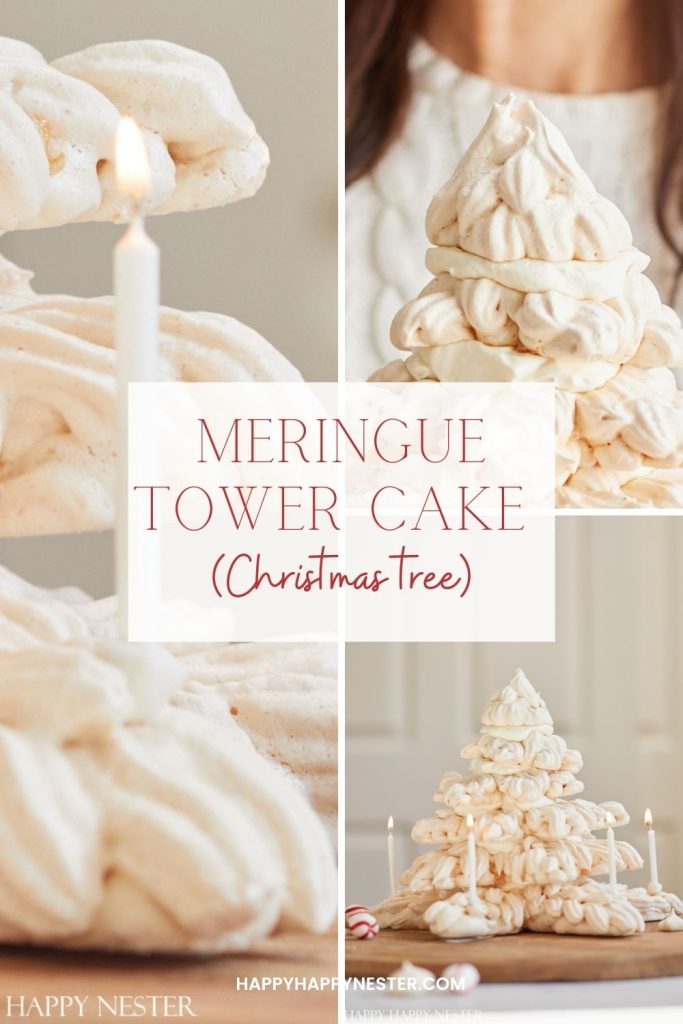
Meringue Tower Cake (Christmas Tree)
Learn how to make this wonderful and impressive holiday dessert. Here are the basic steps to create this unusual treat.
Making Paper Templates
Step 1 – Stacking Meringue
Your meringue cake comprises six stacked layers, ranging from about twelve inches in diameter at the bottom to two inches on top. This is best achieved by working on a paper template for each layer.
Step 2 – Stars
Use a large sheet of poster board (or other thick paper) to create six 6-pointed stars of the following diameters in inches: 12, 10, 8, 6, 4, 2.
Step 3 – Star Distance
Make sure the star tips are roughly the same distance from each other. Then, cut out each star and place it beneath the parchment on the cookie sheet described in the next section.
How to Make Meringue
Step 1 – Sugar & Cornstarch
Once you have the correct measurements of the sugar and cornstarch, stir the two ingredients together in your mixing bowl.
Step 2 – Egg Whites
Beat the egg whites at medium speed until the egg whites are foamy. Once foamy, add sugar to the frothy egg whites mixture. Add the sugar one tablespoon at a time while beating thirty seconds between each addition of sugar. Once all the sugar is added, increase the speed and beat until the mixture forms stiff peaks. You can tell if you have stiff peaks by turning your beater upright, and the egg white doesn’t collapse. They stay stiff.
Step 3 – Preparing the Heavy Cream
Prepare heavy cream by whipping until thick. You can add a bit of powdered sugar if you like. Spread the whipped cream evenly on each layer of the cooled meringue.


Piping Tree Boughs
Step 1 – Placing Meringue
Place your meringue in the pastry bag with a star tip attached, and then place all six paper templates on three cookie sheets.
Step 2 – Placing Tree Boughs
Place each star template beneath the parchment and secure it with scotch tape. (IMPORTANT: The tape must be removed before baking)
Step 3 – Outlining
Outline the template with the pastry bag and fill in the middle and the boughs with a meringue layer.
Step 4 – Piping
You will then pipe your pastry bag and create a pattern for the second layer. Create a design looking like the needles of a tree going towards the center. Continue this step for each tree bough.’
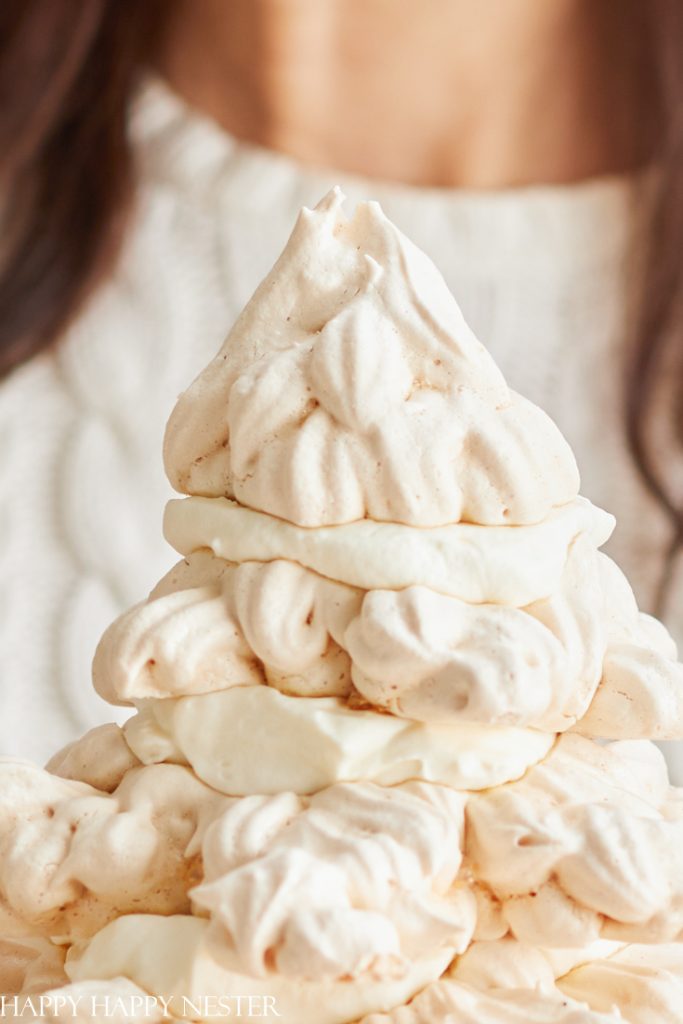
Step 5 – Note
Just note that the top layer of the tree bough is two inches in diameter and cone-shaped, similar to the top of a tree.
Baking the Meringue
Step 1 – Baking Meringue
Bake for an hour and a half at 275 degrees. Once done in the oven, DO NOT OPEN THE OVEN. Instead, leave the meringue in the oven on the cookie sheet and let it cool overnight for best results. The next day, you remove the stiff meringue from the parchment paper and transfer it to a cake stand.
Building The Tree Tower
Step 1 – Choose and Prepare Surface
When choosing your surface, you will want to pick a large surface, either a cutting board or a charcuterie board, because a plate will not be big enough.
Step 2 – Parchment Paper Lining
Place the bottom tree bough on parchment paper, outline the design with a pencil, and then cut out the design with scissors.


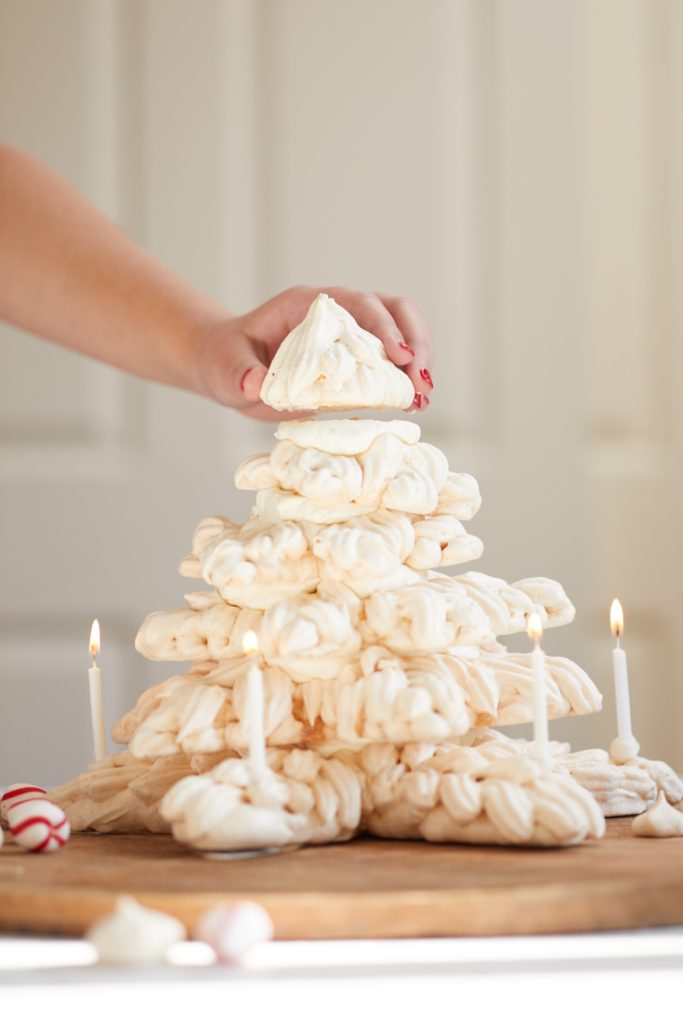
Step 3 – Constructing Tree
Then place the parchment paper on a charcuterie board and place the bottom meringue layer on top of it. Then put some of the heavy whipping cream in the middle of the tree bough. Next, place the next layer on top. Continue for the rest of your layers until you have made a tree.
Meringue Tower Cake (Christmas Tree)
Ingredients
- 2 cup sugar if possible use Baker's Sugar
- 2 tbsp cornstarch
- 8 egg whites room temperature
- 12 oz heavy cream
Instructions
Making the Paper Tree Bough Template
- Your meringue cake is made of six stacked layers, ranging from about twelve inches in diameter at the bottom to two inches on top. This is best achieved by working on top of a paper template for each layer.
- Use a large sheet of posterboard (or other thick paper) to create six 6-pointed stars of the following diameters in inches: 12, 10, 8, 6, 4, 2.
- Make sure the star tips are roughly the same distance from each other. Cut out each star and place it beneath the parchment on the cookie sheet described in the next section.
Making Meringue
- Line a flat cookie sheet with parchment paper.
- Stir sugar and cornstarch together in a bowl.
- Beat (at medium speed} the egg whites until foamy.
- Add sugar and cornstarch mixture to the egg whites.
- Increase the speed and beat until the mixture forms stiff peaks. You can tell if you have stiff peaks by turning your beater upright, and the egg white doesn't collapse. They stay stiff.
Making Meringue Tree Boughs
- Preheat oven to 275°
- Place your meringue in the pastry bag with a star tip attached and then place all six paper templates on three cookie sheets.
- Place each star template beneath the parchment and secure with scotch tape. (IMPORTANT: The tape must be removed before baking).
- Outline the template with the pastry bag and fill in the middle and the boughs with a layer of meringue.
- You will then pipe your pastry bag and create a pattern for the second layer. Create a pattern looking like needles of a tree going towards the center. Continue this step for each tree bough.
- Just note the top layer of the tree bough is two inches in diameter and cone-shaped which is similar to the top of a tree.
- Bake for an hour and a half at 275 degrees. Once done in the oven, DO NOT OPEN THE OVEN. Instead, leave the meringue in the oven on the cookie sheet and let it cool overnight for best results.
Preparing Heavy Cream
- Prepare heavy cream by whipping until thick. You can add a bit of powdered sugar if you like.
- Set aside the whipped cream.
Making the Christmas Tree
- You will want to place the meringue tree on a charcuterie board or large surface.
- Place the bottom tree bough on parchment paper and outline the design with pencil and then cut out the design with scissors.
- Then place the parchment paper on a charcuterie board and place the bottom meringue layer on top of it. Then put some of the heavy whipping cream in the middle of the tree bough. Next place the next layer on top. Continue for the rest of your layers until you have made a tree.
Adding Candles (optional step)
- Take pieces of white fondant and mold them into a ball. Then place birthday candles in each ball. You will end up with six balls and six candles.
- Place each candle on the bottom boughs.
This meringue tower cake is a light dessert perfect for enjoying the holidays!
Cheers,


- Springtime Throw Pillows - April 8, 2026
- Cherry Blossom Cookie Recipe - April 3, 2026
- Amazon Simple Porch Decor - April 1, 2026


Renae
This is so amazing! Such a beautiful dessert. Happy holidays!
Donna
Beautiful!
happyhappynester
Hello Donna, thank you so much for your sweet comment 🙂 This cake was a blast to create, hope you enjoy the rest of your day!