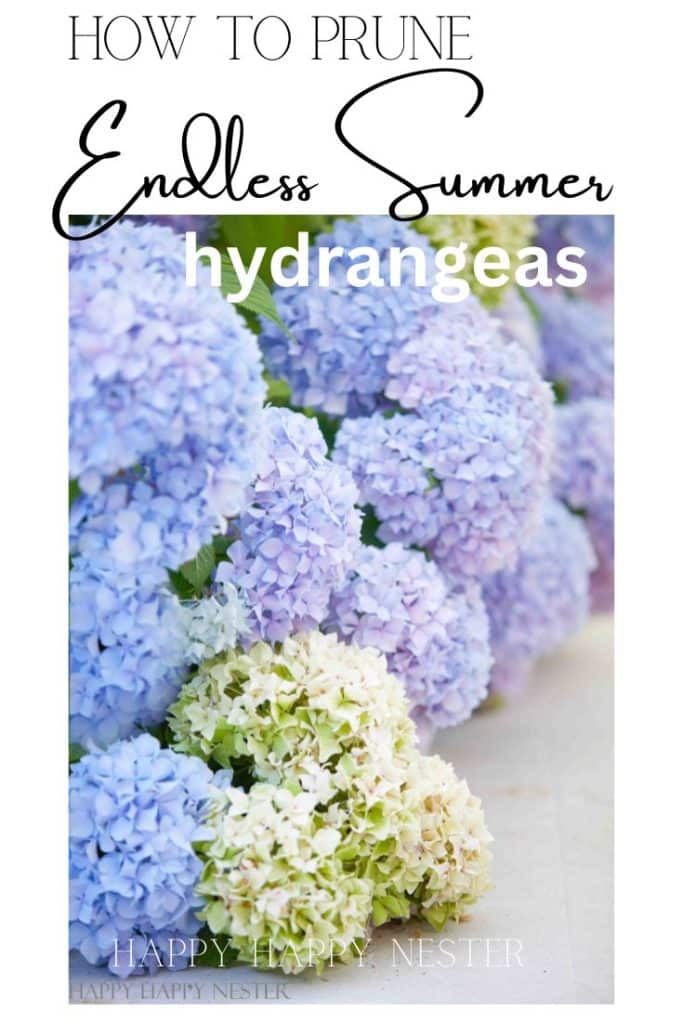
When it comes to Pruning Endless Summer Hydrangeas, keeping them healthy and looking good is essential. Let’s dive into what you need to know when it’s time to prune these gorgeous perennials.
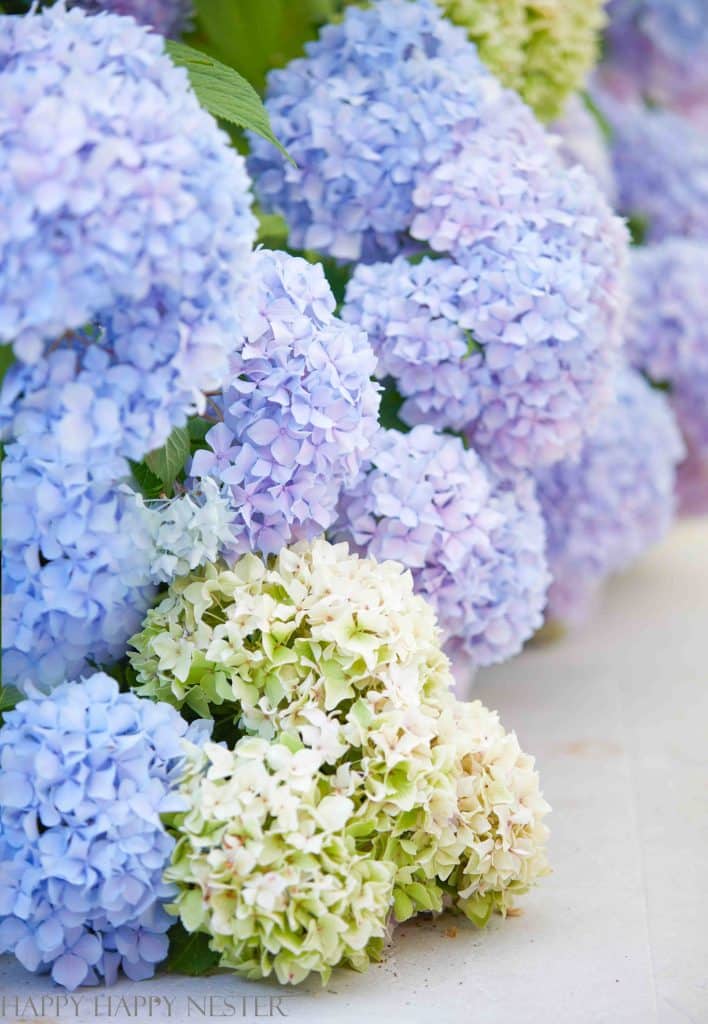
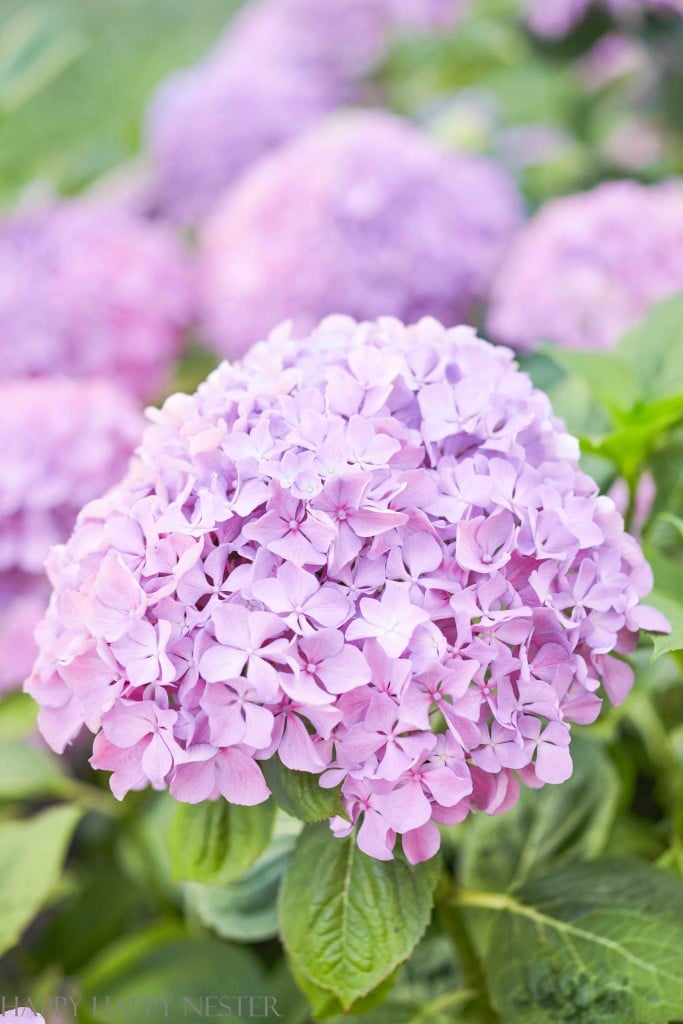
Endless Summer Hydrangeas are popular for gardeners, offering a longer blooming season, beautiful flower colors, and the flexibility to thrive in a broader range of environments. And these gorgeous hydrangeas have become a must-have in gardens everywhere, giving you a guaranteed jaw-dropping flower show all summer.
Hey there, fellow gardeners!
Today, I’m thrilled to dive into the world of hydrangeas, specifically the ever-popular Endless Summer variety. These beauties are known for their stunning blooms that grace our gardens throughout the year.
As you probably know, not all hydrangeas should be pruned the same. So, I’m focusing on specifically pruning Endless Summer hydrangeas today. So, let’s roll up our sleeves and get our pruning game on!
Also, I need to mention that my blogging friends are joining me with their gardening projects. So, don’t forget to scroll to the end of this post to view their cool D
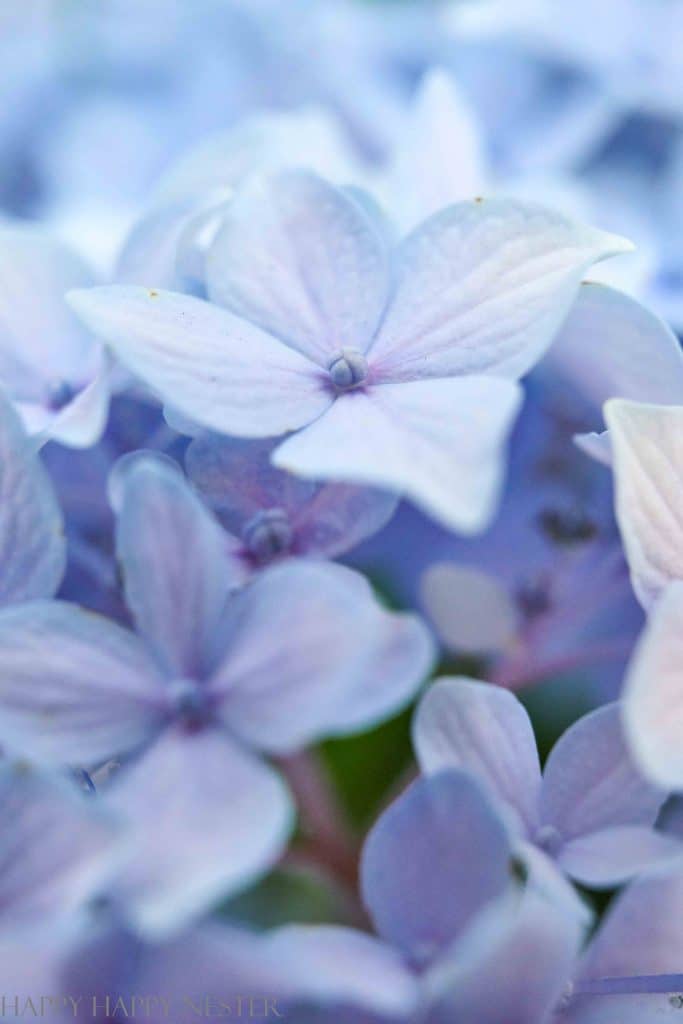
All About The Origins of Endless Summer Hydrangeas
Endless Summer Hydrangeas are a popular and beloved variety of hydrangeas known for their ability to bloom on both old and new wood, providing an extended blooming season. Bailey Nurseries, a renowned plant breeding company, introduced them to gardening.
The story of Endless Summer Hydrangeas begins with Dr. Michael Dirr, a renowned horticulturist and plant expert. Dr. Dirr had the vision to develop a hydrangea variety that would bloom reliably and abundantly even in colder climates where traditional hydrangeas struggled due to harsh winters.
The arrival of Endless Summer Hydrangeas was a game-changer for us gardeners. It completely transformed the hydrangea experience. With Endless Summer Hydrangeas, we finally had plants that could flower on old and new wood and enjoy a more extended blossoming season.
How to Prune Endless Summer Hydrangeas
Step 1: Timing is Everything
To kickstart this pruning adventure, timing is crucial. The best time to prune your Endless Summer hydrangeas is in early spring, just as those first signs of new growth start popping up. By pruning at this time, you’re giving your hydrangeas a chance to focus their energy on producing fresh branches and loads of blooms during the growing season. Avoid the temptation to prune in late summer or fall, as you might accidentally snip off those precious flower buds for the following year.
Step 2: Give Your Plant a Once-Over
Before you unleash your pruning prowess, take a moment to assess your hydrangea. Look out for dead, damaged, or weak branches that must bid farewell. These troublemakers can hinder healthy growth and prevent your plant from reaching its full potential. Plus, by removing them, you’ll improve airflow and reduce the risk of disease sneaking in.
Step 3: The Pruning Techniques
Okay, now let’s get to the fun part – the pruning! Depending on the age and condition of your Endless Summer hydrangea, you’ll want to follow one of two techniques:
a. Pruning Established Plants: We pruned our Endless Summer hydrangea a couple of springs ago, and the results were terrific. Trim back up to one-third of the oldest stems. This aggressive pruning rejuvenates your hydrangea, giving it energy and encouraging the growth of solid and sturdy branches to support those magnificent blooms. But just be aware that you may get fewer blossoms the first summer after pruning. But, then the next summer will be glorious!
b. Pruning Young or Damaged Plants: For those recently planted or younger hydrangeas, it’s all about shaping and promoting bushier growth. Start by removing any dead or damaged wood, and then give those long, straggly branches a little trim. This technique encourages your plant to grow in a well-rounded manner.
Step 4: Cut Like a Pro
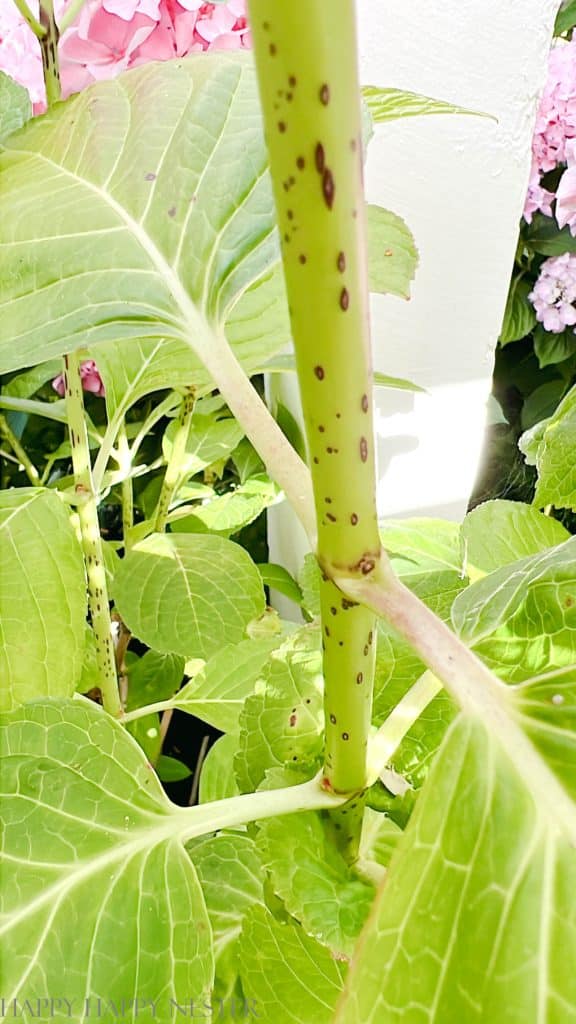
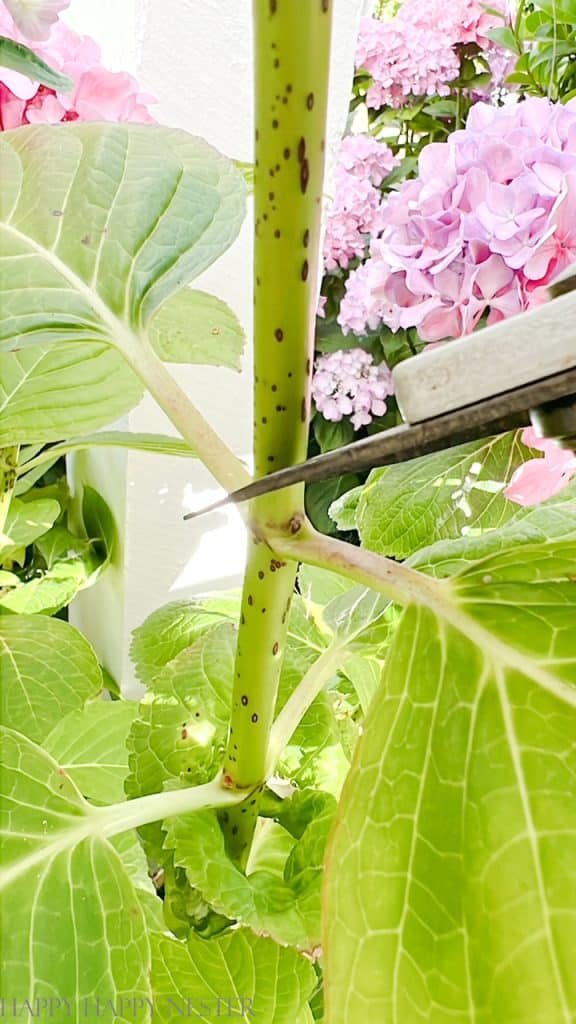
When it’s time to make those cuts, arm yourself with sharp and clean pruning shears. Remember, precision is key! Cut just above a bud or node at a 45-degree angle, and avoid leaving any stubs behind. This fancy-cutting technique helps your plant heal faster and keeps pesky diseases at bay. Don’t forget to sanitize your tools between cuts – we want to avoid unwanted infections.
Step 5: Show Some Love with Mulch and Feeding
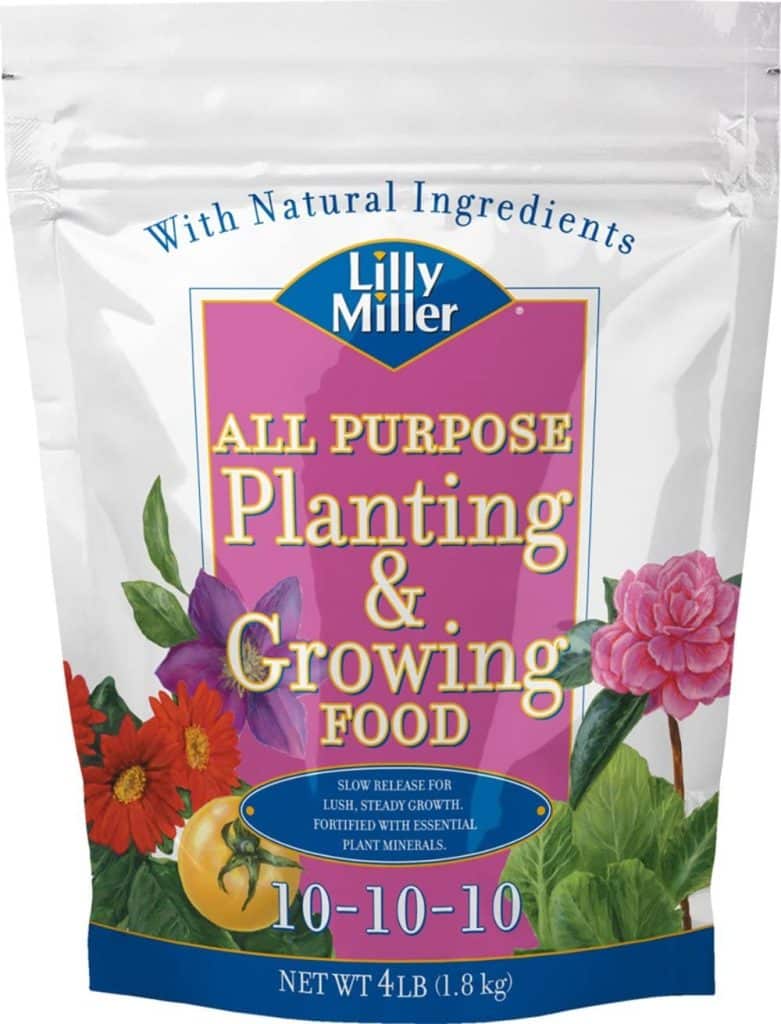
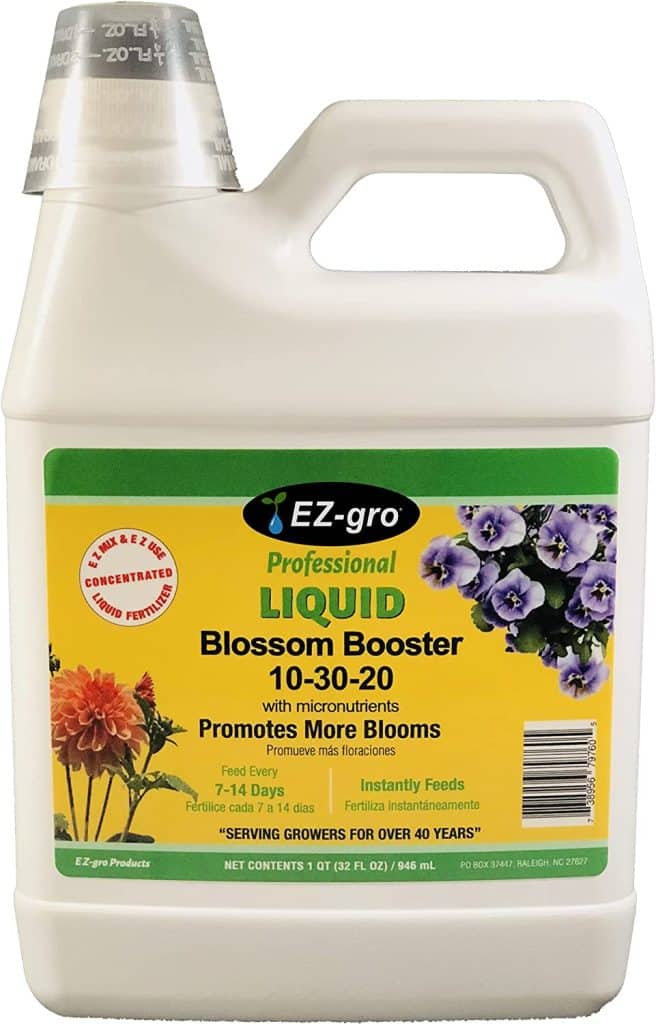
Once you’ve finished your pruning extravaganza, it’s time to give your hydrangeas some well-deserved TLC. In the springtime, spread a generous layer of organic mulch around the base of your Endless Summer beauties. This fabulous mulch helps retain moisture and keeps those roots happy. And if you want to go the extra mile, feed your hydrangeas with a balanced fertilizer of all-purpose slow-release granular fertilizer (10-10-10) before it blooms. And right before it blooms, you can feed it a bloom booster (10-30-20) to keep them nourished and blooming their hearts out.
Essentials for Pruning Hydrangeas

Bypass hand pruners are your go-to tool for precise cuts on smaller branches and stems. They feature sharp, curved blades that slide past each other, providing a clean and gentle cut.
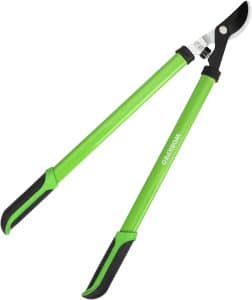
Bypass lopper pruners are perfect for tackling thicker branches. Their long handles and robust blades offer the leverage and power needed to trim those hard-to-reach areas effortlessly.
What are Bypass Pruners?
Now, you may be wondering what bypass pruners are!
These pruners have a pair of curved blades that slide past each other as you squeeze, like a fancy pair of scissors. And let me tell you, they’re the go-to for making clean and precise cuts on plants, branches, and stems. With those curved blades, you don’t get the rough, jagged cuts that harm your precious plants.
Bypass pruners are perfect for delicate or green wood, shaping shrubs, taming flowers, and even gathering those ripe fruits and veggies.
Types of Pruning
Heading Cut
This simple but effective method involves trimming the branches to redirect growth or shorten branches. You trim just above the next bud or node below the existing dried hydrangea blossom. This will promote fresh growth and create a more compact and bushy plant. This type of pruning will encourage more blossoms in the summer. I do this type of pruning in the springtime.
Thinning Out
This method removes diseased, dead, or crossing branches from your hydrangea. Grab your trusty looper trimmers and snip away the branches closest to the bush’s base. But here’s a tip: be careful not to go overboard. Remember, we don’t want to remove more than a third of the branches, as it can negatively impact the health of your precious hydrangea.
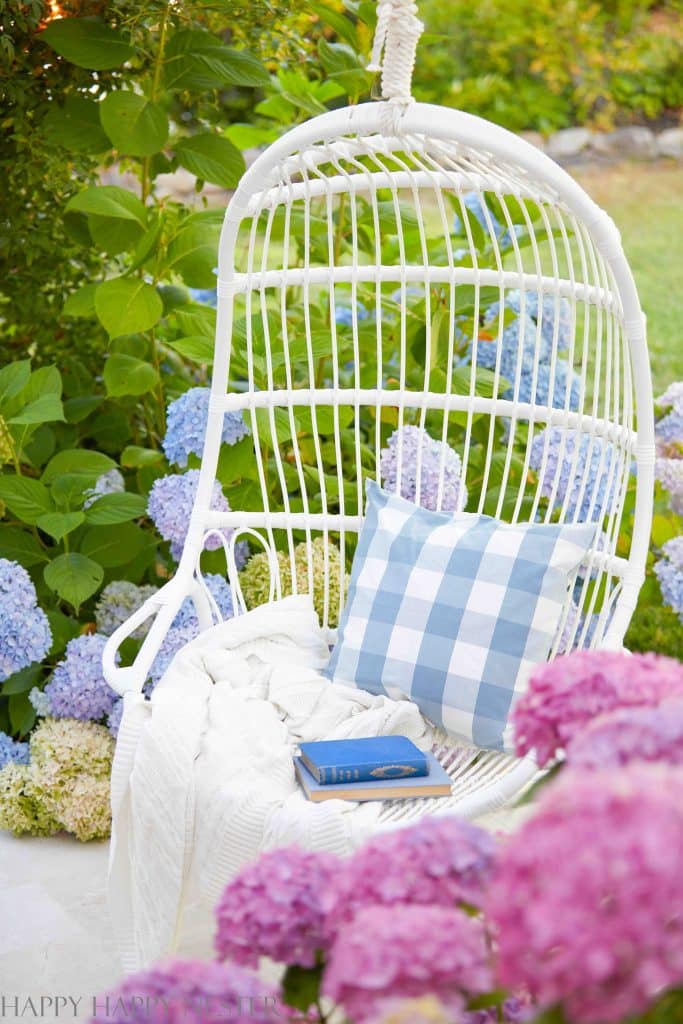
My Personal Experience with Endless Summer Hydrangeas
Oh, the story of our hydrangeas is quite a tale!
When we revamped our backyard patio, my husband took it upon himself to go all out with the hydrangea pruning. Usually, I’m the one who lightly trims them, but with the patio overhaul in full swing, he wanted to make sure the equipment wouldn’t damage those precious plants.
Well, the following summer, we were slightly disappointed by the lackluster display of blossoms. It was pretty disheartening, to be honest.
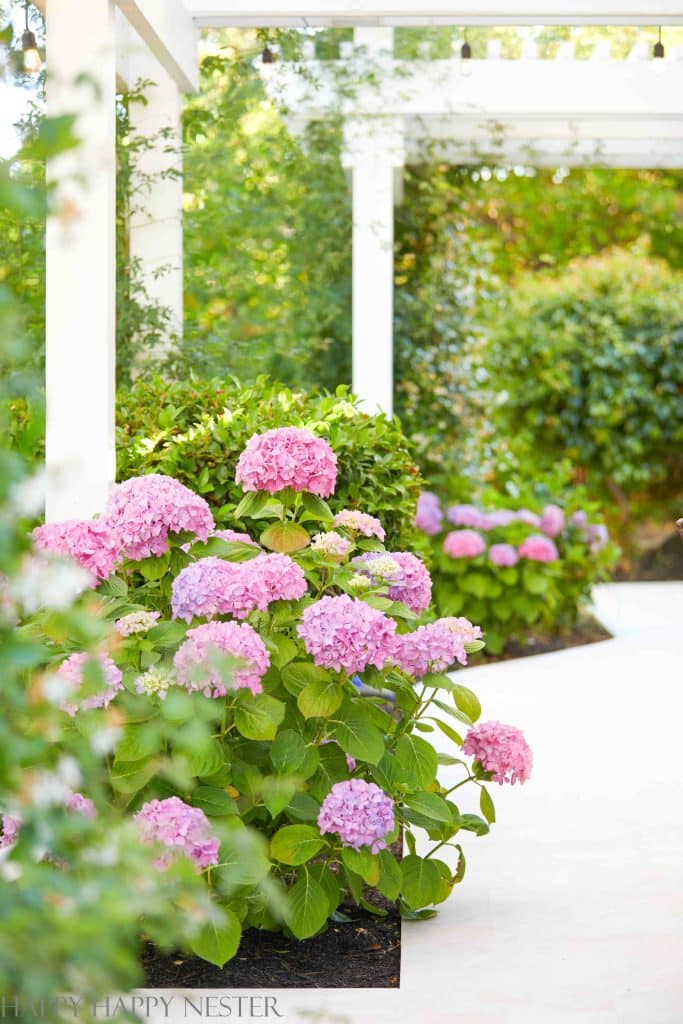
But here’s the twist: His bold pruning was a stroke of genius. Two summers later, our hydrangea bushes are stunning, bursting with vibrant blossoms. It’s become an absolute joy to spend time in our backyard, surrounded by these natural beauties.
When it comes to pruning your hydrangeas in the springtime, I’ll leave that decision entirely up to you. You can trim up to 1/3 of your branches or just below the blossoms before the next bud on the stem.
I genuinely hope you have your hydrangeas to enjoy, and I hope this post on pruning Endless Summer Hydrangeas has provided you with some helpful tips for taking care of them. Cheers to a thriving and breathtaking garden!
A Side Note About Endless Summer Hydrangeas
So, let me give you a heads-up when it comes to planting those Endless Summer Hydrangeas of yours.
Here’s the thing: they’re not huge fans of being in direct, blazing sunlight all day long. We learned this the hard way, planting ours in sunny spots without a second thought. Boy, were we in for a surprise when those scorching hot days hit!
But fear not.
We came up with a solution. We draped them with an overhead sun sail to shield them from the scorching heat during our blazing summer days. And I’m happy to report that it’s actually working. Once we’ve perfected our system, I’ll be sure to share all the details with you. Stay tuned!
If you’re interested in other gardening projects that I have, check these out:
Here’s to Happy Gardening!

Photo Credits: MyPhotography.com
Blogger’s Best Summer Gardening Projects!
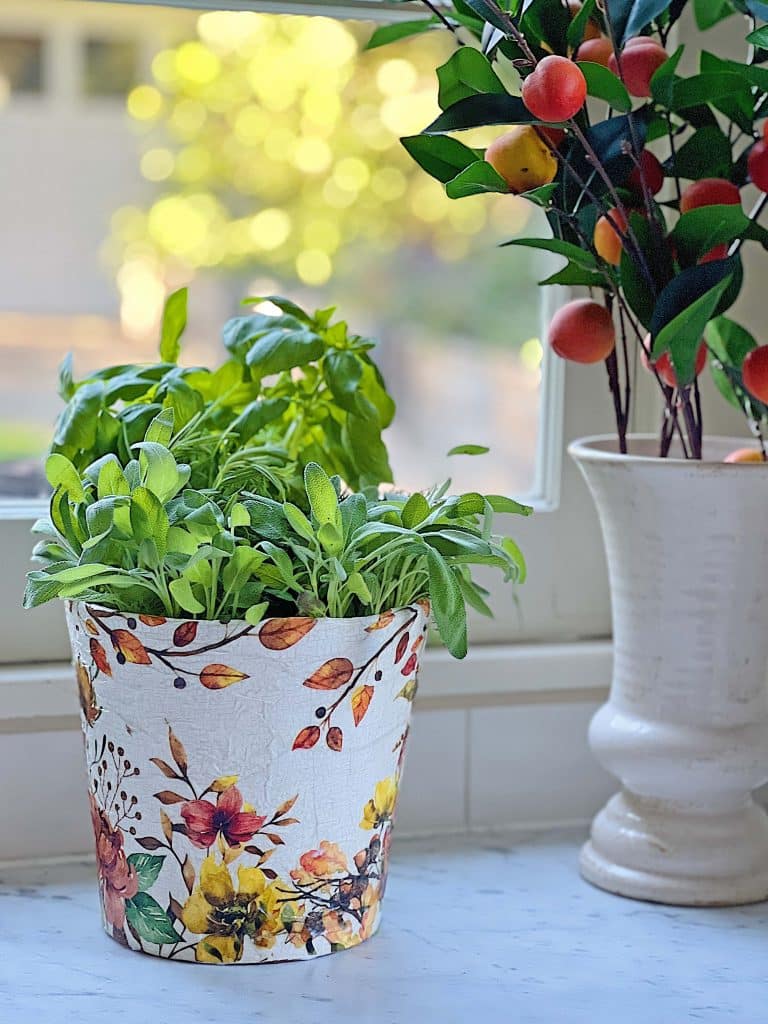
DIY Herb Pots for Your Kitchen | My 100 Year Old Home
Summer gardening doesn’t only have to take place outdoors. Today I am sharing how to make DIY herb pots to grow fresh herbs in your kitchen!

DIY Summer Flower Arrangement | My Sweet Savannah
Learn how to easily create a showstopping summer floral arrangement using flowers from your garden, grocery store, and even adding in some faux florals!
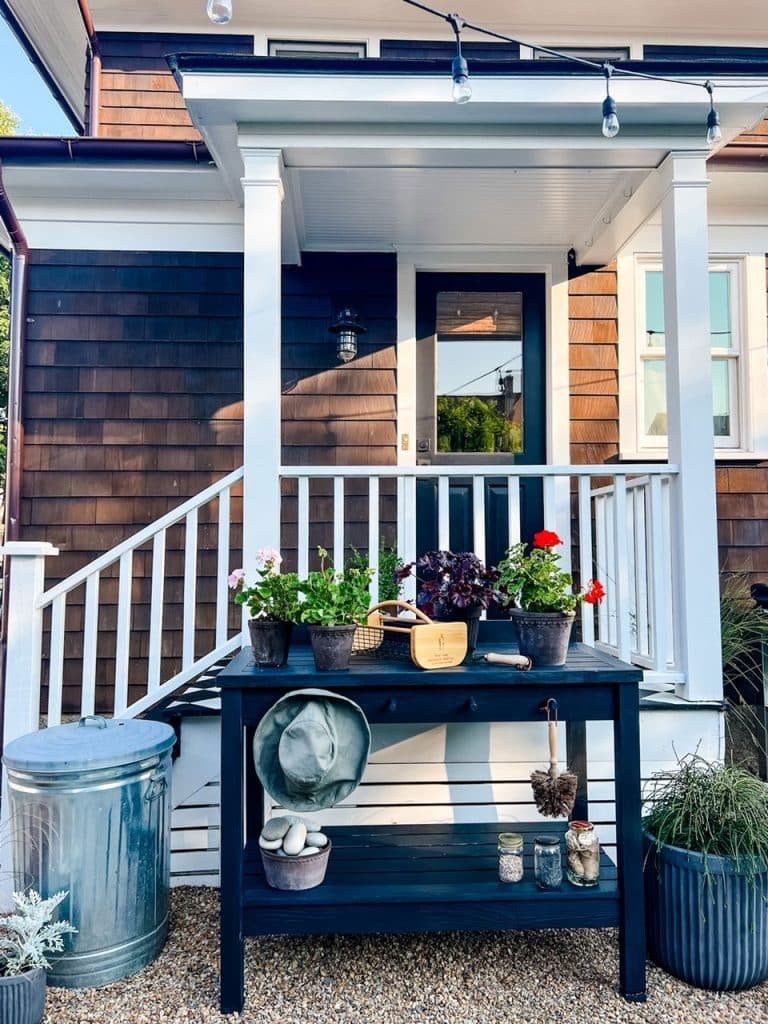
How to Make an Old Potting Bench Look New | Most Lovely Things
How to take an old and weathered potting bench and turn it into something beautiful that can serve as a potting bench and a drink station when entertaining.
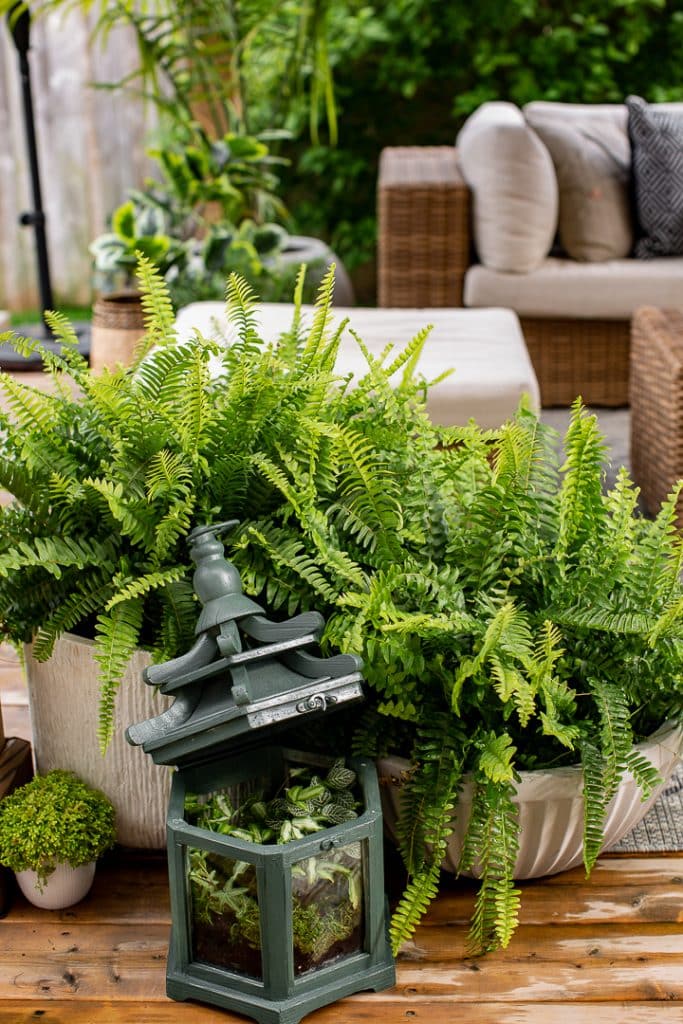
Lantern Turn Planter | Craftberry Bush
Turn your regular garden lantern into a whimsical planter with a few simple tweaks. Make this stunning terrarium-like planter that will bring a touch of lush greenery to your summer patio.

- Heart Shaped Brownies Recipe - February 13, 2026
- Framed Artwork from Amazon - February 12, 2026
- Chocolate Covered Quinoa Recipe - February 5, 2026


Annie Diamond
Janine- This is just the post I needed! I have quite a few Endless Summer Hydrangeas…in fact that’s what I used to make my twig stars on the 4th! I knew that I should have been cutting those back earlier! We may have a lackluster display next year, but sounds like the following year it will pay off! I never think to sanitize my pruners! I will now! Great post!!
xo
Melaine Thompson
I love all your tips on hydrangeas. They are one of my favorite things to grow!
Sally Rice
Thanks much for these helpful ideas.
Janine Waite
Hi Sally,
You’re so welcome. Happy Gardening!