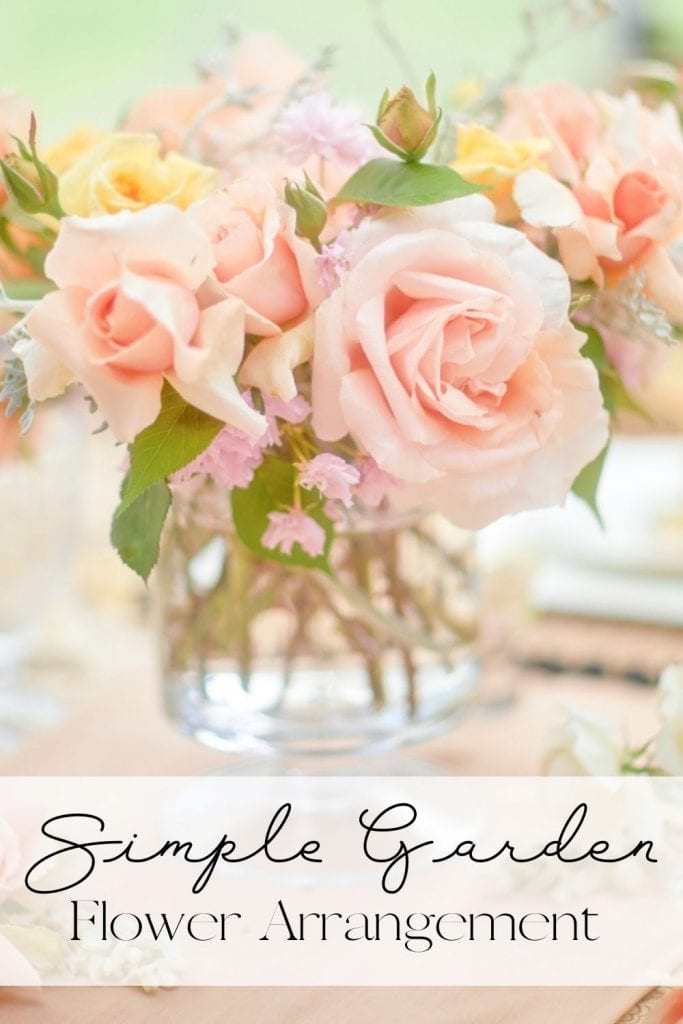
Create this Simple Garden Flower Arrangement with roses from your garden. This garden bouquet can be made in minutes, and find out how in this post.
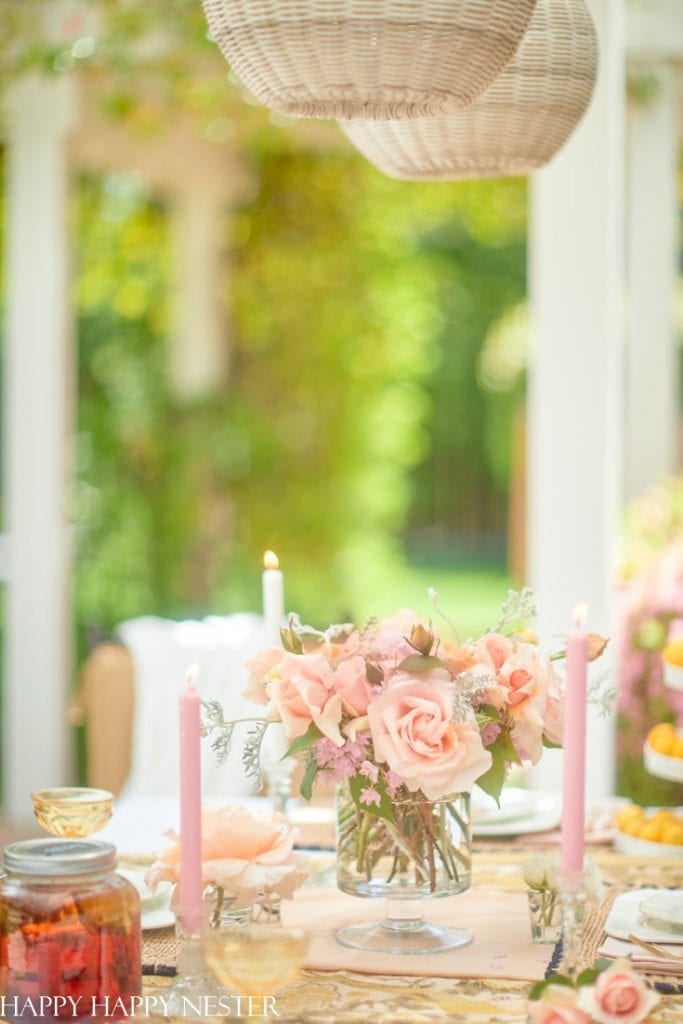
I’m pleased that not only did I design an easy and quick floral arrangement, I also didn’t spend any money on flowers. It’s a double win.
Simple Garden Flower Arrangement
I have always loved flowers whether it’s gardens full of blooms or flower arrangements used for decoration. Real or faux, I love them!
One of my hobbies has been creating flower arrangements as the centerpiece for our table.
Today I want to share my DIY Flower Arrangement with you and everything that went into creating this beautiful bundle of blooms!
I need to mention that today’s my friends are joining me on a blog hop of our patios and porches. Their projects are located near that end of this post.
Let’s get started on creating a simple garden flower arrangement!
Here are some simple steps to creating this flower arrangement.
Step 1 – Choose Your Color Palette
Before starting this project, choose out your color palette before you do anything.
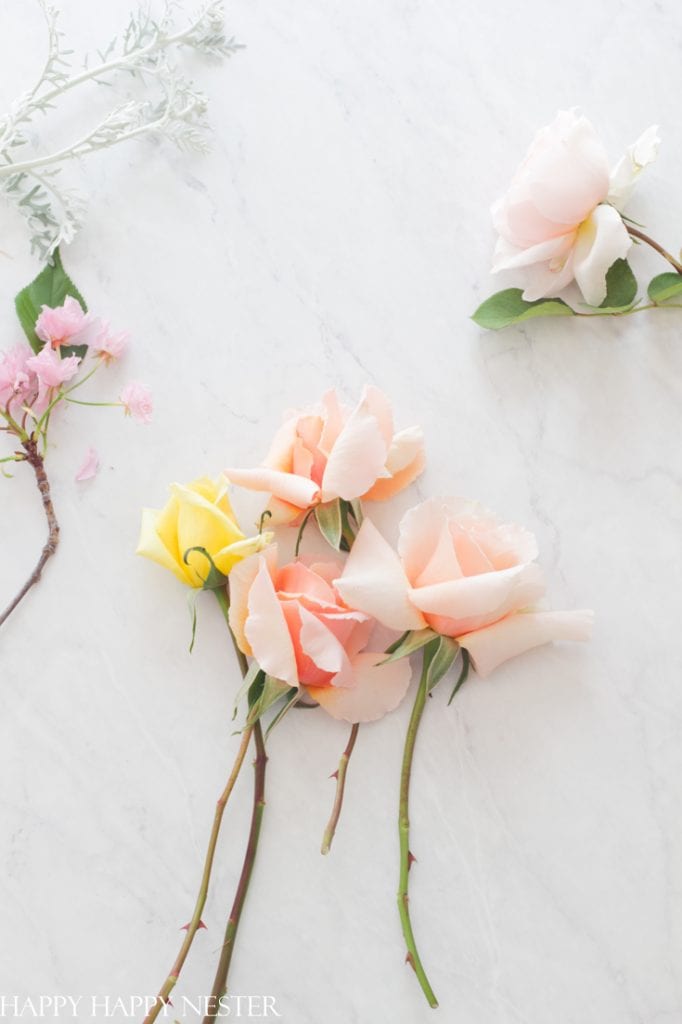
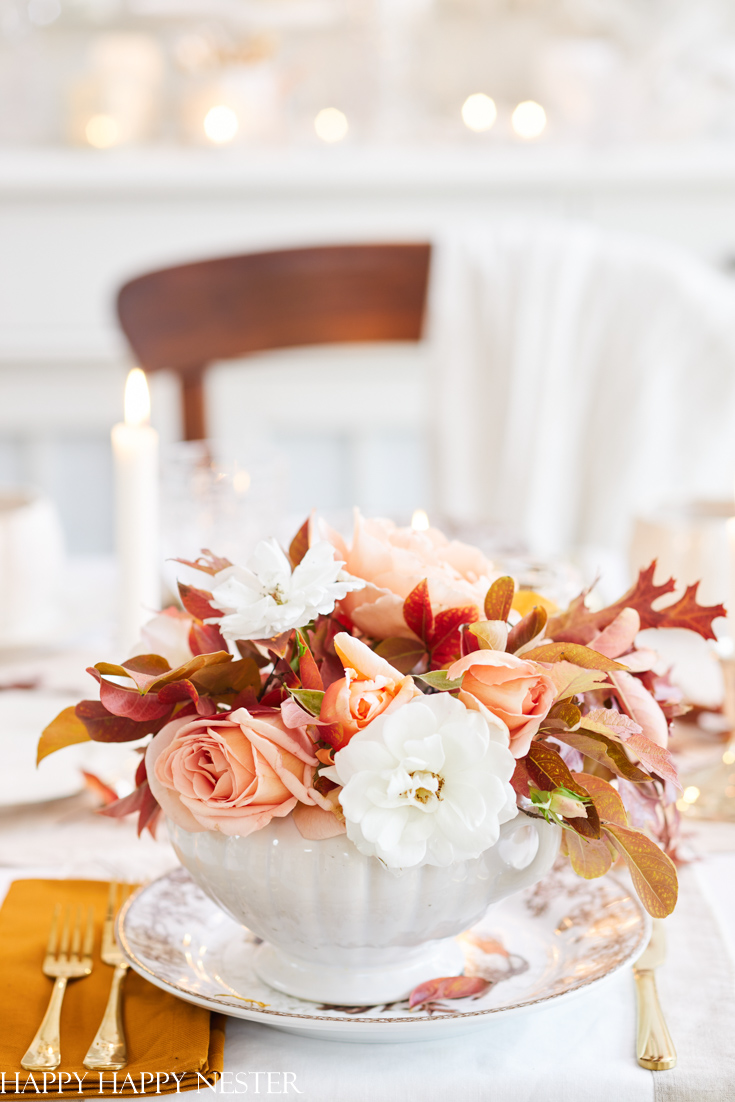
I committed to one color, a soft peach shade, with an accent of some yellow roses and a hint of pink.
I would suggest keeping it simple when it comes to your choice of flowers when making a trouble-free arrangement. I did this in my simple floral arrangement post.
Step 2 – Choose The Flowers
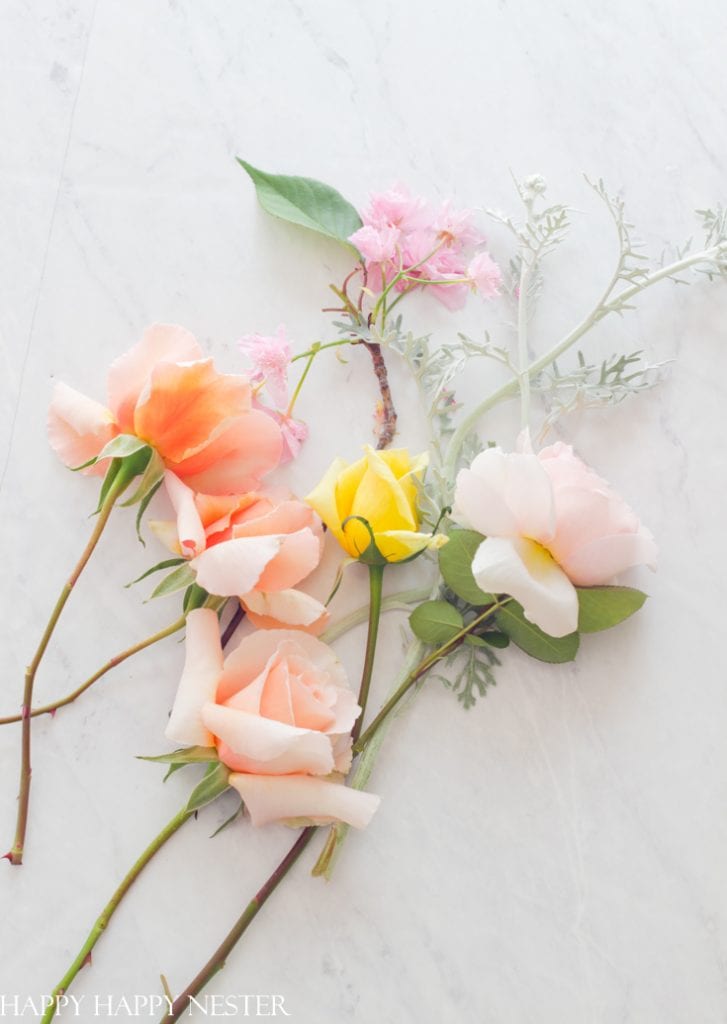
There is a variety of flowers you can use for a flower arrangement, and it’s up to you, which makes this project so fun!
I decided to include orange roses, Dusty Miller plants, and Cherry Blossom branches.
I kept it simple in regards to flowers because I wanted this arrangement to focus on peach-colored roses.
I know not all of you have a garden full of roses, so here are few sources for fresh flower delivery:
Beautiful Fresh Flower Arrangements
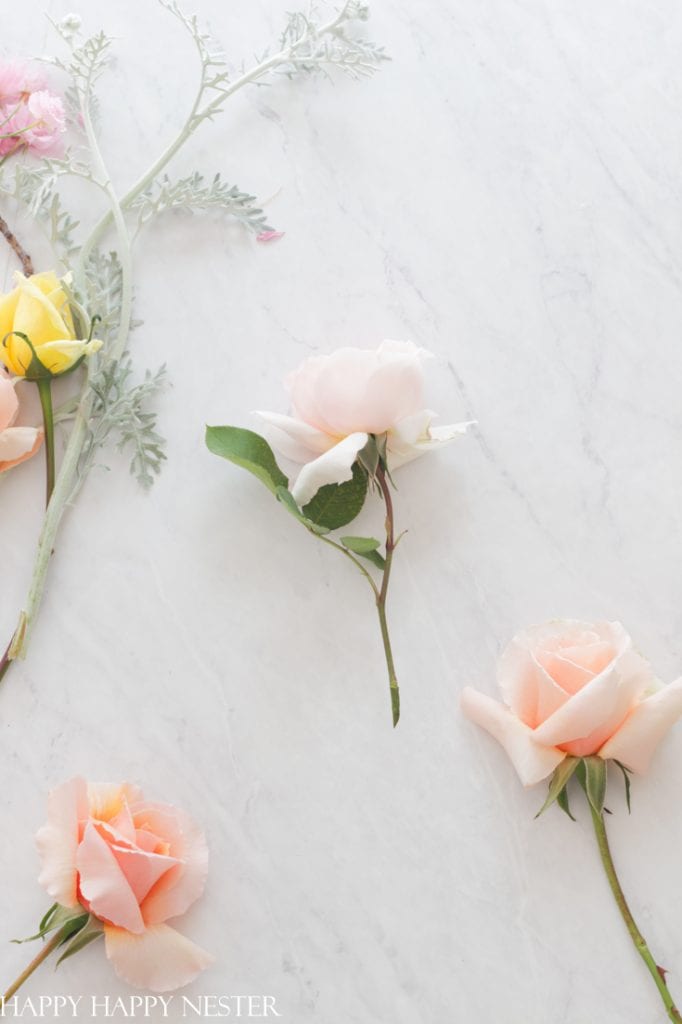
Step 3 – Cut Flowers
Cut your roses at an angle and place them in water immediately to keep them looking fresh for the final arrangement.
I would recommend placing them in a flower preservative solution.
To help out, I have a post that explores the different ways to make flowers last longer. If that is something that you have always had trouble with, feel free to check out the post on what makes flowers last longer over on the blog!
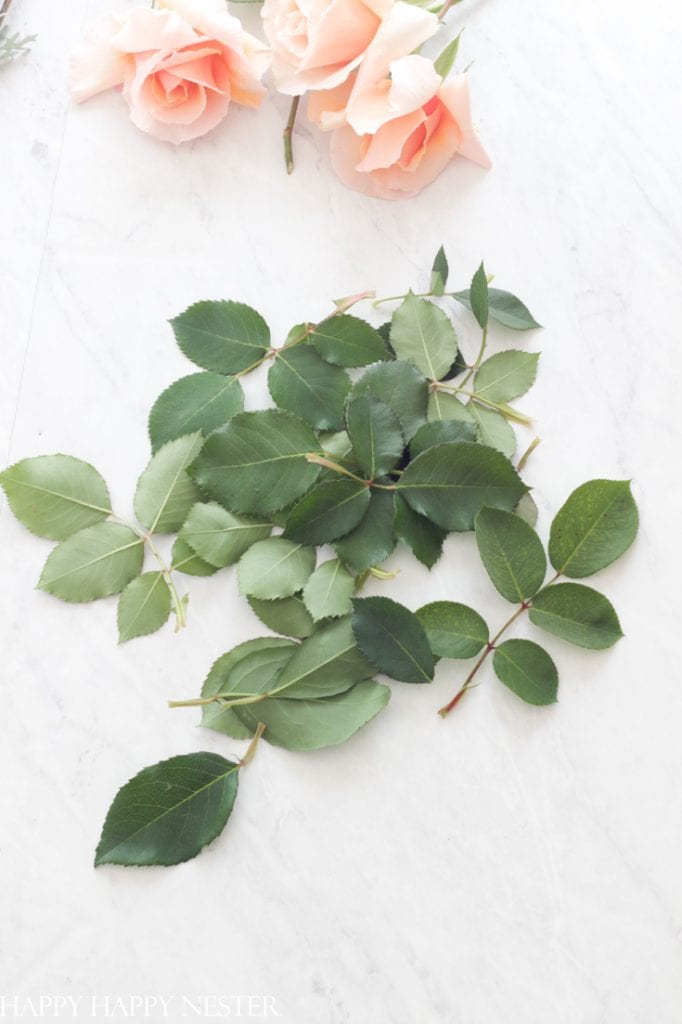
Step 4 – Strip Leaves
Not only do you want to cut your roses at an angle, but you also want to make sure you strip the roses of their leaves.
This step allows all the water to go to the flowers rather than to the leaves. Also, in general, this helps the arrangement be all about the flowers rather than focusing on the green leaves.
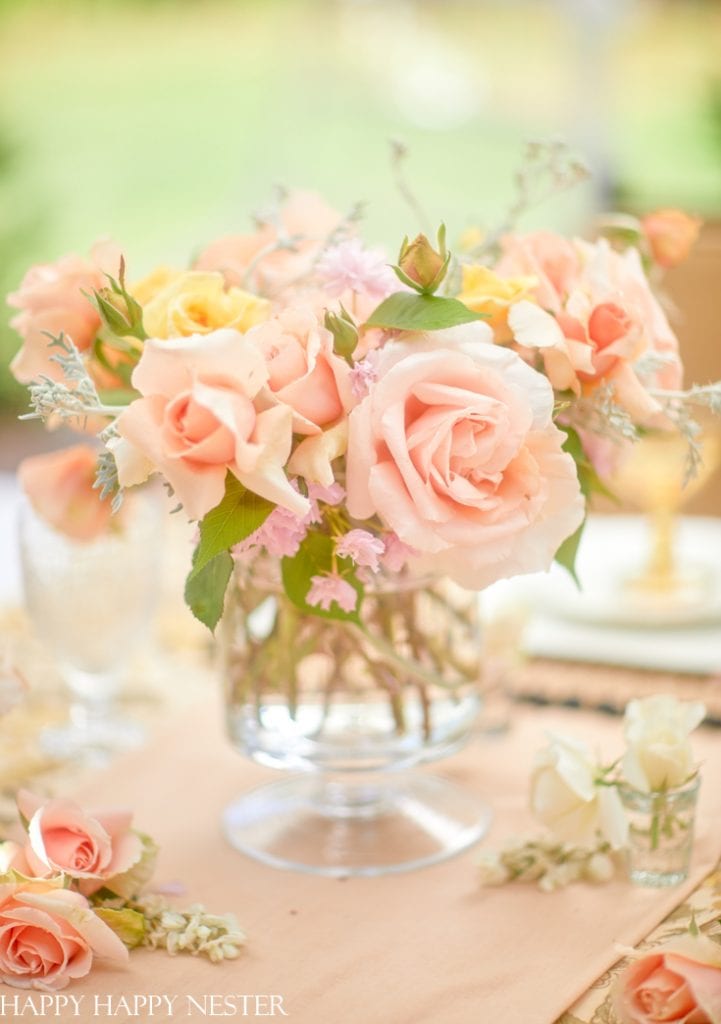
Step 5 – Arrange Flowers in a Vase
I place the roses in the vase first and then add the accents next.
I usually trim the stems as I place them in the container. And the height of the roses ranges from the top of the vase to another half the height of the vase.
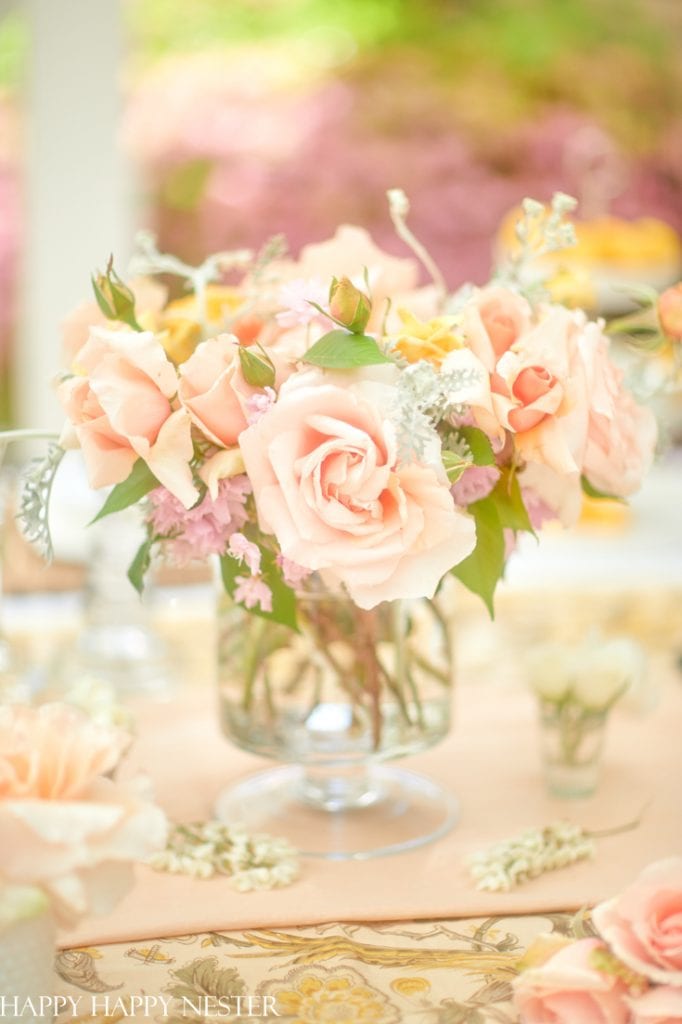
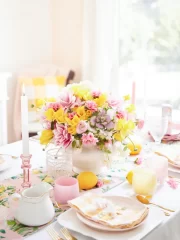
In this DIY, I used a simple glass vase. Why, you must be asking? Well, because the vase is clear, which, to be honest, adds a bit of sparkle on the table, and it also adds a fresh look not only for the arrangement but also for the rest of the table setting.
Here are a bunch of pretty glass vases!
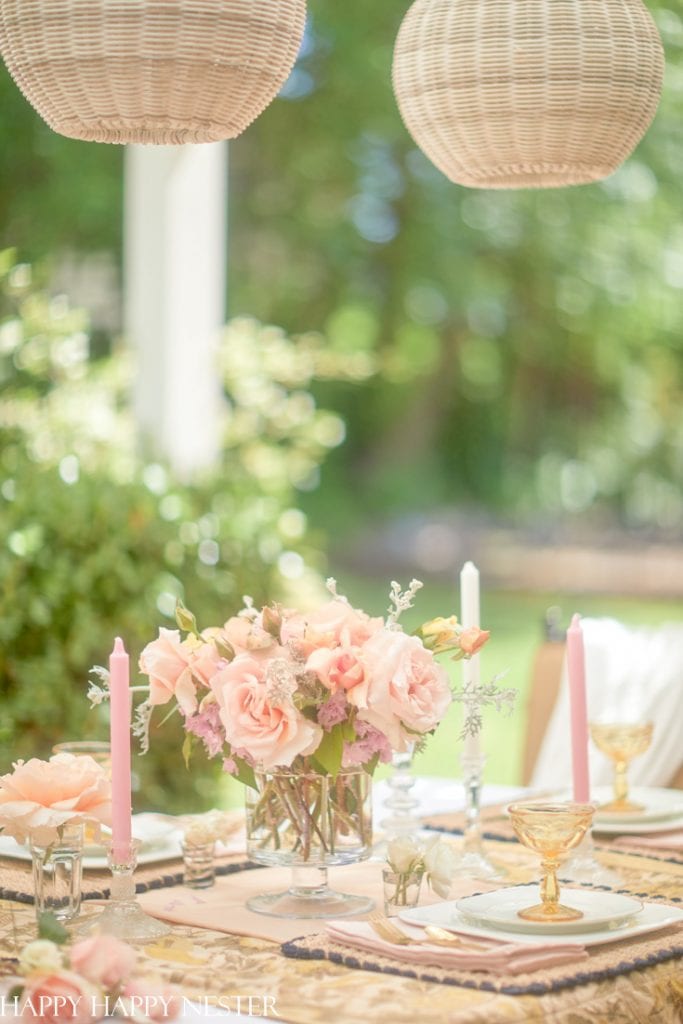
Bonus Style Tips
Now that you know how to get started on creating this DIY Flower Arrangement, here are some bonus tips from yours truly!
- When styling a floral arrangement on the table, I would recommend using table cloth prints similar to the English cottage style.
This includes calico prints, antique fabrics, etc. Another way to add some elegance to your table setting would be to layer your fabric with your table decor. All in all, these fabrics should all combine well even if they are different, whether it’s the same shade but different patterns or vice versa.
Not only should the colors blend well, but the shape of the prints, whether small or big, should look pleasing to the eye as well.
Here is a great collection of floral tablecloths.
2. Choose flowers that have a beautiful fragrance.
Not only do we want these flowers to look good but to smell good as well! Having flowers and plants that smell good is one advantage over store-bought flowers. Plus, it’s just lovely overall to have beautiful blooms with a sweet fragrance!
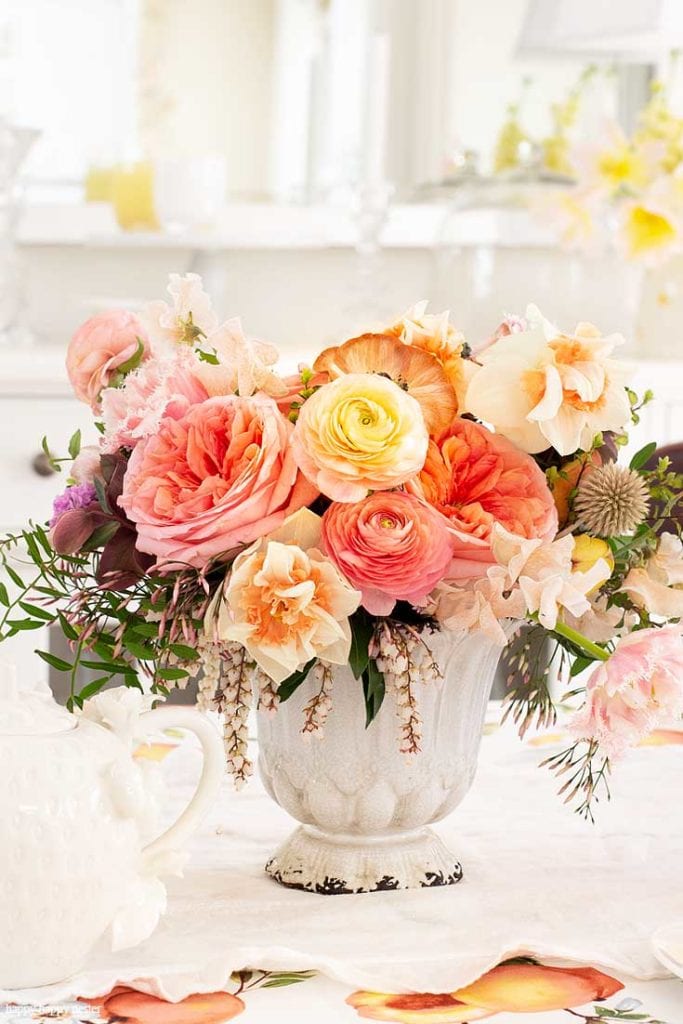
3. To make your floral arrangement pop even more with color, I would suggest adding fruit like a lemon, for example.
I was tempted to add lemons but decided against it, though if I did add lemons, I would pick a branch with lemon and add it to the arrangement inside the vase or place the lemon on a wooden skewer and then add it to the arrangement.
Kathy, my florist friend, added peaches in a flower bouquet in this Mother’s Day gift basket post.
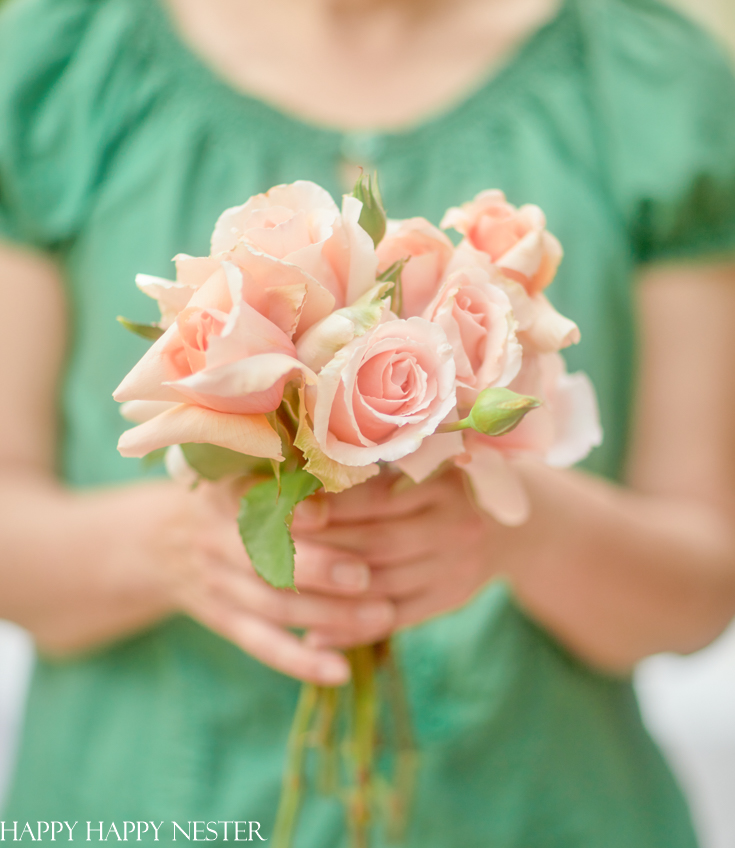
Flowers From My Garden
Basically, I incorporated roses, Dusty Miller plants, and Cherry blossom branches from my yard and felt inspired to create an arrangement like the English Country Garden Flower Arrangement.
It’s simple, cheap, and worth the time! Hopefully, I have encouraged you to get outside, snip some blooms and create a lovely floral bouquet!
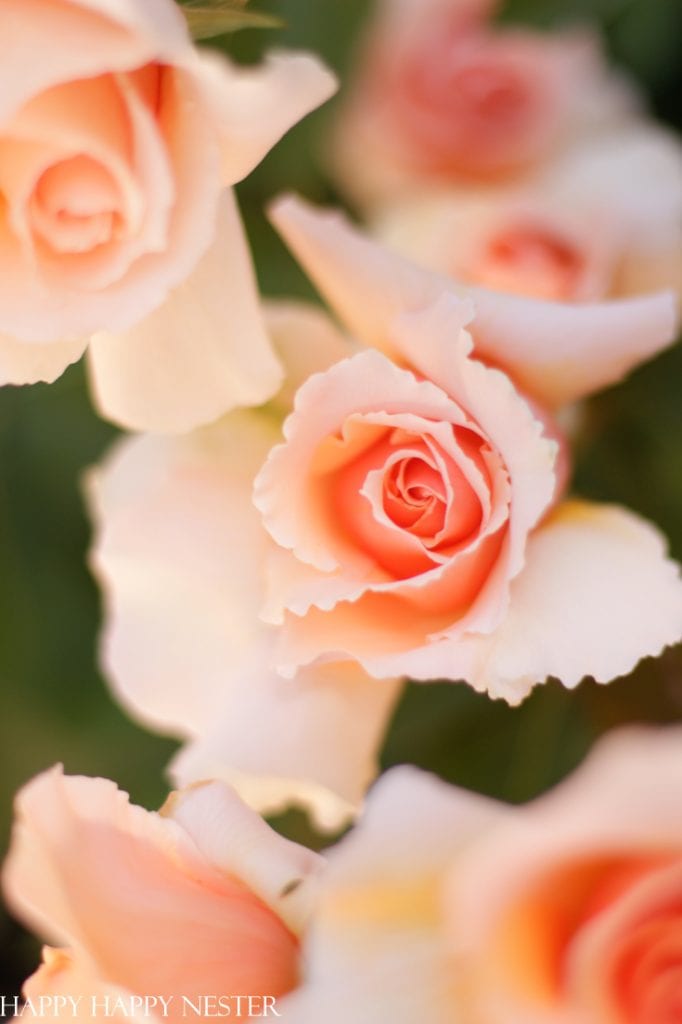
I prefer to cut my roses in the morning when the bush is well hydrated and ready to go! The reason for this is because I would rather have fresh flowers in the vase than having them wilt in the container.
I’m so delighted that you are here for a visit.
I must say that this is one of my favorite DIY Flower Arrangements because it’s simple to create. It’s gorgeous to admire as a piece of decoration inside or outside your home.
And it’s a perfect centerpiece for the table when having friends and family over!
Happy Thursday!
Cheers,

10 Gorgeous Patio Decor Ideas
How To Create An Outdoor Living Space // Modern Glam
Simple Garden Flower Arrangement // Happy Happy Nester
How to Ready Your Porch for Spring // Twelve On Main
Hanging Basket DIY // Finding Lovely

How to Refresh Your Front Door for Spring // Life Is Better At Home
How to Decorate Your Back Porch for Spring // My 100 Year Old Home
10+ Inspiring Front Porch Decorating Ideas // Lemon Grove Lane

How I Decorate Our Deck For Function and Beauty // My Sweet Savannah
How to Build an Easy DIY Pallet Bar // The DIY Mommy
How to Decorate a Spring Front Porch // Maison De Cinq

- Heart Shaped Brownies Recipe - February 13, 2026
- Framed Artwork from Amazon - February 12, 2026
- Chocolate Covered Quinoa Recipe - February 5, 2026


Leave a Reply