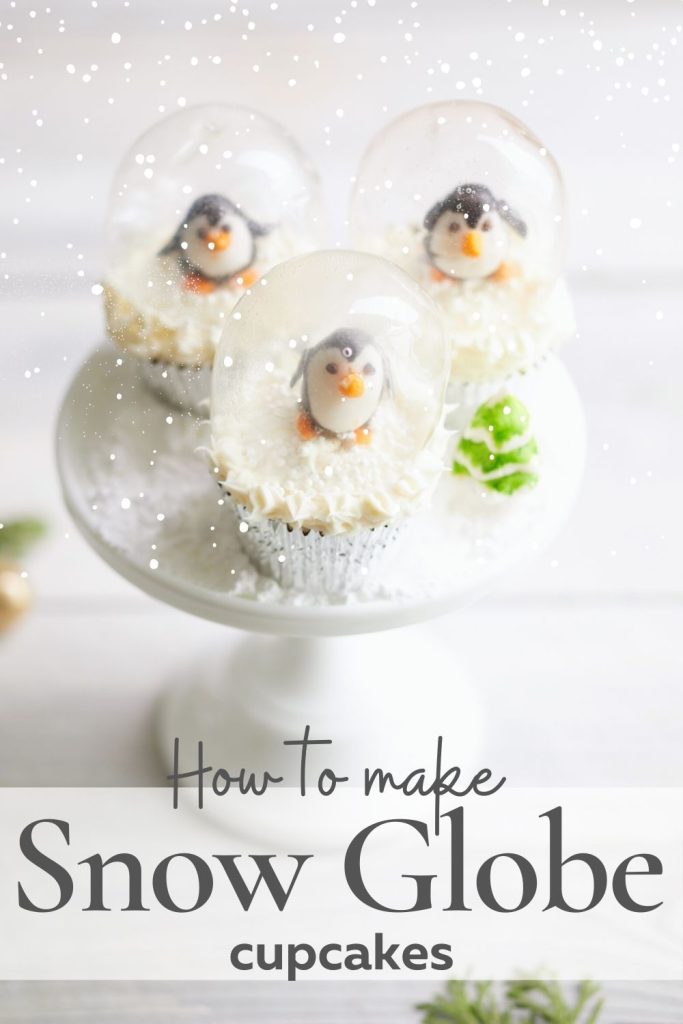
The first time I saw Snow Globe Cupcakes with Gelatin was on The Great British Baking Show! I had no idea such a thing existed. It’s so cool that these gelatin bubbles are edible and so cool-looking. I made mine two ways, one with Knox Gelatin and premium gelatin sheets. Naturally, I wanted the clearest snow globe, so make sure to find out which one turned out the best.
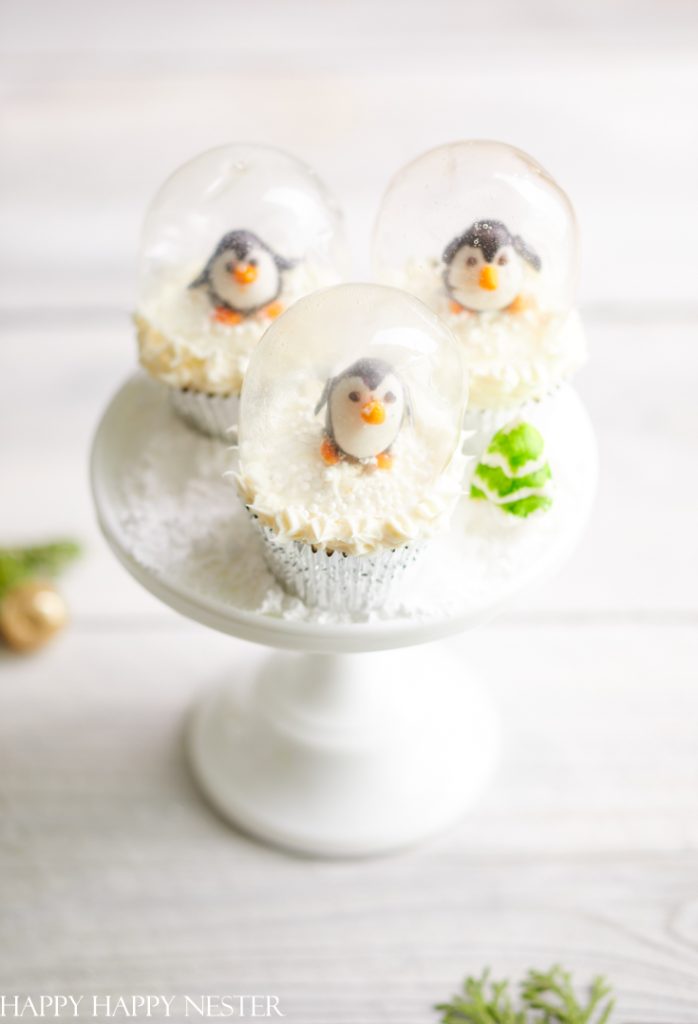
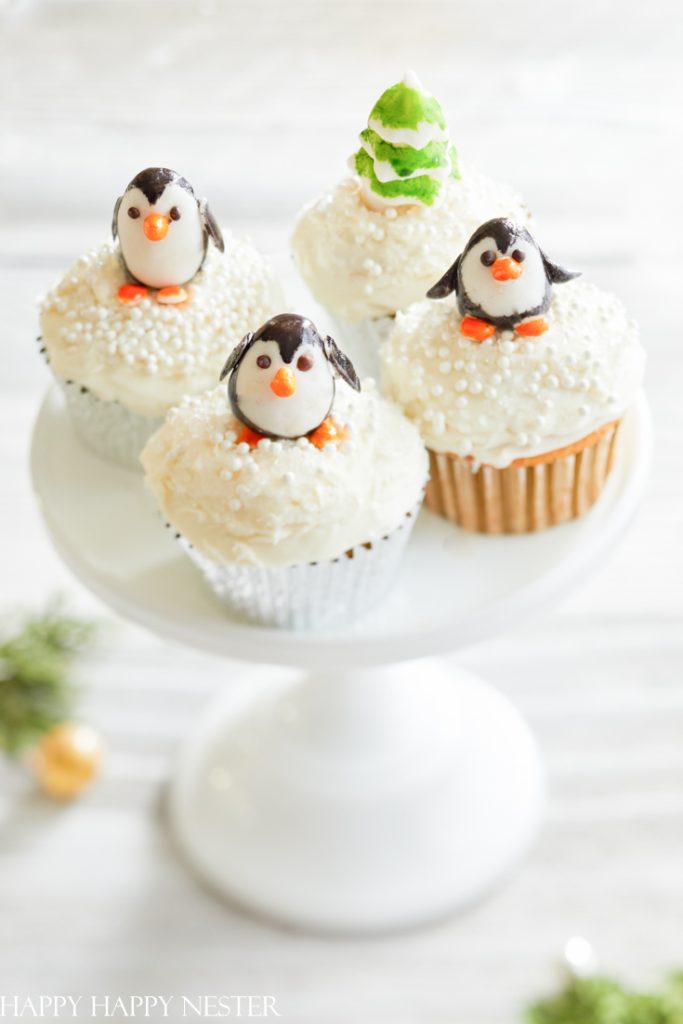
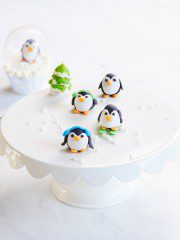
We made the cutest fondant penguins on top of the cupcakes. But, you can place practically anything on top of your cupcake. The possibilities are endless.
I love a baking challenge, and I especially love a holiday project. I have a few holiday desserts over here on the blog. Check out these past posts!
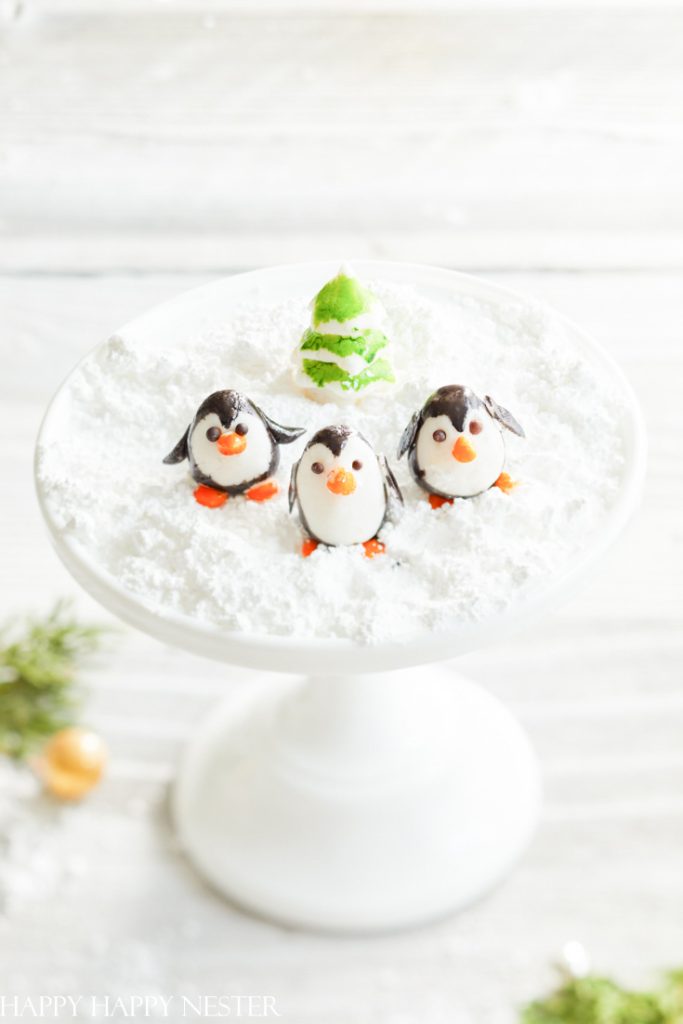
When I got busy on this project, I enlisted my husband to sculpt the cute penguins for these snow globe cupcakes. He loves to sculpt, so he was happy to try my project.
Here is the tutorial on how to make penguin toppers!
How to Make a Snow Globe Cupcakes with Gelatin
*The following post contains affiliate links
So, let’s get this fun baking project started since I have a few essential tips to share with you!
Fondant
You see, we added black food coloring to the white fondant, and my husband thought it would be difficult to achieve a solid black color. Little did I know that I should’ve bought already made black fondant. So, if you plan to make the penguins, buy this set which includes the black and orange fondant.
Gelatin
When I made my first batch of Knox Gelatin, I made a huge batch, and it gelled quickly on me. So, the next time, I made a small batch, and it was a perfect amount.
Secondly, I have a powerful microwave so heating the gelatin for 30 seconds was too long. I guess it ended up boiling, and the whole batch was full of bubbles. So, on my next attempt I microwaved for 15-20 seconds, was the perfect amount of time.
My Knox Gelatin had mixed results. In the first batch, I did get clear snow globes. Go figure since I felt like it was a flop. So, I plan to try the gelatin sheets since the verdict has more transparent results.
Cooking Oil
So, most blogs that I visited said to coat the balloon with cooking oil lightly. The issue I had with the cooking oil is that it prevented the gelatin from adhering to the balloon in spots. However, there is no need to use the cooking oil since the gelatin doesn’t release the balloon.
So, despite all my issues, I’m posting this project, and plan to tweak it after the publishing date. I figured I’m pretty close to figuring out how to make these cute snow globe cupcakes with gelatin.
I’m posting two ways to create the gelatin snow globe. I read online that some bloggers’ Knox gelatin turned out brown and cloudy. My Knox gelatin version was fine and wasn’t brown, but my second attempt was murky. My first try turned out clear globes.
The second way to make the globes is using gelatin sheets. We don’t use this type of gelatin here in the United States. When I watch The Great British Baking Show, this is their only choice for gelatin. I include the best resource for these gelatin sheets.
Gelatin Globes – Knox Gelatin
(Makes about 3-4 snow globes)
Supplies:
2 Gelatin packets (Knox Gelatin)
4 Tablespoons cold water
Water Balloons (these are the best size for cupcakes)
Coat Hanger
Here are the Knox Gelatin Instructions:
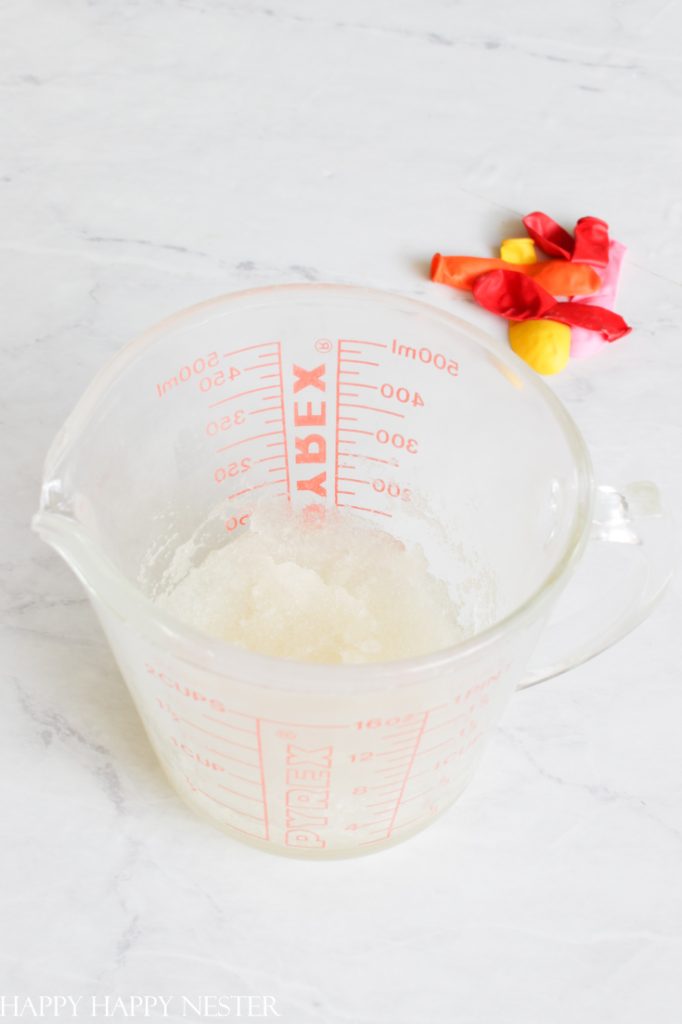
Step 1 – Mix Gelatin with Water
Using a microwaveable bowl, mix two packets of gelatin with four tablespoons of cold water. Let it sit or “bloom” for five minutes.
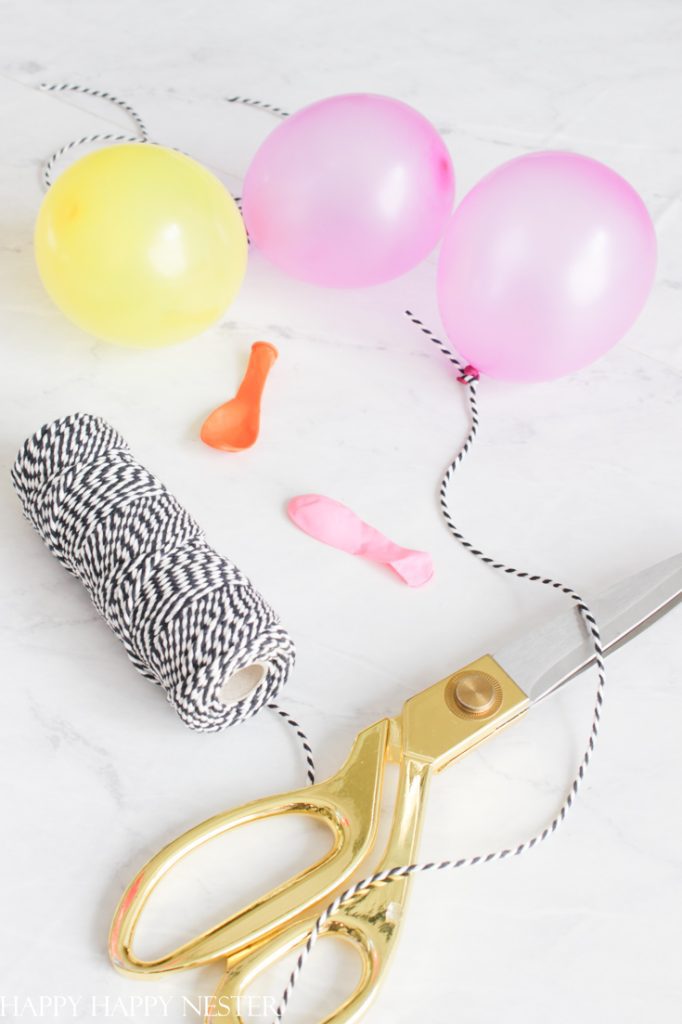
Step 2 – Prep Balloons
Next, blow-up balloons and knot the end. Tie a string to the end of the balloon.
Step 2 – Microwave Gelatin
Place gelatin in the microwave and cook for 15-20 seconds. Depending on the power of your microwave, make sure the gelatin doesn’t boil.
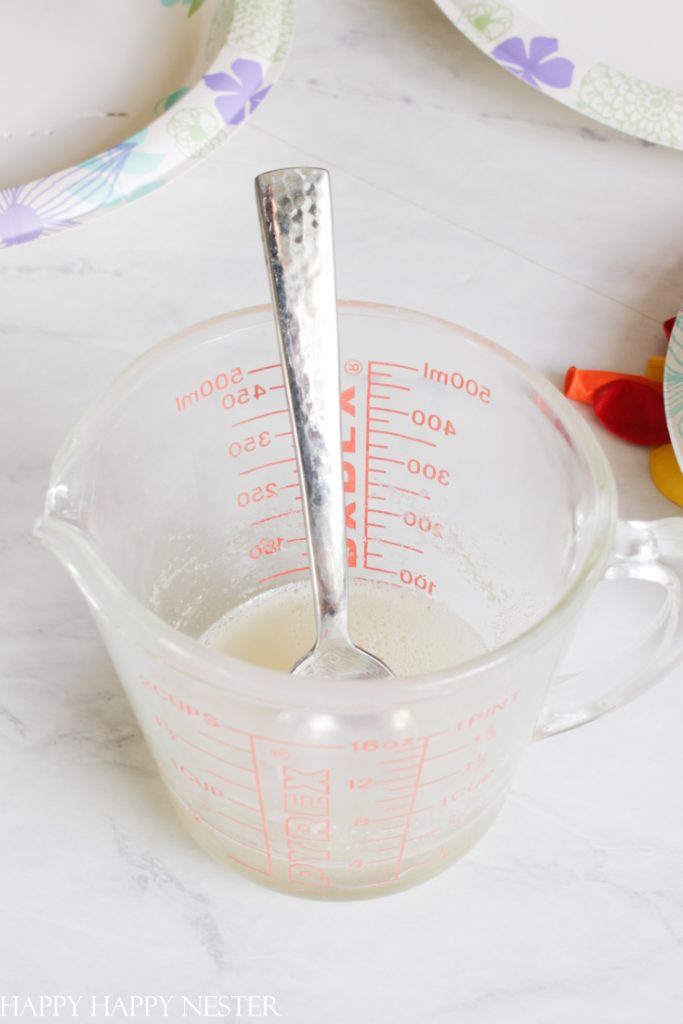
Step 3 – Skim Foam Off Top
Remove gelatin from the microwave and skim off the foam from the top.
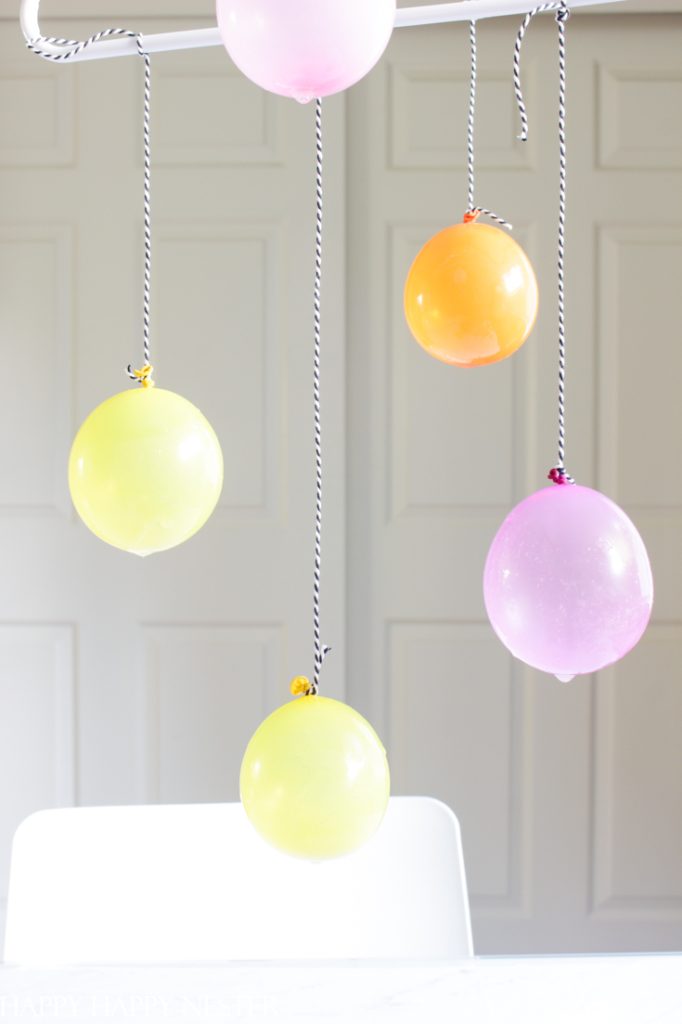
Step 4 – Coat Balloons with Gelatin
Dip the balloons in gelatin and the ends of the string to a coat hanger. Make sure the balloons do not touch. Let dry overnight. Once dry, pop the balloon with scissors and slowly pull the balloon away from the gelatin. If the bottom edge of the gelatin snow globe is uneven, shore it up with scissors.
Gelatin Globes – Gelatin Sheets Method
(Makes about 6-7 snow globes)
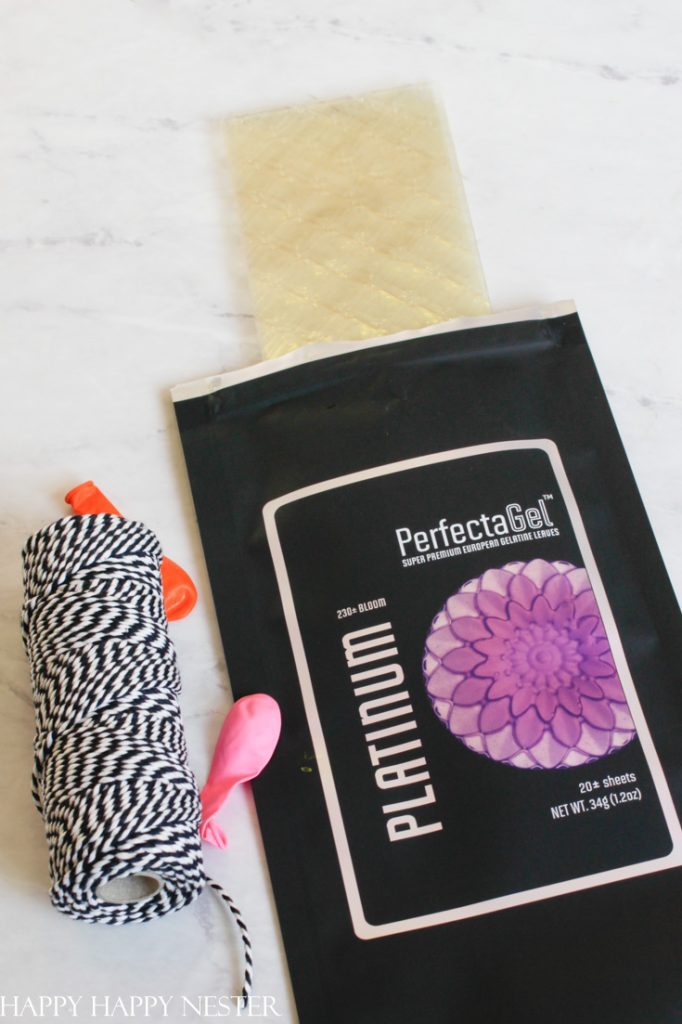
Supplies:
7 sheets of Platinum Gelatin
2 1/2 Tablespoons cold water
Here are the Gelatin Sheet Instructions:
Step 1 – Soak Gelatin
Soak gelatin sheets in cold water for five minutes. Squeeze excess water out of gelatin and place in a saucepan.

Step 2 – Prep Balloons
Blow-up the balloons and knot the end. Tie a string to the end of the balloon.
Step 3 – Heat Gelatin
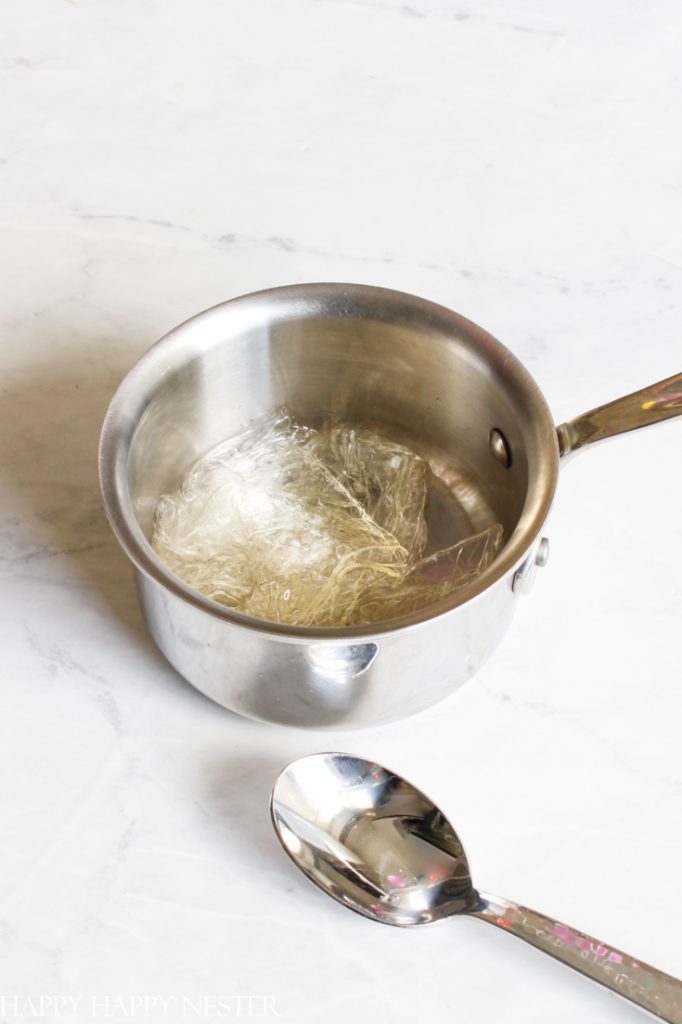
Place gelatin in a small pot and pour the 2 1/2 tablespoons of cold water over gelatin. Place pan on low heat and stir until melted. Make sure to avoid overheating. It took about two minutes to dissolve.

Step 4 – Dip Balloons
Dip balloons in gelatin and cover balloon. Tie balloon string to a hanger and allow to dry for 24 hours.
Step 5 – Remove Balloon
After the gelatin has dried, pop balloons and gently remove the snow globe from the balloons. If the bottom edge of the gelatin snow globe is uneven, shore it up with scissors.
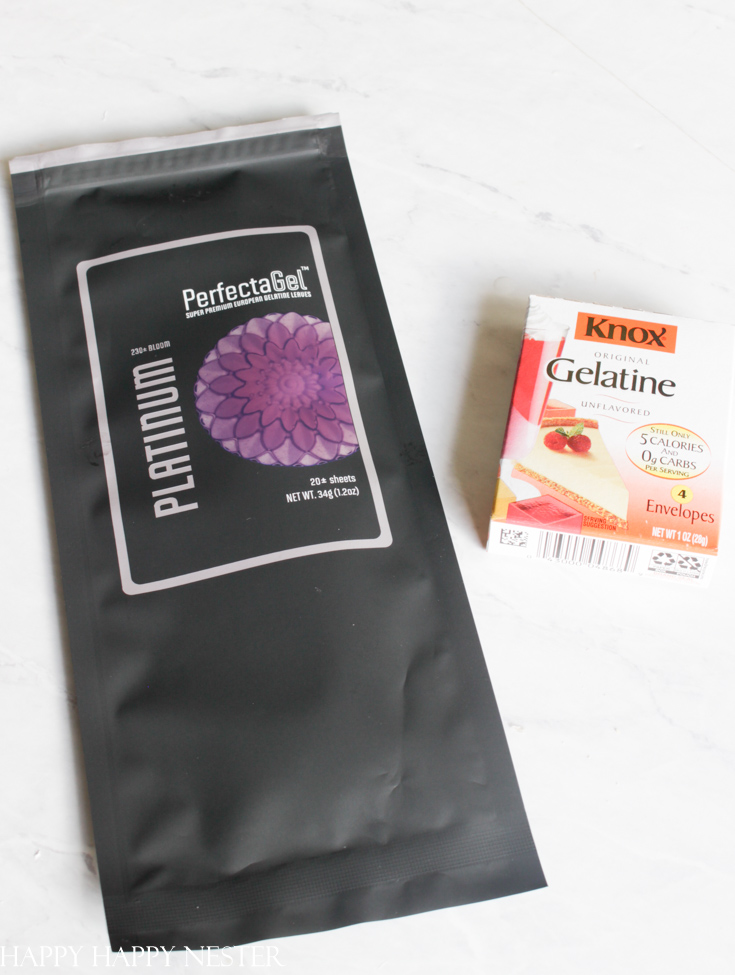
My Opinion About the Two Gelatins
What I’ve noticed about the two gelatins is that the platinum gelatin sheets have no bubbles. So, without the bubbles,, the gelatin comes out more transparent.
Maybe if I melted the Knox Gelatin over the stop top, I would get fewer bubbles. I’ll give that method a try and report back to you.
Overall, there was less guessing with the gelatin sheets. I could tell the exact moment when the gelatin dissolved in the pot. Also, the less stirring I did, the fewer bubbles, which is a good thing.
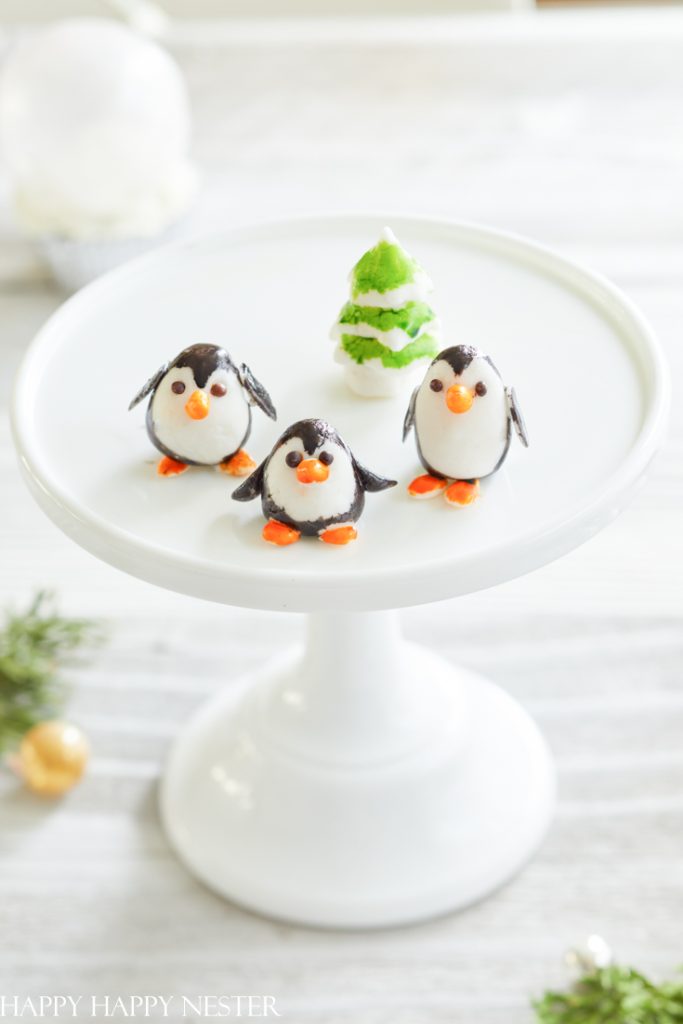
As you probably noticed, this post is about snow globe cupcakes with gelatin and how to make the penguins is over here on the blog. I ordered some colored fondant which will make the building of them so much easier.
I love to create everything during the holidays and I’m happy you’re here.
Have a wonderful Christmas and New Year!
Cheers,


- Chocolate Covered Quinoa Recipe - February 5, 2026
- Valentine’s Day Gifts from Amazon - February 4, 2026
- My Favorite Cleaning Items from Amazon - January 28, 2026


Sharon
Janine, these are amazing! You are so creative AND adventurous! I love the way these turned out and really appreciate your trial & error details,lol. Merry Christmas!