Get ready for fall with these easy, do-it-yourself Cement Pumpkins DIY Candleholders. They’re sure to light up your home with the cozy feeling of autumn. Incorporate your favorite fall scents and share this craft with friends and family. All you need is cement, a nylon sock, and a few other supplies. Start crafting today!
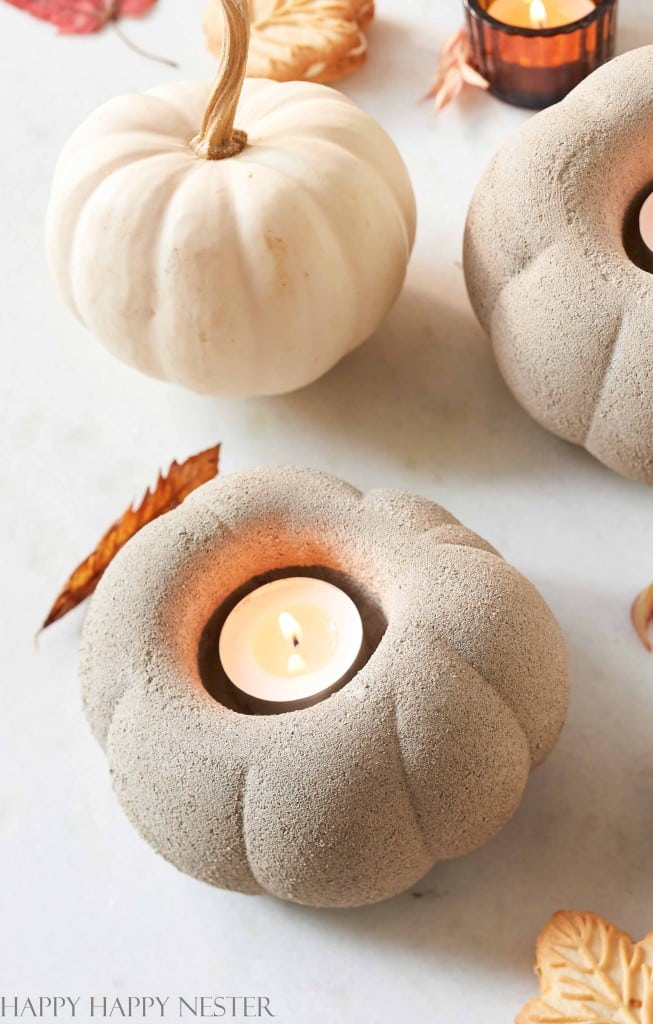
This pumpkin candle holder is easy to make. The result is a unique and rustic decoration and a functional candle holder that adds a warm and cozy ambiance to any space. It’s a great way to blend craftsmanship with home decor.
When I’m into crafting, I enjoy making things that aren’t just for show. That’s why I decided to take on a fun cement pumpkin DIY project and turn those pumpkins into cute candle holders.
The best part is that this cement project isn’t too tricky. If you’ve got a bit of cement and a spare nylon sock lying around, you’ve already got half the supplies you need.
And I need to mention that this is part of a fun Pumpkin Craft Blog Hop. So, you can see my friend’s creative projects below!
i have a few pumpkin projects over here.
Here are other pumpkin posts!
- DIY Pumpkin Succulent Planter
- Ghost Painted Pumpkins for Kids
- 10 Essential Pumpkin Carving Tips
- How to Make Glitter Pumpkins
HOW TO MAKE A CEMENT PUMPKINS
Supplies
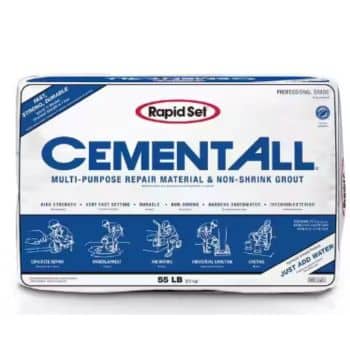
- Cement: The main ingredient in crafting cement pumpkins, providing the foundation for the project.
- Water: Essential for mixing with cement to create the right consistency and ensure proper curing.
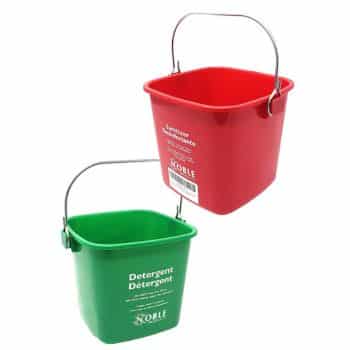
- Pail: A container for holding and mixing the cement and water, keeping the workspace organized.
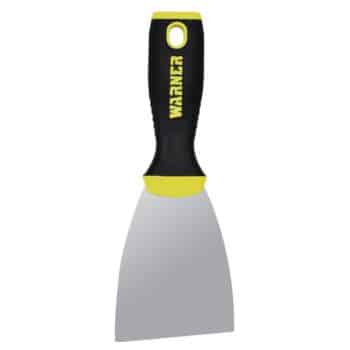
- Spackling Paddle: Used for stirring and mixing the cement and water thoroughly, ensuring a smooth blend.
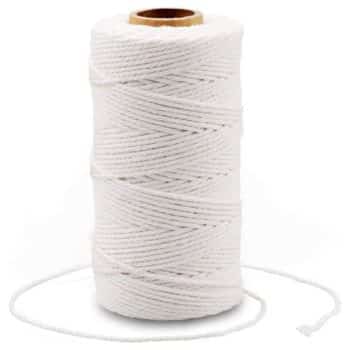
- Twine: Can be employed to create interesting textures and patterns on the pumpkin’s surface, adding decorative flair.
- Pantyhose: Used as a mold to give the pumpkin its round shape while the cement sets.
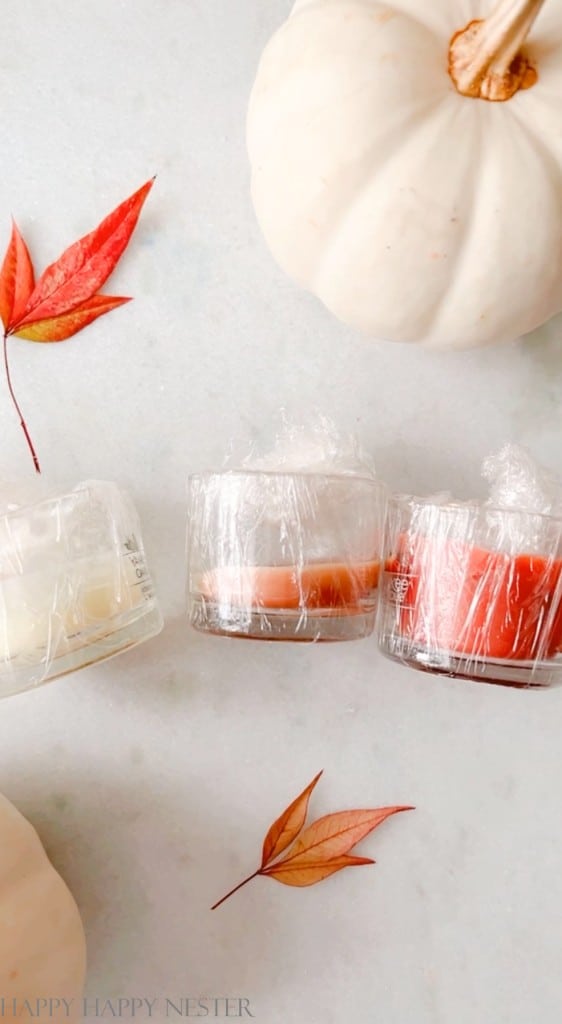
- Plastic Wrap: Helpful for covering the candle holder so that it is easy to remove from the cement.
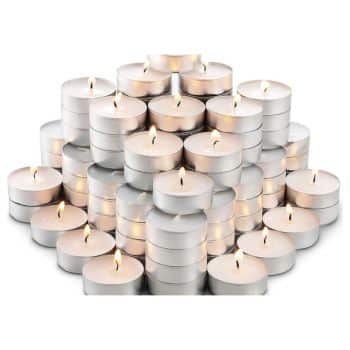
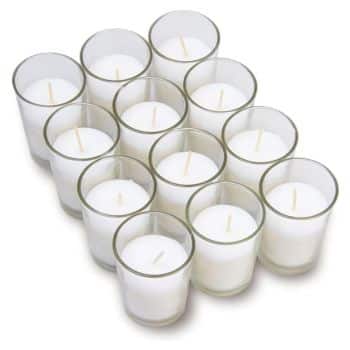
- Glass Candle Holder: The final touch, providing a secure and stylish space for placing candles within the cement pumpkin.
Directions:
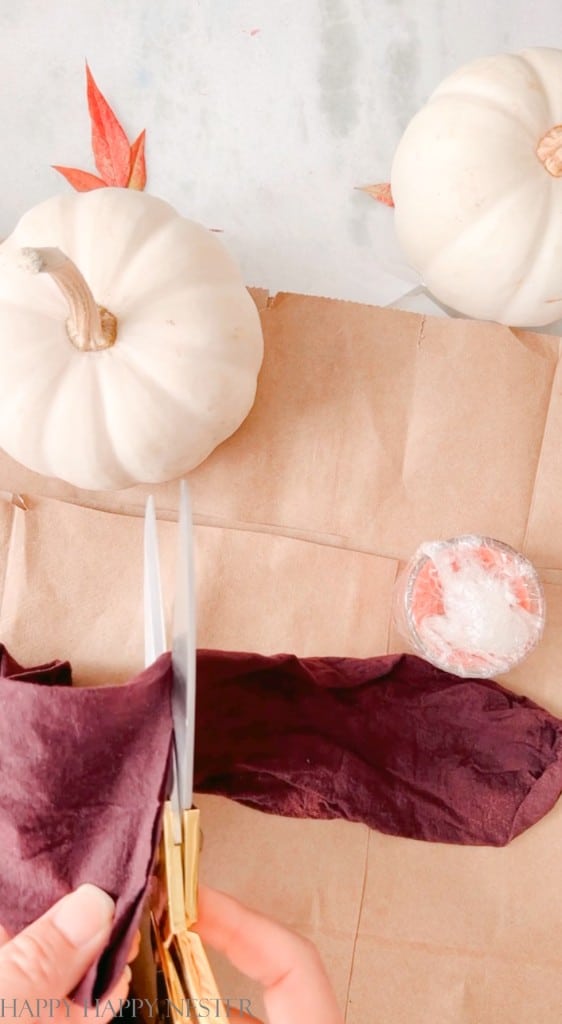
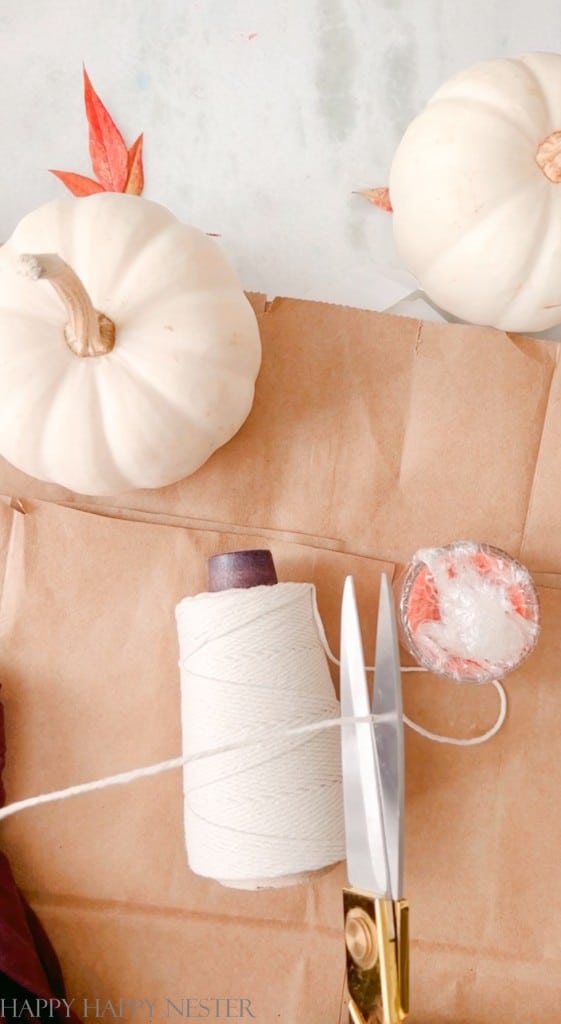
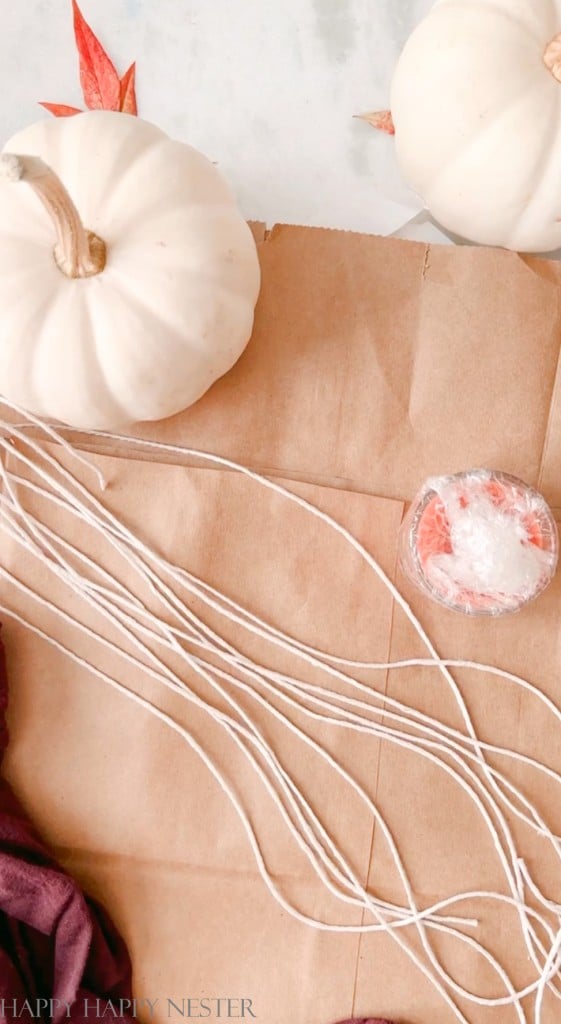
Step 1 – Gather Necessary Supplies
Because cement hardens rapidly, it’s crucial to have all your supplies ready and organized.
- Cut the pantyhose so that you have the foot section about 12 to 15 inches.
- Cut your baker’s twine that will wrap around your pumpkin.
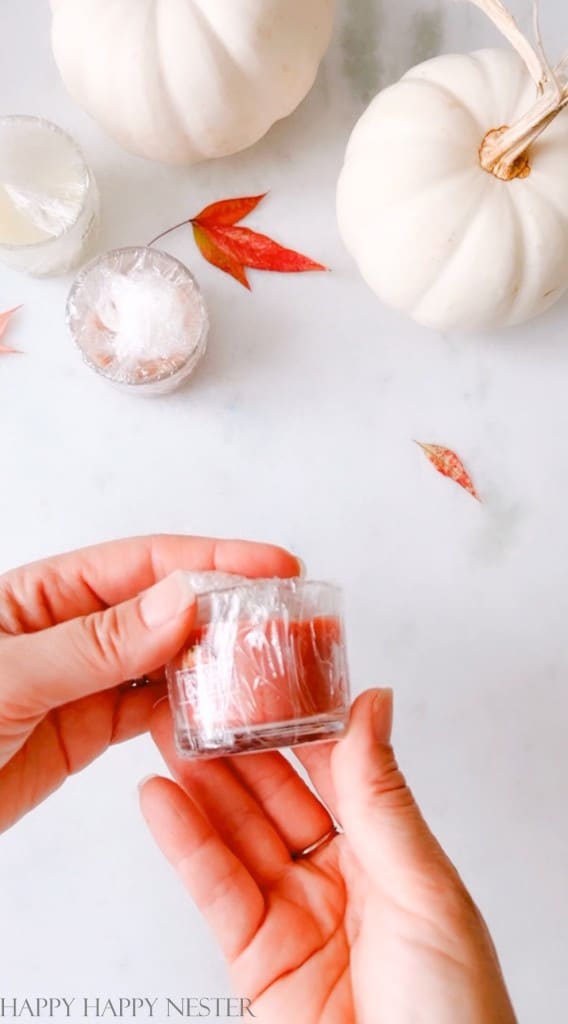
- Finally, cover your glass candle holder in plastic wrap.
Step 2 – Prep Your Surface
Place cardboard or newspaper on your table. If you can, make your cement pumpkins outside in your backyard.
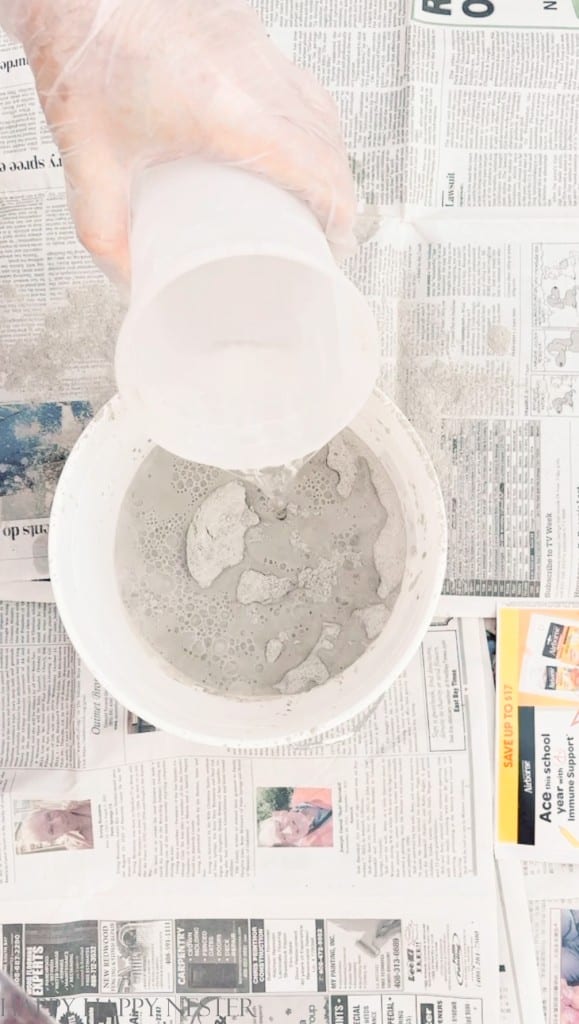
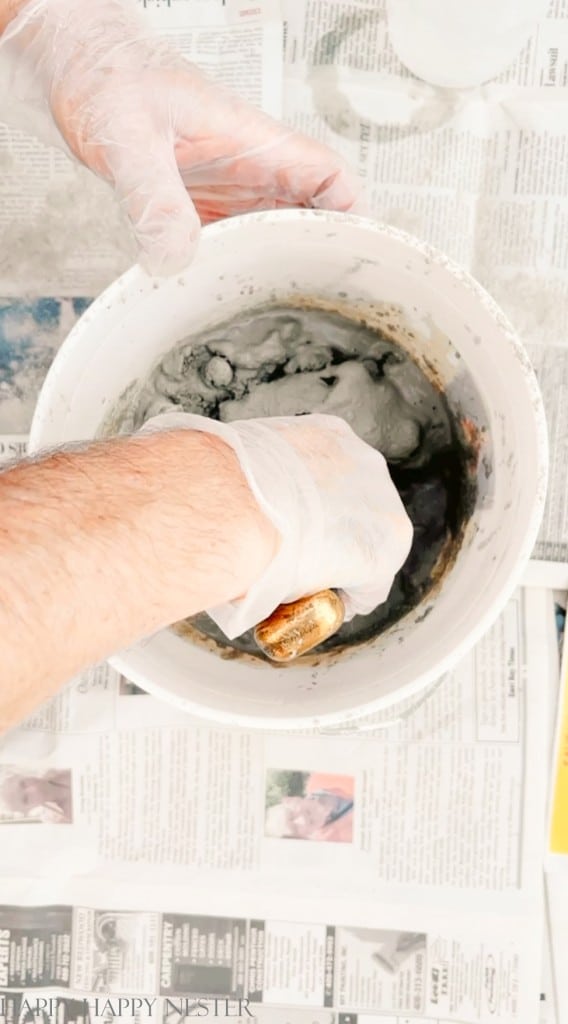
Step 3 – Mix Cement
I used a plastic container to measure the cement and water. You’ll be adding 4 parts of cement to 1 part of water. This means if you have a small container, fill it four times with cement and add one container of water.
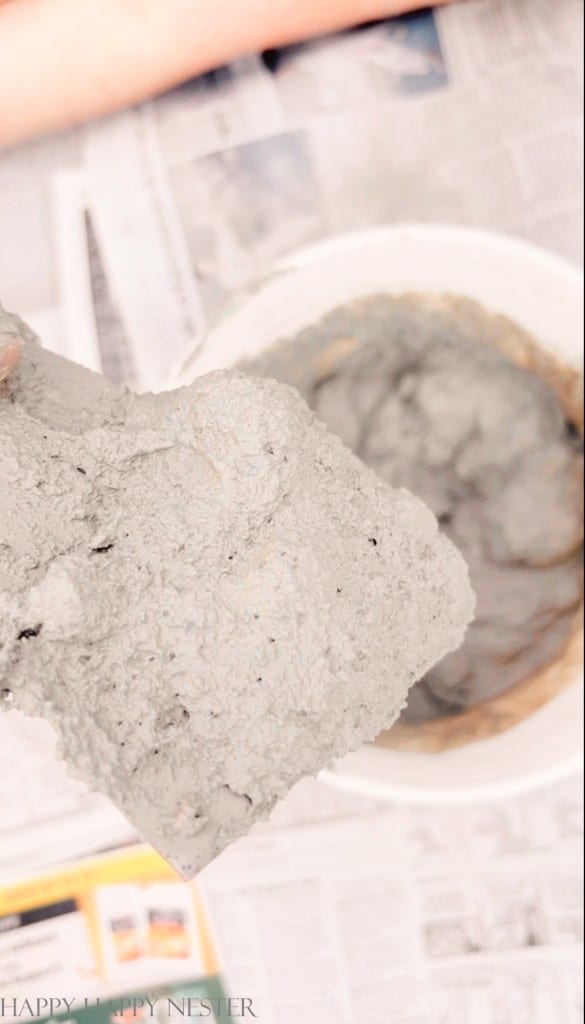
Make sure to mix the cement well by mixing from the bottom of your container. Keep adding water until you get a slightly runny cement.
You want a slightly runny cream of wheat in regards to the consistency.
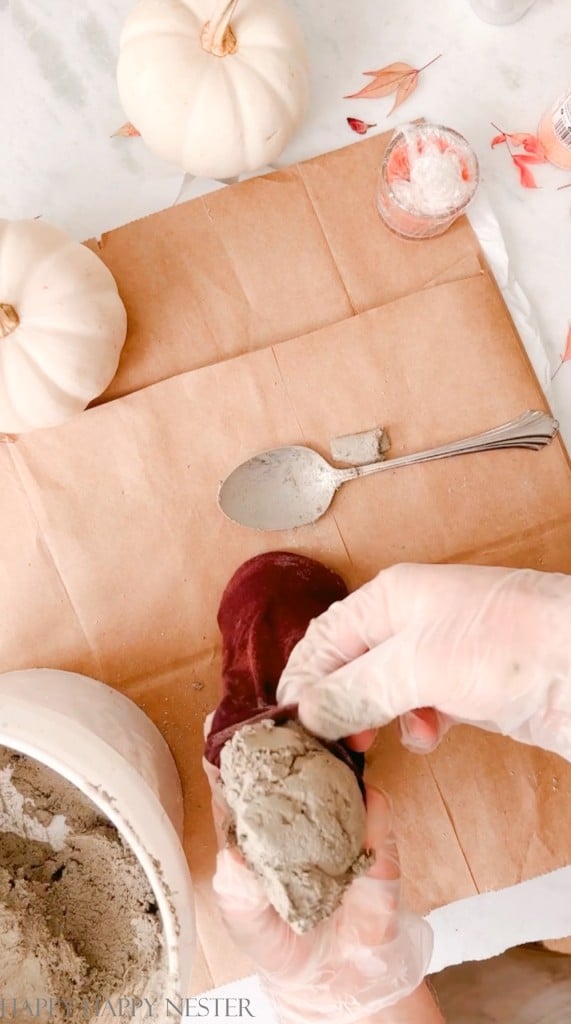
Step 4 – Fill Sock
Begin pouring cement into the sock, but remember to act fast because that cement can quickly turn solid. Also, remember that the amount you pour in will determine the size of your pumpkin. So, make sure to adjust it to your liking as you go.
Once you’re done filling the sock tie the top and make sure to get the air out of the sock. The goal is to try to knot the sock close to the cement.
Now here’s the important part. Turn the pumpkin upside down so that the knot is on the bottom.
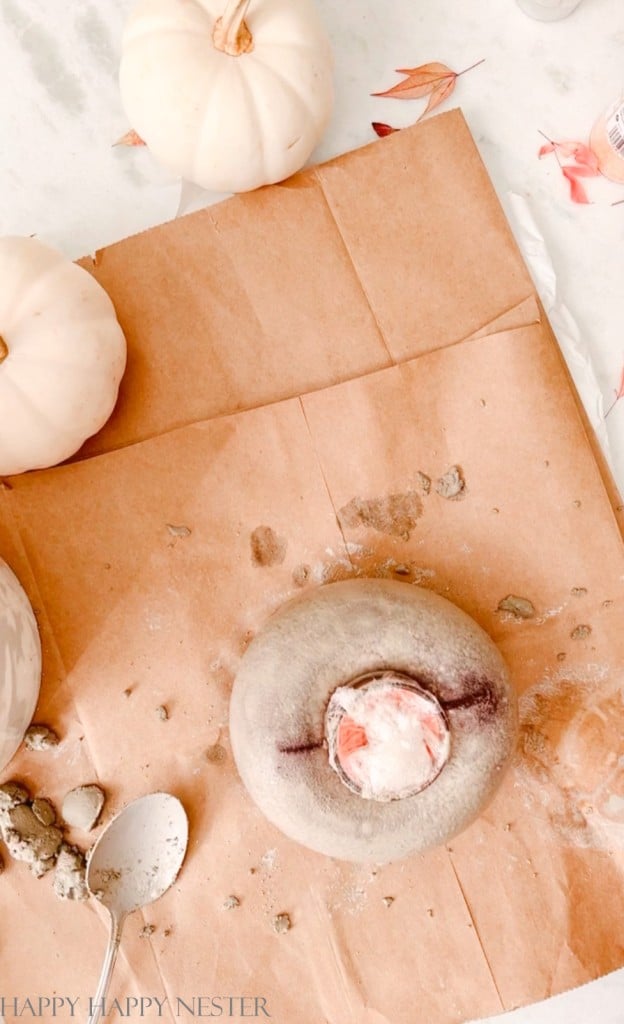
Step 5 – Insert Glass Candleholders
Place your covered candle holder on the top of the pumpkin. You’ll need some force to push it into the top. Make sure that the candle holder is level in the placement.
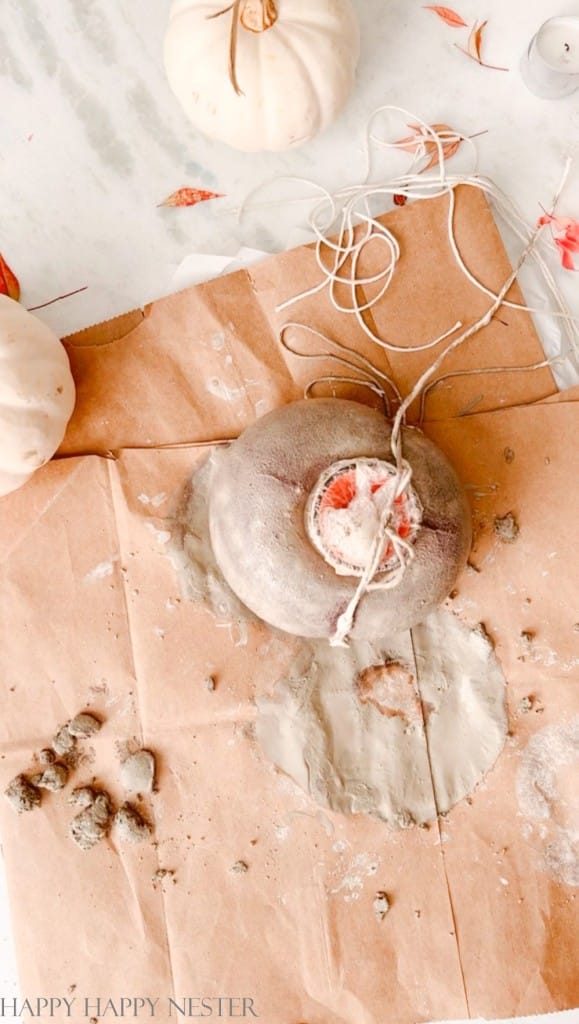
Step 6 – Tie Bakers Twine
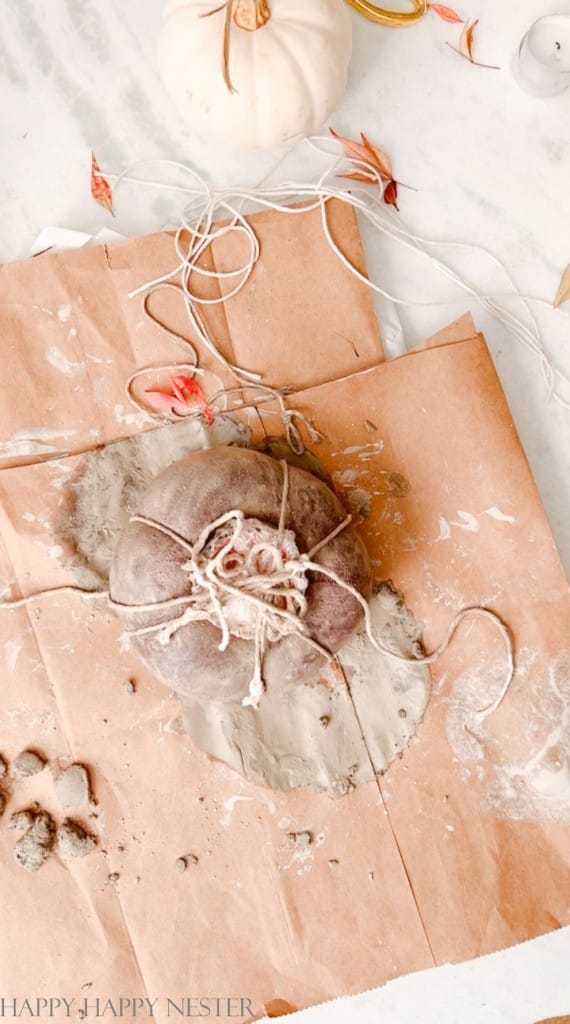
Place the twine vertically around your pumpkin. Tie off a knot on top. Make sure the twine is tight and creates an indentation into the cement. I used four to five pieces of twine.
Step 7 – Let Cement Set Up
Allow the cement to harden for about ten minutes. While your cement is set up, clean up your bucket and tools of the cement. The cement dries quickly and will ruin your tools if you don’t clean them immediately.
Some people mention to let the cement cure for 24 hours. I attended a cement pumpkin craft clinic, and she had us wait 24 hours, and my sock had attached to the cement. So, please only remove the sock after 10 minutes! The cement is a bit soft, so gently remove and smooth it over immediately if you make any knicks in the pumpkin.
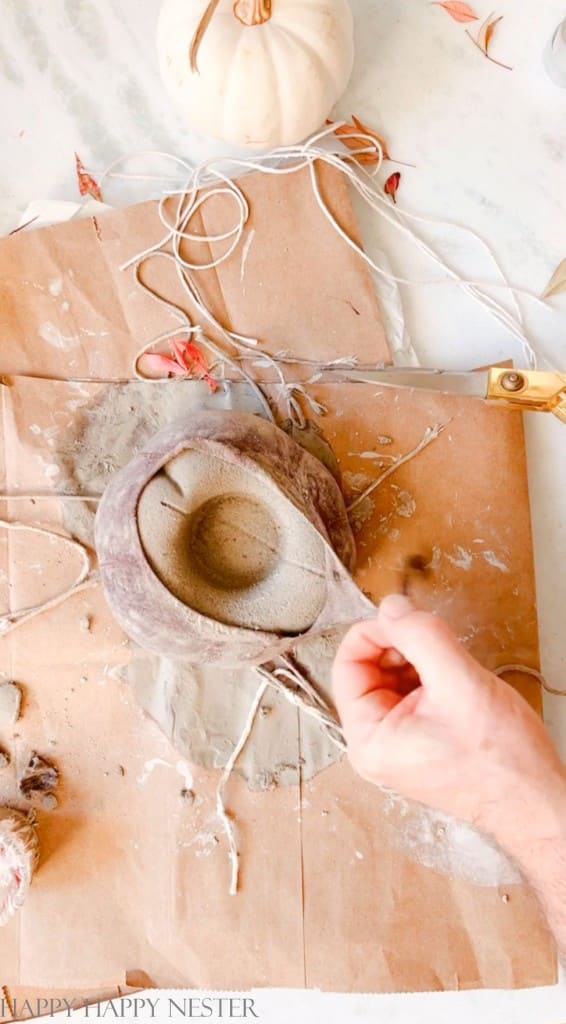
Step 8 – Remove Strings and Pantyhose
Remove strings, pantyhose, and candle holders carefully.
Step 8 – Smooth Cement
Move quickly, and smooth out any dents or imperfections with your hands or a butter knife.
Allow the pumpkin to dry for the next couple of hours. You’ll feel the cement is warm to the touch. That is the cement chemical reaction.

A FEW TIPS TO MAKE A CEMENT PUMPKIN
- Prepare All Supplies: Before you begin, make sure you have all your supplies ready and within arm’s reach. This includes cement mix, water, a nylon sock, bakers twine all cut and ready, a candle votive wrapped in plastic, and any tools you may need for shaping and carving. Being organized will help you work more efficiently.
- Use a Flat Paddle: When blending cement, using a level paddle is imperative. This flat surfaces allows you to scrape the bottom of your bucket and really mix the cement.
- Work Quickly: Cement can set up relatively fast, so it’s essential to work quickly once you start mixing it. Be prepared to pour and shape the cement promptly to ensure it doesn’t harden before you achieve the desired pumpkin shape. You have about 5 minutes to fill your sock and place the twine on it.
- Use Smooth Cement Mix: Opt for a smooth cement mix if you want a polished and refined look for your pumpkin. A smoother mix will make it easier to carve and add intricate details, giving your
HOW TO MIX CEMENT
The instructions on the CementAll says the ratio of cement to water is 4:1. We probably used 4 cups of cement to 1 to 11/2 cups of water. And this amount made the smaller pumpkin.
- Prep Area: It’s a messy project, so make sure you have cardboard, newspapers, or plastic down on the area you plan to use.
- Gloves: You’ll want to wear gloves if you touch the cement since it tends to dry out the skin.
- Mixing Tool: Your mixing tool should have a flat edge. Otherwise, a spoon will not mix the bottom of your bucket of cement.
- Pour Cement: Measure the cement and gently pour it into your container.
- Pour Water: Measure and pour water into the cement and begin mixing. Make sure to mix the cement thoroughly.
- Add More Water: If the cement is too hard, add more water. You want the consistency of a slightly runny cream of wheat texture.
- Clean Tools: Once you’re done with your project, please make sure to clean all your tools. Cement dries pretty quickly.
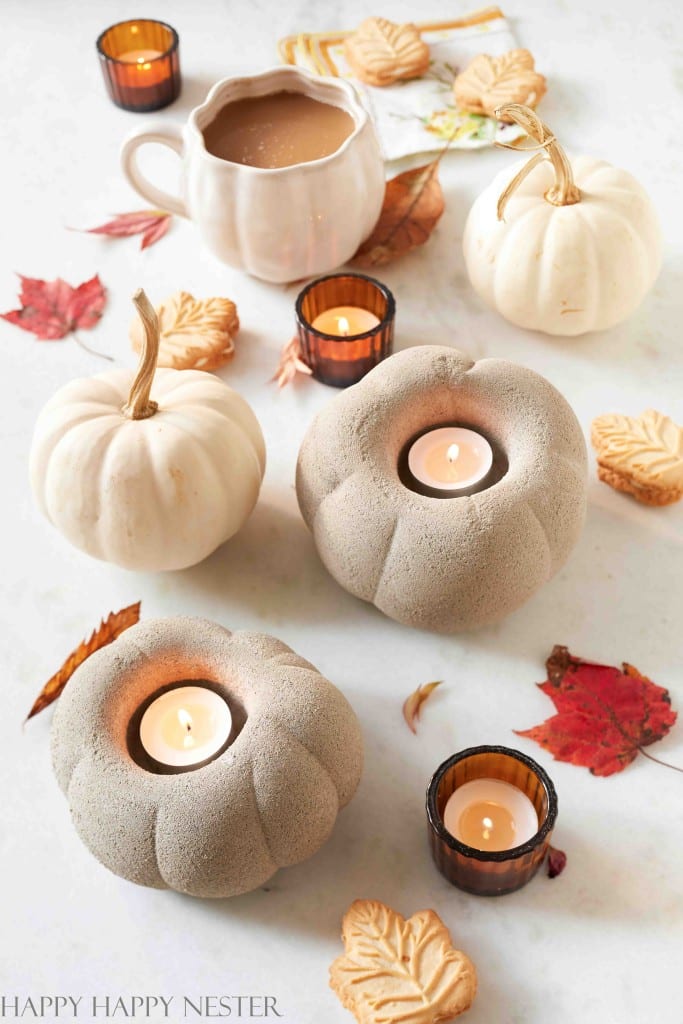
Thanks for swinging by! I really hope you get a chance to whip up these cool pumpkins. They’re not only so adorable but they’re so easy to make. My husband and I are so excited about tackling more cement yard projects since it’s a blast to sculpt with!
Now, go enjoy the autumn vibes with a yummy pumpkin latte!
Cheers,

Photo Credits: MyPhotography.com
BLOGGER’S BEST PUMPKIN CRAFTS
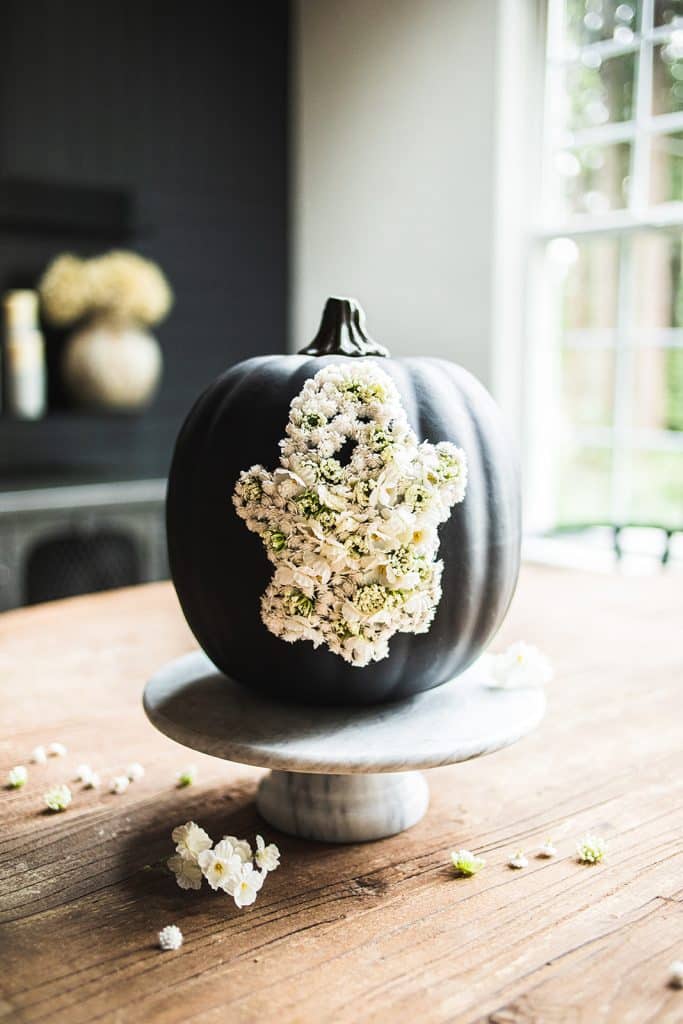
Floral Ghost Pumpkin | My Sweet Savannah
Have fun with your Halloween decor this year and create this easy to make floral ghost pumpkin with my step by step instructions!
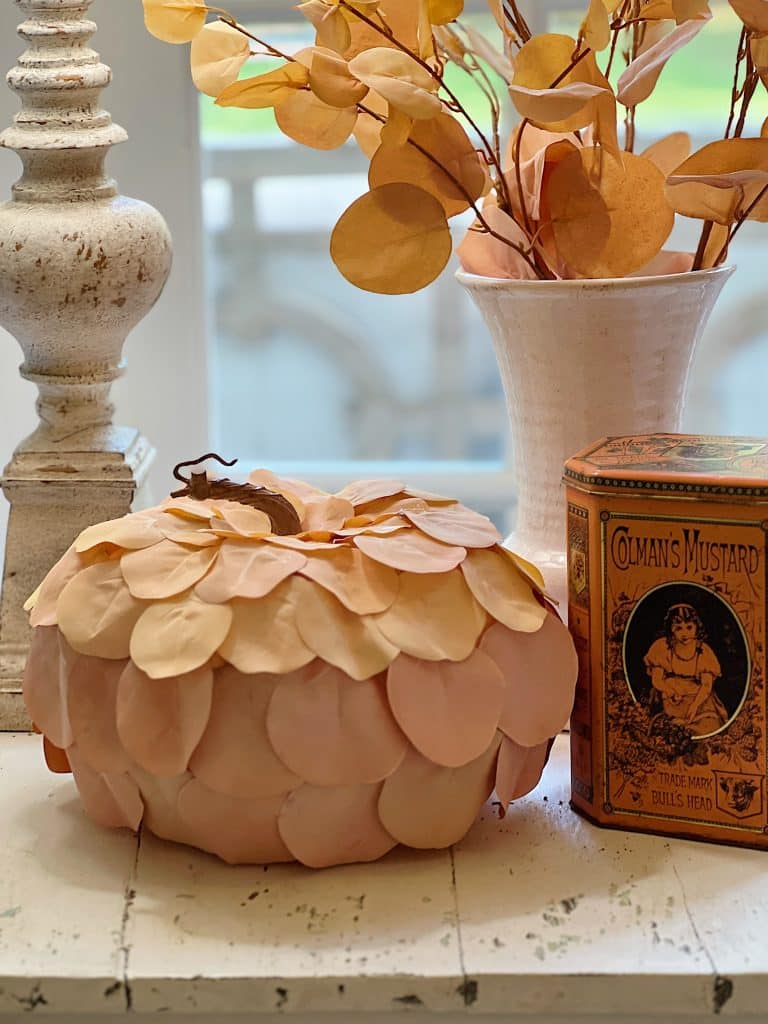
DIY Pumpkin Craft for Your Home | My 100 Year Old Home
Fall is synonymous with vibrant colors, cozy evenings, and, of course, pumpkins! Today we are going to make a beautiful DIY pumpkin craft.
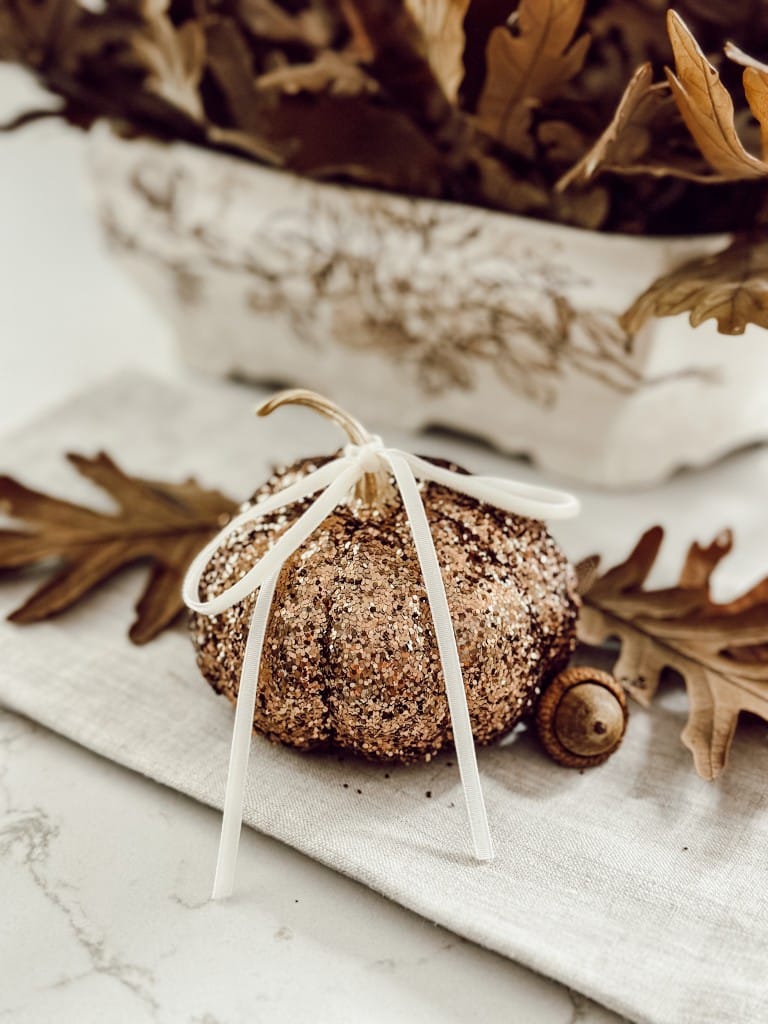
How to Make DIY Glitter Pumpkins for Glam Fall Decor | Eleanor Rose Home
Add a little glam to your fall decor with these DIY glitter pumpkins! Discover how to transform mini white pumpkins into dazzling works of art using Mod Podge and brown glitter.

Disco Ball Lighted Halloween Pumpkin Cauldron | Tater Tots and Jello
Transform your Halloween decor with this dazzling DIY disco ball lighted pumpkin cauldron. Start with an metal jack-o-lantern as your enchanting base, then sprinkle it with the magic of disco balls, twinkle lights, and globe lights. Watch as your creation comes to life, casting a spell of whimsy and glamour on your spooky celebrations.
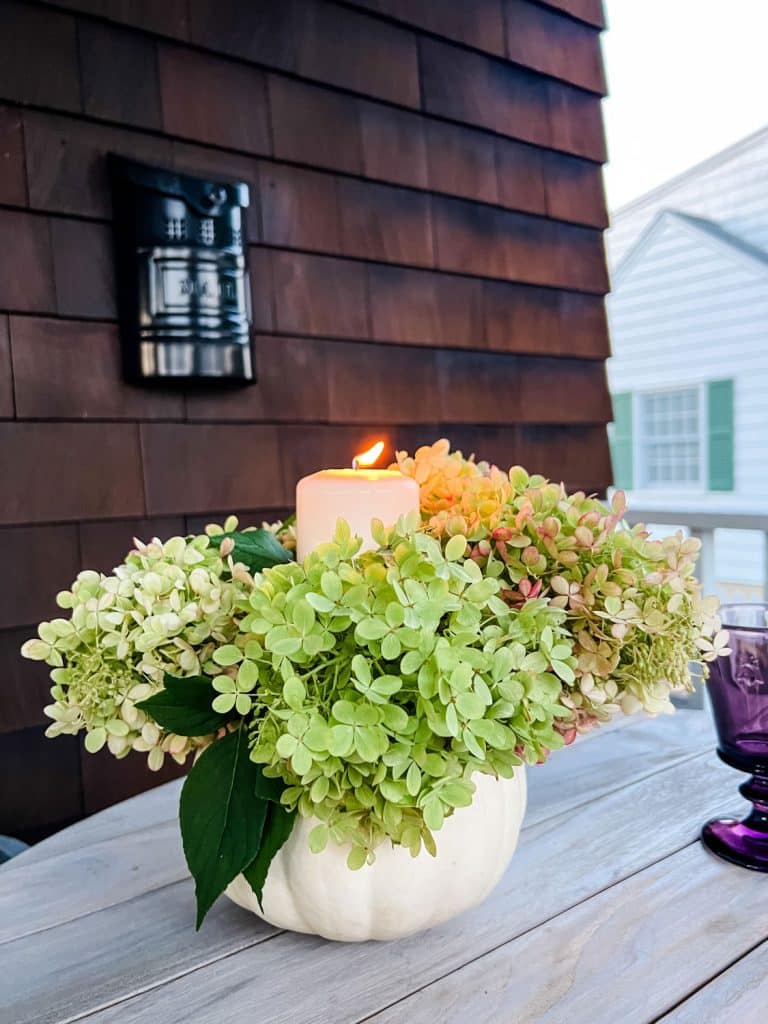
Pumpkin Candle Holder | Most Lovely Things
A simple centerpiece using a pumpkin, a pillar candle and hydrangeas beginning to change color.
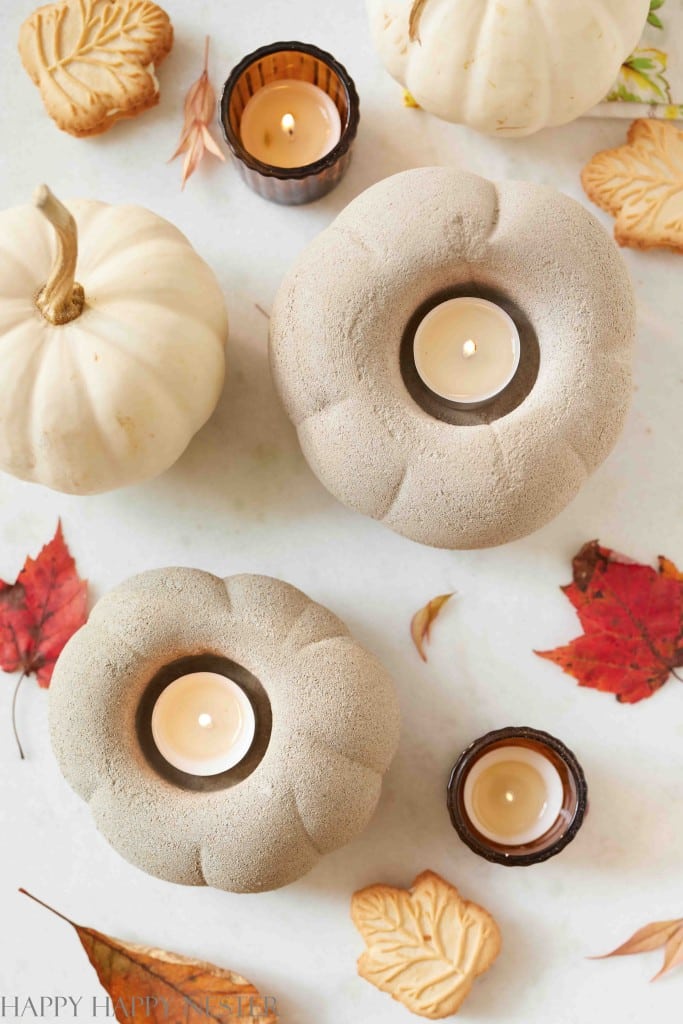
Cement Pumpkin DIY (with Candleholders) | Happy Happy Nester
Get ready for fall with these easy, do-it-yourself Cement Pumpkins DIY Candleholders. All you need is cement, a nylon sock, and other supplies. They’re sure to light up your home with the cozy feeling of autumn. Incorporate your favorite fall scents and share this craft with friends and family.


- Red and White Christmas Tree - July 9, 2026
- Tori Karaage Don (Japanese Chicken) - July 2, 2026
- Fluffy Japanese Pancake Recipe (Souffle) - June 24, 2026


Heidi
This is amazing Janine! I would have never thought to make pumpkins out of cement, such a great idea!
Melaine Thompson
Your cement pumpkins turned out so cute! Pinned!
Annie Diamond
Janine! These cement pumpkin candleholders are adorable! And perfect directions too!