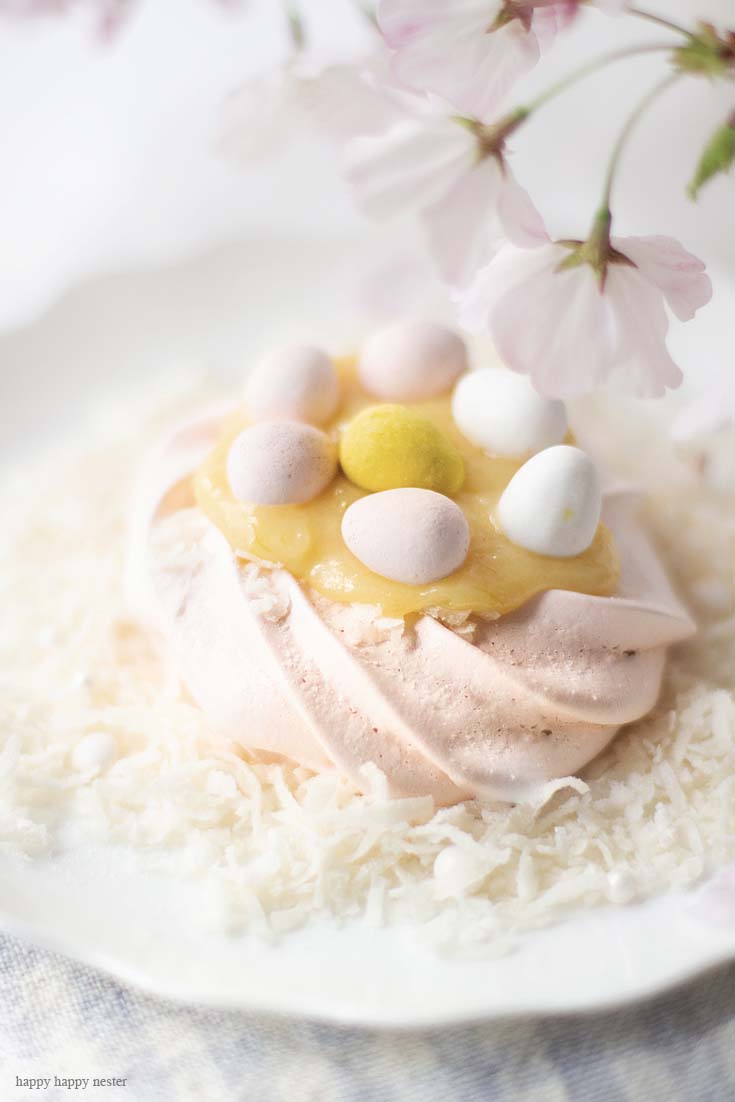
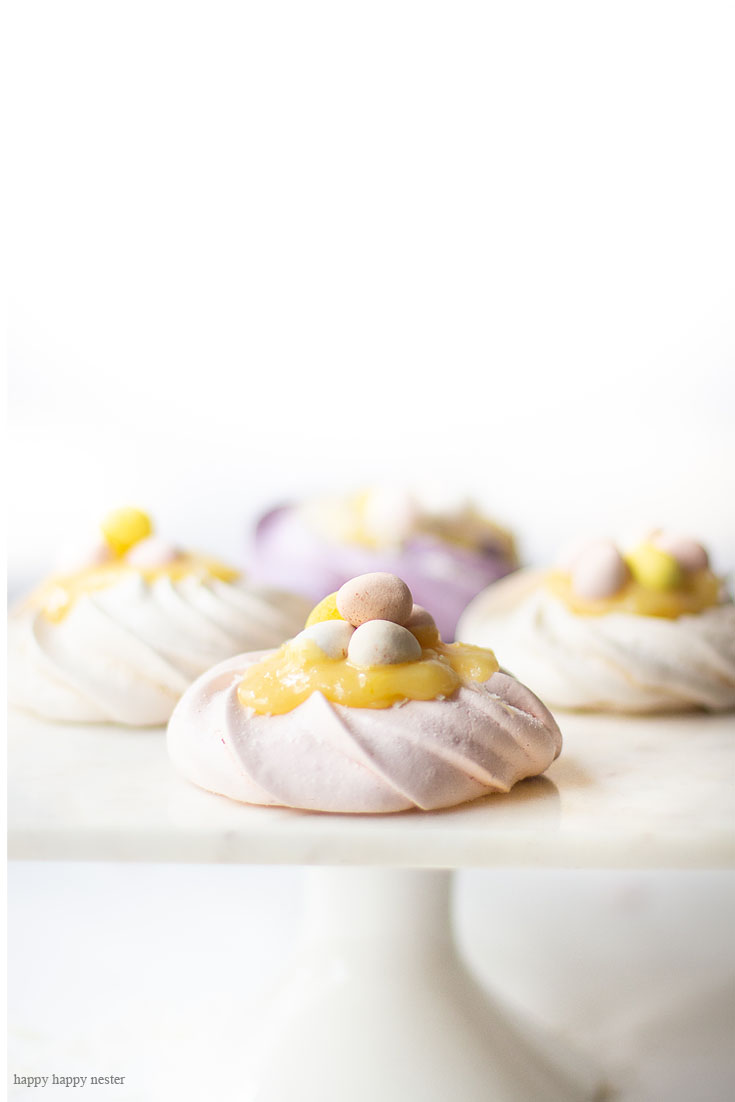
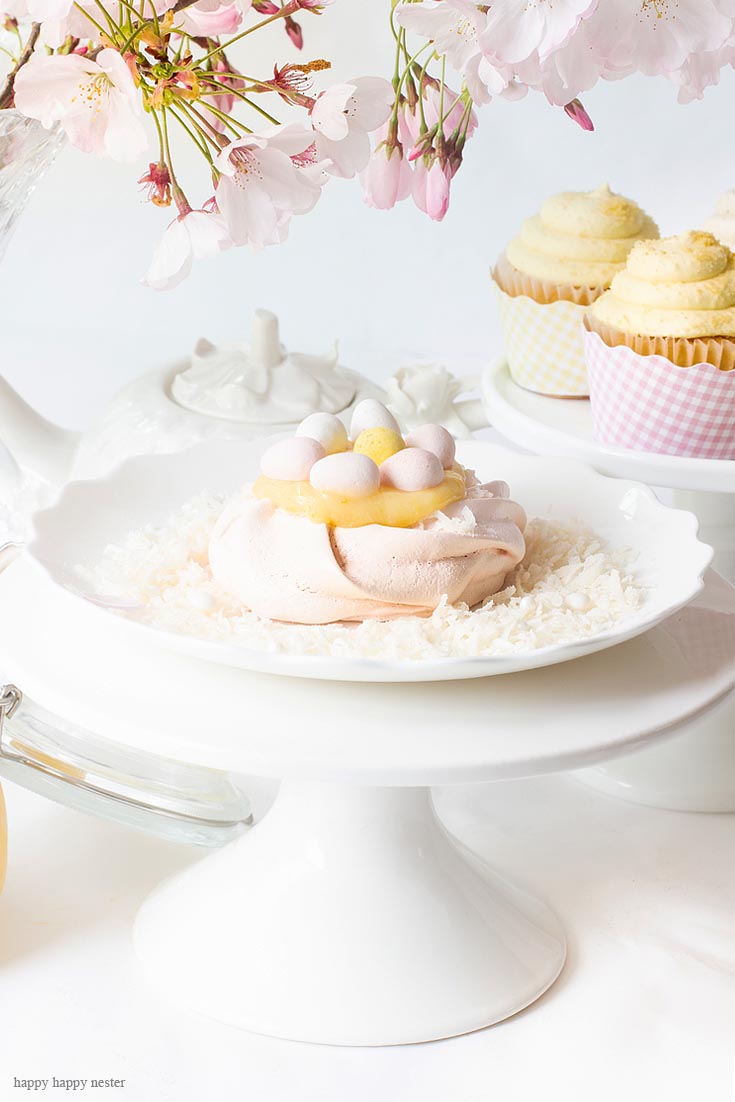
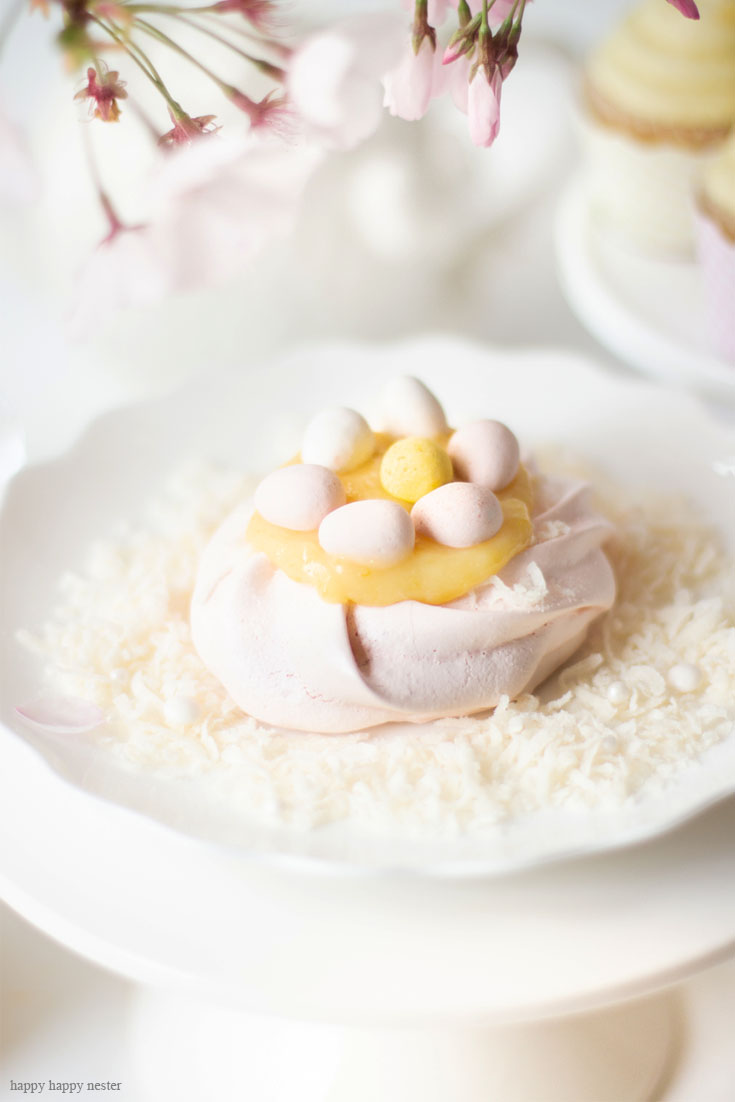
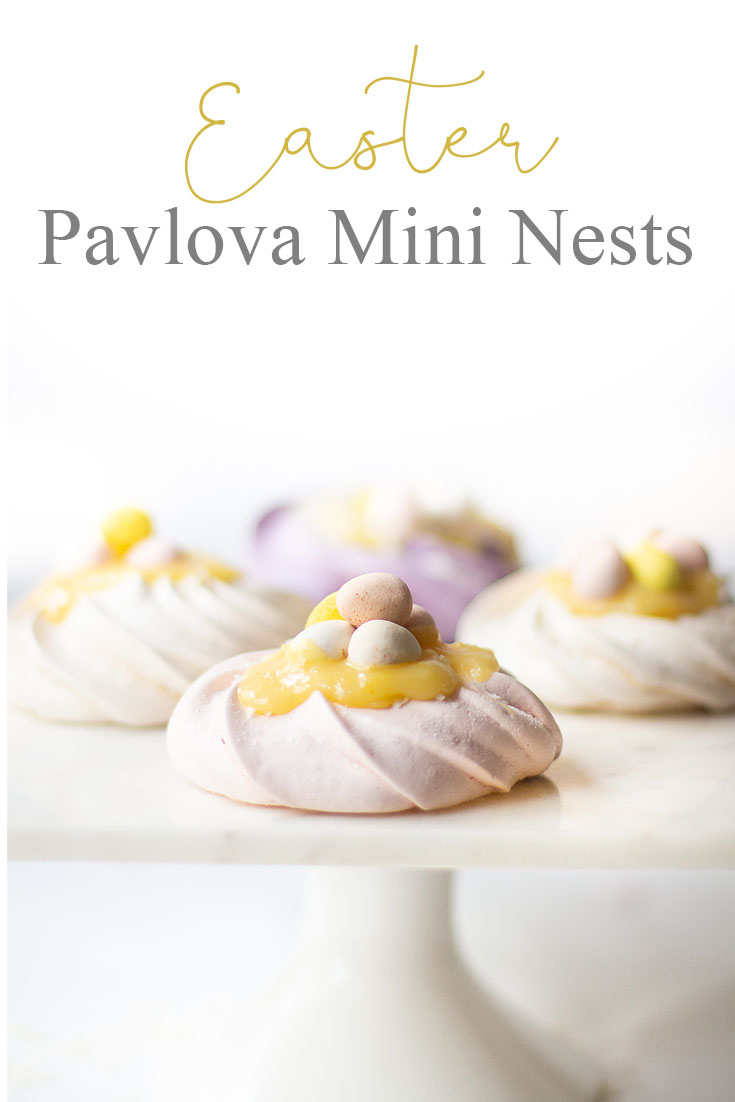
I recently made some lemon curd and thought it would go nicely with my Pavlova Recipe. So, today, I baked some mini nests for Easter and topped them with my homemade English Lemon Curd and cute Cadbury chocolate eggs. The results are adorable and super easy to make.
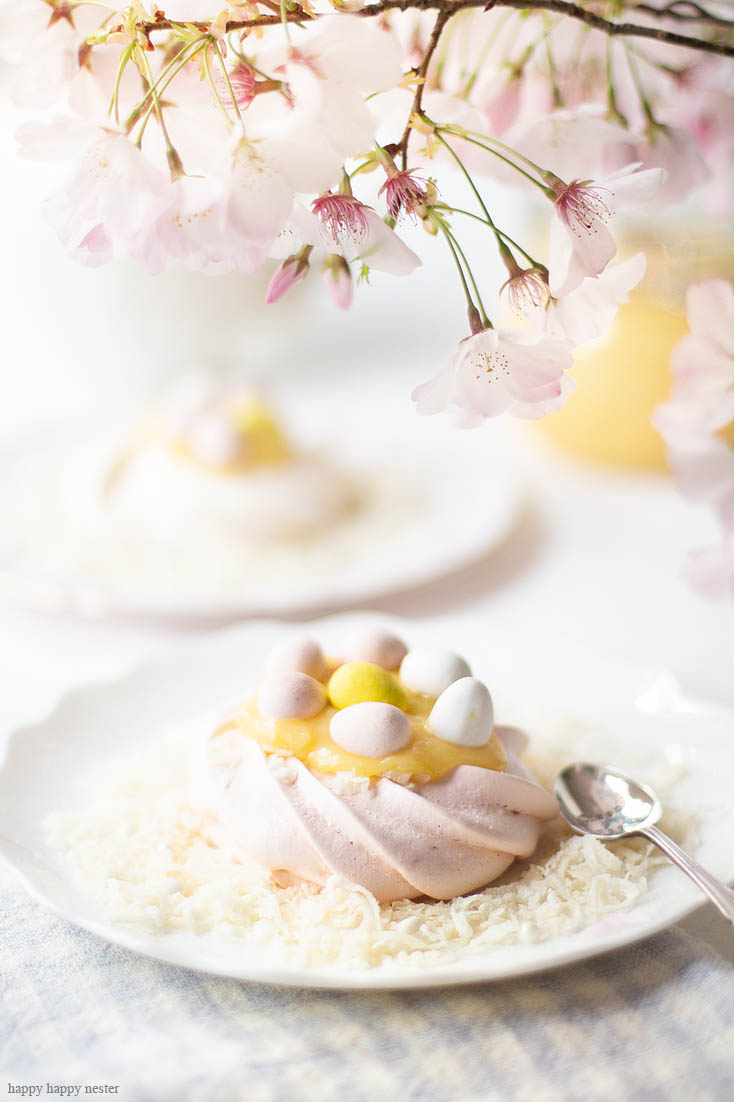
I’m Obsessed with Mini Nests
Easter is just around the corner, so I thought I should make a few cute spring nests. I originally planned on covering a wreath of them, but then my friend mentioned she wanted a good meringue recipe. So, I changed my post to meringue rather than the decorated wreath.
Well, maybe this summer I make a pavlova wreath!
These little nests are so easy to make and they make me smile.
I Did Learn a Few Things Meringue!
1. Vanilla Extract dyes my meringue.
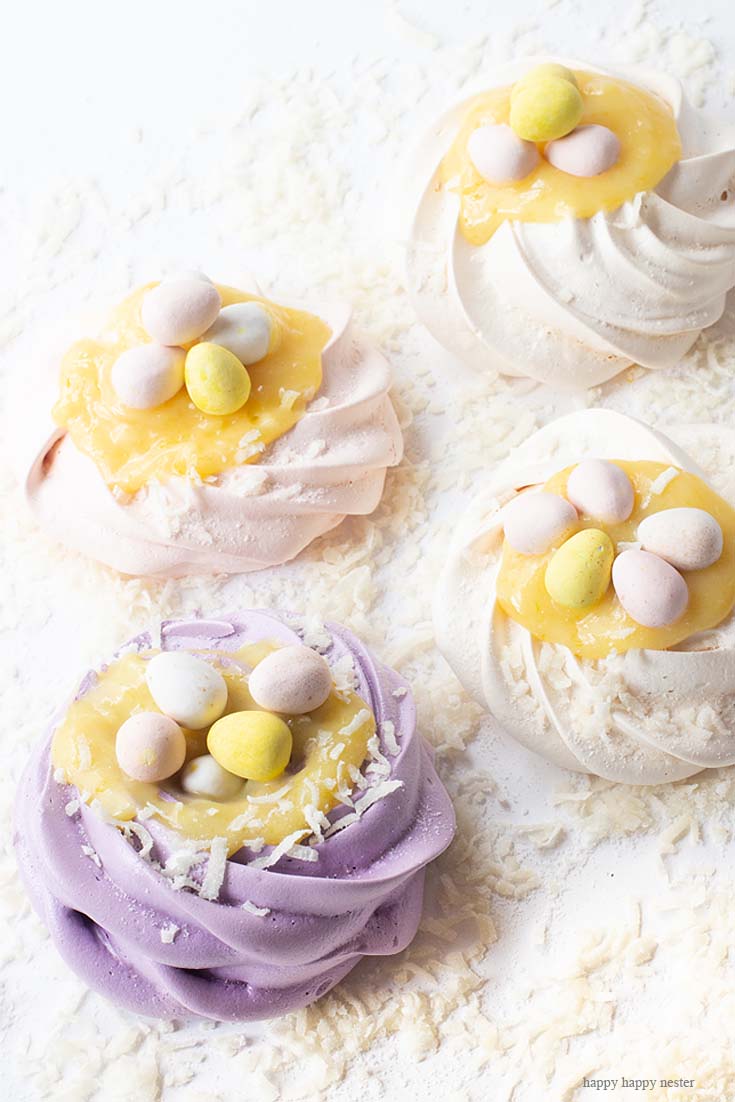
If you add vanilla, the extract creates a beige meringue; this makes total sense. But, the vanilla also reacted to the food dye. My first batch came out lighter in color than the unbaked version.
2. How to tell when they are cooked.
The way to tell when they are done baking is that they should move easily off the parchment paper when you lift them. If they stick to the cookie sheet, they are still moist and need a few more minutes.
3. How to avoid cracks.
So, once they were done, I left them in the oven and wedged a wooden spoon in the door. This clever technique slowly cools down the oven and the nests so there isn’t a drastic temperature change thus preventing cracks. I got one little one on my meringue, but I thought this was such a neat trick.
Pavlova Recipe
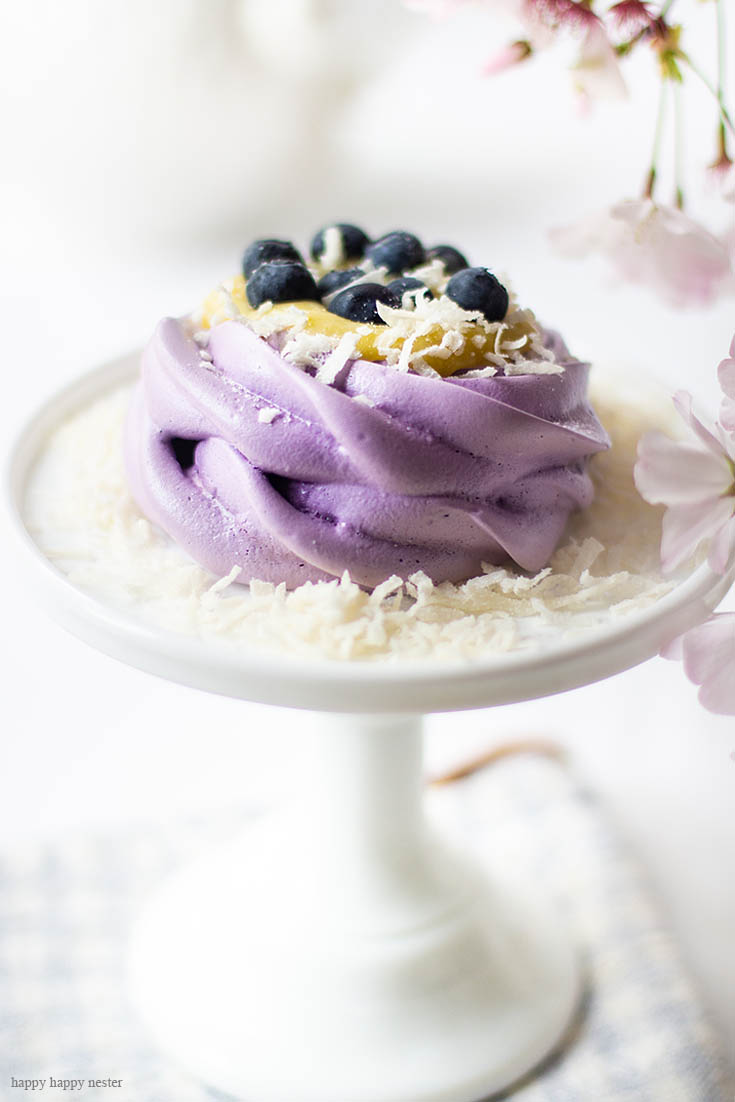
For the pavlova, you’ll need to refer to my New Zealand Pavlova post. Once you make the meringue, place it in a pastry bag with a 2D Wilton tip. This is a big tip, and it creates a lovely ruffle rose-type design. Start your meringue on the outer circle and move inwards. You’ll want to place your meringue on parchment paper, and I made a bunch of circles (the size I wanted my nests to be) on the paper for guidelines.
Once you have piped your nests, bake them in the oven at 275 degrees Fahrenheit for about 45 minutes to one hour.
Once cooled in the oven (read notes above), place it on a wire rack and decorate it with lemon curd, whipped cream, chocolate Easter eggs, and/or fruit. You can use store-bought lemon curd, but my recipe is hands down superior! It’s rich and has an amazing lemon flavor that is unbeatable!
Meringue Nests
Ingredients
Meringue Nests
- ½ cup Baker's Sugar Caster sugar is a super fine sugar
- ¼ tsp cream of tartar
- 1½ tsp cornstarch
- 2 egg whites
Toppings
- Cadbury Easter eggs
- lemon curd Check out my Lemon Curd recipe. You can use store-bought curd.
Instructions
- Preheat oven to 275 degrees. Line a flat cookie sheet with parchment paper.
Make Meringue
- Stir sugar and cornstarch together in a bowl.Separate egg whites and place them in a mixing bowl. Beat with the wire attachment at medium speed (#4 on a KitchenAid Mixer). When foamy, add the cream of tartar to the egg whites. Beat for 4 minutes at this speed. Increase the mixer speed to 6. Now add around one tablespoon of the sugar mixture at a time to the egg. In between each installment of sugar, whip the egg whites for at least 30 seconds. Adding sugar may take about 5 minutes, so take your time. After about 6 minutes, check the graininess of the meringue. Place a little in between your fingers and feel for grains of sugar. If you feel anything, the meringue isn’t ready and continue to mix.Once you feel a smooth meringue between your fingers, it's ready to sculpt.
Shape Nests
- If you like, make circles on your parchment paper. I used a pen to create the outline, then flipped the parchment paper over.Start in on the outside and work towards the middle. You can take a spoon and create an indentation for the lemon curd and eggs in the middle.
Bake Nests
- Place the pavlova in the middle of your oven. Bake for about 45 minutes to an hour.Once the pavlova is done baking, turn off the heat and leave in the oven for an hour. Cooling it in the oven will prevent a drastic temperature change, and you’ll end up with minimal cracks in the meringue.
This Pavlova Recipe is so easy to make. I hope you like these mini nests for Easter. Happy Spring and thanks so much for visiting my blog.
Cheers,
- Spring Doormats from Walmart - February 18, 2026
- Heart Shaped Brownies Recipe - February 13, 2026
- Framed Artwork from Amazon - February 12, 2026



Leave a Reply