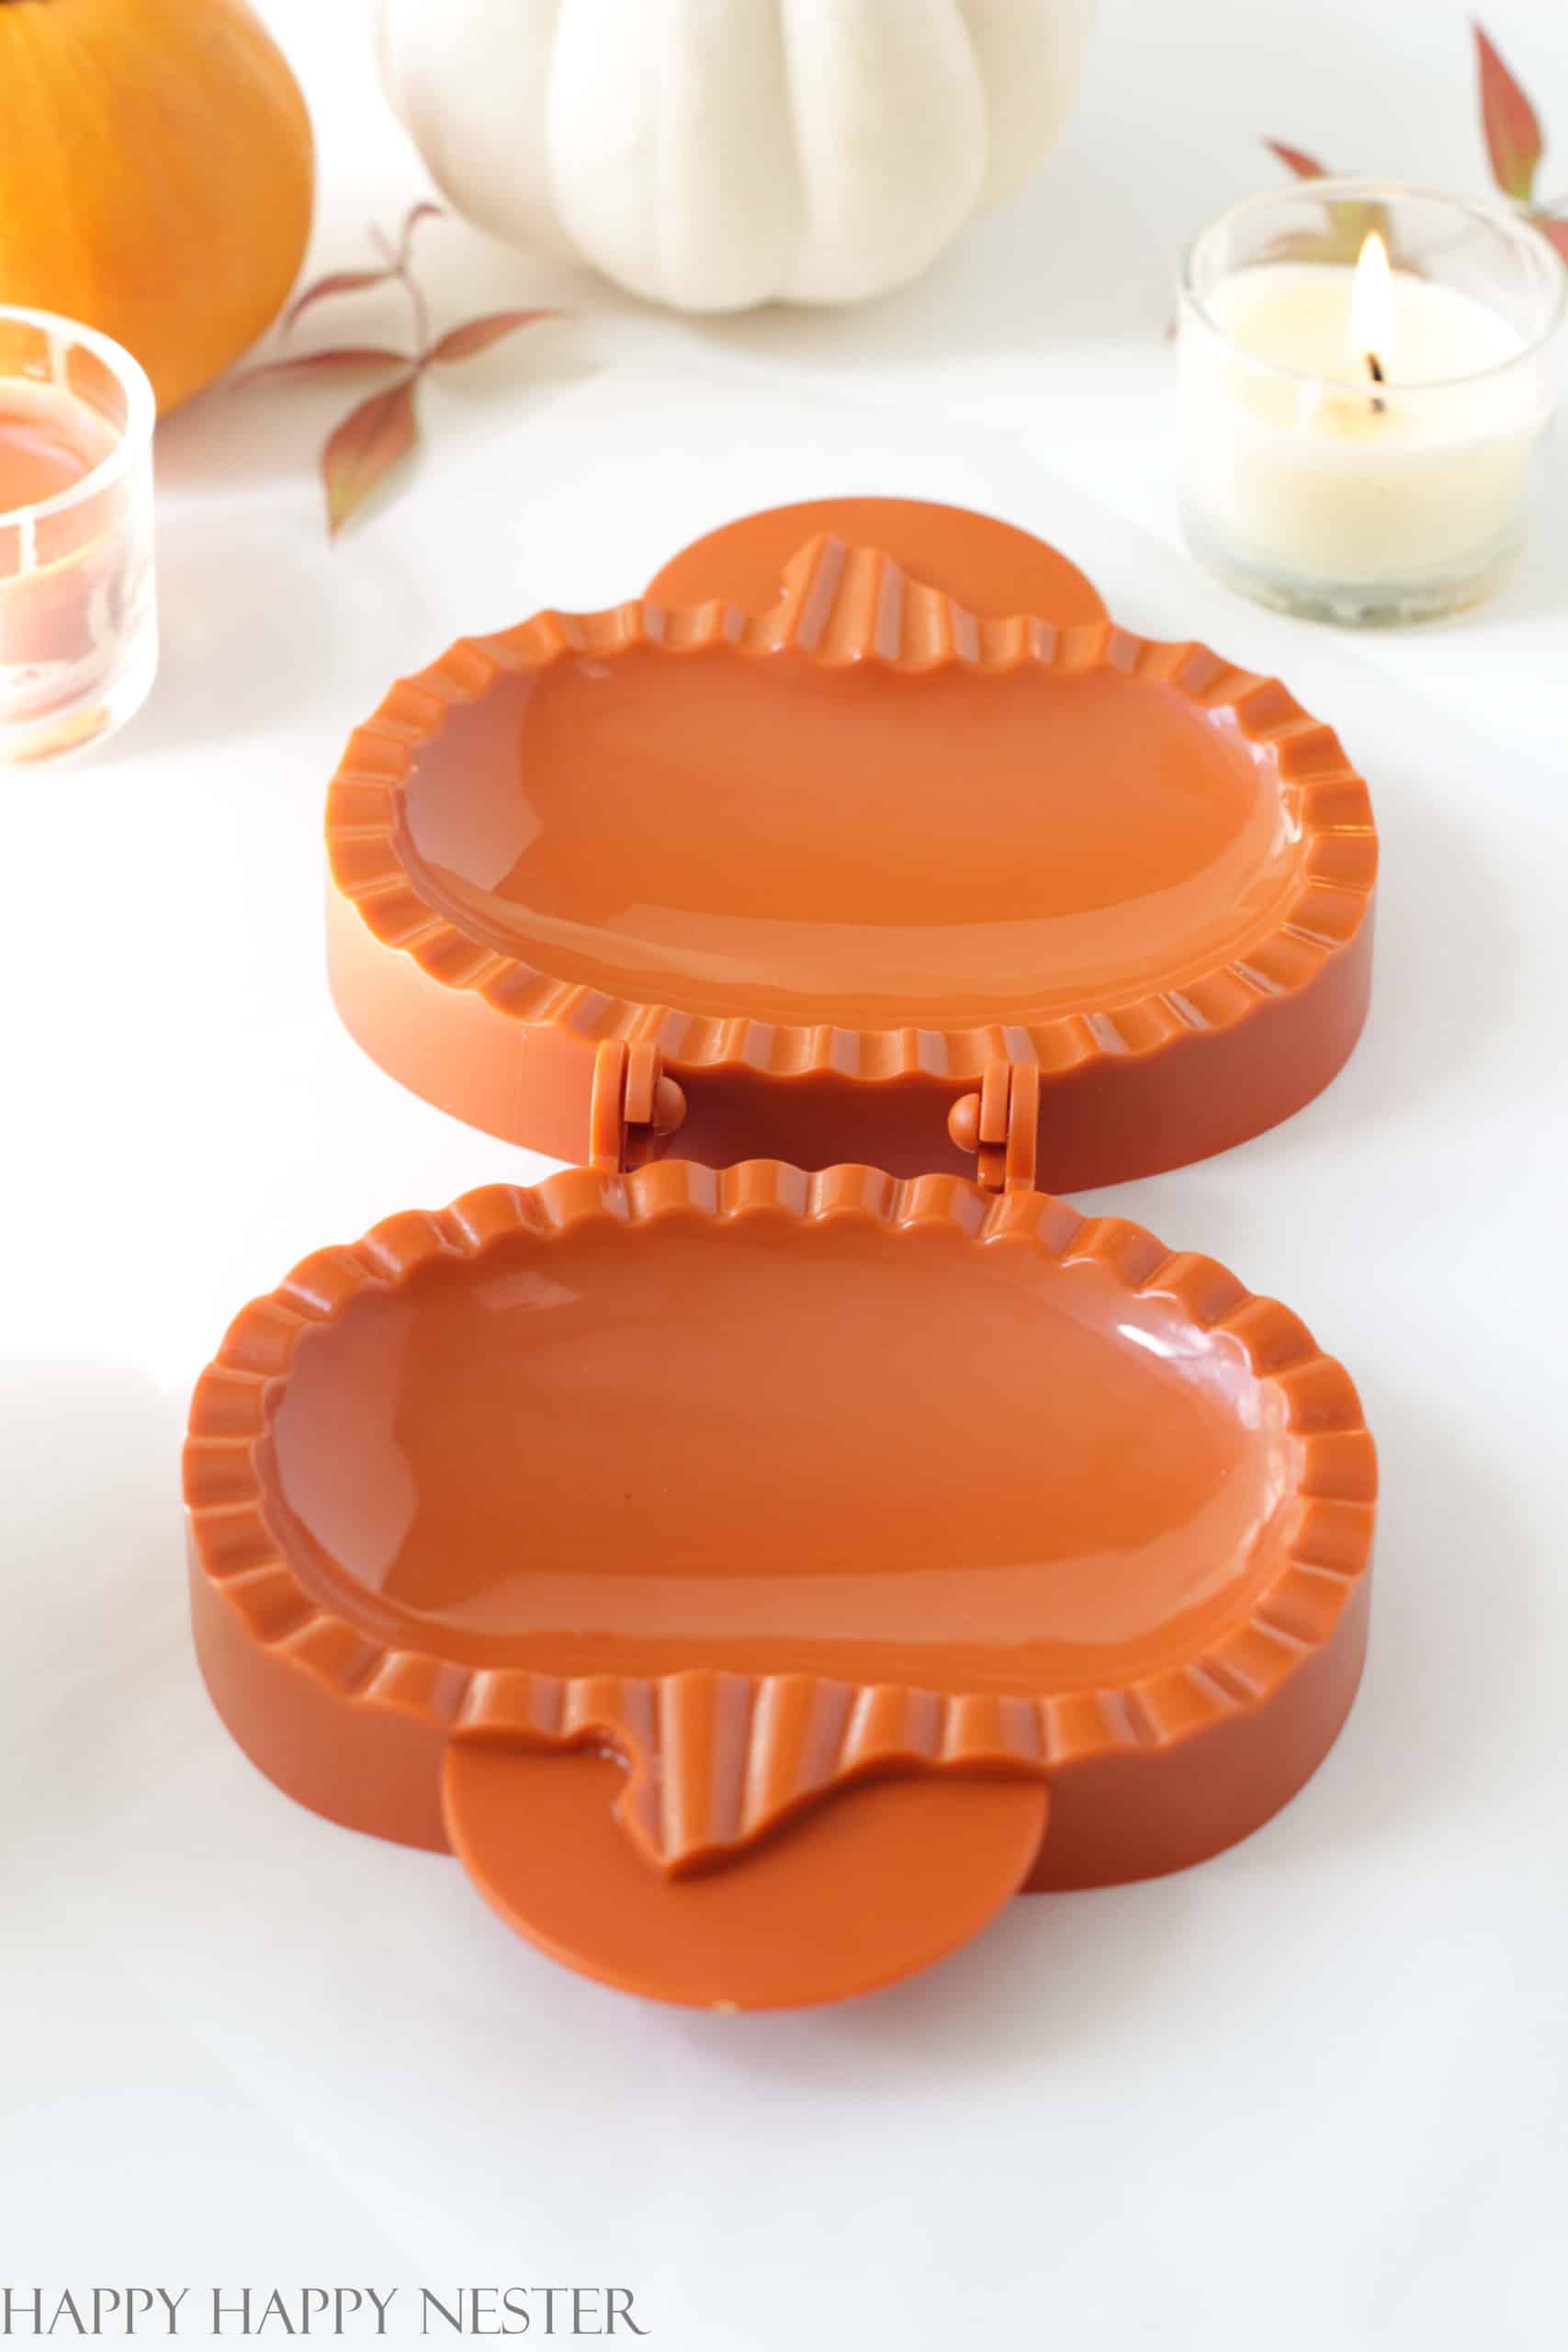
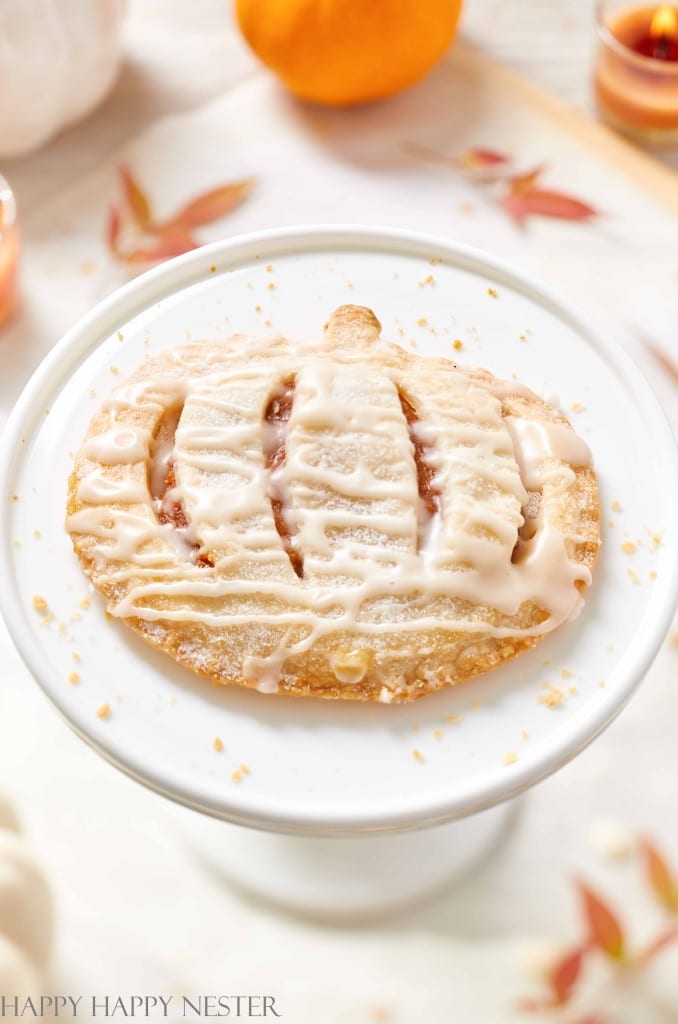
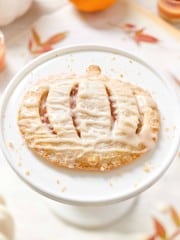
This mini Pumpkin Hand Pies Recipe is easy to make and a perfect fall treat. The pie filling is a homemade pumpkin pie wrapped in a pie crust dough. The pumpkin shape is achieved with a Williams Sonoma autumn mini pie mold.
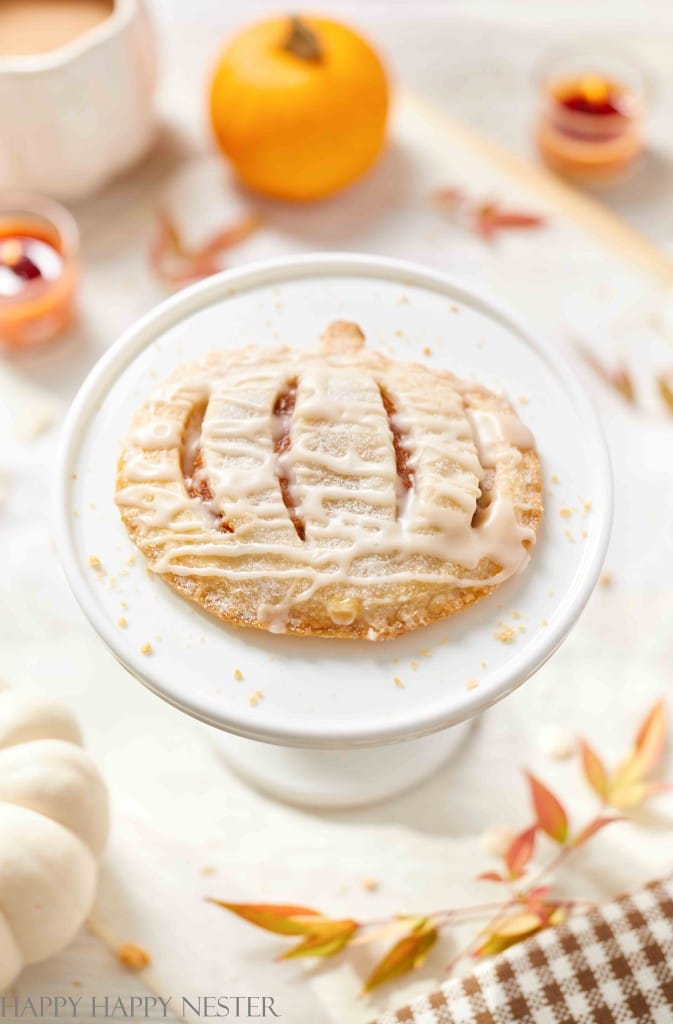
These pocket pie molds are a bit tricky to figure out. And so I’m here to show you how to use these cute molds since Williams Sonoma provides pretty minimal directions.
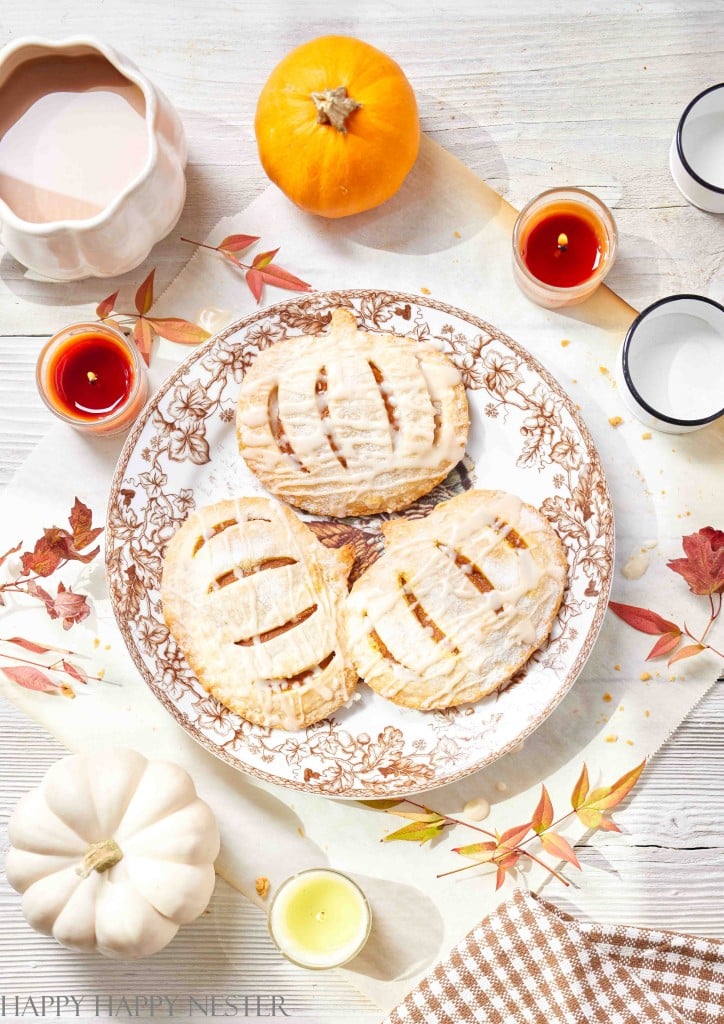
This fall, I can’t get enough pumpkin desserts. So, I hope you like everything pumpkin since I’m sharing so many pumpkin recipes.
Here are a few that might interest you!
- Pumpkin Brioche French Toast
- Pumpkin Muffins With My Secret Crumb Topping
- Moist Pumpkin Bread Recipe
Now that the weather is cooler, you might check out my friend’s yummy recipes at the bottom of the post.
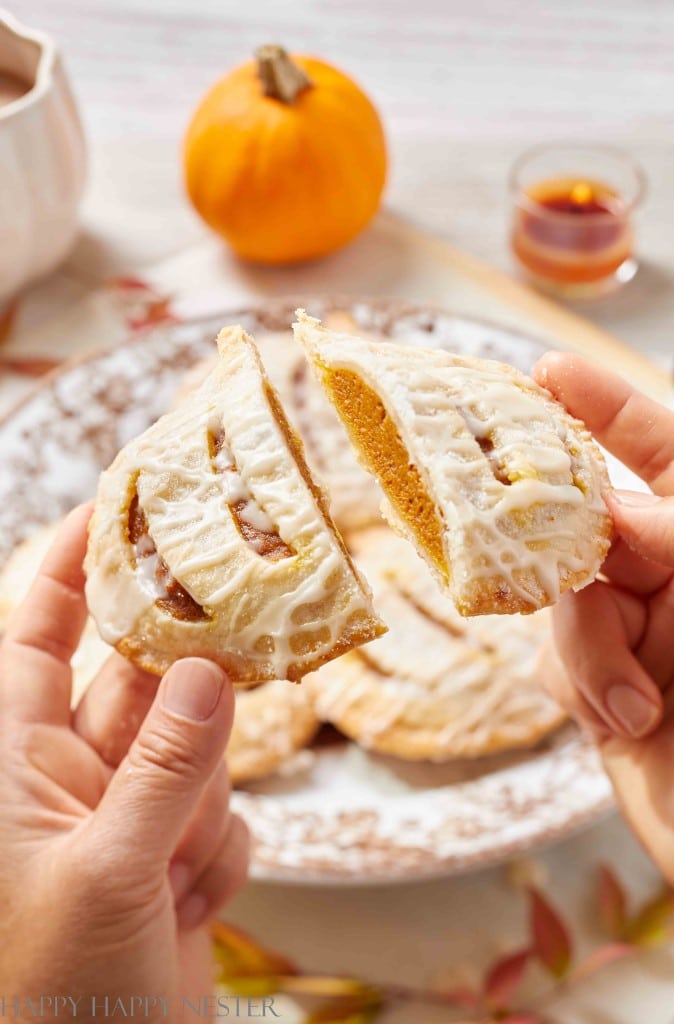

I frequently take shopping trips to Williams Sonoma to see what is the latest seasonal gadgets. And I spied these fun Mini Pie Molds that they had for Autumn. I’ve always wanted to make some individual-sized pies, so I bought this fun product.
Plus, they looked so cute.
But, once I brought them home, I noticed the directions on the box were pretty minimal. I had to figure out the best way to make them.
So, with my camera and phone in hand, I got busy capturing photos and videos to share with you!
I found that it wasn’t too difficult t once I figured out the best way to make them. Plus, they are super cute mini desserts!
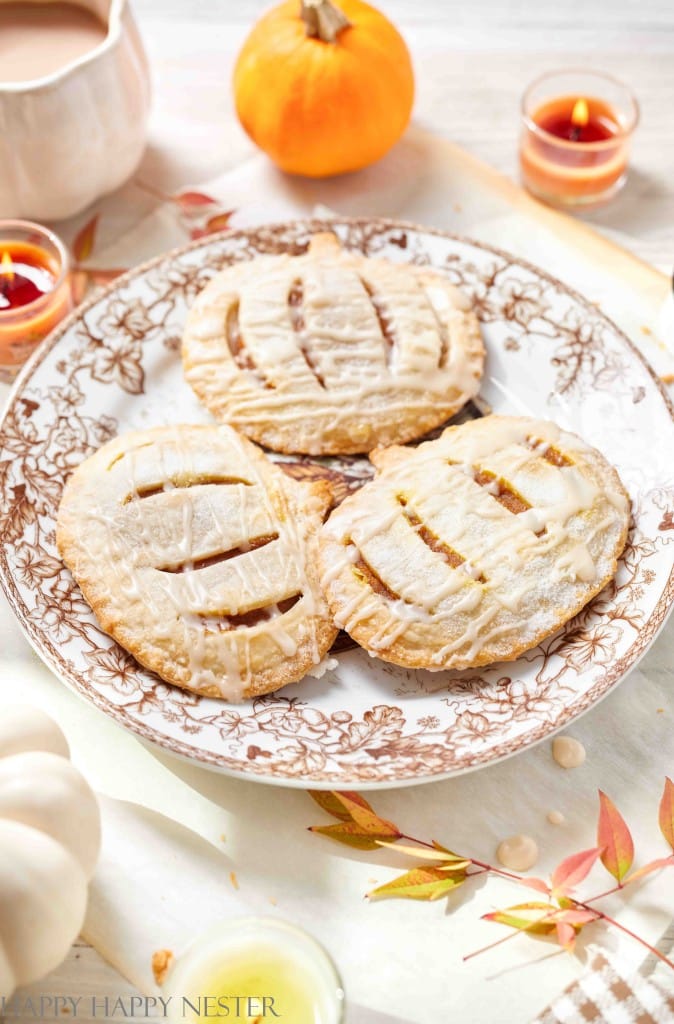
How to Make Pumpkin Hand Pies
Pumpkin hand pies are such a wonderful fall treat. These individual-size pies are simple to make and easy to eat. Add these pies to a bowl of vanilla ice cream and you have a yummy dessert combination.
Ingredients You’ll Need
Williams Sonoma Autumn Mini Pie Molds
Pie Crust
Pumpkin Puree
Granulated Sugar
Ground Cinnamon
Ground Ginger
Ground Cloves
Egg
Powdered Sugar
Vanilla Extract
Directions
Step 1 – Prepare Pie Crust
Remove pre-made pie crust from the refrigerator. Place on a sheet of parchment paper and allow it to warm up a bit. This step takes a couple of minutes. If you’re making homemade pie crust, the dough should be 1/8″ to 1/4″ thick.
Step 2 – Make Pumpkin Pie Filling
Blend the egg, sugar, cinnamon, ginger, cloves, and flour in a saucepan. Mix thoroughly with a whisk.
Step 3 – Cook Pie Filling
Place the saucepan with the pumpkin pie filling on a low to medium flame. Cook for about five minutes constantly stirring to prevent burning. Once cooked, remove from stovetop and set aside.
Step 4 – Preheat Oven
Before making your mini-pumpkin hand pies, preheat the oven to 425 F.
Step 5 – Prep Mold
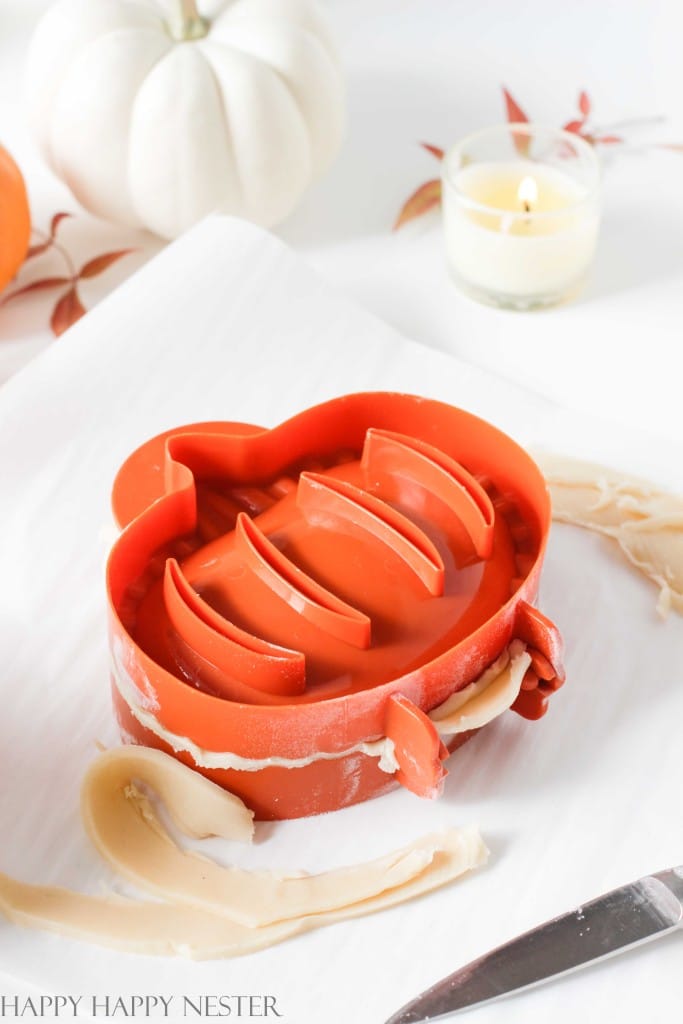
If your Williams Sonoma molds are new, wash and dry them before using.
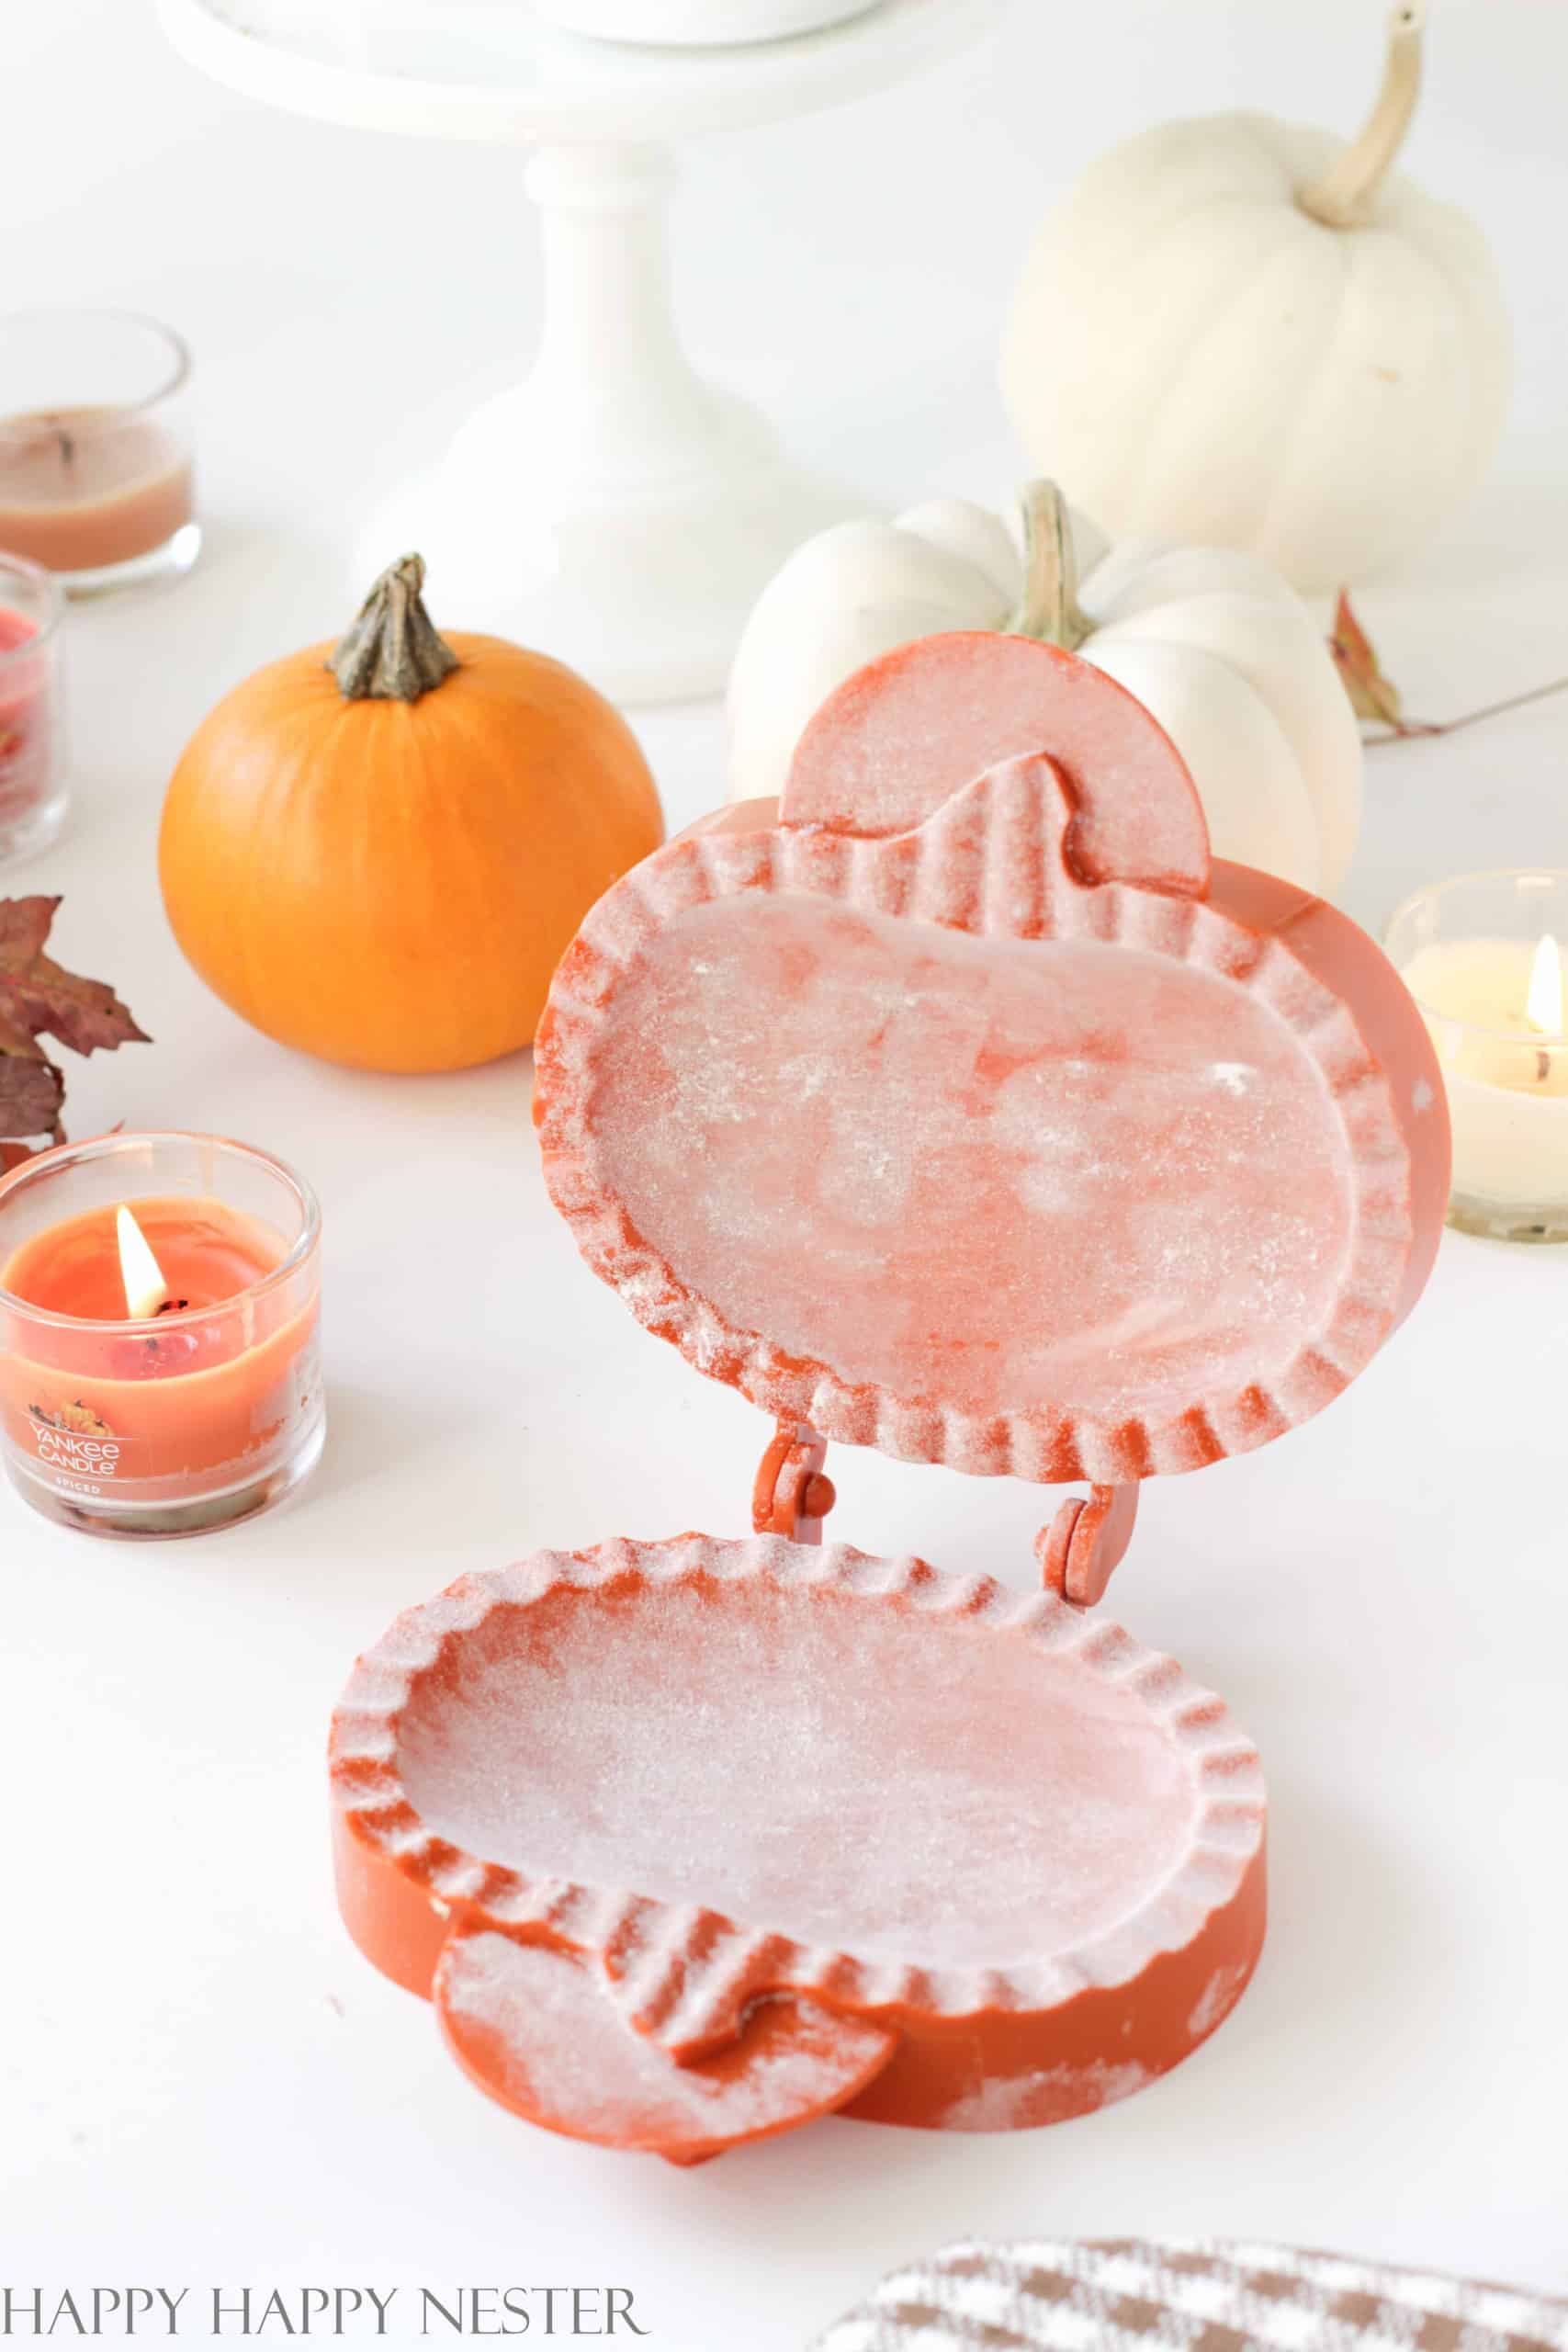
Flour your molds and then tap gently to remove the excess flour. When handling the floured molds, ensure not to touch the inside area since that will remove the flour.
Step 6 – Making Pie Vents
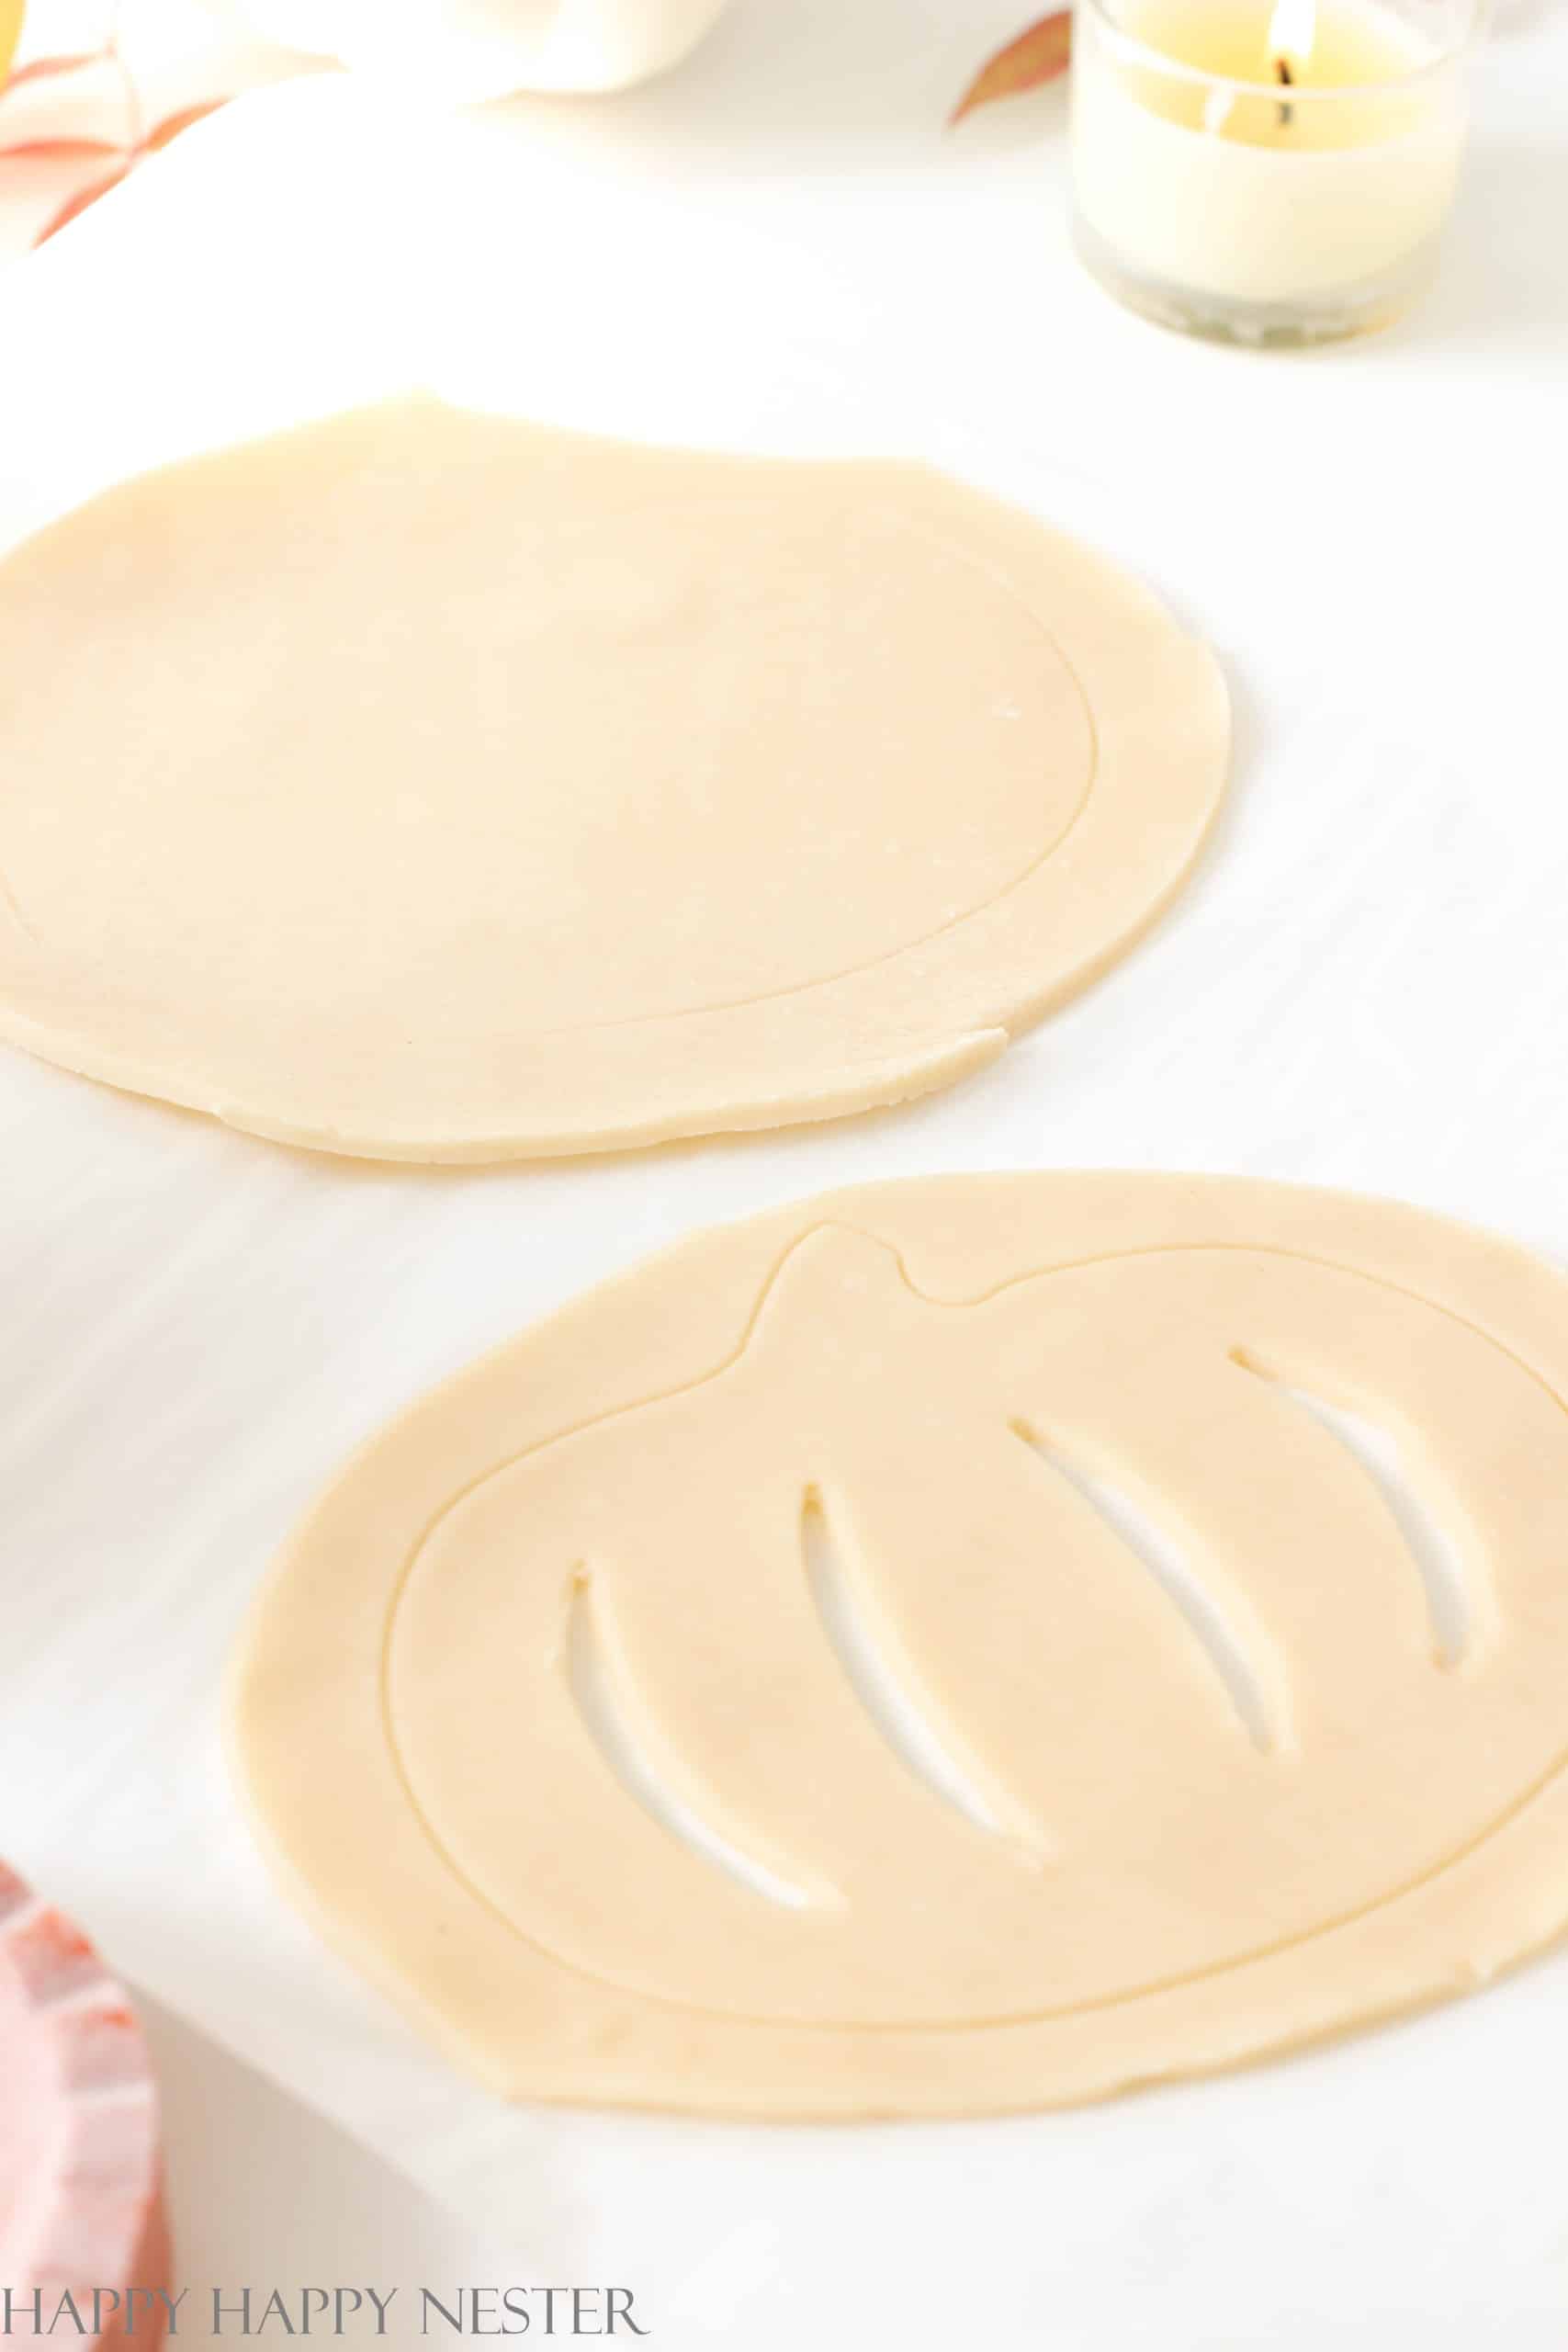
Unroll the pie dough on the parchment paper.
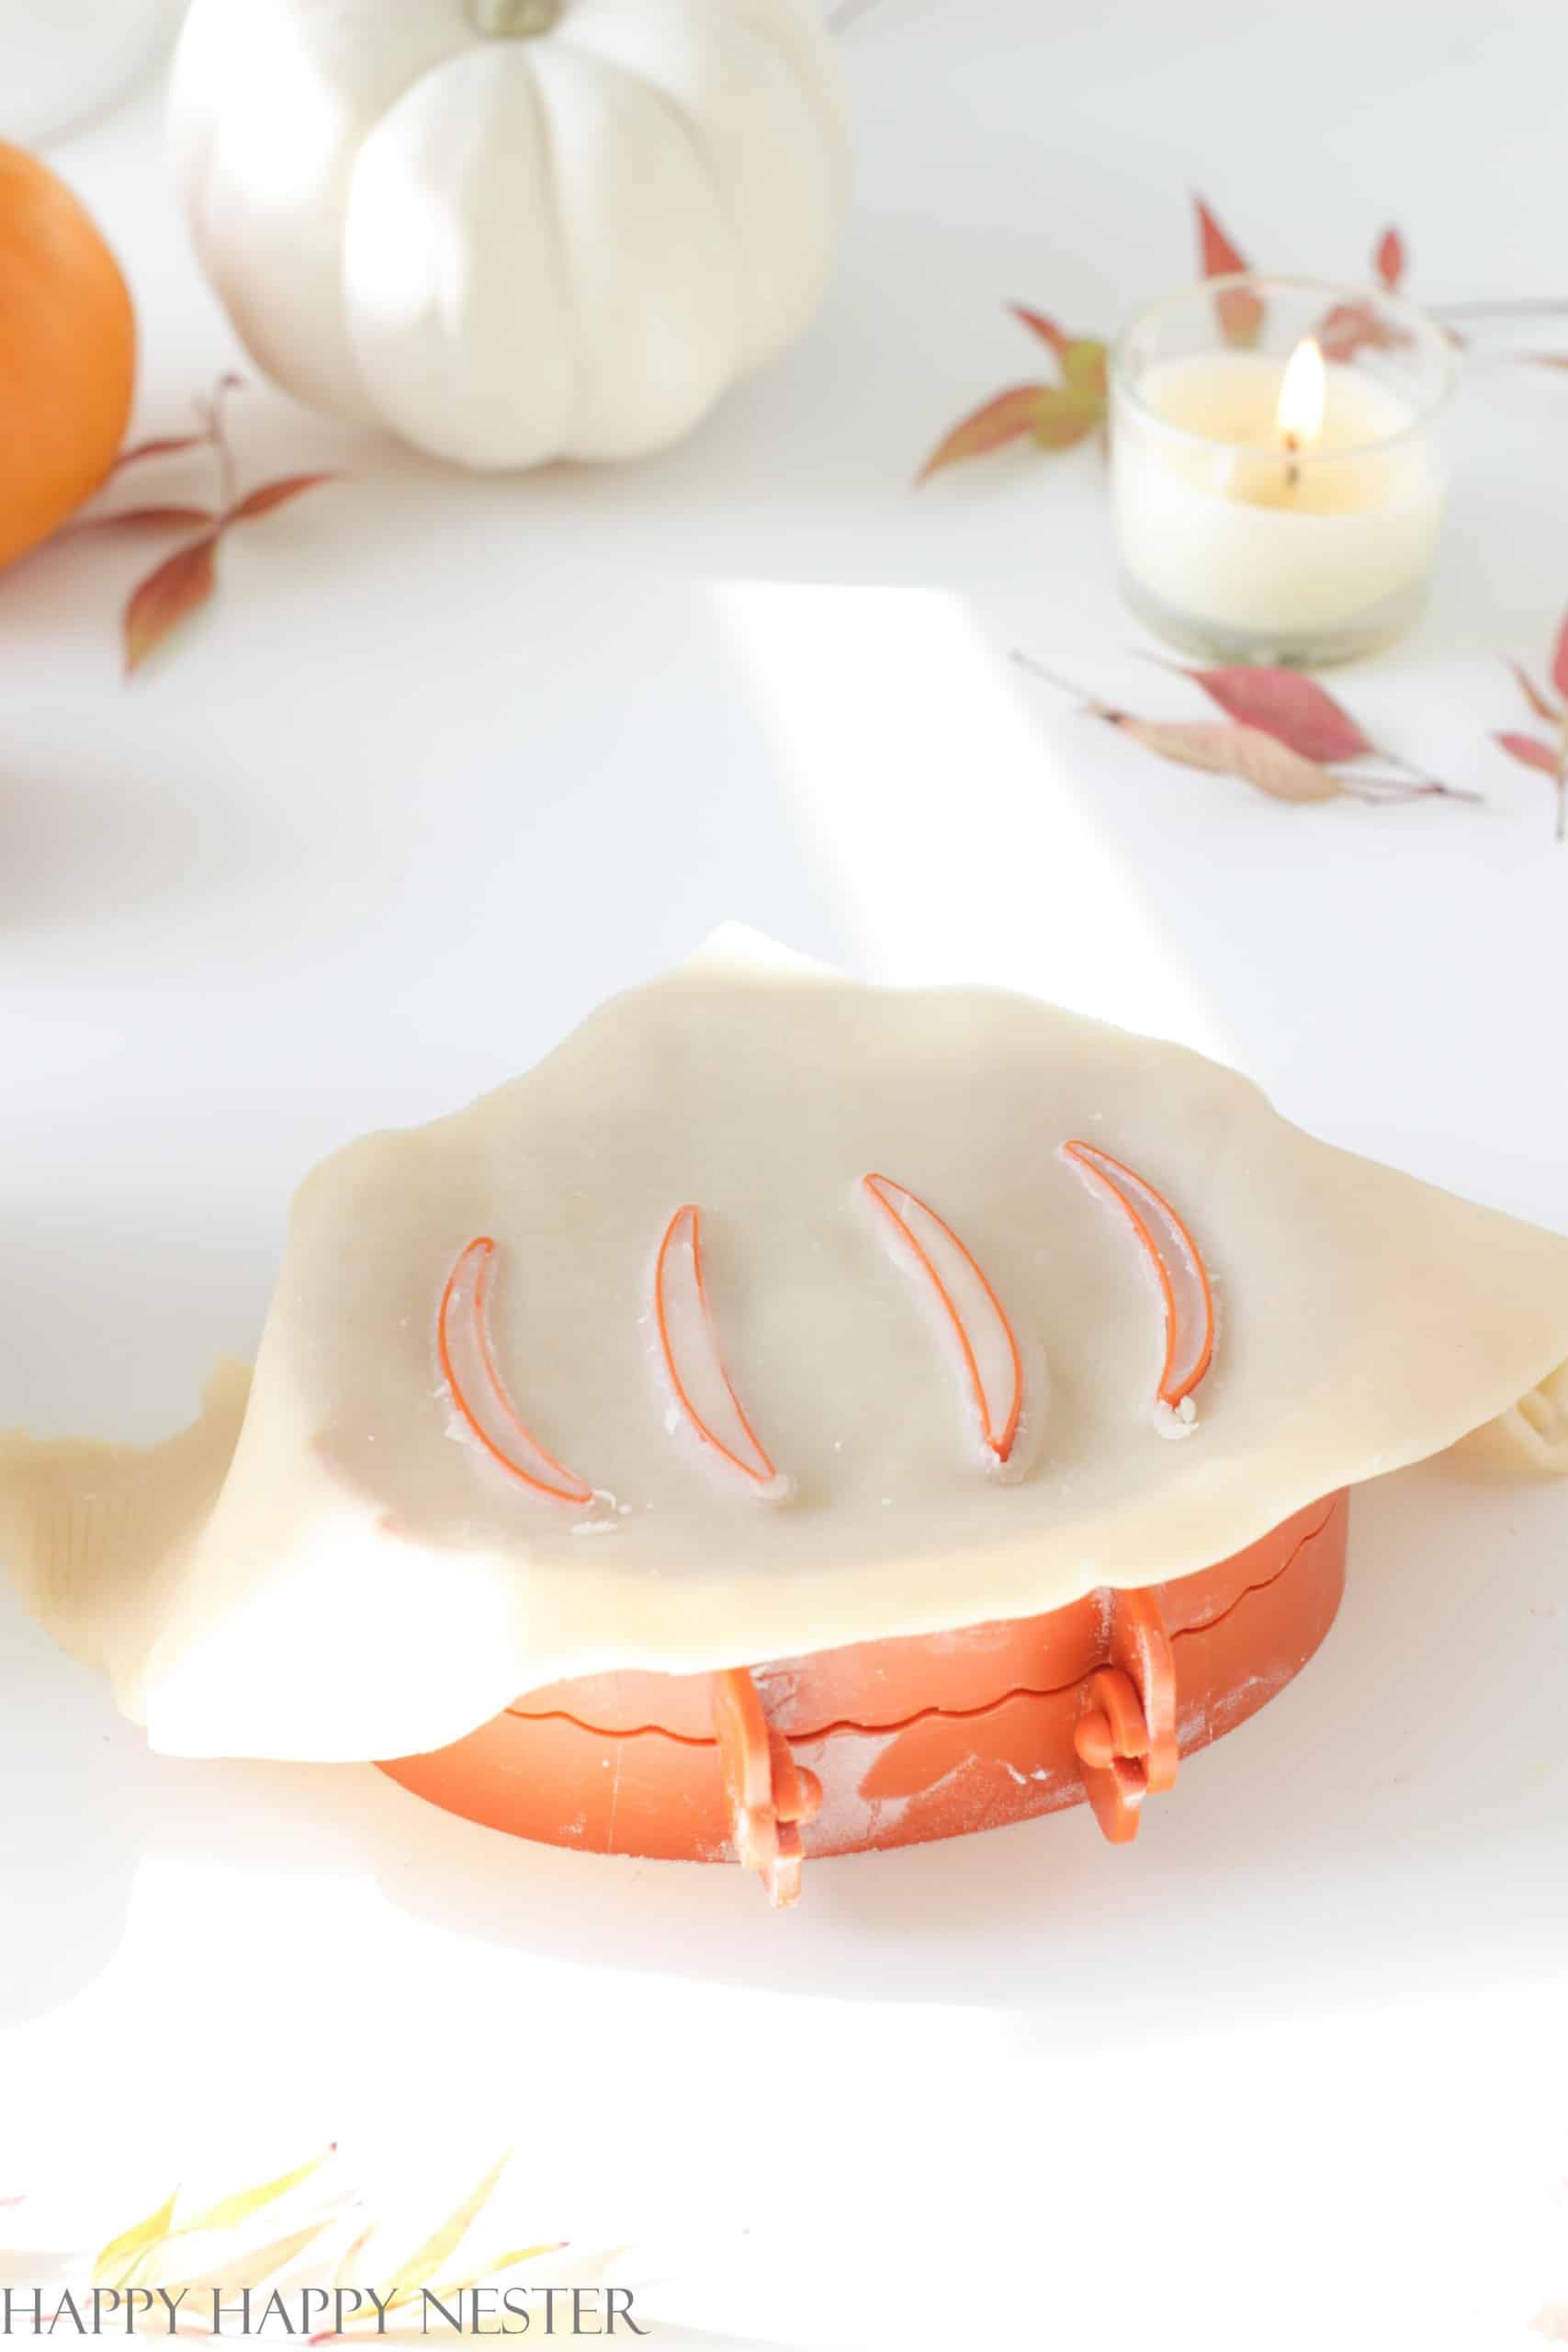
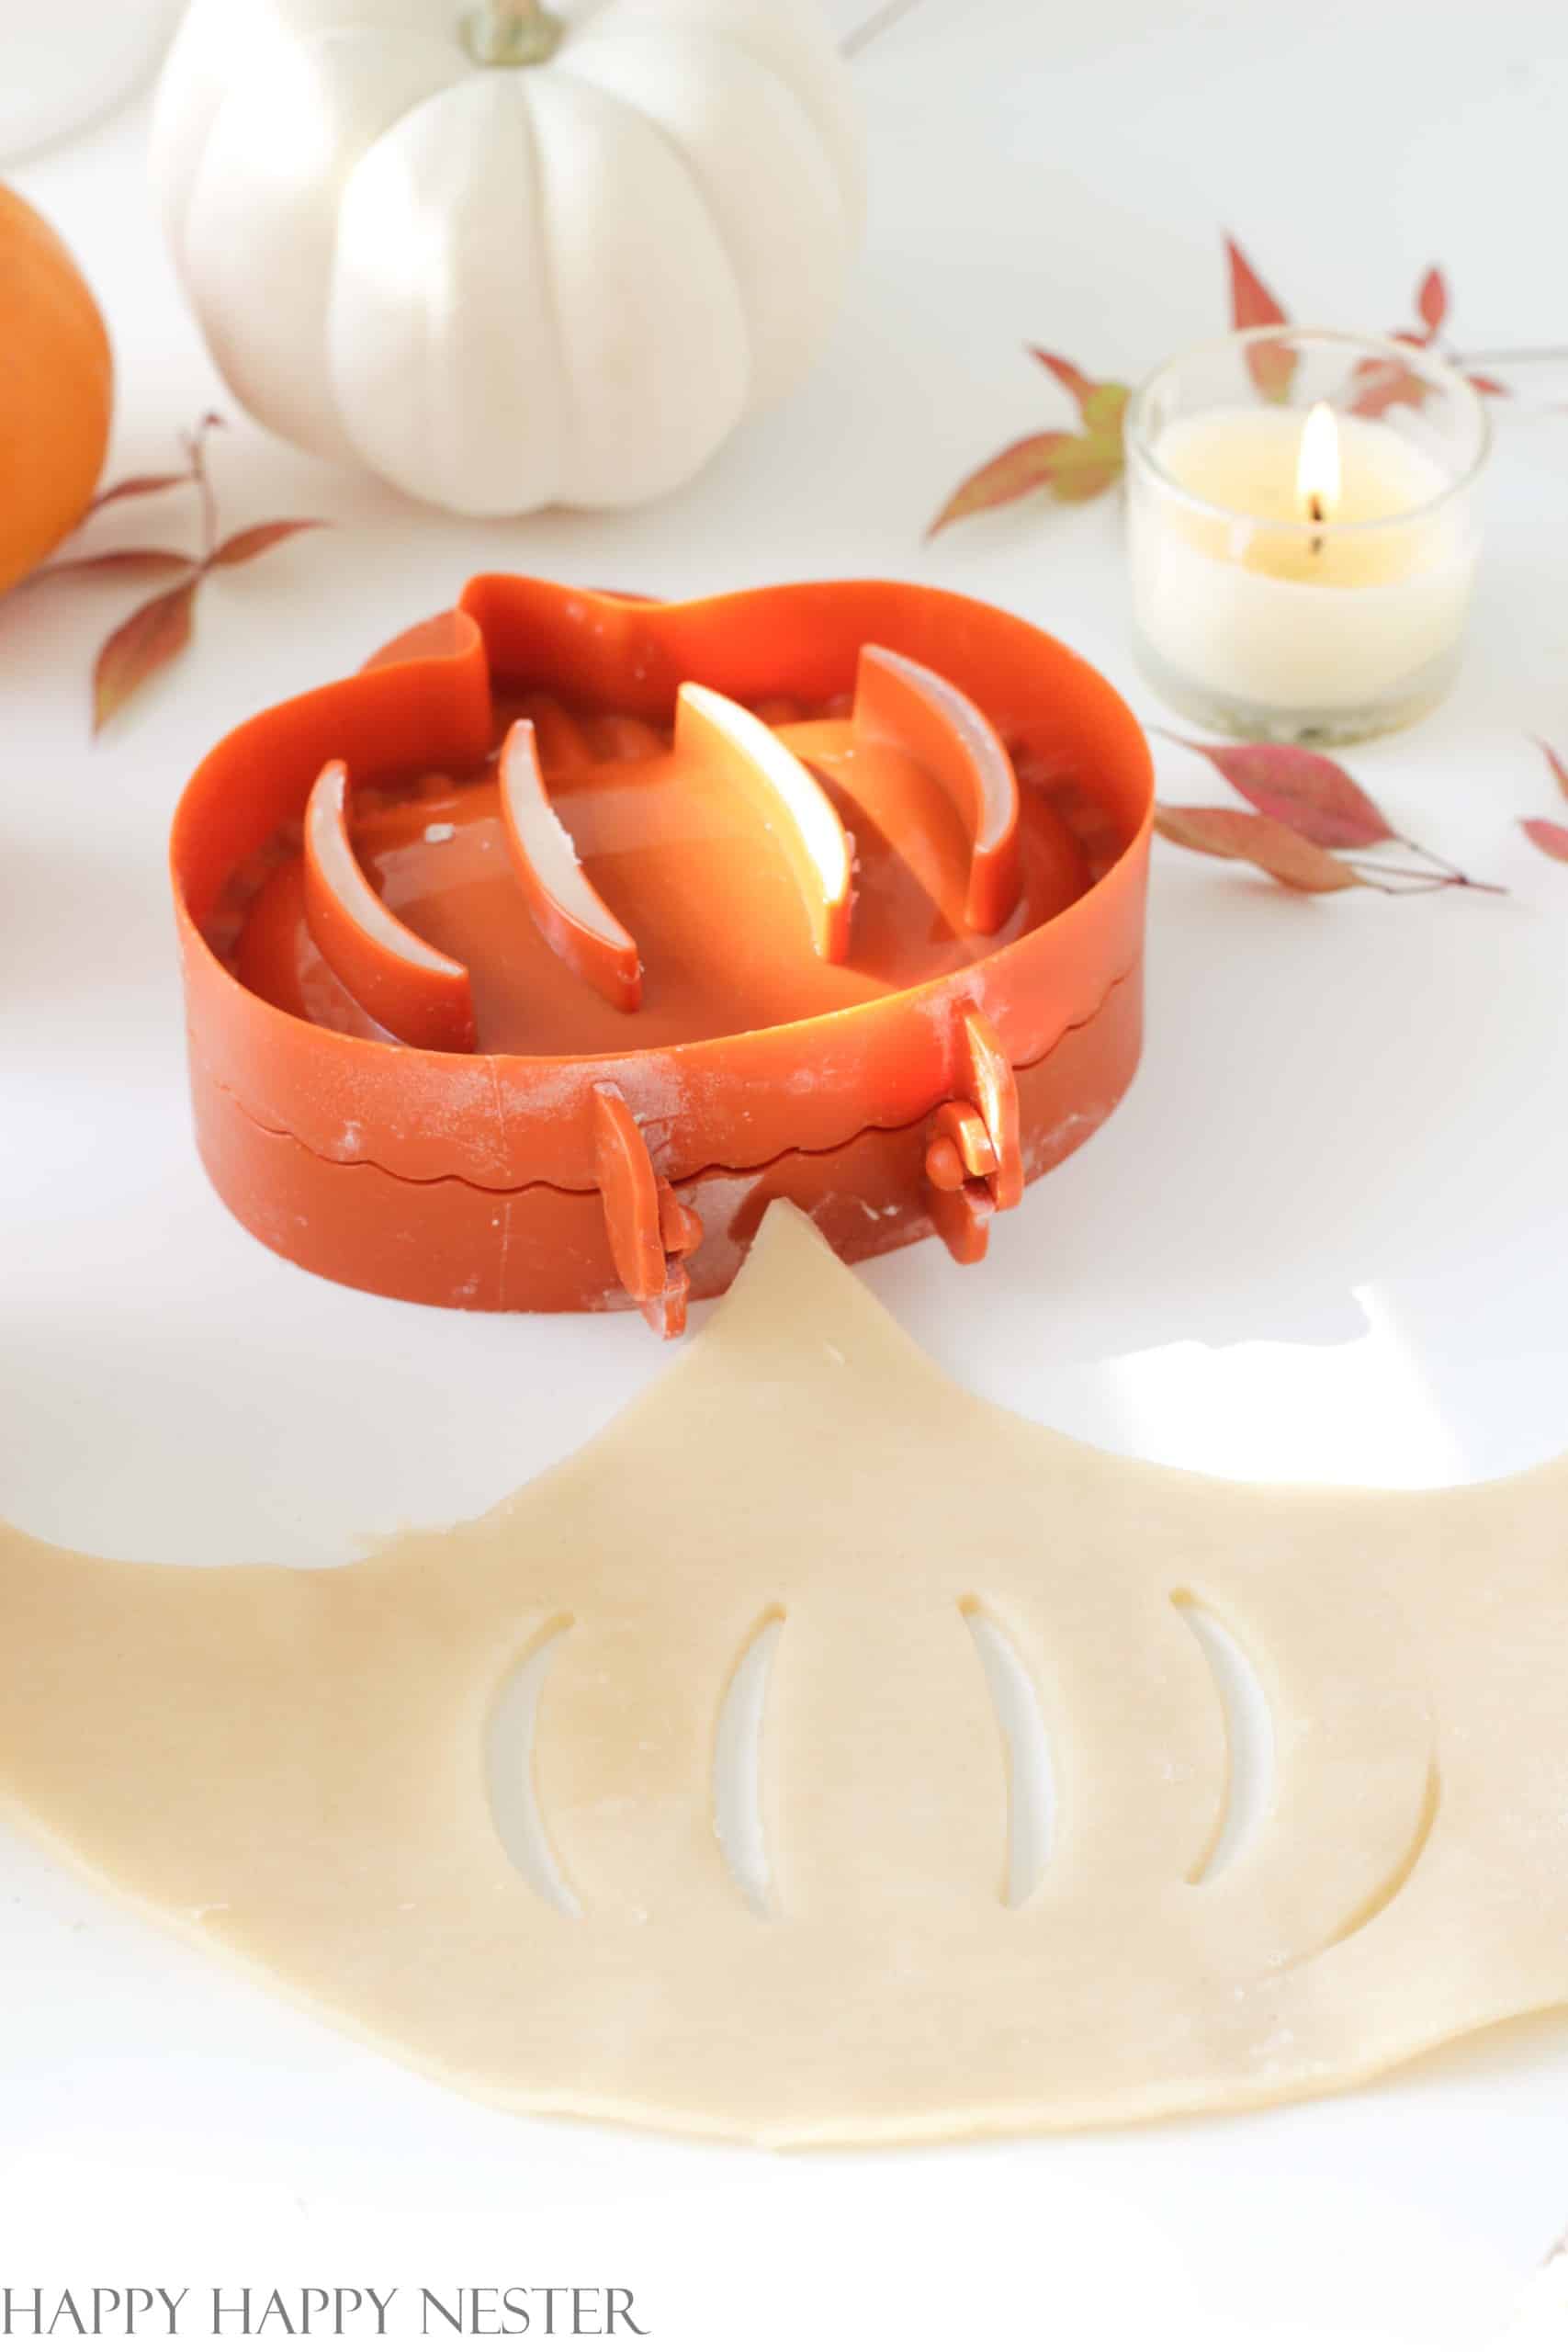
Take your pumpkin mold with the outline of vents and press your dough on the vent shapes. Remove from mold and set aside.
*A little tip about cutting out the vent shapes. Make sure that no dough pieces remain on top of the vent’s rim. The cleaner the pie mold vent edges are the smoother the cutout outline will look. Check out my photo to the left.
Step 7 – Cut Out the Bottom Pie Crust
Cut out the other pie crust by placing your pie mold on the remaining dough. Take your knife and outline the pumpkin with about a 1/2 inch border.
Step 8 – Fill the Mini Pumpkin Pie
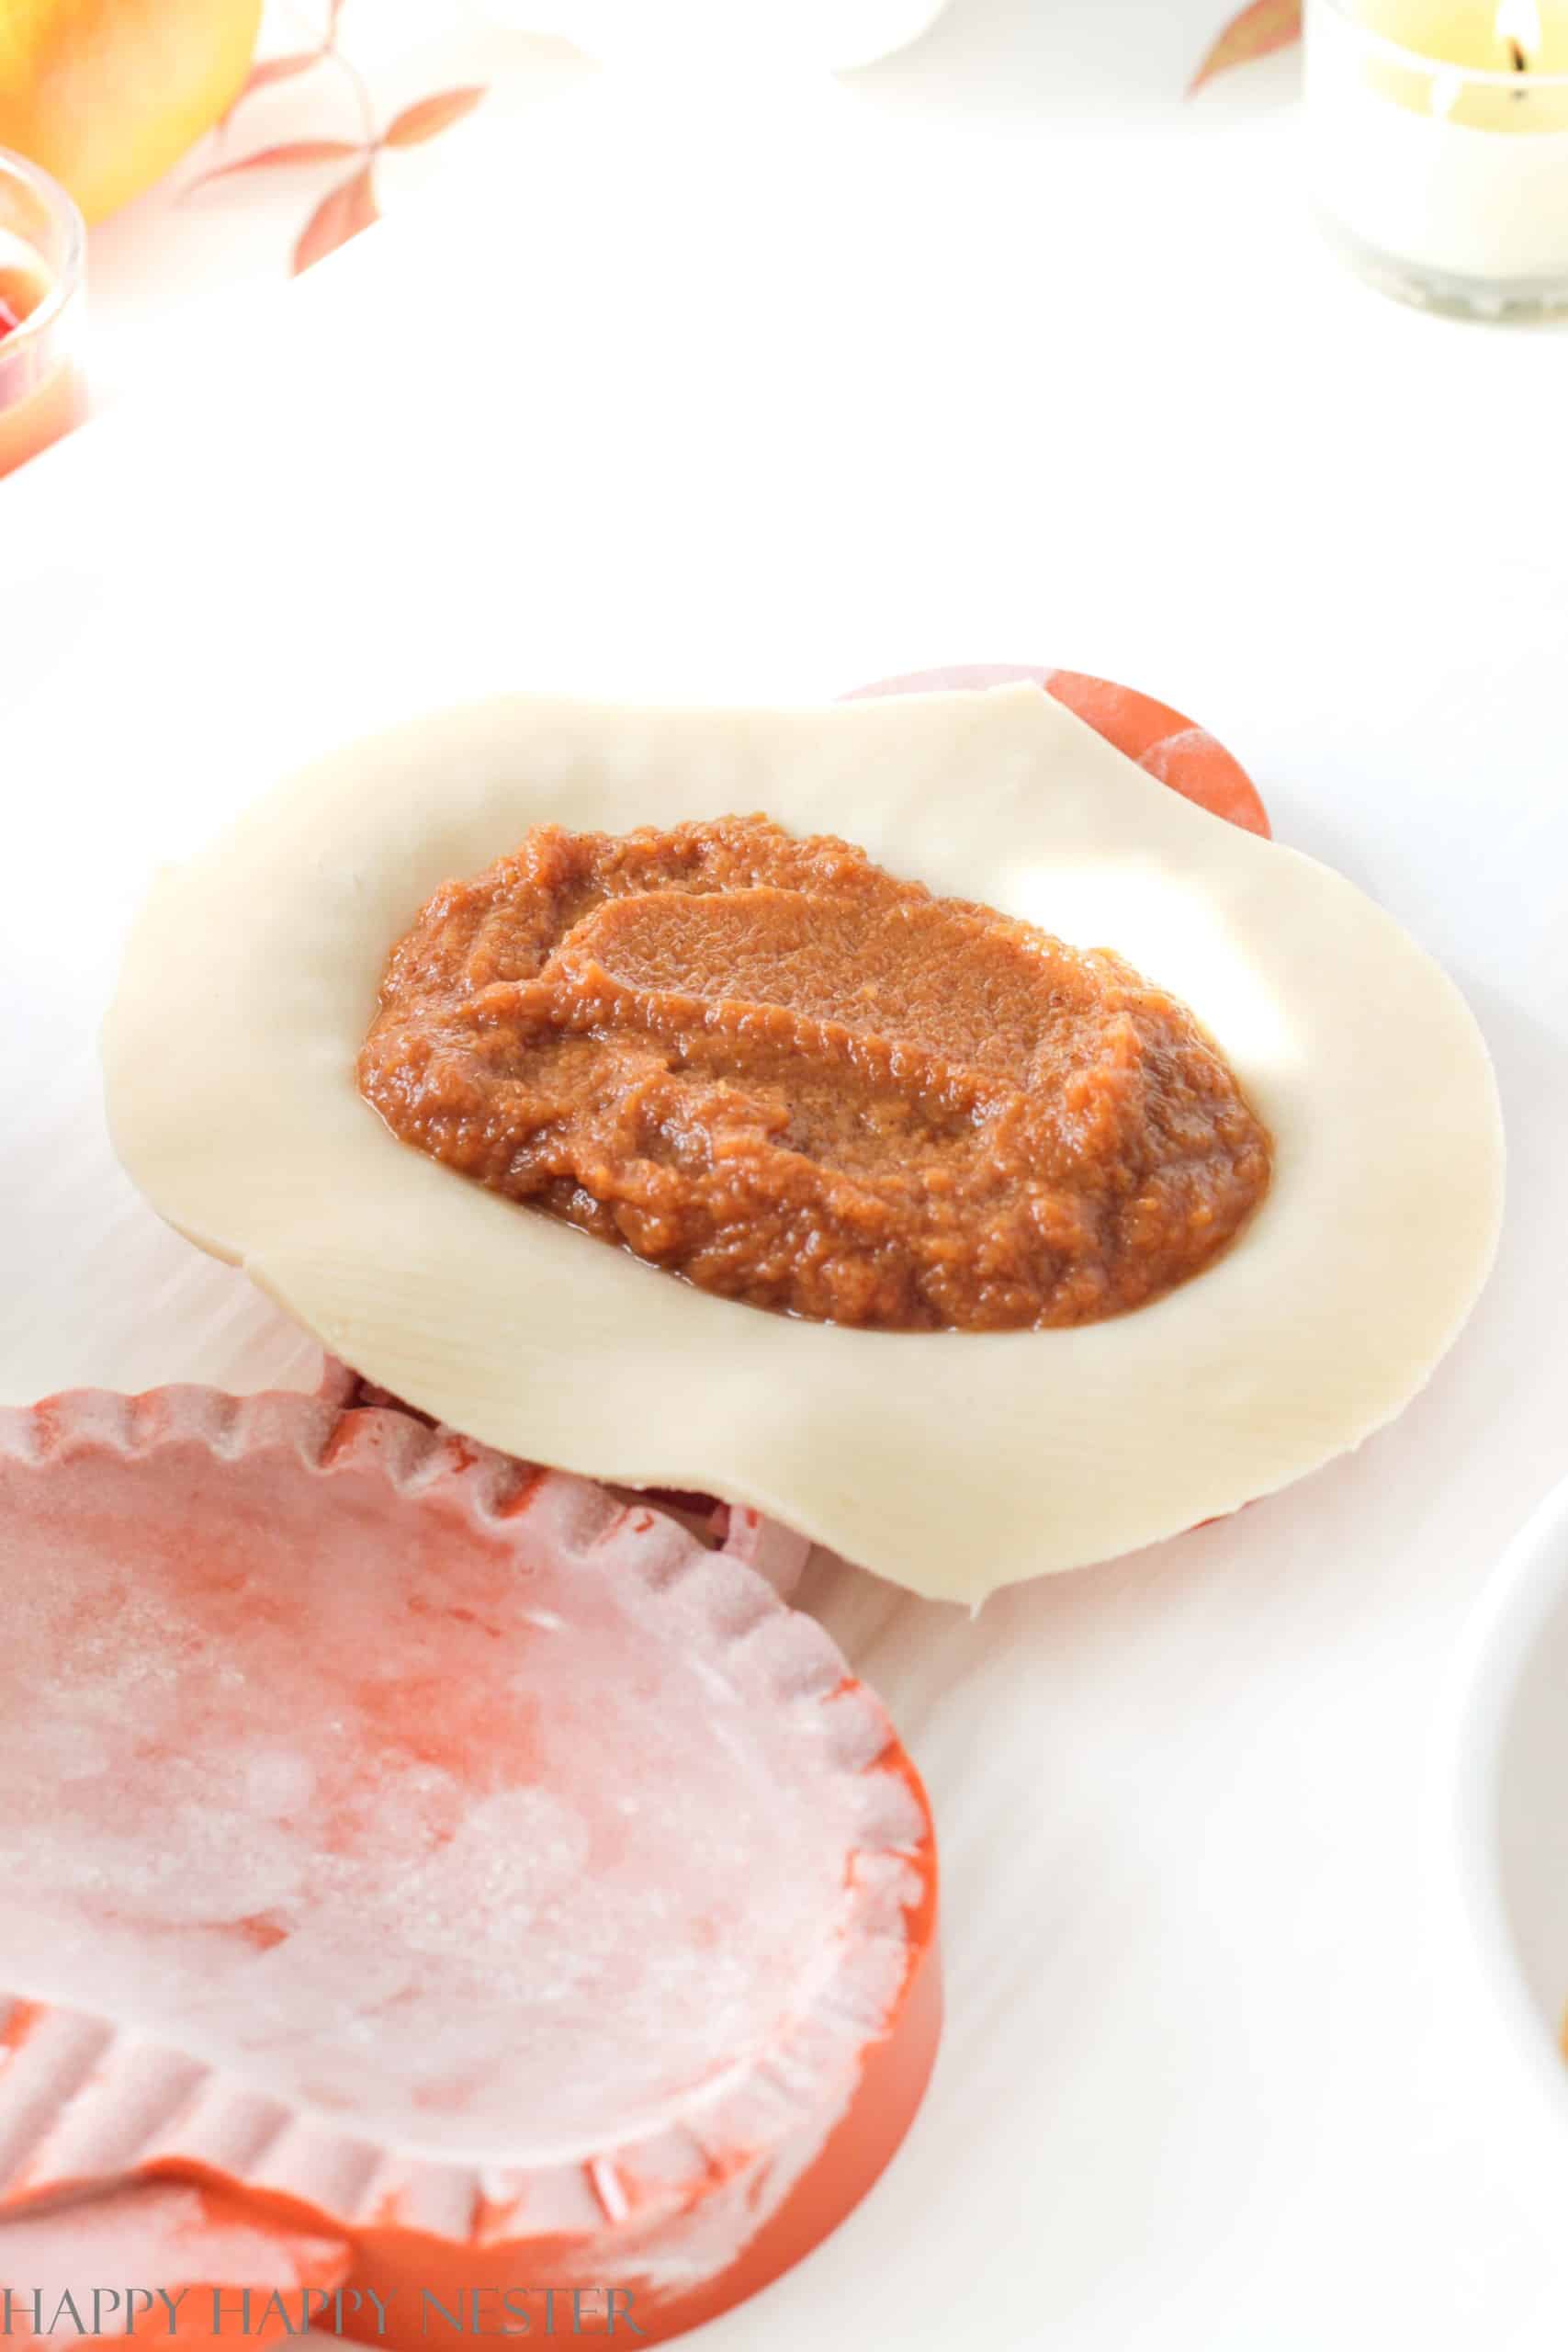
Now you should have two pieces of dough, one with vent holes and the other without vent holes. Place the one without vent holes in the pie mold and gently press down the dough into the well.
Fill the pocket with your pie filling. Make sure not to fill to the rim since that’s where the pie crust will attach.
Step 9 – Place Cover Over the Bottom Pie Crust
Once you have filled your pie, add your top layer of dough with vents. Make sure to line up the dough with the bottom one.
At this point, you should have a bottom pie crust, the filling, and the second pie crust with the vents.
You may trim a little bit of the dough near the hinge to shut it. Close the mold lid on the pie.
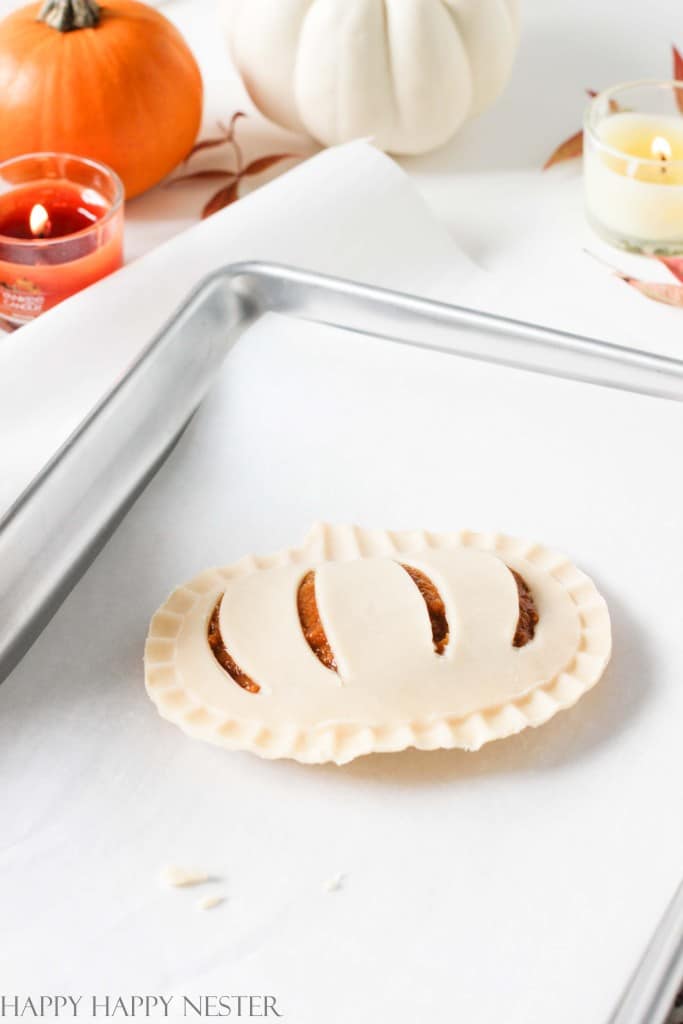
Remove the mini-pie from the mold and place on your parchment lined tray. Make sure lay your pies with the vent side up.
Step 10 – Sprinkle Sugar
Lightly brush the top of the pie with a layer of milk. Then sprinkle sugar on top.
Step 11 – Bake Pies
Bake pies in a 425-degree oven for about 15 minutes or until golden.
Step 12 – Drizzle Icing
Once the mini pumpkin hand pies are cooled, drizzle icing over the top.
Substitutions:
Pie Crust
You can make homemade pie crust instead of store-bought. Also, it might be yummy to use puff pastry as your crust as well.
Pie Filling
I cooked my pie filling since the bake time is pretty short and I didn’t know if it would cook all the way. But, Libby’s does sell an already made pie filling which will probably be fine for this recipe.
Milk
Instead of brushing the top of the pie with milk, you can use an egg white or a whisked egg.
Sugar Topping
Instead of dusting the pies with granulated sugar, make a mixture of sugar and cinnamon. Oh boy that sounds so yummy!
Icing
If you like you can substitute the vanilla sugar icing with a caramel drizzle.
How to Store This Fall Dessert
After the first day, I do like to refrigerate the pies. Since they have an egg in the filling, that makes it a good candidate for refrigeration.
Store them for up to two days and when serving, reheat in a 350-degree oven until warm.
Mini-Pumpkin Hand Pies Recipe
Ingredients
Pie Crust
- 1 package Pie Crust I bought Pillsbury Pie Crust and it's yummy
Pumpkin Pie Filling
- ½ cup pumpkin puree
- 1 egg
- ⅛ cup granulated sugar
- ¼ tsp salt
- ½ tsp ground cinnamon
- ¼ tsp ground ginger
- 1 pinch of ground cloves
- 1 tbsp flour
Topping
- 1 tbsp milk for brushing on the top of the pies
- 1 tbsp sugar for sprinkling on top of the pies
Icing
- 3 tbsp powdered sugar
- 1½ tsp milk
- ⅛ tsp vanilla extract
Instructions
Pumpkin Pie Filling
- Beat egg in a medium size sauce pot. Add sugar, salt, cinnamon, ginger, cloves, and flour.
- Cook over low heat for about 5 minutes. Take off the stovetop and set it aside.
Pie Crust Shaping
- Preheat the oven to 425°
- If your Williams Sonoma molds are new, wash and dry them before using. Flour your molds and then tap gently to remove the excess flour. When handling the floured molds, ensure not to touch the inside area since that will remove the flour.
- Unroll the pie dough on the parchment paper.
- Take your pumpkin mold with the outline of vents and press your dough on the vent shapes. Remove from mold and set aside.
- Cut out the other pie crust by placing your pie mold on the remaining dough. Take your knife and outline the pumpkin with about a 1/2 inch border.
Making the Mini Pie
- Now you should have two pieces of dough, one with vent holes and the other without vent holes. Place the one without vent holes in the pie mold and gently press down the dough into the well.
- Fill the pocket with your pie filling. Make sure not to fill to the rim since that's where the pie crust will attach.
- Once you have filled your pie, add your top layer of dough with vents. Make sure to line up the dough with the bottom one. At this point, you should have a bottom pie crust, the filling, and the second pie crust with the vents.
- Close the mold lid on the pie. Trim off excess dough.
- Remove the pie and place the vent side up on a parchment-lined baking tray.
- Lightly brush the top of the pie with a layer of milk. Then sprinkle sugar on top.
- Repeat steps 1 – 6 if you are making two mini-pies.
Bake
- Place the mini pies on a baking sheet lined with parchment paper. Bake at 425° for 15 minutes or light brown. When done remove from oven and cool on baking rack.
Icing
- Mix powdered sugar, milk, and vanilla extract in a small bowl.
- Drizzle over the cooled pumpkin pies.
Nutrition
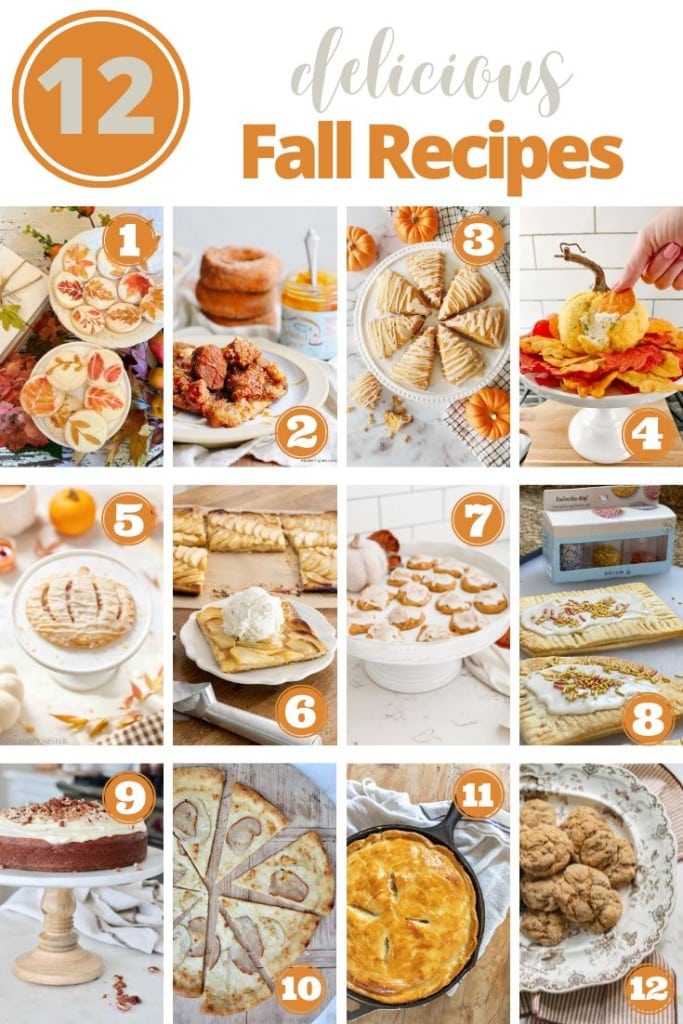
Blogger’s Best Fall Recipes
- How to Make Pretty Fall Cookies | My 100 Year Old Home
- Apple Cider Donut Bread Pudding | Modern Glam
- Pumpkin Scones with Maple Glaze | Paint Me Pink
- Jalapeno Popper Pumpkin-Shaped Cheese Ball | Tatertots and Jello
- Pumpkin Hand Pies Recipe (Mini Pastries) | Happy Happy Nester
- Classic French Apple Tart | Sincerely, Marie
- A Roundup of My Favorite Fall Treats | Pasha is Home
- How to Easily Make the Best Air Fryer Breakfast Pop Tarts Now | The Design Twins
- Banana Cake with Cream Cheese Frosting | Maison de Cinq
- Gorgonzola & Pear Pizza | My Sweet Savannah
- Hearty Homemade Chicken Pot Pie | Twelve on Main
- Pumpkin Molasses Cookies | Finding Lovely
Happy Fall and Happy Baking!
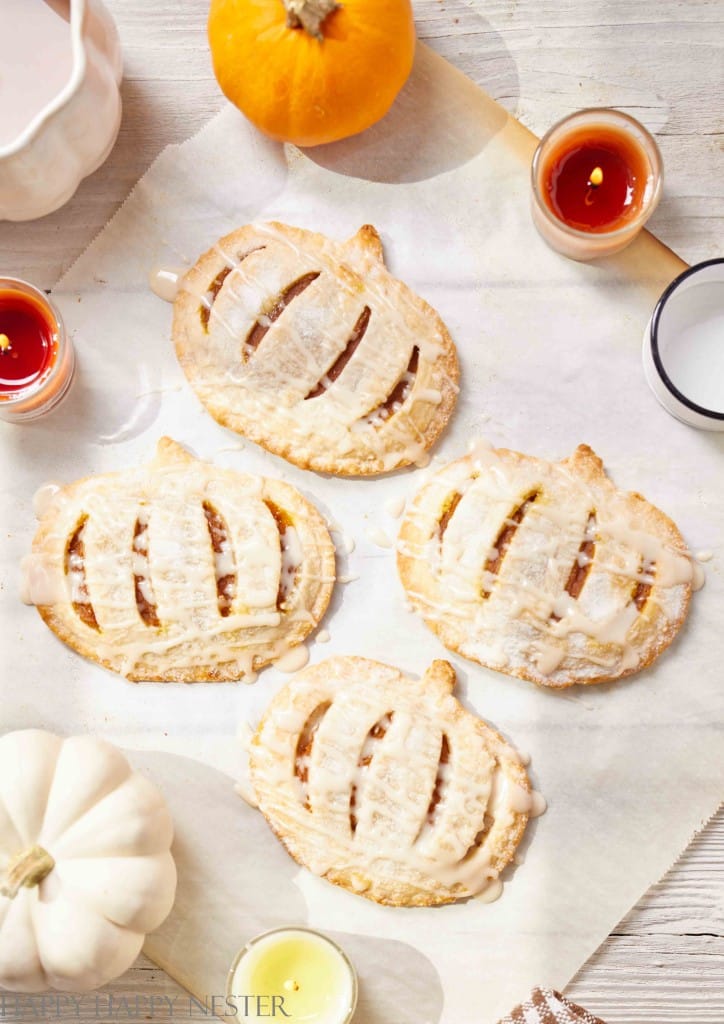
These pumpkin hand pies recipe is sure to become a favorite for your family this season. The molds from Williams Sonoma are super cute and once you follow my directions, they will be a breeze to make.
Thanks for stopping by!
Cheers,


- Spring Doormats from Walmart - February 18, 2026
- Heart Shaped Brownies Recipe - February 13, 2026
- Framed Artwork from Amazon - February 12, 2026



Norma
These are too cute to eat, Janine!! And they are the perfect fall treat to kick off this season!
Melaine Thompson
Oh my gosh, these are too cute!
Sara
These are seriously so cute!
Jennifer Hadfield
Such a sweet idea, Janine! I love how theyre shaped like pumpkins too!! I pinned them to my recipe board to share. Thanks for letting me join in!
xoxo
Pasha is Home
Love this cute recipe Janine! I’ve had my eye on those Williams Sonoma pie molds for years and now I think I need to bite the bullet and get one!
ashley
These look so yummy!!!
Coco
Oh! I love Autumn, cinnamon & spice, anything pumpkin!
I can’t wait to make these adorable pumpkin hand pies! xo
Brenda Lee Yanak
I don’t see a measurement (amount) for sugar listed? How much sugar did you add?
Janine Waite
Hi Brenda,
I hope you enjoy these excellent little pies! I’m unsure what happened to the measurement, but I fixed the amount. It’s a 1/8 cup of granulated sugar. Happy Thanksgiving!
Janine