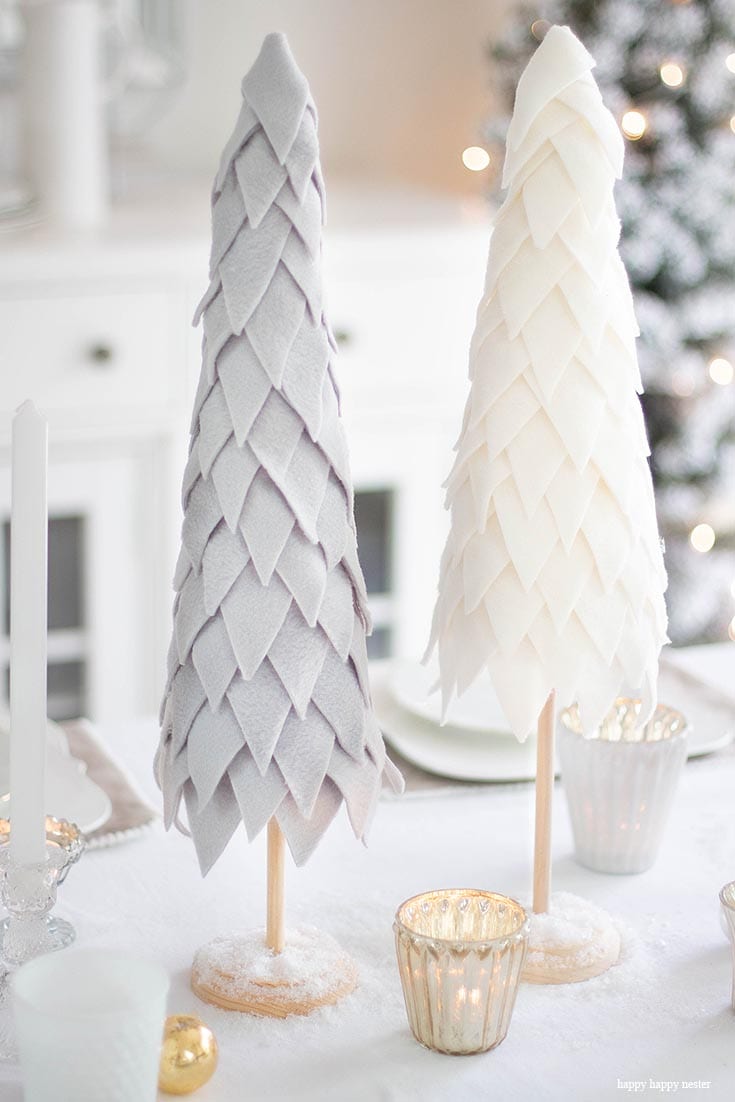
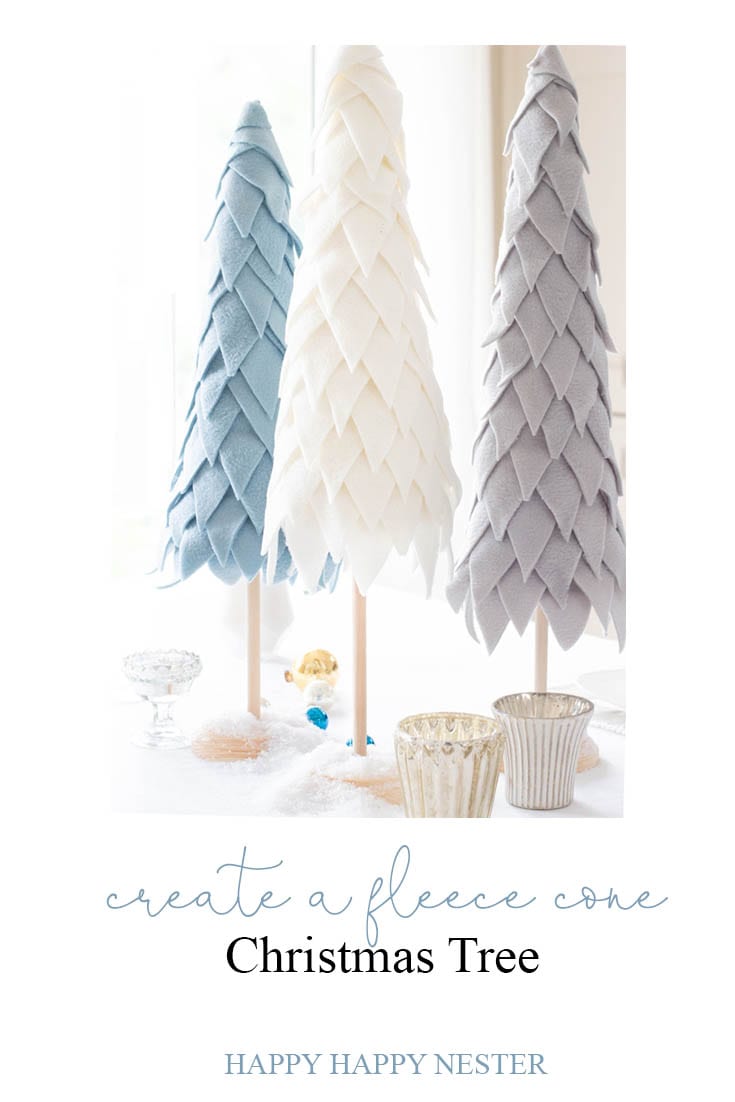
So, today you are in luck, I’m sharing my latest fleece cone Christmas tree tutorial with you. As you know, I’m obsessed with anything felt related. Yup, I have quite a few felt crafts, like my felt anemone wreath or my adorable felt acorn branch post.
So, when I spied these adorable felt trees over on Pinterest, I immediately knew that I had to make them. After a little bit of planning, my husband and I came up with the best way to create these beautiful small trees.
I love these trees and it looks like so does everyone else. My project went viral over on Pinterest! You have to make a few this year!
So, my obsession all started when I spied these adorable trees in the Land of Nod stores quite a while ago. And when I saw them, I knew I had to make my own version.
I’m kind of glad they aren’t in the stores this season since I would be tempted to buy one, and I’m sure they weren’t cheap. Well, I’m happy to say that my version only cost a couple of dollars which is a good thing.
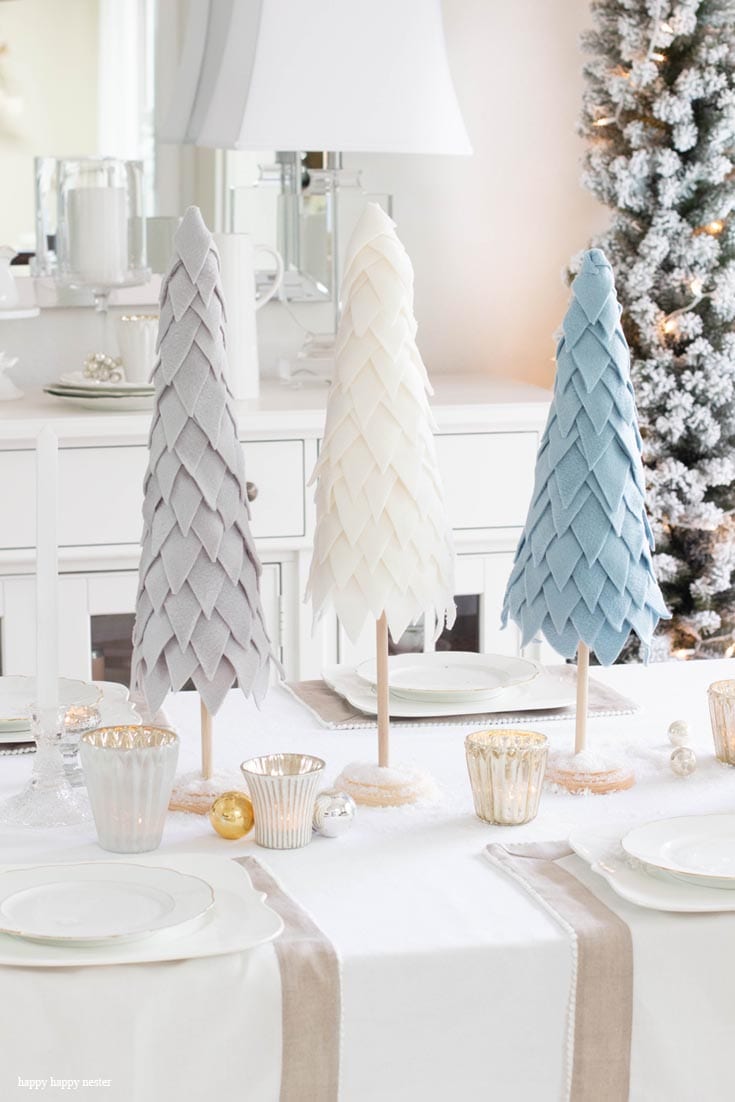
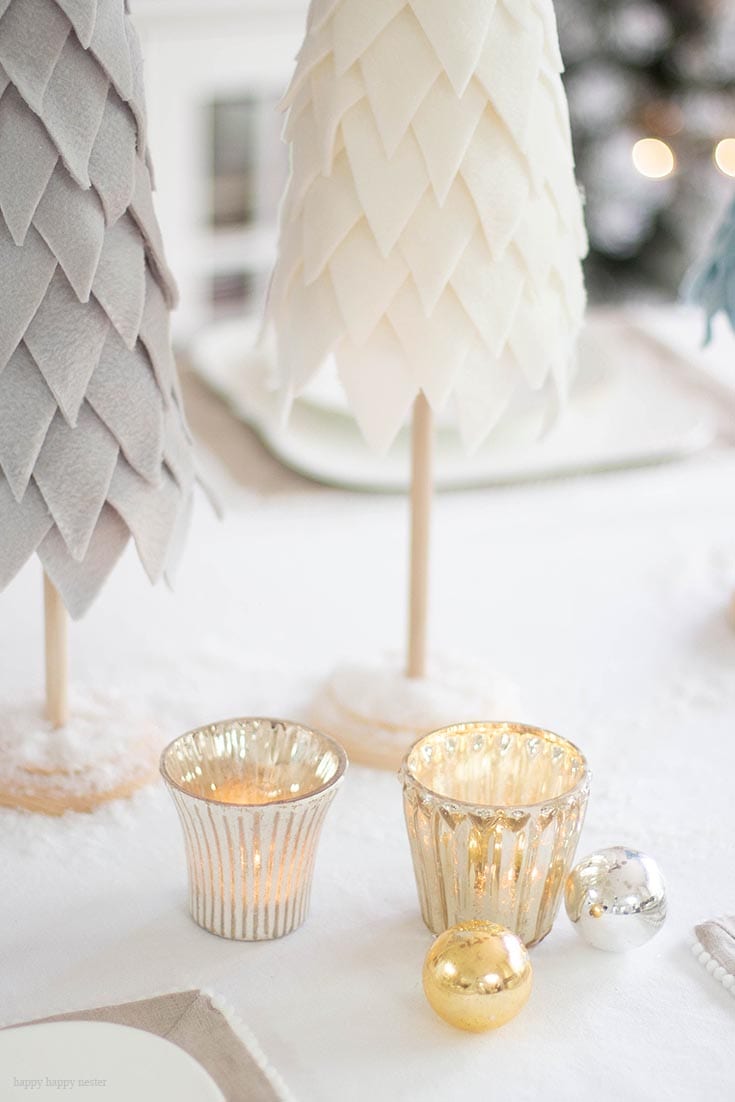
And if you take a look at my holiday decor, you’ll see them in most of my photos!
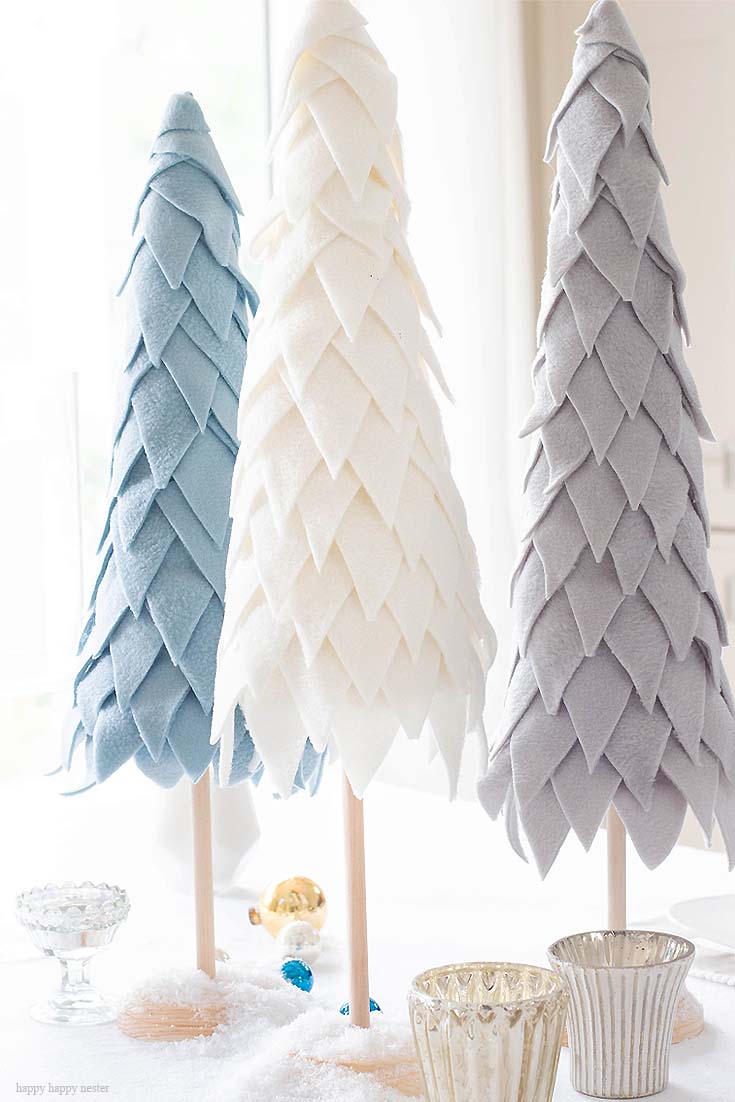
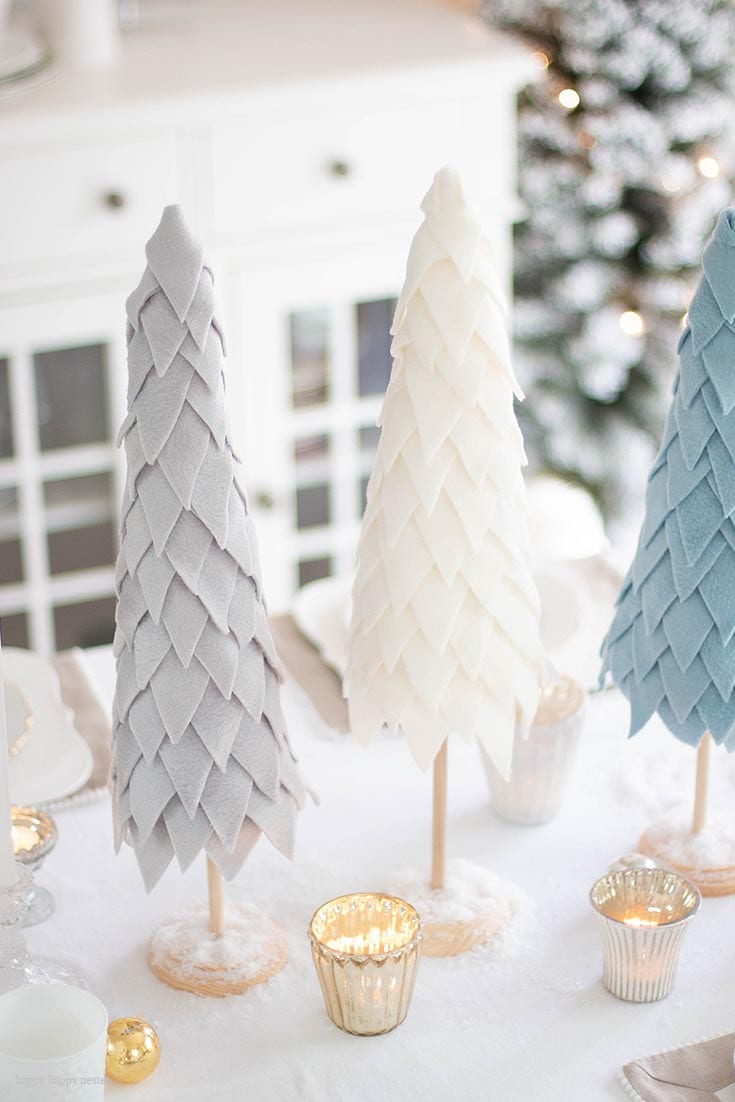
Over the years, I made quite a few of them. And every Christmas I use them in my holiday decor. The wonderful thing about these trees is you can make them whatever color you like and also create them as tall as you need.
Also, if you want a different look then make the shapes of the felt rounded instead of pointed. That will give it a softer look. I’ll have to try this version soon.
If you like to make your own holiday decor, then maybe you might like these other projects:
Ok, here are a few questions that you might have about these pretty trees.
How Do You Make a Paper Cone?
Well, it is quite easy. I know there is one version where you cut out a circle and then make a triangle out of it, but my brain instantly shut off when I read these instructions. So, I made a more straightforward way to make a cone.
Start in the upper corner of the paper and then with the other end just bring it over and overlap. The bottom comes out uneven but with a few snips of the scissors and you have a cone. I figured out that each cone cost about a dollar for the sheet of paper. I’m always about saving money.
Why Does This Project Use Fleece Instead of Felt?
Ok, when I visited the fabric store, there were very few color choices in the felt section. And I found that there were more colors to choose from in the fleece section. And so it was a no-brainer to go with fleece. Also, the price was perfect since it was on sale for 50% off the regular price. Since this project only uses about a quarter of a yard this project came to just a couple of dollars. Also, I feel the fleece looks and feels a lot like felt.
Can You Make Different Size Fleece Trees?
You totally could make any size you like. Just adjust the triangle size that you use for the trees. I’m hoping to make a huge one for our living room. I guess another thing to consider if you make it larger is that your base needs to be wide enough to support the tree. You want to make sure it doesn’t tip over.
How Much Does This Project Cost?
So, I bought most of the items in bulk so it is a tiny bit difficult to estimate. But, I would say that it cost under $10. If you buy the fleece on sale then the project is pretty cheap.
How Long Does It Take to Make One Tree?
I would venture to say it takes about two hours or less. I cut my felt pieces first and then the next day, I put the tree together. I have a faster method if you scroll down.
Don’t Make the Stand
Yes, skip the stand and let your fleece Christmas tree cone just sit right on the table. If you don’t have a drill or saw, this might be a better solution for you. I feel that the stand and wooden dowel make it charming, but it does make the project a bit more complicated.
Use a Premade Cone
So, if you don’t want to make a cone, you can skip this and buy a premade cone, I’ll list the link in the supplies. Buying your cone will save you a tiny bit of time as well. And it is even better if you order it from Amazon.
*The following post contains affiliate links
Fleece Cone Christmas Tree Tutorial
SUPPLIES
1 – 100 lb Bristol Board paper. The size is 14 in x 17 in (use one for each tree)
Cone – If you want to buy a pre-made cone
1/4 – 1/2 yard of fleece material ( I bought mine at Joann Fabric Store on sale)
1 Pair of scissors (preferably sewing scissors)
Paper template for the tree bough. Make a triangle out to cardstock.
1 – 23 in, 7/16 inch thick wooden dowel ( I cut mine to 22 inches long)
Drill (I used a 7/16″ drill bit to match my dowel size)
Pencil
INSTRUCTIONS
1. Make Strips of Fleece
[one-half-first]
[one-half]
When cutting, I found it best to cut a double-thick strip of fleece that is the width (about 2 3/4″) of the triangle. See the above photo for example.
2. Cut Out All Your Fleece Tree Boughs
It turns out that you’ll need approximately 100 per tree.
3. How to Make a Paper Cone
I found the best way is to work from one corner and wrap the paper over to the back side. So, to secure your cone in place use tape along the edges.
4. Trim the Bottom of the Cone
You will have uneven edges, so you will need to trim them. Now, this can be a bit tricky. When you place your paper cone on a flat surface, make sure it isn’t wobbly and unbalanced. If your cone teeters, trim the high edge. Keep cutting until the bottom of the cone is even, and your tree stands straight up and doesn’t tilt to one side.
5. Make the Bottom of the Tree
[one-half-first]
[one-half]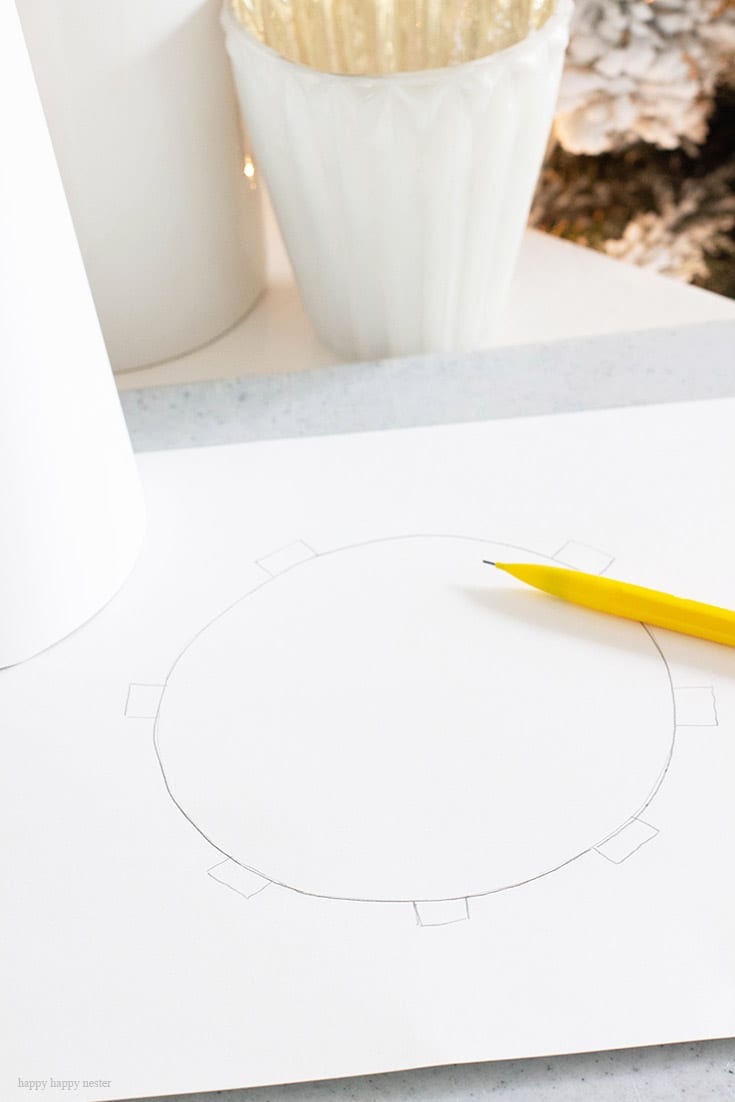
Now Trace the Bottom Circle on Another Sheet of Cardstock Paper. Cut out the circle and make little notches around it like shown in the above photo. These notches you will glue to the outside bottom section of your fleece cone Christmas tree.
6. Trace the Dowel in the Middle of the Bottom Paper
[one-half-first]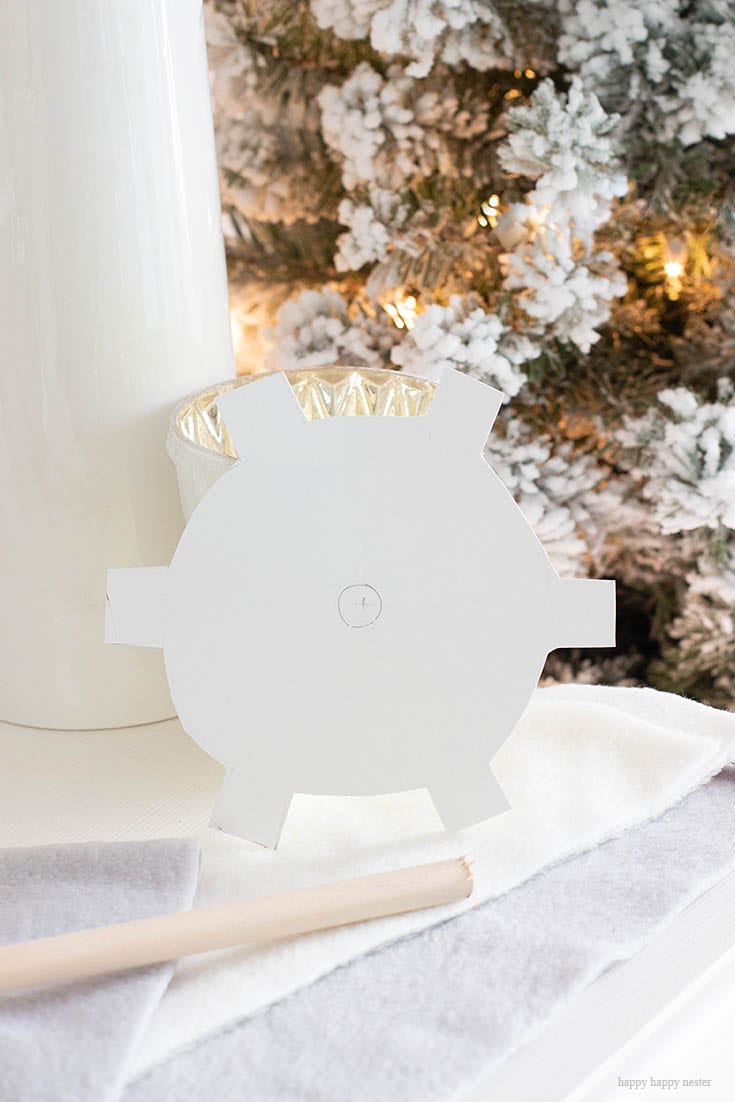
[one-half]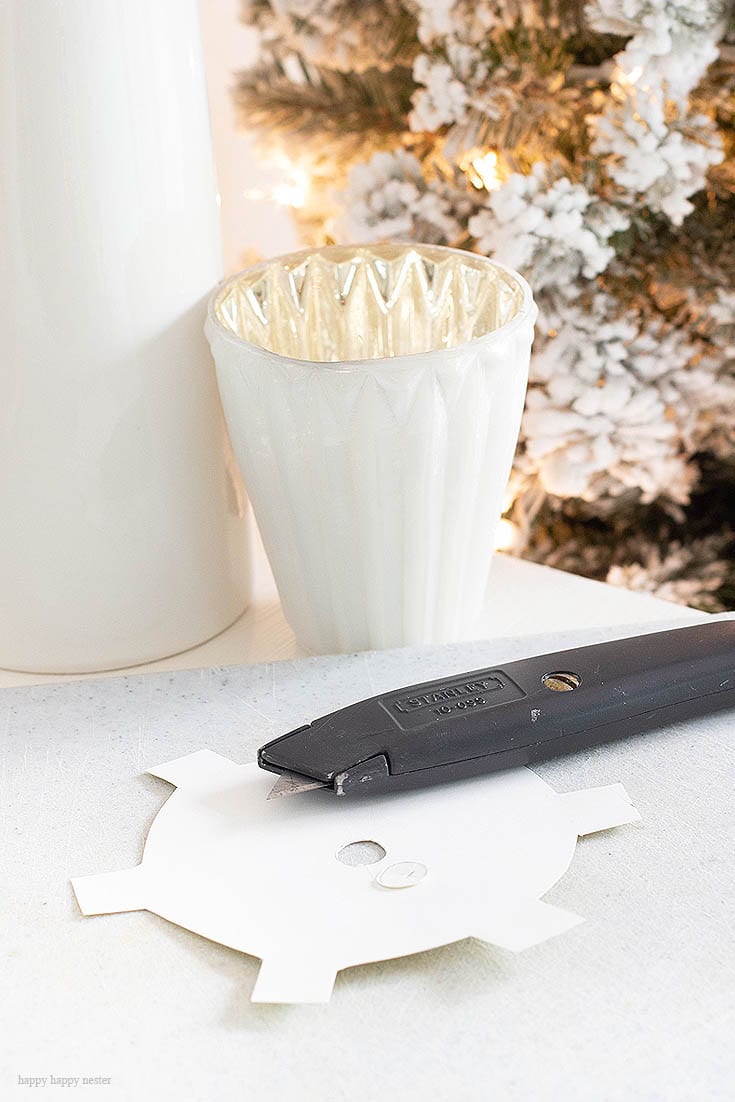
Trace the outside of the dowel in the middle and then cut out with a box cutter. I found the middle of the circle by folding the circle twice in different directions, and this finds the middle where the folds intersect. You can also measure from side to side and place an x in the middle. This hole will support your dowel in the middle of the tree.
7. Cut your Dowel to Length
The length includes placing your dowel up inside your tree and measuring where you want it on your wooden base. Mine was about 22 inches long.
8. Drill a Hole in Your Wooden Base
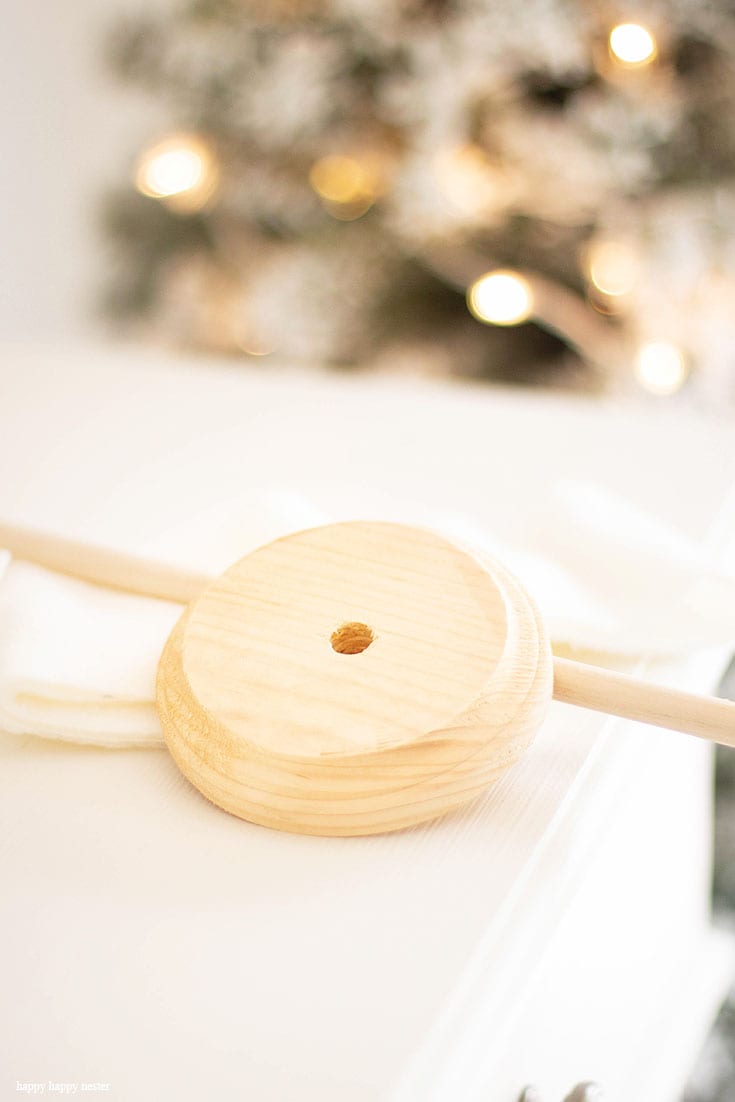
Now, with your 7/16″ drill bit make a hole in the middle of your wooden base. Make sure to hold your drill perpendicular to the base since you don’t want the tree trunk to be crooked. Sand the hole and base if needed.
9. Attach Hot Glue to the Top of the Dowel
Once you attach the glue to the top of the dowel, place it inside in the very tip-top of the tree. Make sure to have it straight and not crooked. You will want to hold the dowel in place until the glue is set.
10. Now Thread the Dowel Through the Round Circle
This will stabilize the dowel. Center the dowel before the glue at the top of the tree sets.
11. Glue the Bottom Circle to the Tree
Make sure to glue the notches to the outside of the base of the tree.
12. Place a Small Amount of Wood Glue in the Hole on your Base
Set your bottom of your dowel into the drilled hole. Make sure to straighten the tree and hold in place while the glue sets.
13. Now Attach your Felt
[one-third-first]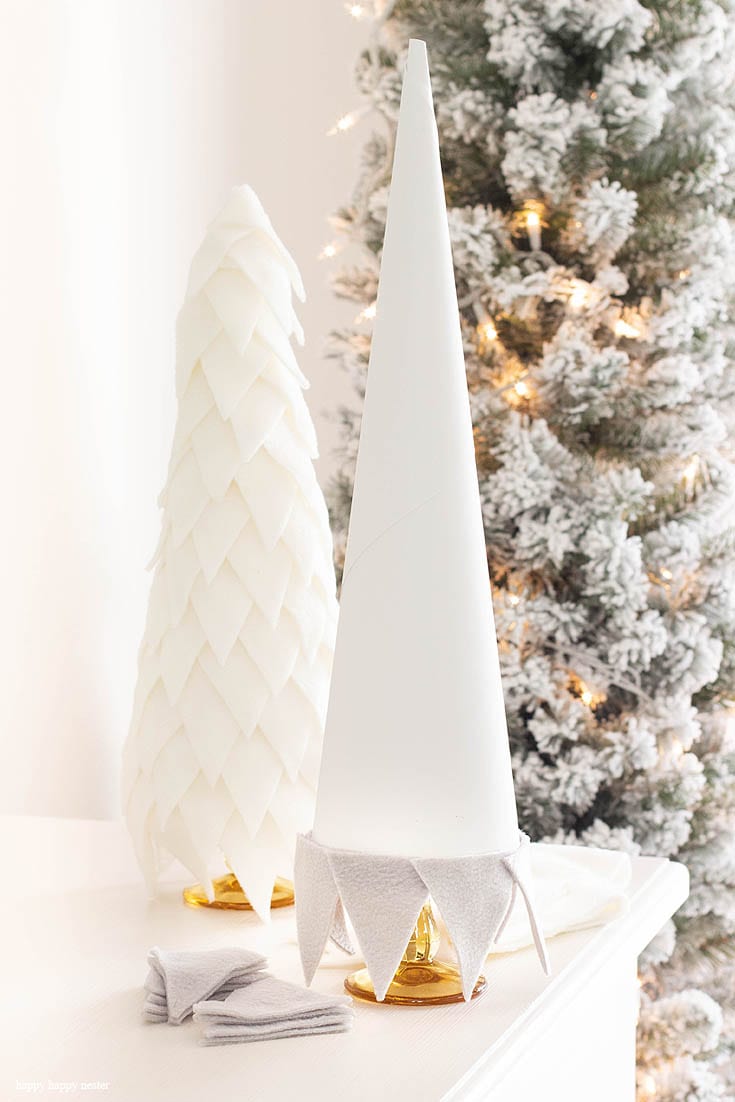
[one-third]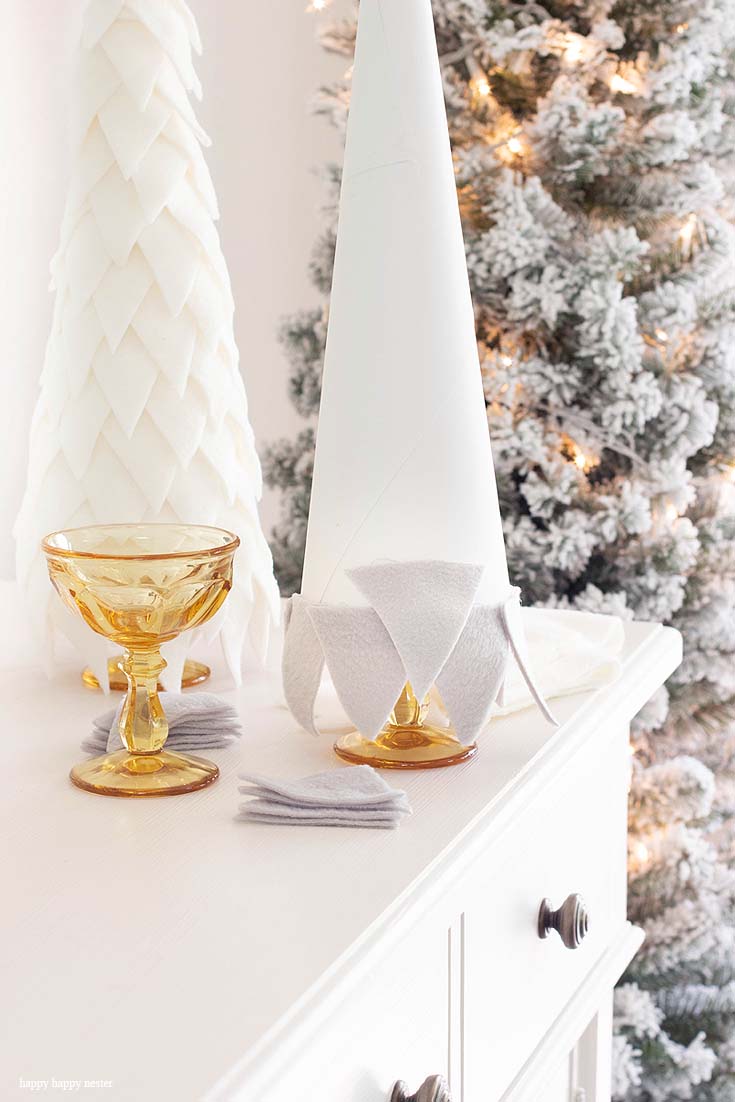
[one-third]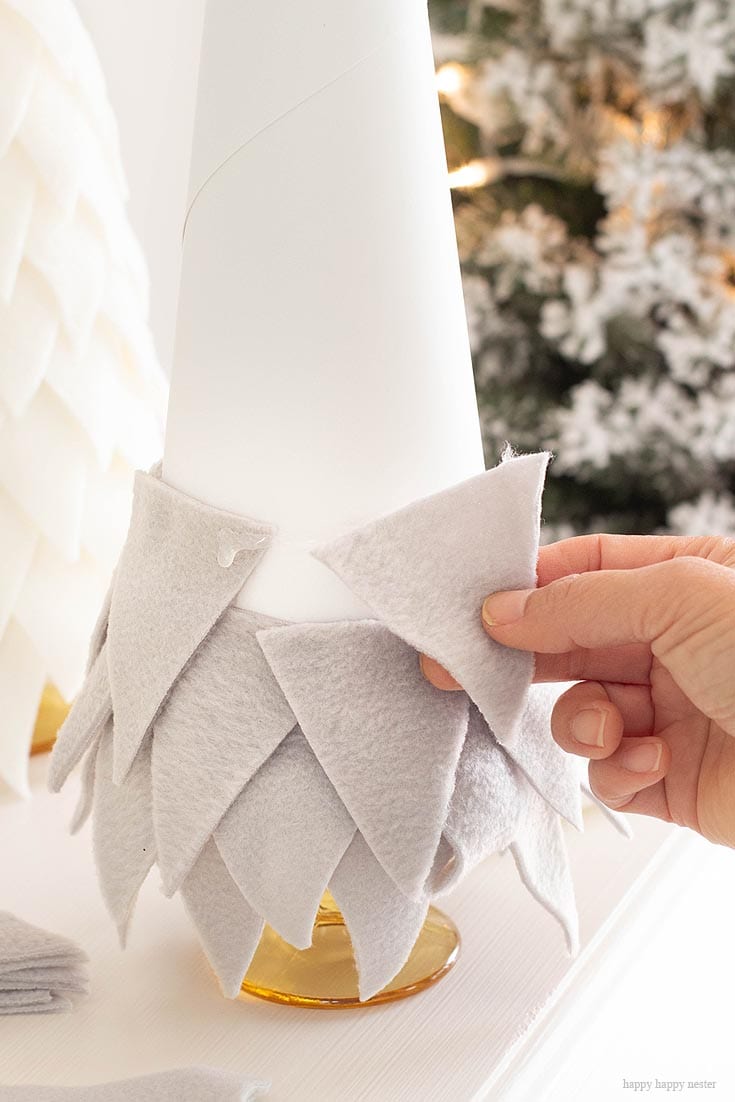
Starting at the bottom of the tree, place a layer of your triangle felt pieces. I overlapped each piece about 1/4 inch. When starting the second row place your first piece so that the tip lands in the middle of the two lower pieces. This is key in making a pattern. I found I had to focus a tiny bit on the process otherwise my pattern got messed up.
14. Finish Off the Top
Use your last piece of felt and just place it on the top and wrap the end around and glue them. I tried all kinds of ways to top it and this was the best. You can make sure you show off your nicest side and finish the last piece so the ends are facing the back of your tree. Now isn’t this the cutest fleece cone Christmas tree?
I’m Teaching This Project in a Class at Civic Kitchen
Here is a little side note, if you live in the San Francisco Bay Area, then you won’t want to miss out on a class that I’m teaching. So, in December I’m going to be demonstrating how to make my fleece cone Christmas tree at the baking school called Civic Kitchen. The class will include how to make a yummy Pavlova with sugared fruit and my table decor with my fleece cone Christmas tree spread.
I would love to see some of you at the class, wouldn’t that be a hoot?!
Thanks so much for joining me today and I hope you liked my fleece cone Christmas tree project. These will add so much character and beauty to your home, and I’m confident you will love them. If you need inspiration for Christmas decor, check out my holiday home tour from last year. Also, make sure to visit some of the others on this wonderful Seasonal Simplicity Craft Tour, hosted by Krista from the Happy Housie.
Cheers,
How to Flock a Christmas Tree at The Happy Housie
DIY Asymmetrical Wreath at Rooms FOR Rent
DIY Christmas Countdown at Lolly Jane
Christmas Gingerbread Cookie Wreath at Sincerely Marie, Designs
Clock turned Holiday Shadow Box at Confessions of a Serial DIYer
How to Make a Fleece Cone Christmas Tree at Happy Happy Nester
How to Make a Holiday Scrabble Letter Board at Tatertots & Jello
Simple & Natural Wire Hanger Christmas Wreath at Jenna Kate at Home
Kringle’s Cookie Co Christmas Kitchen Sign at Tauni Everett
Easy Advent Countdown Calendar at Jamie Costiglio
French Country Christmas Wreath Printables at Designthusiasm
Copper And Gold Mason Jars DIY at Shabbyfufu
DIY Christmas Crackers at So Much Better With Age
Star Christmas Tree Garland at On Sutton Place
Easy Fringe Napkins for Your Holiday Table at Satori Design for Living
DIY Real Christmas Wreath at Clean and Scentsible
Birch Candle Holders at Finding Silver Pennies
Homemade Dry Holiday Potpourri at TIDBITS
Modern Traditional Christmas Countdown Calendar at Rambling Renovators
Embroidery Hoop Christmas Wreaths at Town and Country Living
Quick & Easy Floating Candles for Your Christmas Centerpiece at Home.Made.Lovely
Glass Filled Ornaments at My Uncommon Slice of Suburbia
Ombré Bottle Brush Tree DIY at Modern Glam
Modern Boho Christmas Wreath at Life is a Party
How To Easily Make A DIY Eucalyptus Wreath at Inspiration for Moms
String Art Christmas Stocking Holders at The Turquoise Home
DIY Holiday Pennant- Two Ways at Lemon Thistle
Vintage Christmas Bell Garland at Willow Street Interiors
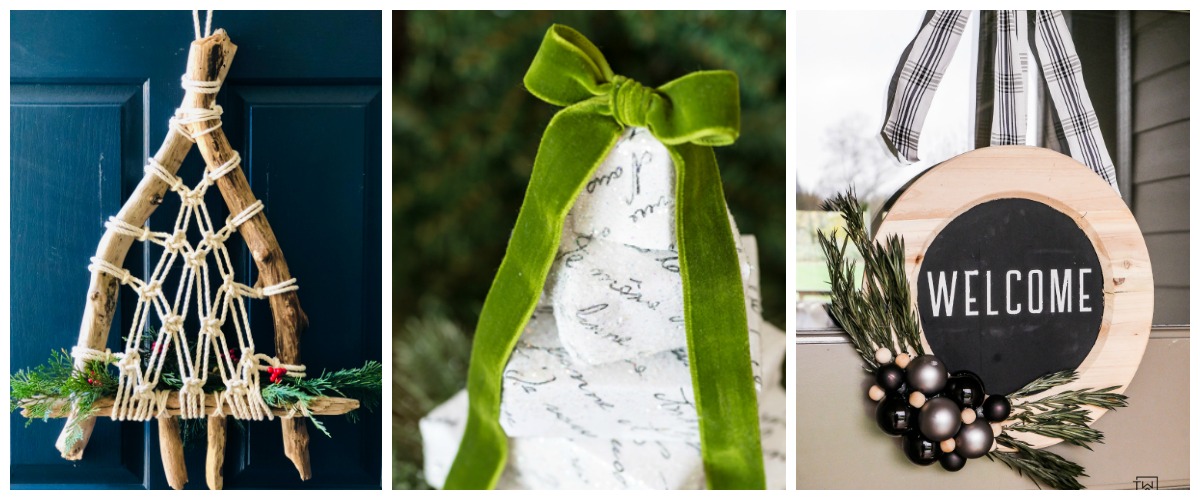
DIY Modern Christmas Sign at Love Create Celebrate
Easy DriftWood Macrame Christmas Wreath at Place of My Taste
Table Top or Mantel Christmas Tree Made Using Boxes at In My Own Style
Natural Wood Plate Charger Wreath at Taryn Whiteaker
- Framed Artwork from Amazon - February 12, 2026
- Chocolate Covered Quinoa Recipe - February 5, 2026
- Valentine’s Day Gifts from Amazon - February 4, 2026




















Leave a Reply