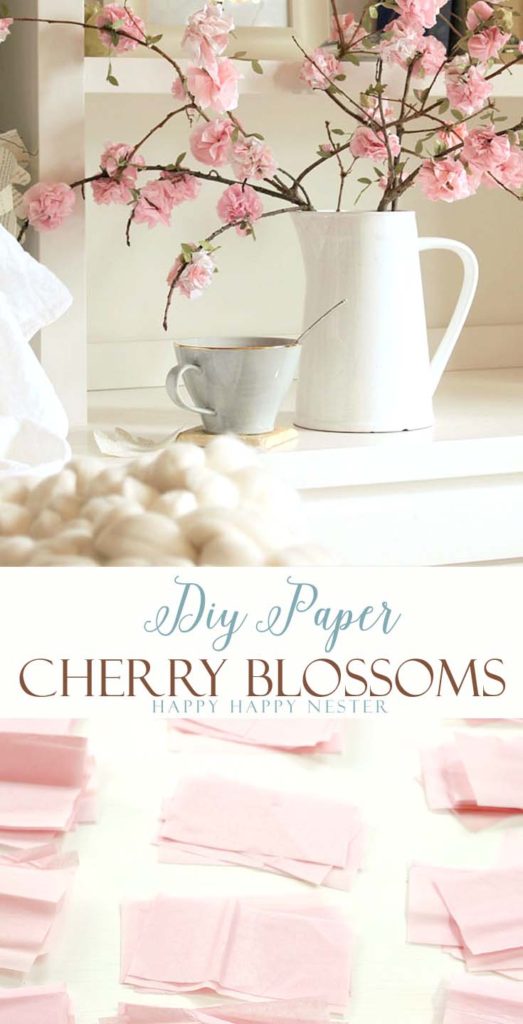
This Paper Flowers Tutorial is the Happy Craft for this week! Cherry blossoms are my favorite, and so I decided to try making some with tissue paper.
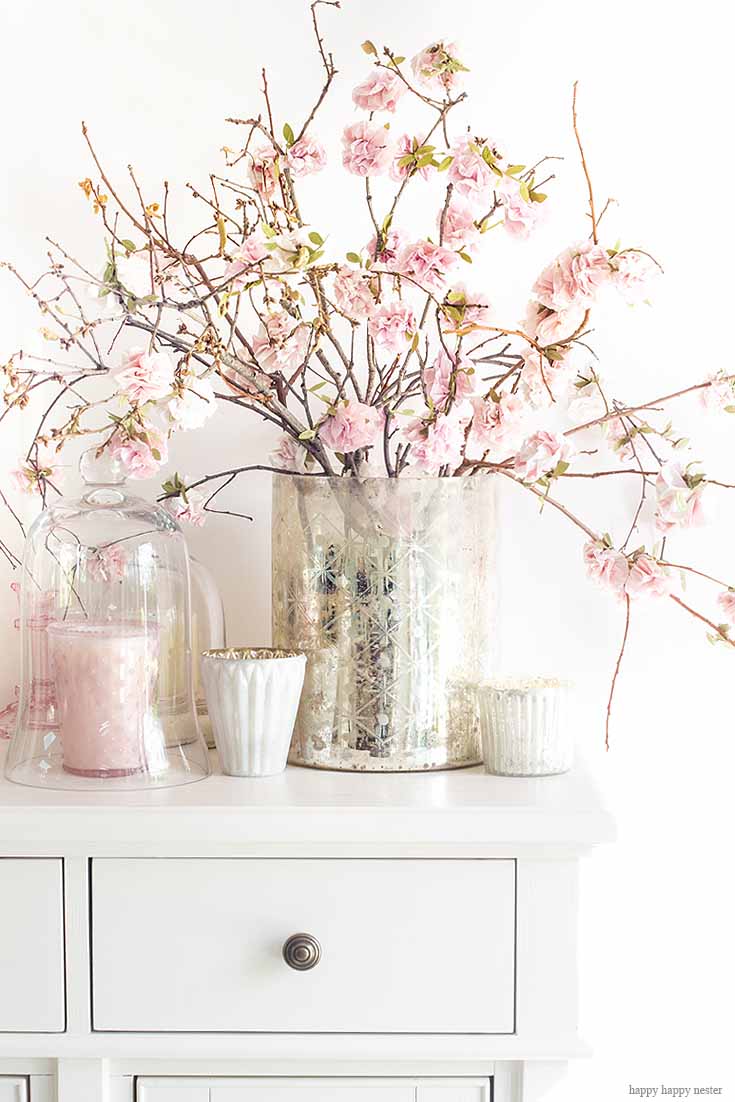
So if you love spring blossoms in your home, then you’ll like this paper project at home!
Every spring, I buy the store-bought branches that promise to sprout beautiful flowers. I’m not sure what I’m doing wrong, but only disappointment ensues. Is there a trick is to get them to blossom?
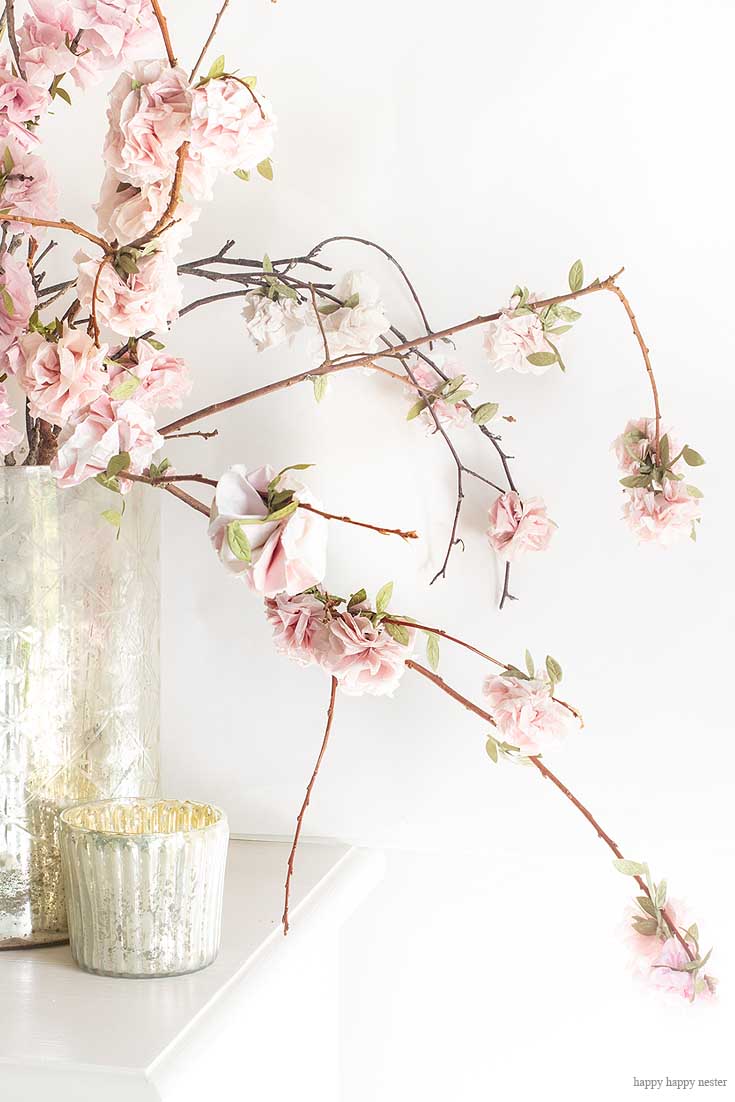
Paper Flowers Tutorial
Inspired by our spring blossom, I decided to make my own cherry blossoms branches. For this project, I rounded up a couple of branches on my walk. Are you like me and can’t pass up twigs, pinecones, shells, rocks, etc.? My poor husband is so patient with me when we hike.
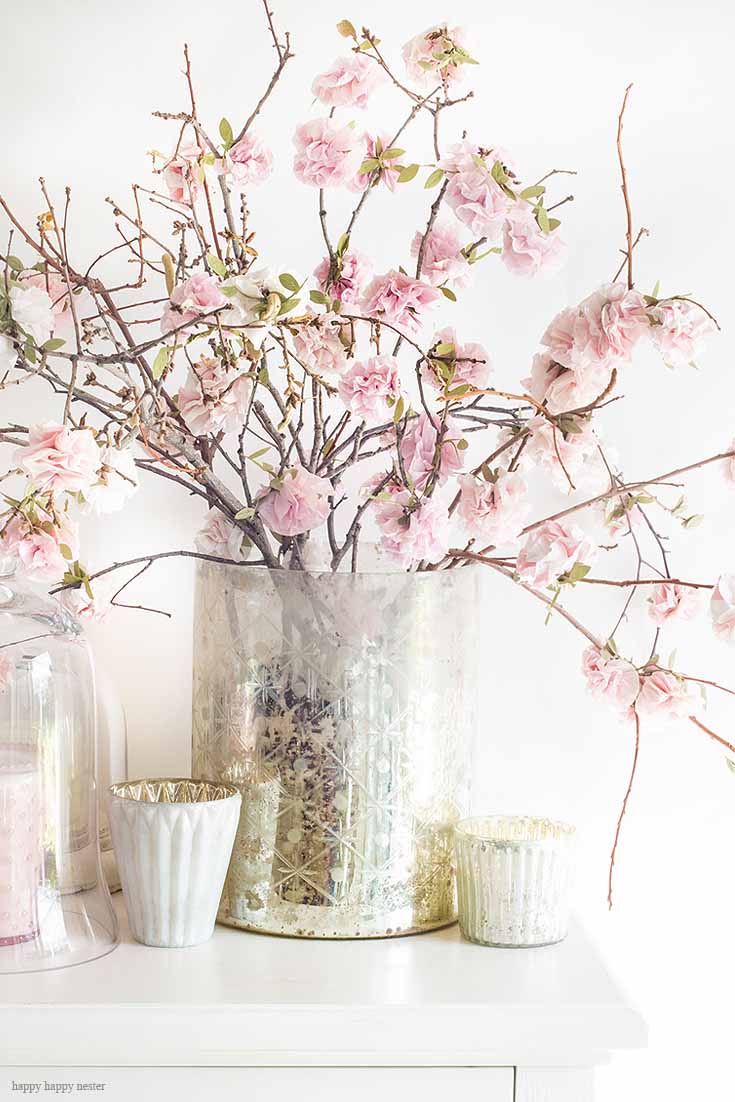
What I love about this version of paper flowers is that I attached them to real twigs. So, not only is this easier, the real branches make the flowers look more realistic. If you make them, your friends and family will think that they are the real deal!
But before we start the project, let me answer some questions you make have.
Frequently Asked Questions:
What kind of paper do I need to make paper flowers?
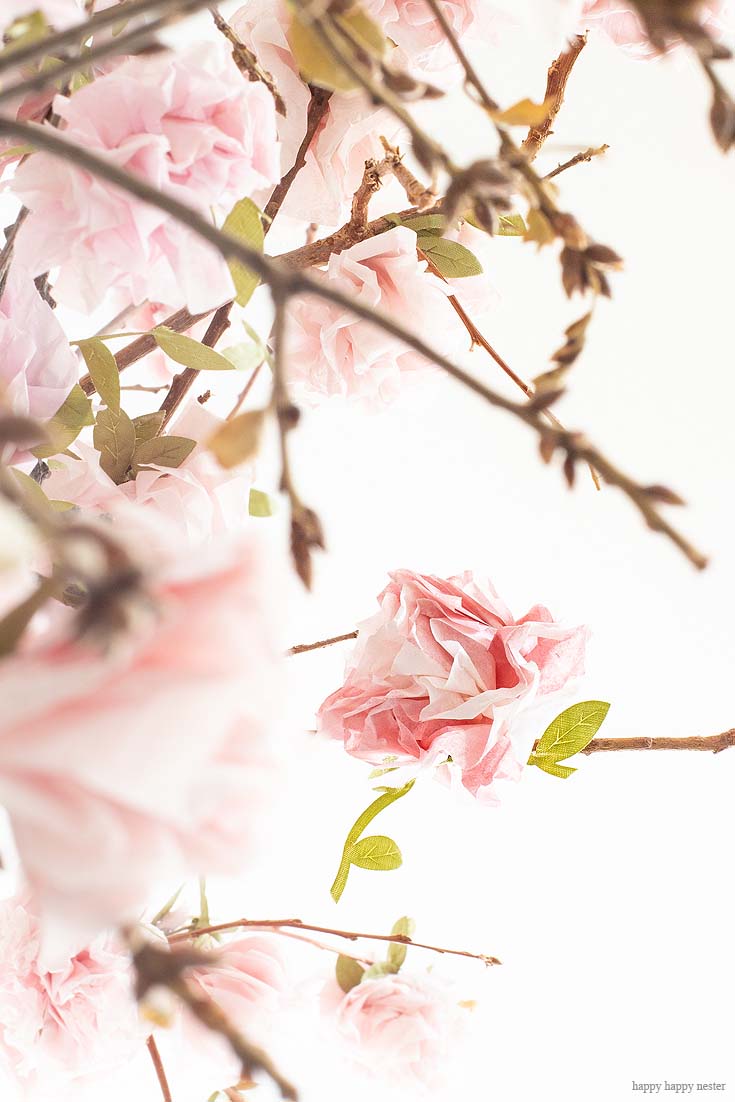
There are quite a few ways to make paper flowers. Some of the papers used are cardstock, crepe paper, scrapbooking paper, and tissue paper. These cherry blossoms are made of tissue paper.
What can I use as a stem for paper flowers?
These paper flowers are attached to a real branch which makes this project easy. Each tissue paper flower has a leaf ribbon that holds it together. And you’ll take that ribbon and tie it to the branch with a knot. You can also place a dab of glue on the paper flower to attach them to the twigs.
What kind of branches should I use for the stems?
Instead of using a single branch with a thick stem, I like the wispy ones. I especially like to use the ones that have lots of shoots. The twigs on the branches the more places to add flowers. Cherry blossoms fill the tree with their gorgeous flowers. So, to imitate their natural state, the more small branches, the better!
Do I need to use the Olive Leaf Ribbon?
I love this ribbon since it adds a bit of spring green and leaves—so no need to make paper leaves if you use this pretty ribbon. Shortcuts to DIY paper flowers are always a good thing.
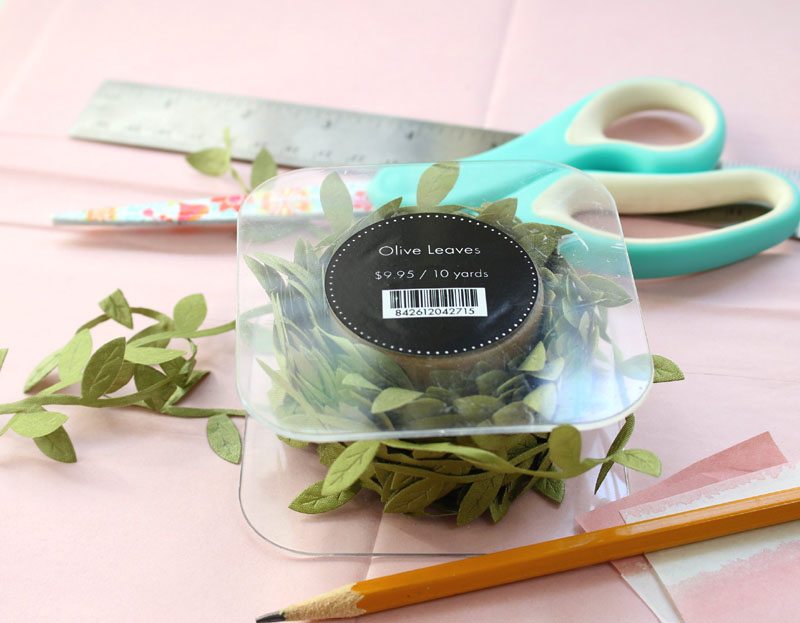
Paper Flowers Tutorial
*This post contains affiliate links
Supplies
1 branch
Blush color tissue paper sheets
A roll of green Leaf Ribbon (10 yards) (30 yards)
Glue gun and glue sticks
Scissors
Ruler
Pencil
Directions
1. Clean leaves off branches.
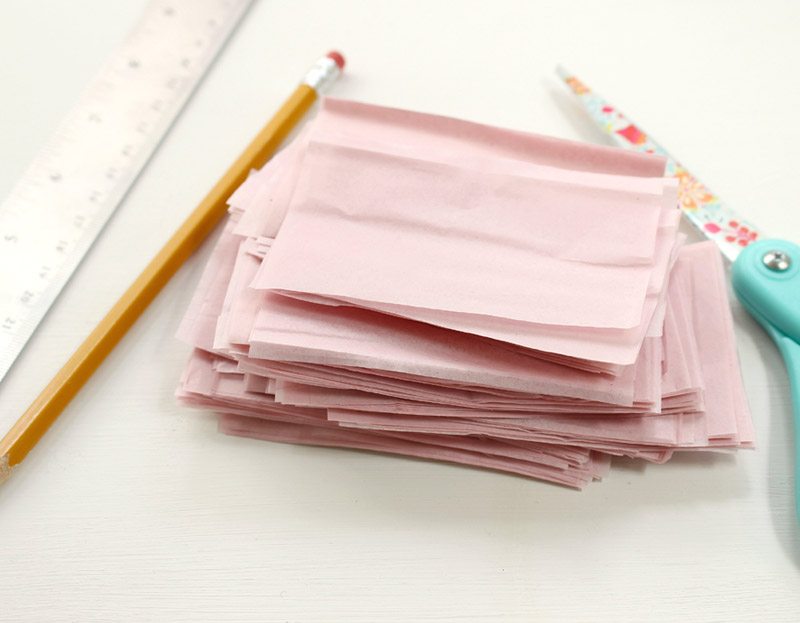
2. Measure and outline tissue paper into 2 1/2″ x 3″ strips. Layer tissue paper and cut out 15 pieces at a time. Look below for my tips to cut your paper more efficiently.
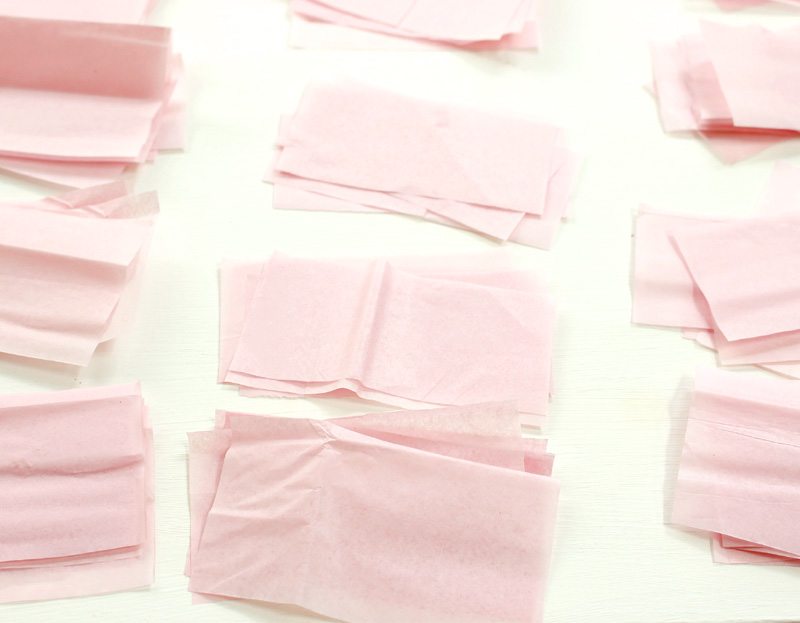
3. Create stacks of 5 pieces of tissue paper per pile.
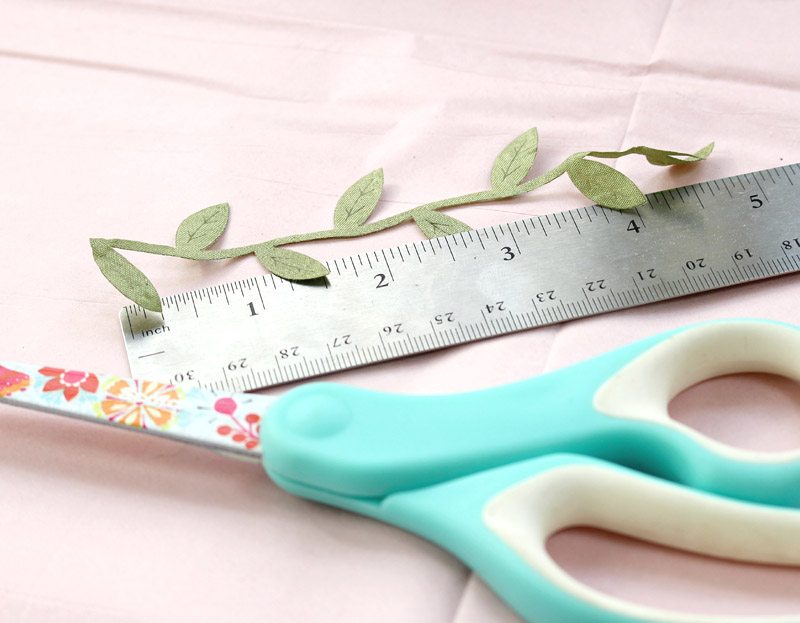
4. Cut leaf ribbon into 5-inch lengths.
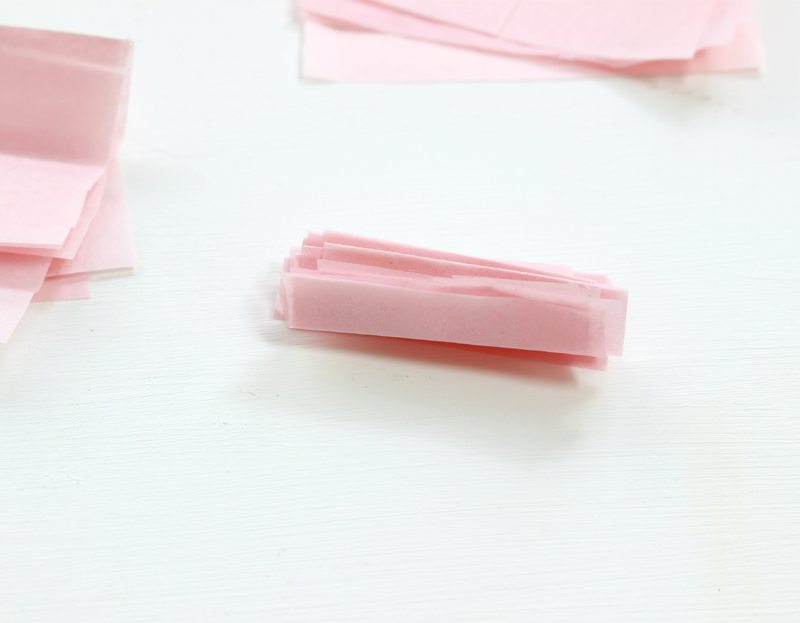
5. Next, with a pile of paper (5 tissues), fold the tissue in 1/4 inch increments as shown. It should resemble a fan.
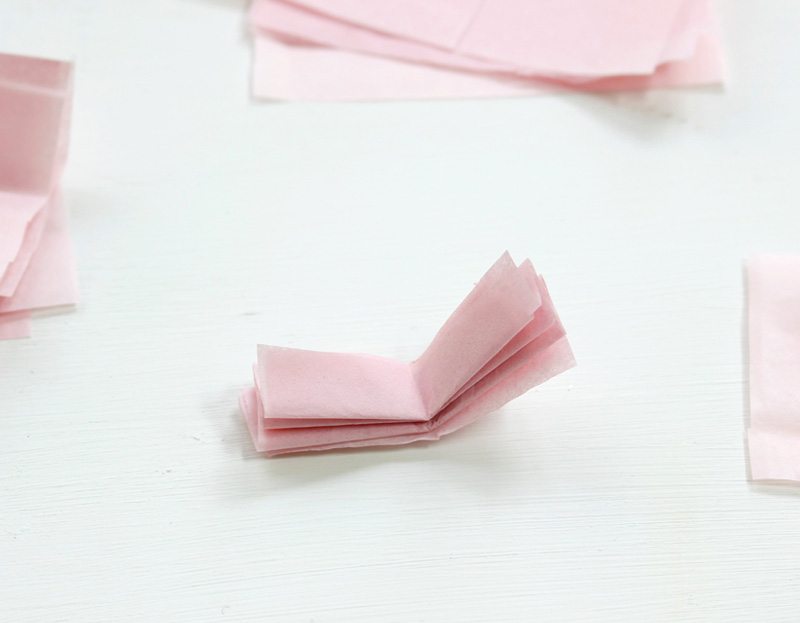
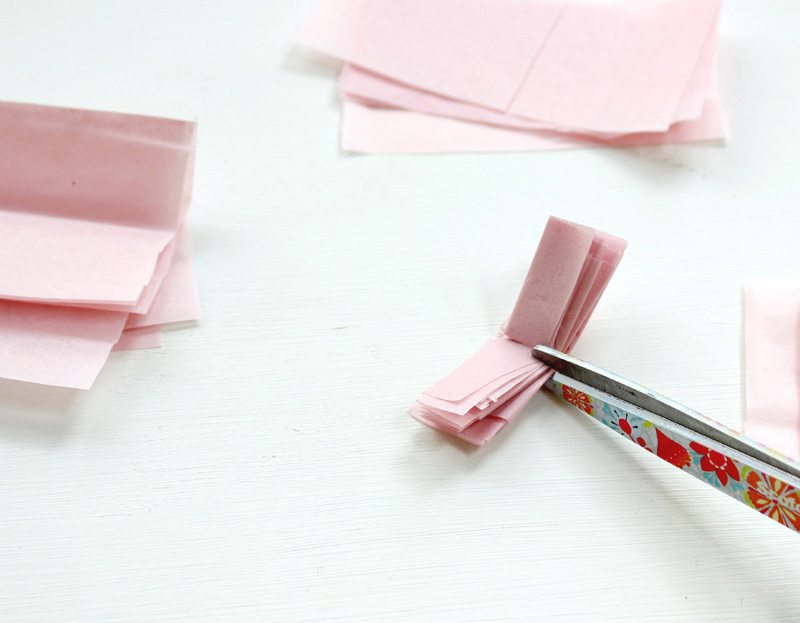
7. Fold the paper in half and cut super small slits on both sides of the paper. Be careful not to cut the slit through to the other side.
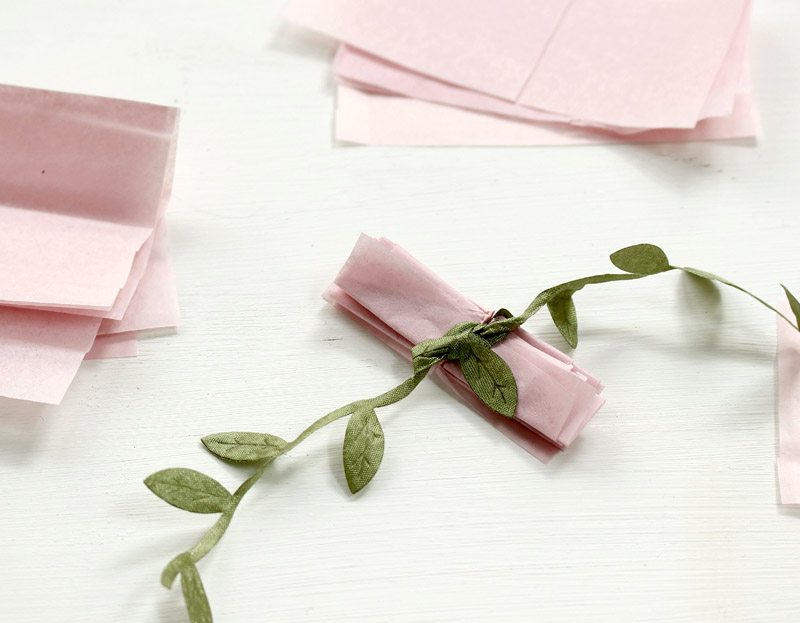
8. Place the ribbon in the slits and make a knot. You want it somewhat tight, but be careful since this ribbon is a bit fragile.
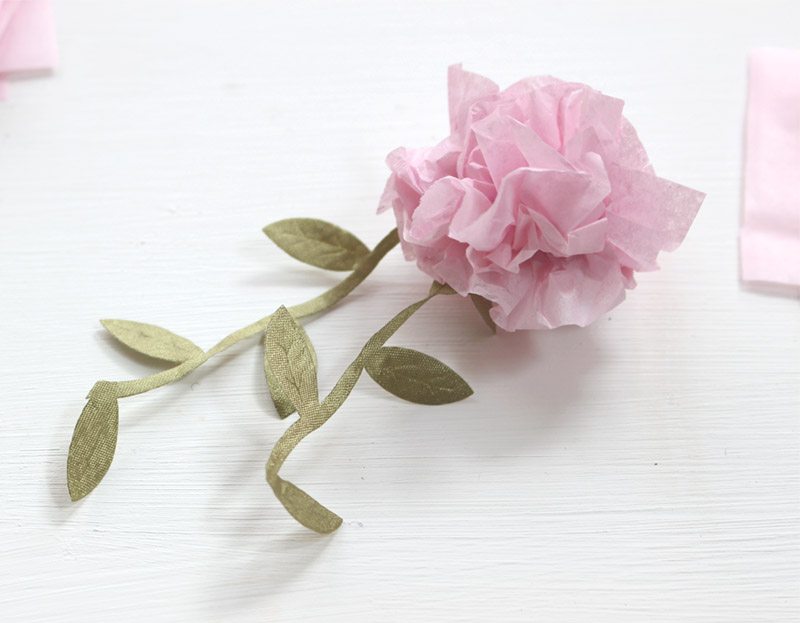
9. Now unfold each layer of tissue paper to create the flower.
10. Attach the paper flowers to the branch with the ribbon.
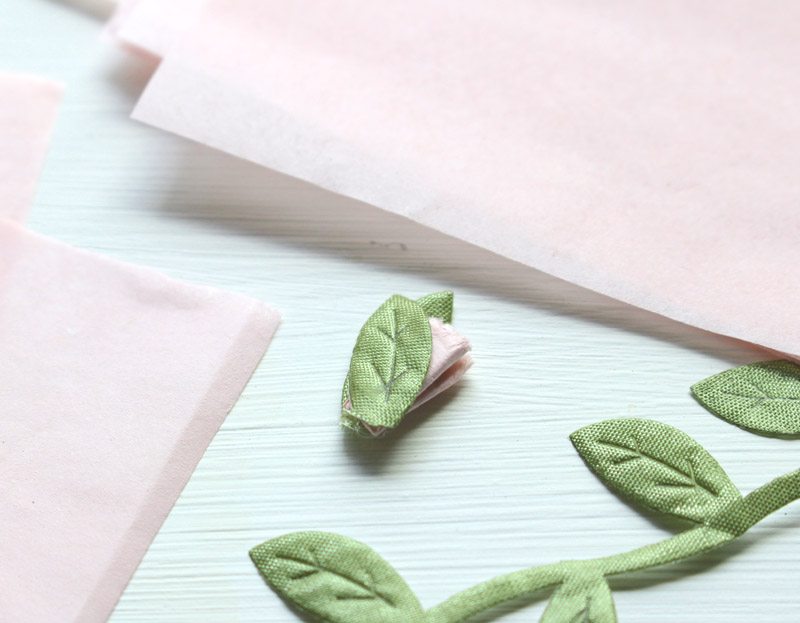
Instructions for the Flower Buds
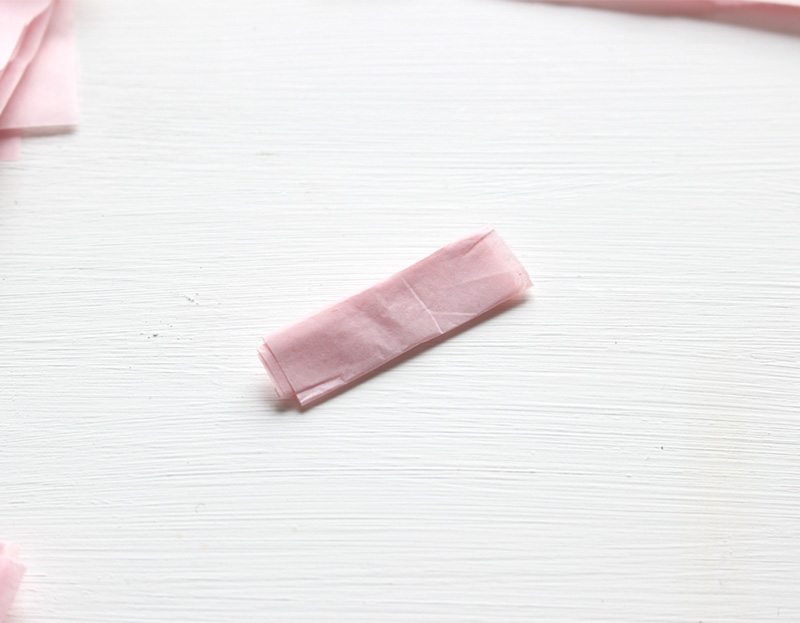
1. Cut small pieces of tissue paper and fold.
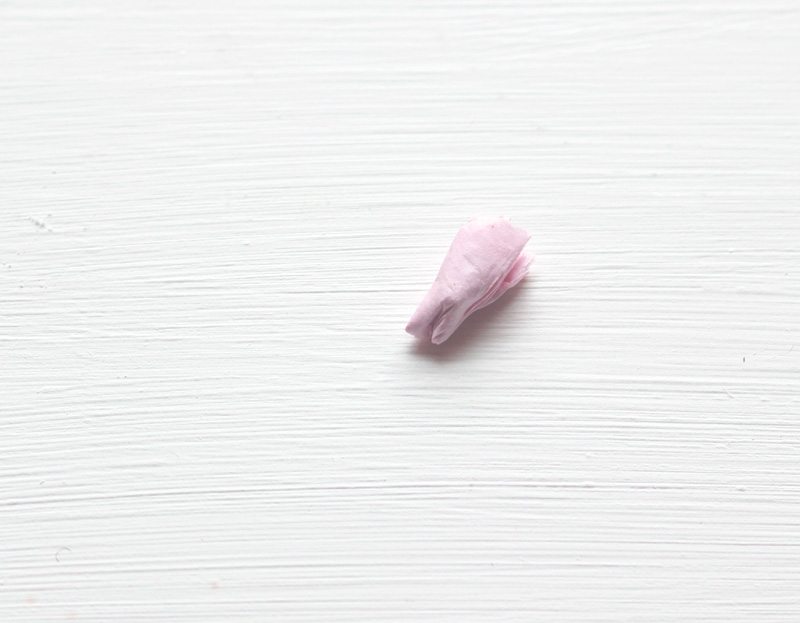
2. Fold in half and pinch the bottom.
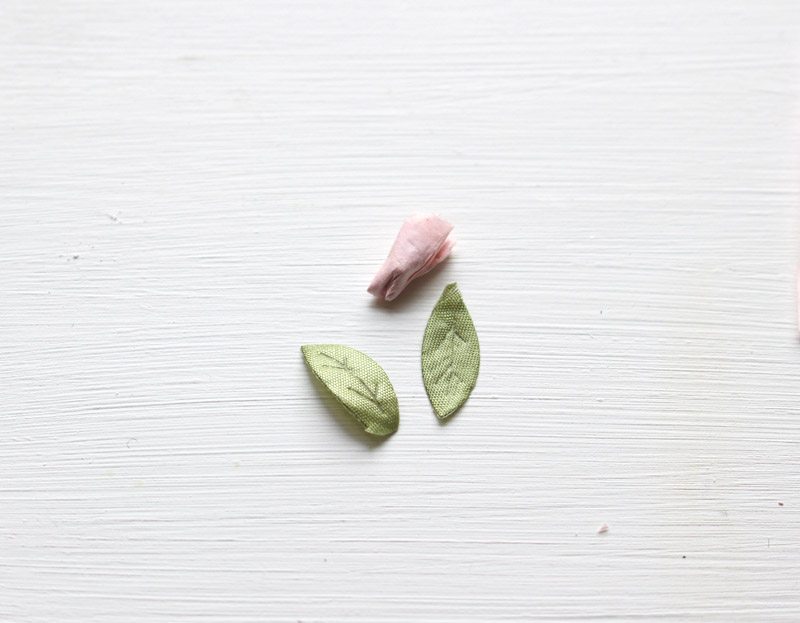
2. Trim two leaves off the ribbon.
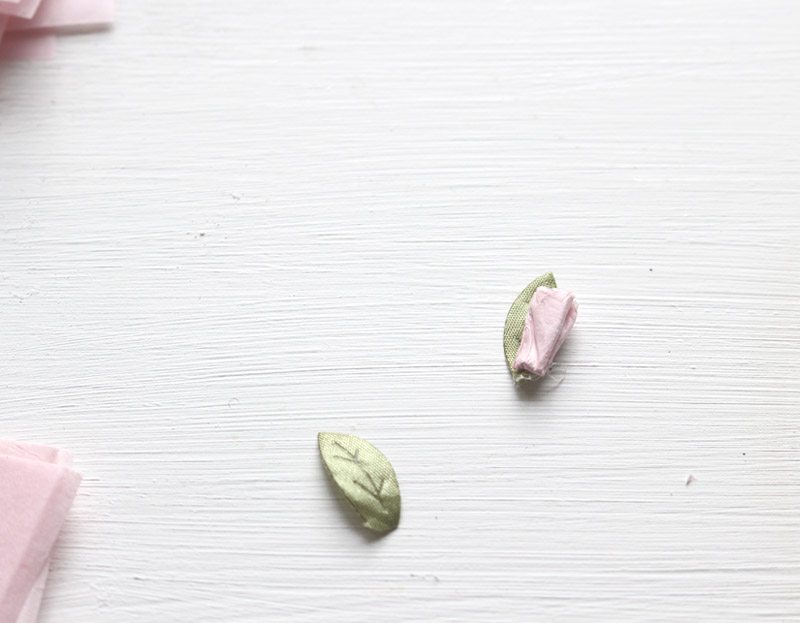
3. Glue the tissue bud to the leaf and then glue another on top.
4. Glue bud to the branch.
An efficient way to cut and fold your paper for creating tissue paper flowers.

I found a few shortcuts to cutting the paper for your tissue paper flowers.
1. Measure off 2″ x 3 1/2″ size rectangle with a ruler and pencil.
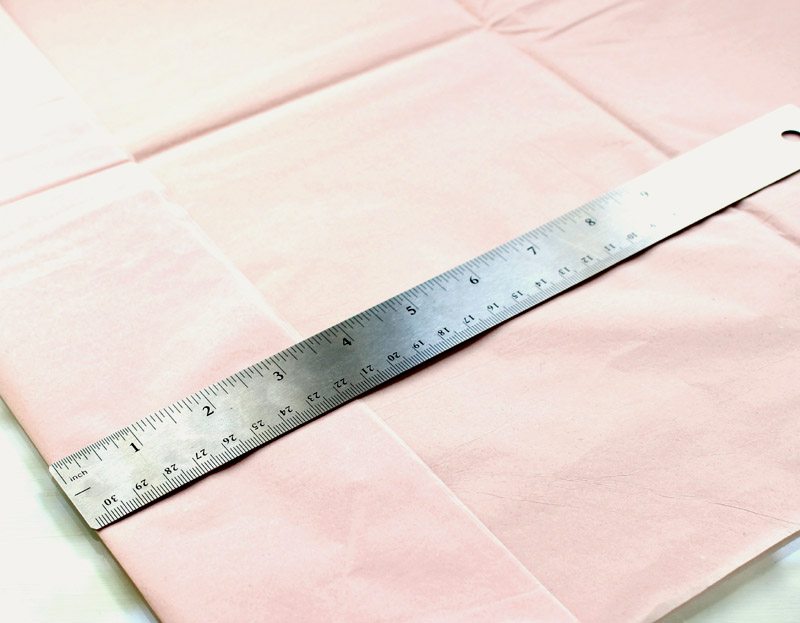
2. Next, fold the paper in 3 1/2 installments and proceed to fold the whole sheet as shown.
3. Cut on all the folds. It would be best if you had a couple of paper strips that are 3 1/2″ in width.
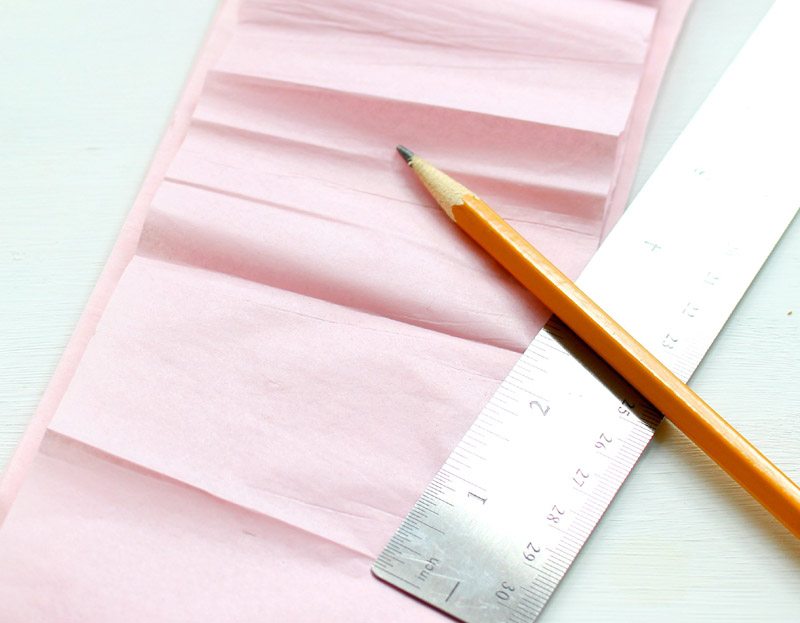
4. Next, measure off 2″ on your strips of paper and draw a line. Then fold the whole sheet like pictured above.
5. Then line up all your papers in a stack and place your folded sheet on top as a template. Now, cut on the folds.

6. All your papers now should be ready to go and be folded in the next step.
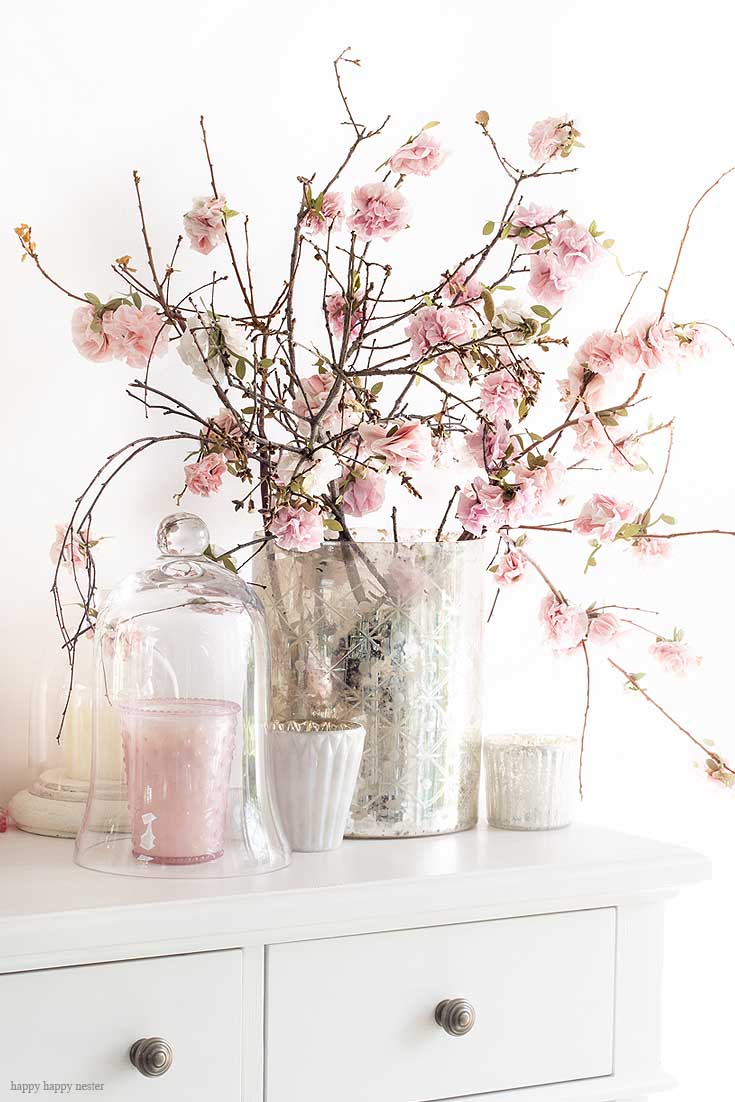
That’s it, you have completed my paper flowers tutorial, and now you have some blossoms that will last forever. Create a spot that will show off your masterpiece. If your branch happens to break, no worries, remove the blooms and reattach them to a new branch.
If you like paper projects, here are more tutorials:
I’m super-duper happy that my luck is turning around, and my thumb is starting to turn green. This project is an excellent resource for paper flowers for a wedding. The sky is the limit. I hope you enjoyed this tutorial on how to make paper flowers at home.
Happy Crafting!
Cheers,

- My Favorite Cakes - July 5, 2025
- Outdoor Tables and Chairs - July 2, 2025
- My Favorite Floral Desserts - June 28, 2025



Janet
Super cute!
Ivory
Simply gorgeous!!!
Pilar
Increible!!!!
Como la misma naturaleza. Impresionante ,fino,delicado, un acabo muy personal.
Gracias por compartir. Adelante y éxitos.
happyhappynester
Hola Pilar,
Gracias!