After many years of organizing, I finally came up with my 9 tips for kitchen organization. I realized that I follow these steps every time I tackle an area of my kitchen. So, I decided to share my insights with you today.
*This post contains affiliate links.
I know it sounds cliche to undertake organizing projects in the New Year, but I love working on a new fresh project. I also realized that each year when I clean out my kitchen pantries I find old expired food that desperately needs to be pitched. So, now I’m thinking this organizing habit needs to happen every year. here is my top organizing project.
But before I start let me mention that I’m a part of a wonderful Organizing blog hop, so check out the other great projects after you read my post!
Do You Like Organizing?
This year, I recognized that I’m not really fond of all organizing projects. But, I do enjoy the kitchen organization. You see, I view the kitchen as the most used room in our home, and if we struggle to find things, everyday cooking can become a harder task. And since we are making an effort to cook more at home, the kitchen needs to be organized efficiently.
Do, you have stacks of boxes crammed in pantries, or dark corners of your kitchen that you haven’t opened in months? Are you finding food with expiration dates from a couple of years ago? Ok, then this post is for you and let’s get kitchen organization started!
Steps to Successfully Organizing a Kitchen
1. Create Stations
Before you do anything, think about your kitchen as zones or stations.
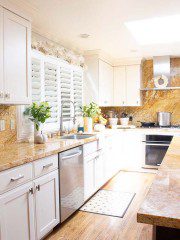
Here is what I mean by this. Think about your kitchen in regards to tasks. Whether your cooking or baking you want each area to contain items that are needed for each task. If you place relative items in their appropriate areas then your kitchen traffic and flow will be good. I have my drawers, cabinets, and countertops organized for the specific tasks.
So, for example, when it comes to kitchen organization, our kitchen is broken into cook, bake and drink stations.
Cook Station
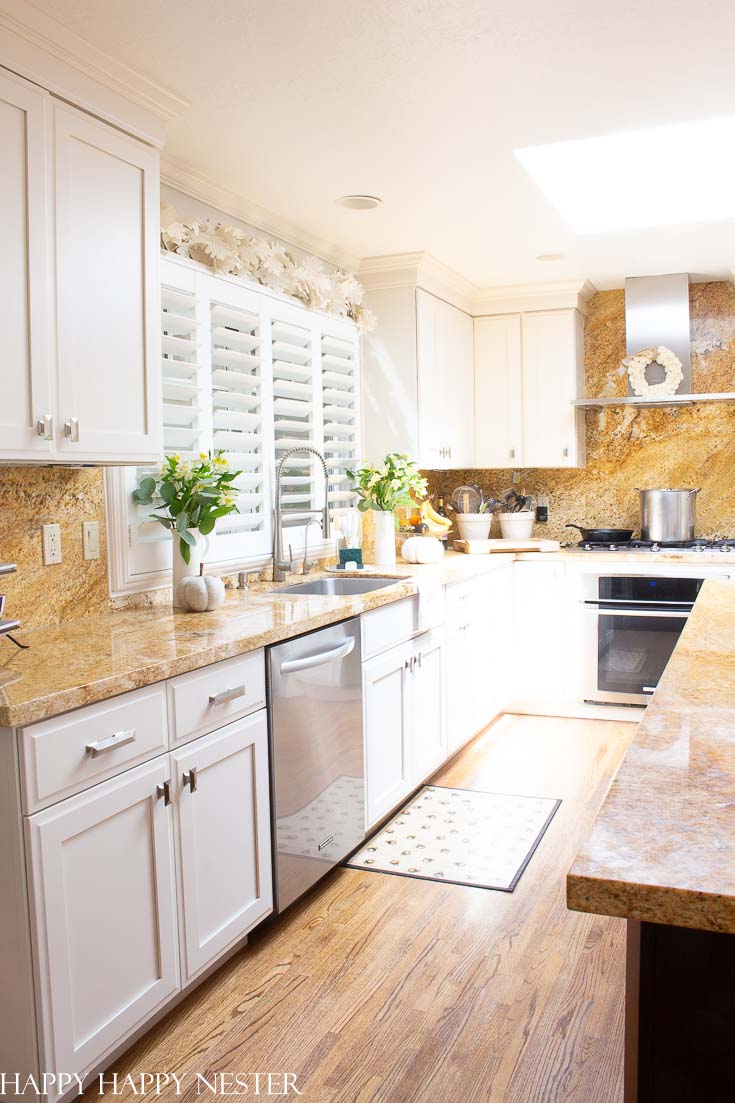
I view the stove and oven as the focal point of our cook station. So, all the things that I need at the stove are located near it. This means that things like spatulas, potholders, salt and pepper, cooking oils are all an arm’s length from the stove. In the above photo to you can see that I like all my cooking utensils in big containers next to the stove. This way it is quick and easy to grab what you need without having to open a drawer.
Bake Station
Our baking things are out of the flow of the kitchen so I can prepare my desserts outside the traffic flow. Everyone hovers around the sink so I placed the baking station off to the side of our big island. My measuring cups, baking pans are in the cabinets outside the sink zone. But our kitchen didn’t always look like this, check out ourbig kitchen remodel.
Drink Station
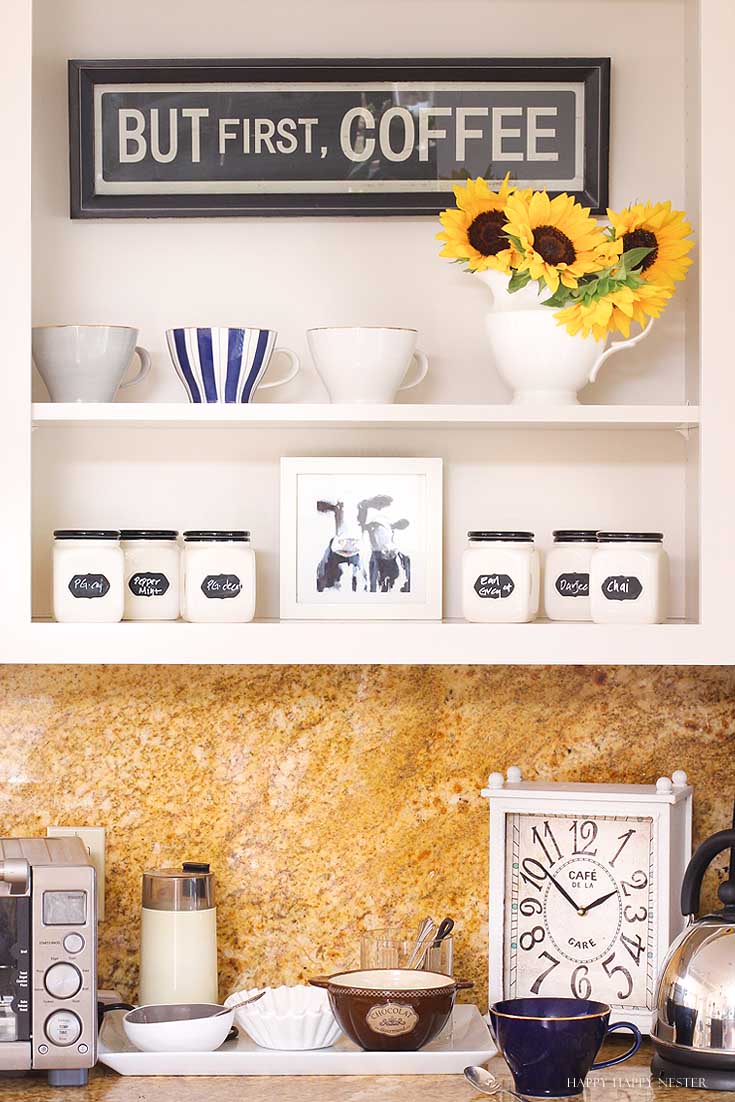
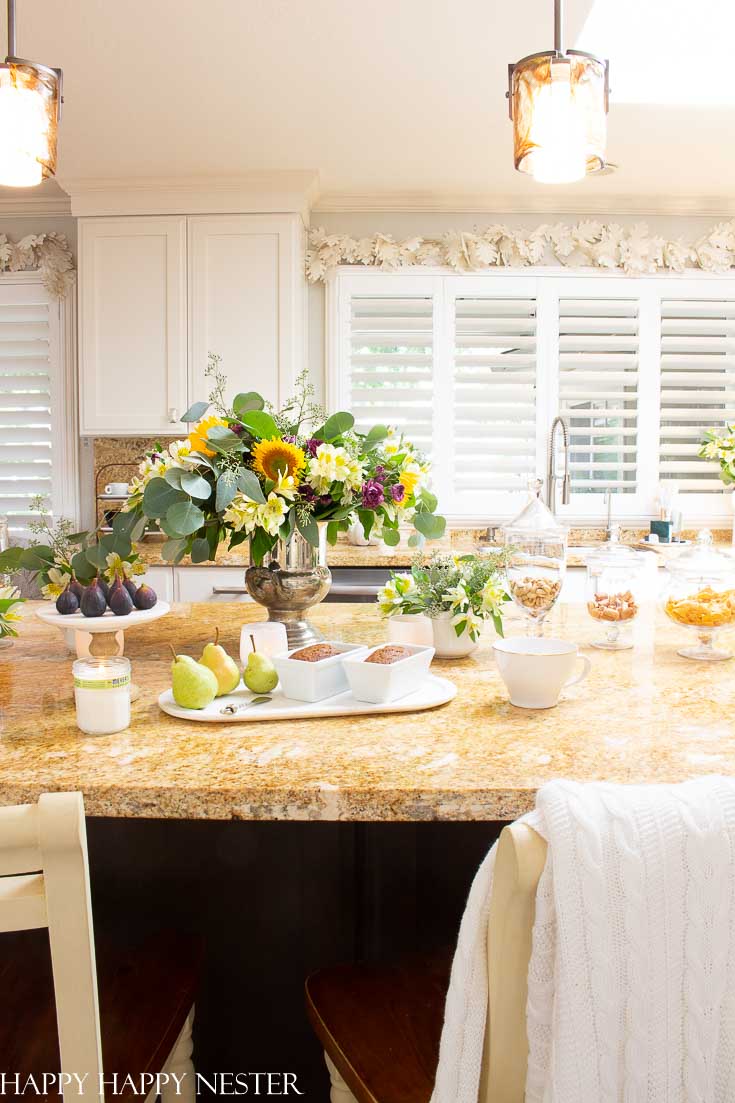
If my family needs a cup of coffee or tea, all of it happens in this part of the kitchen. Our favorite teas are housed in the cute containers on the shelves for easy access. Clean serving spoons are placed in the clear glass jar as well as coffee filters and sugars. Any appliances like a coffee pot, coffee grinders, tea kettles, and teapots are all stored in the drink station. I love that everything related to drinks is located over in this space and out of the busy section of the kitchen.
Snack Station
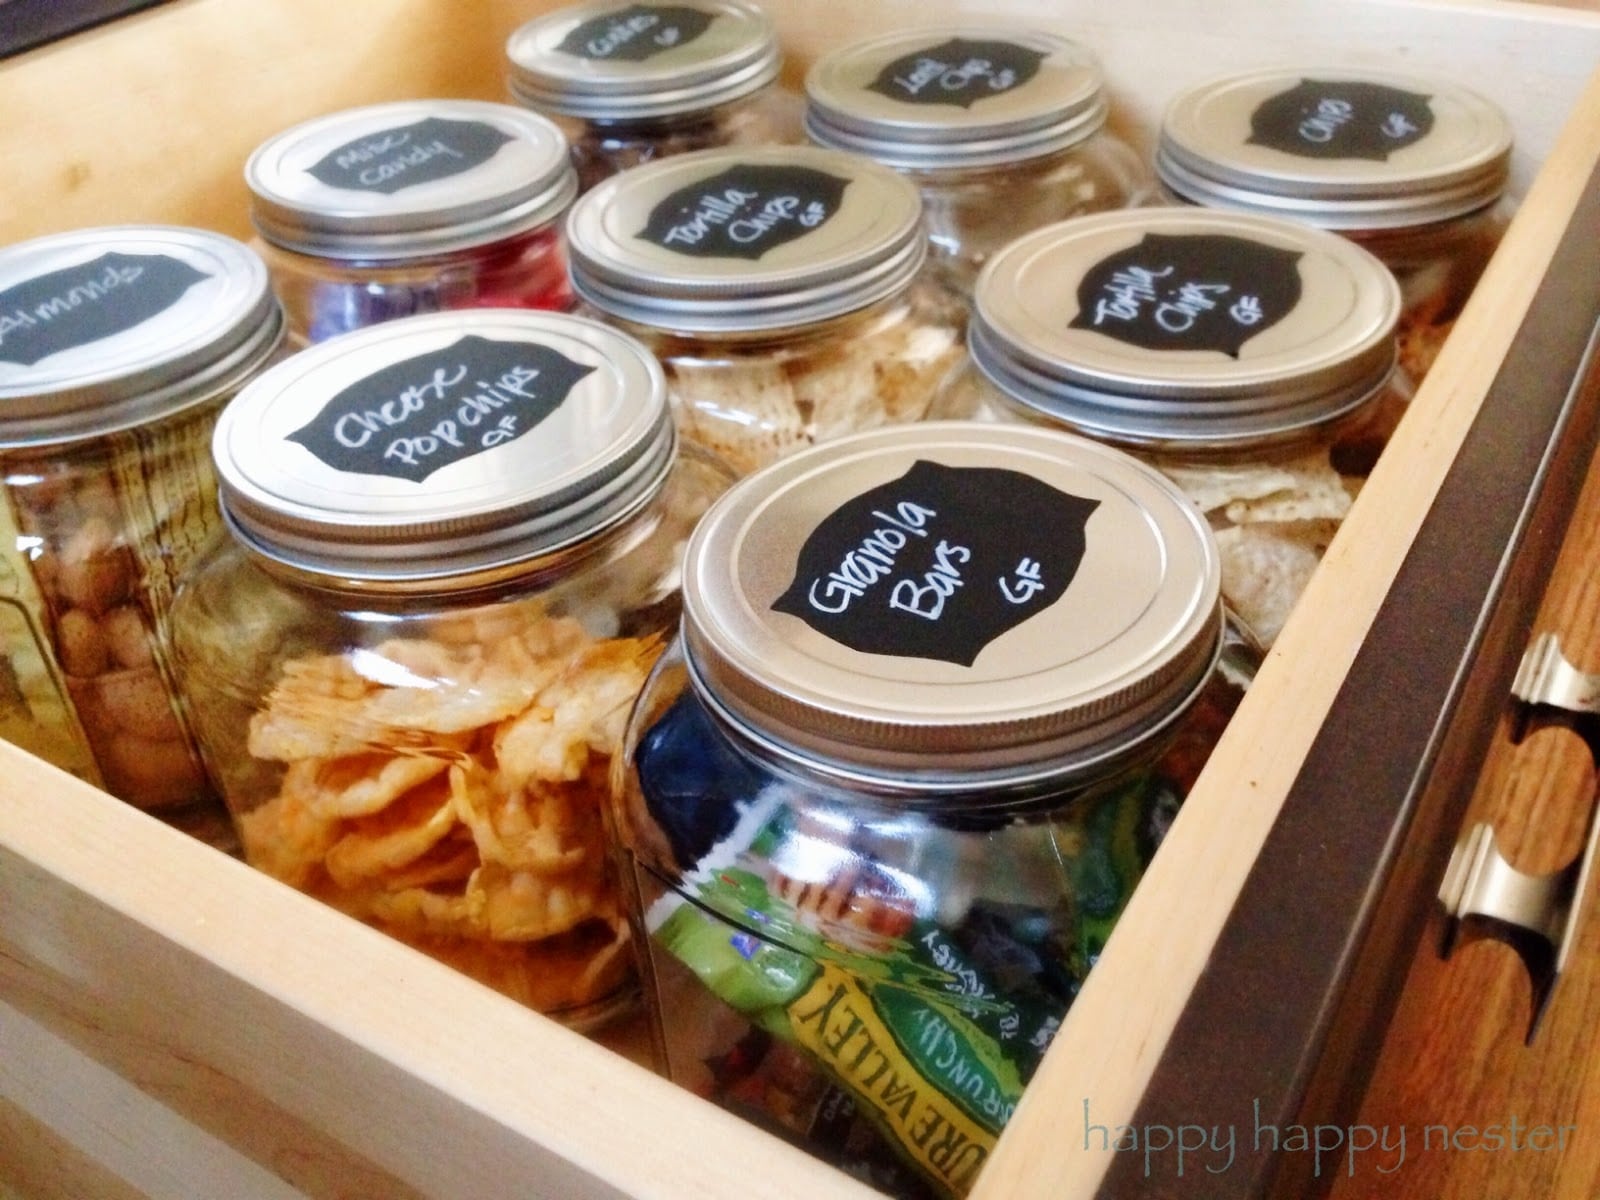
I was tired of storing half-eaten and open boxes of crackers and cookies. So, I finally delegated the drawer under our microwave for snacks. There are nine big jars with my homemade chalkboard on the lids so there is no mystery as to what snacks are in the various jars. The family loves this snack station with the jars and its easy accessibility.
2. Clear Out Spaces
Yes, we all have to admit we have problem areas in our kitchen. We have to open our drawers and pantries with large messes and address our disorganization.
When you are staring at a pantry loaded with unorganized items it is difficult to clear it all out. But, don’t take shortcuts, do the work and empty every last piece. As much as I would love to ignore my messes, I love an organized kitchen.
Ok now that you have your space empty, make sure to clean and wipe down the shelves and drawers. I find that it is nice to start fresh and clean when I’m tackling my kitchen organization project.
3. Take Inventory
Check expiration dates on your food. I hate to admit it but I found a lot of old food. I was upset that I threw out a lot of old food but on the upside, I found I had more space! Also, since my spaces were a hot mess, I didn’t know what I had. And so there were quite a few boxes of the same things. So, hopefully, that will change for me and I won’t be getting duplicates of things since I will have a better idea of my inventory.
4. Measure The Space
Before you start measuring your space, take a hard look at your cabinet or drawer. If you have a pantry with movable shelves don’t be afraid to adjust them for different items.
Also, think about the general layout of your space. Figure out what you want most accessible. What do you want at eye level and what can you place up above or below that area? These are questions that I always mentally answer while I’m in my kitchen organization process.
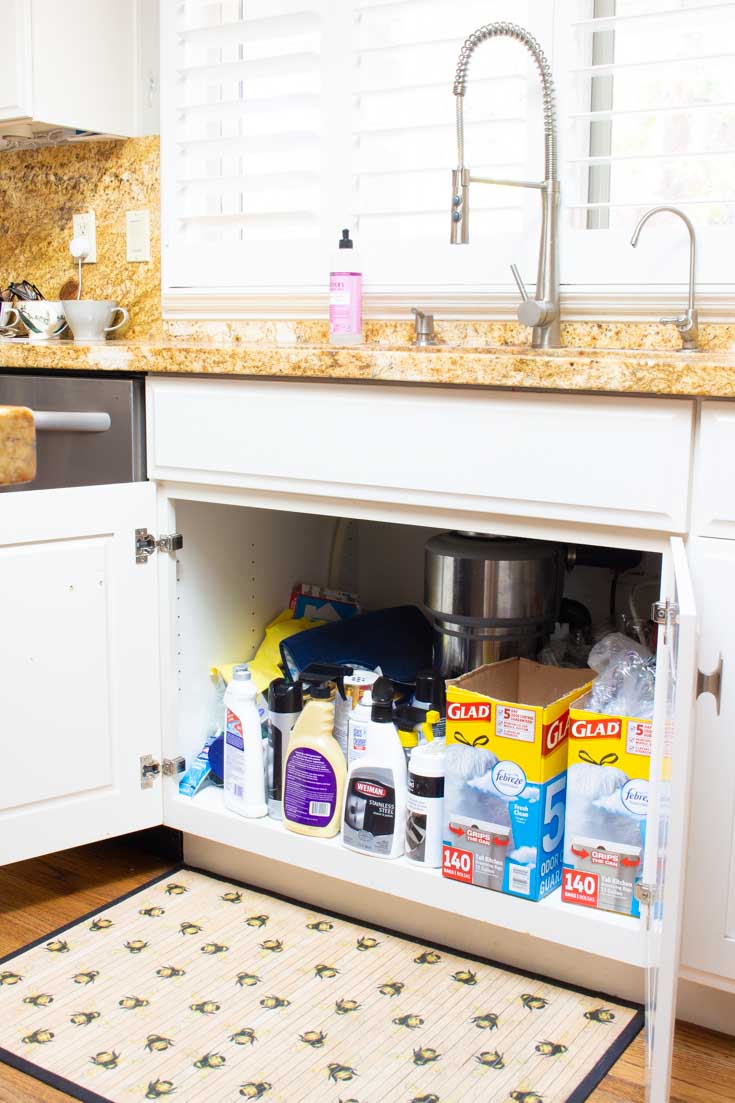
Also, think outside the box. I never thought putting a shelf under our sink would work but it totally freed up a lot of space.
5. Choose Containers That Are Right For The Space
All these steps are important but this is pretty crucial to kitchen organization. A successful working space relies on good containers.
Here are a few options:
Plastic and Clear Containers
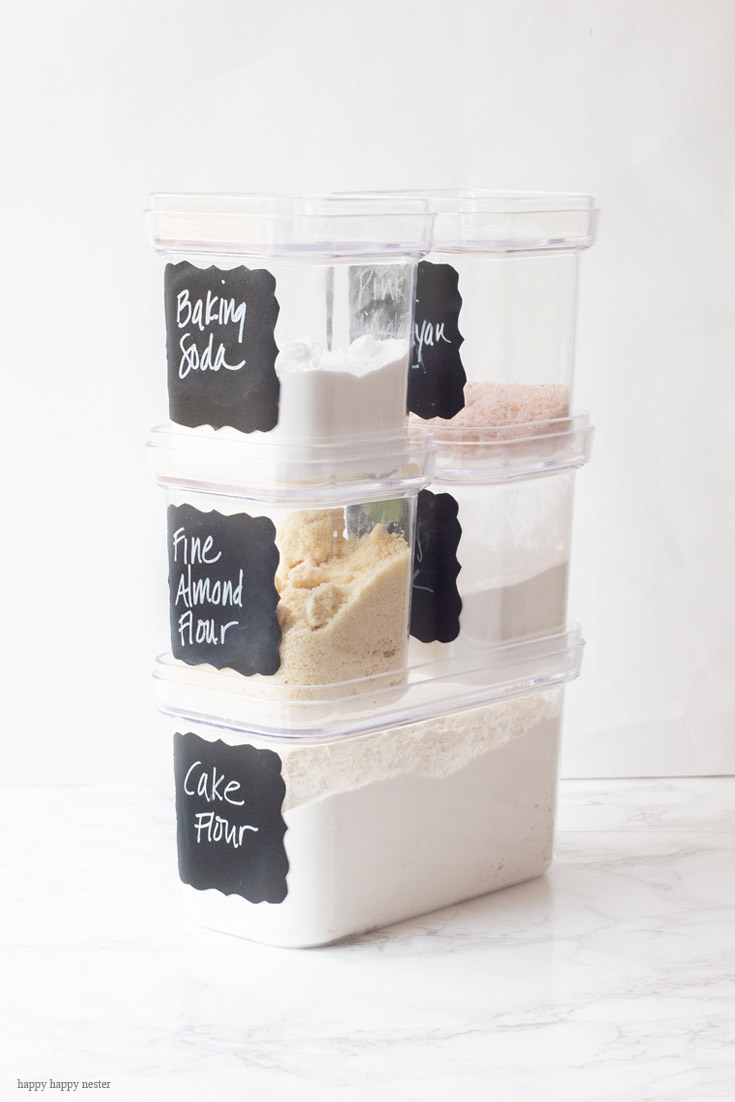
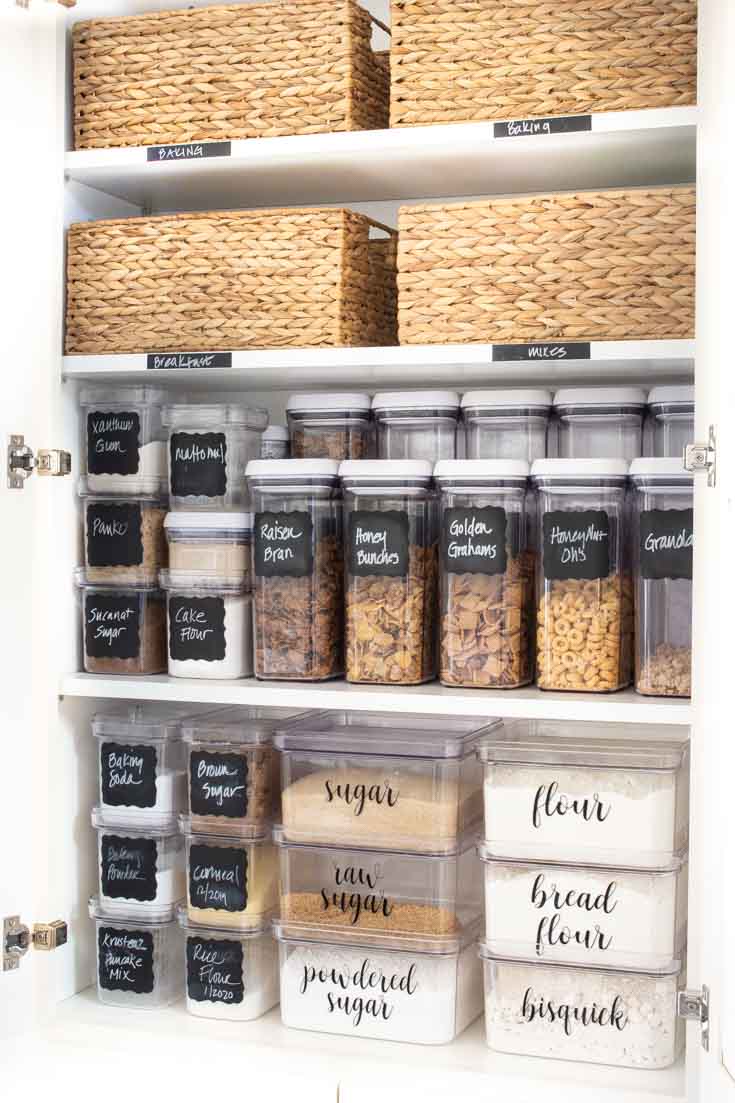
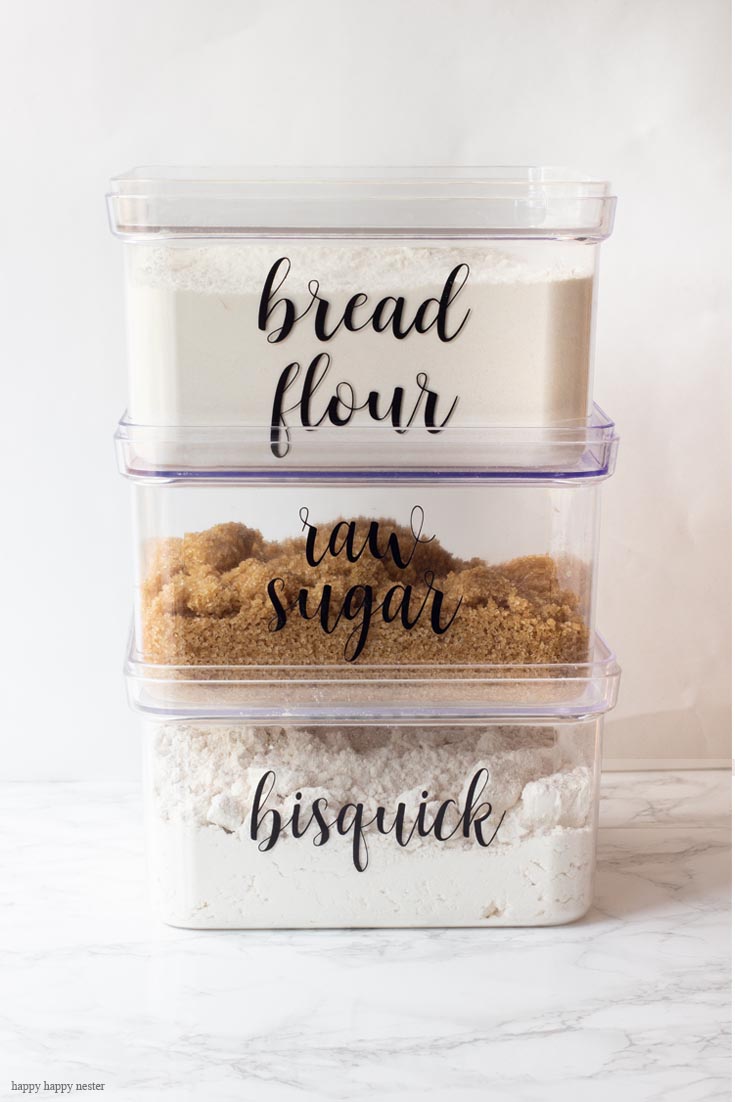
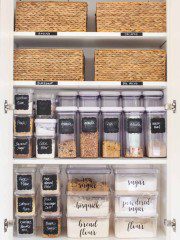
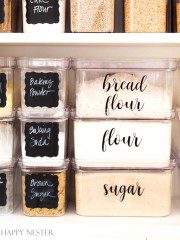
These containers are best when you want to see what is in them. I place frequently used items in them, like cereals, flour, sugar etc..It looks like The Container Store no longer carries them, but here is something very similar.
Baskets
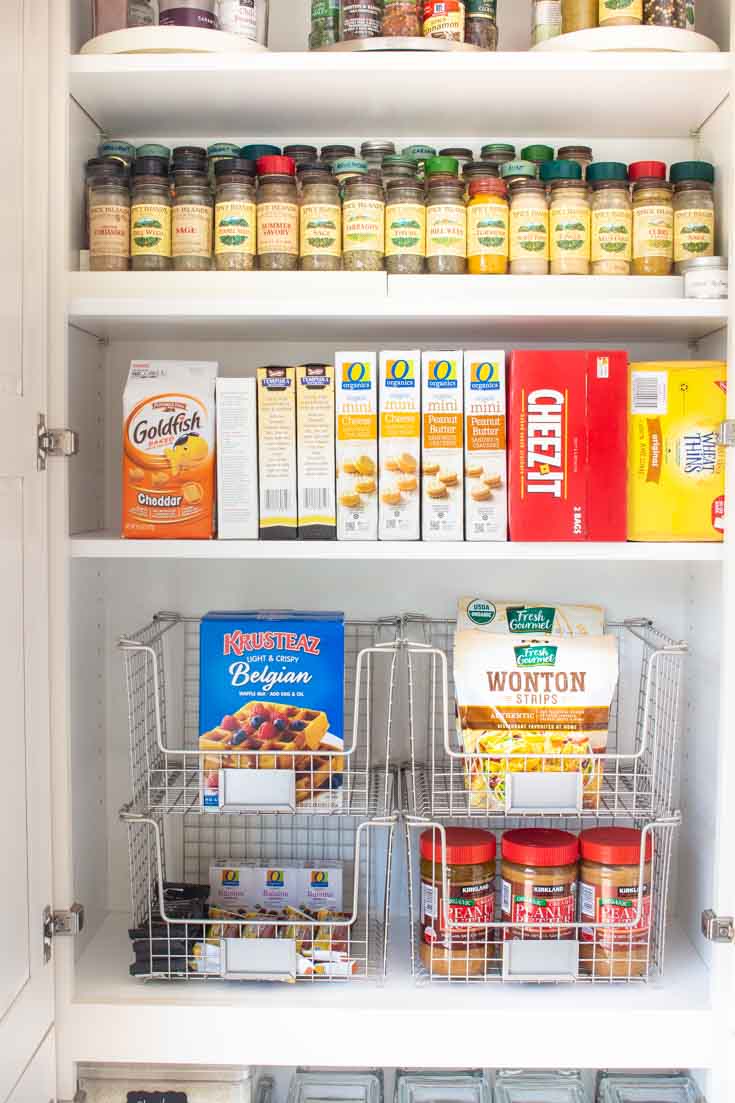
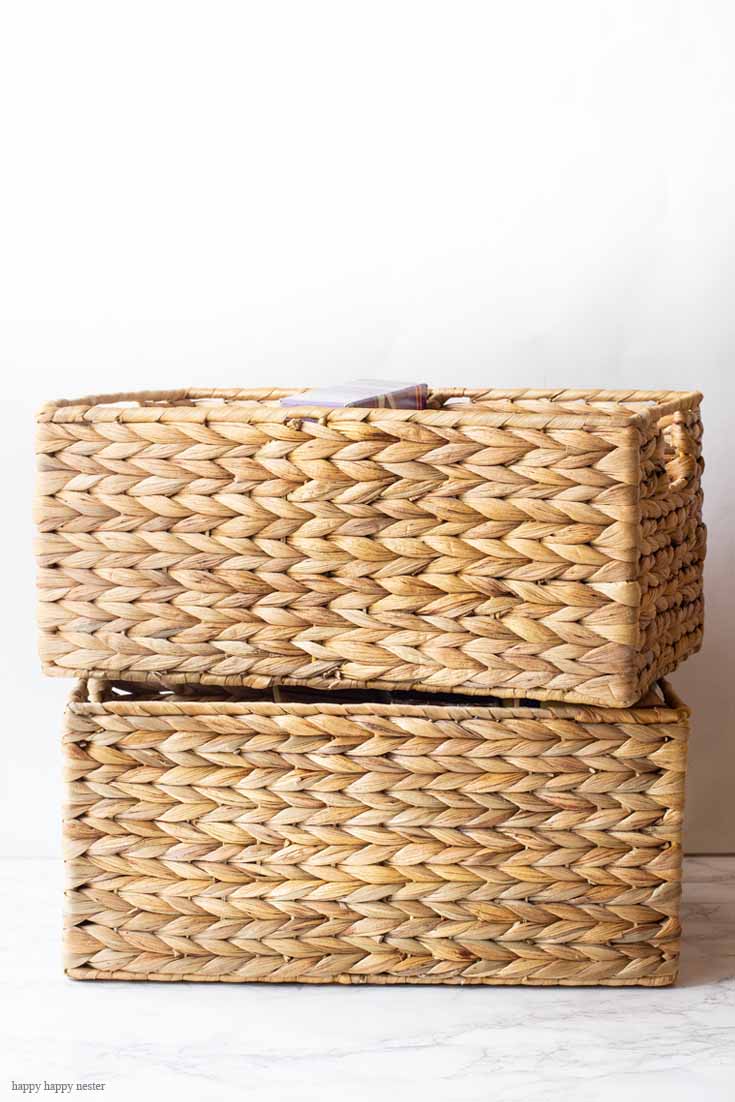
I use these water hyacinth baskets for items I don’t want to see as much. I like them to hold less used items. Since it is hard to add a label on the basket, I place one on the shelf below the baskets. I use a small chalk label that I edit as the basket contents change.
Pull Out Drawers
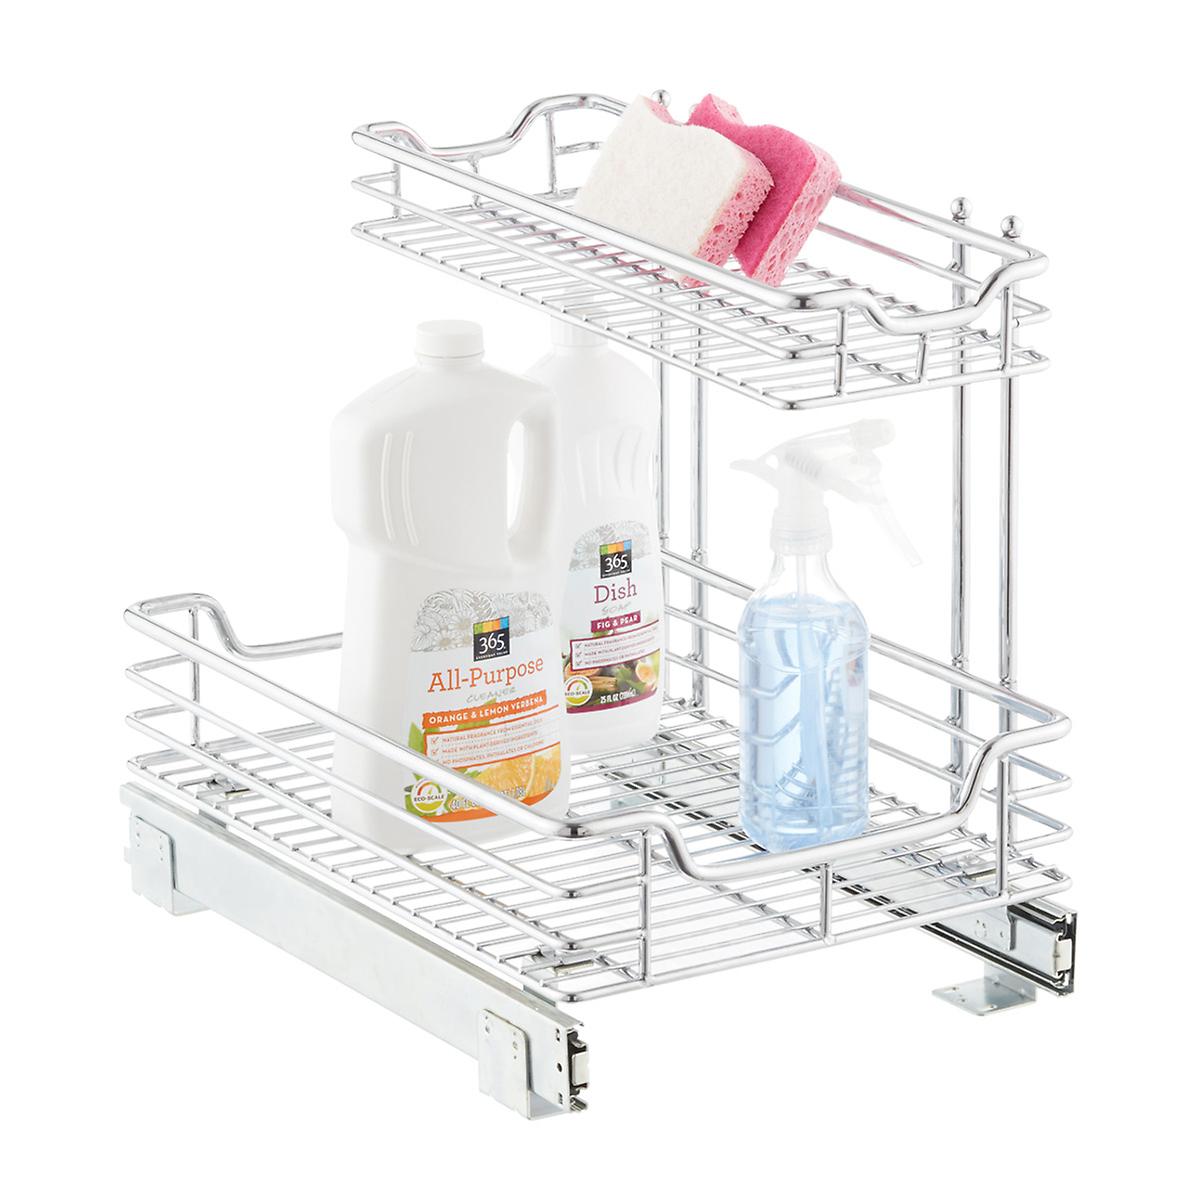
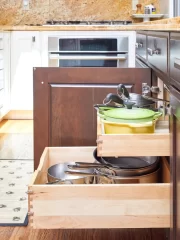
If your space allows a pullout drawer that you can install then definitely plan for one. I just recently installed this under the kitchen sink shelf and I LOVE it! It is a big game-changer. Suddenly almost all the contents that were under our sink are now nicely housed in this stainless steel pull out drawer.
Lazy Susans
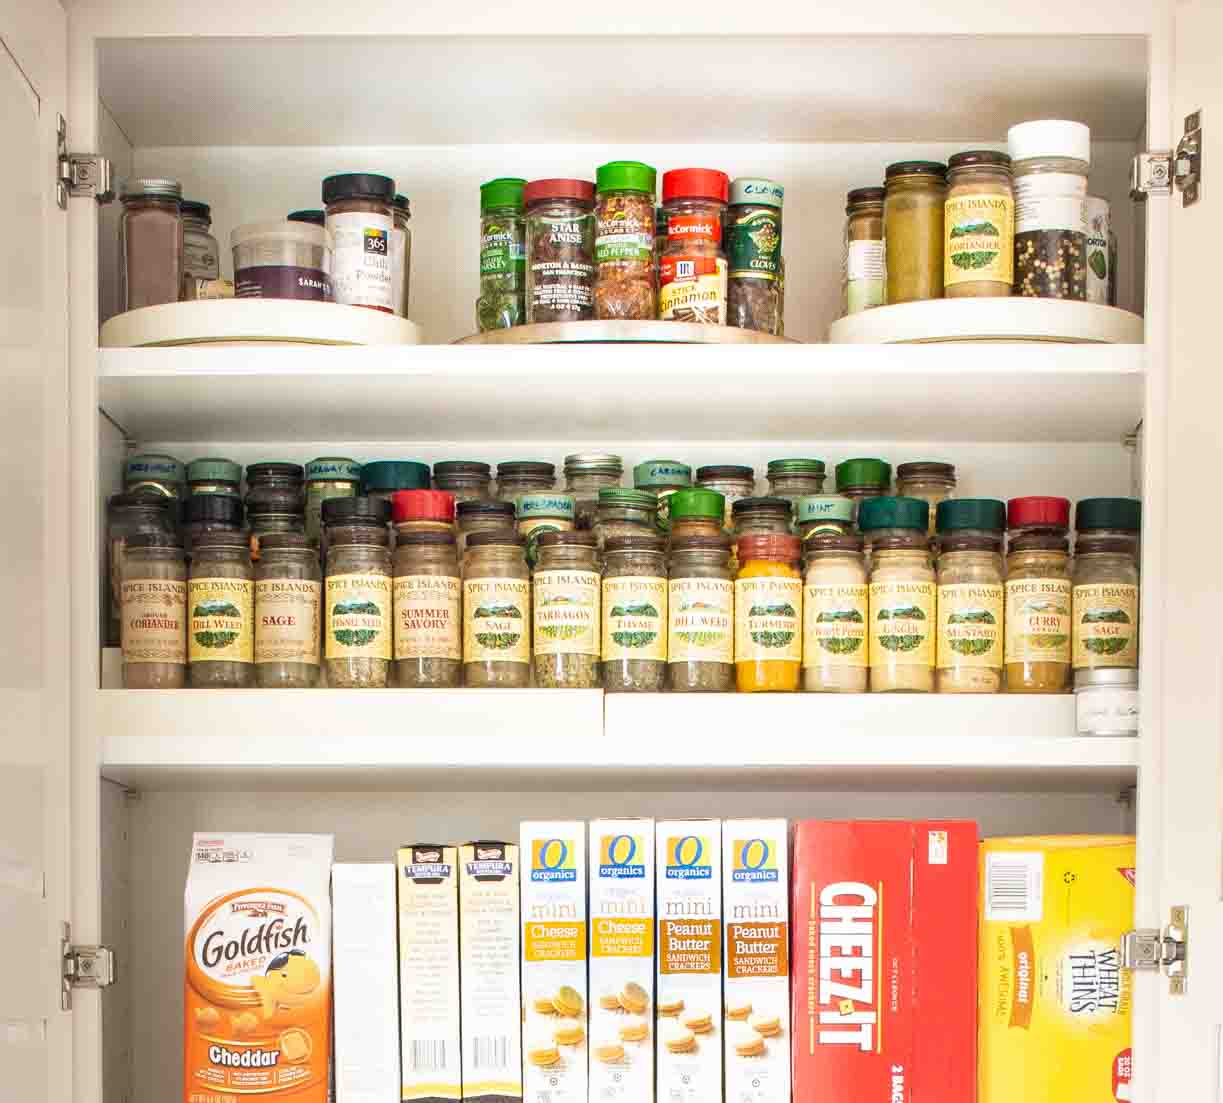
I love using lazy susans for hard to reach areas. I have them in corner cabinets and top shelves. I know that you lose a little bit of space since they are circular, but realistically these items are now easily seen. It is such a big improvement.
Stackable Containers
Using stacking containers make sense since they are efficient. The only downside is that you have to take everything out to get to the item you need. So, realistically plan on this inconvenience. But, if you think about it, pulling things out is a small price to pay for that added space!
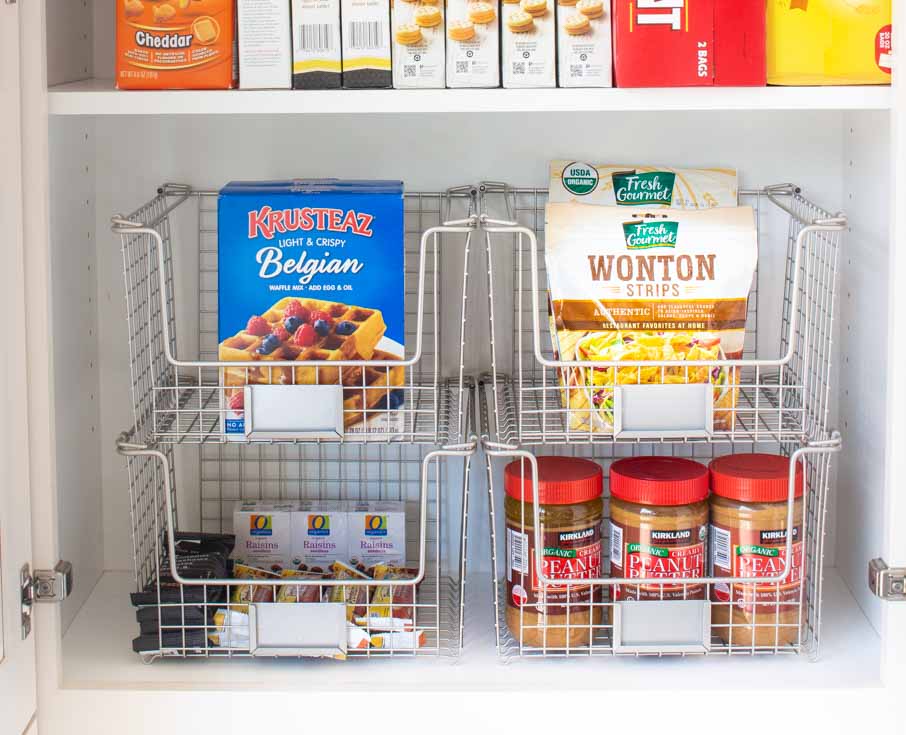
In this cabinet, I bought these stackable baskets that allow me to reach in and grab things. I could see that every time I reached for a granola bar I didn’t want to have to pull the stackable bin out. So, with this easy access bin, I felt this is a double win!
6. Research Kitchen Items on the Internet
While you are in the planning stage, jump on your computer and check out organizing products and reviews. Sometimes researching will show you another product and solution that you hadn’t thought about. When I was checking out under the sink solutions, I came across the stainless steel pull out drawer. I checked the reviews and I bought it immediately. My favorite sources for kitchen organization are The Container Store and Amazon.
7. Install
This is the fun part. Clean out containers, add labels and then finally add your food. If things don’t work as planned don’t fret, maybe you need to move it to another area. So, for example, I bought the drawer for under our sink and then it didn’t fit in the spot that I planned on. We tweaked our water filter equipment a bit and moved the drawer to the other side of the cabinet and it fit nicely. By the way, that under sink organizer is super easy to install and it is very stable and well made.
8. Label Containers
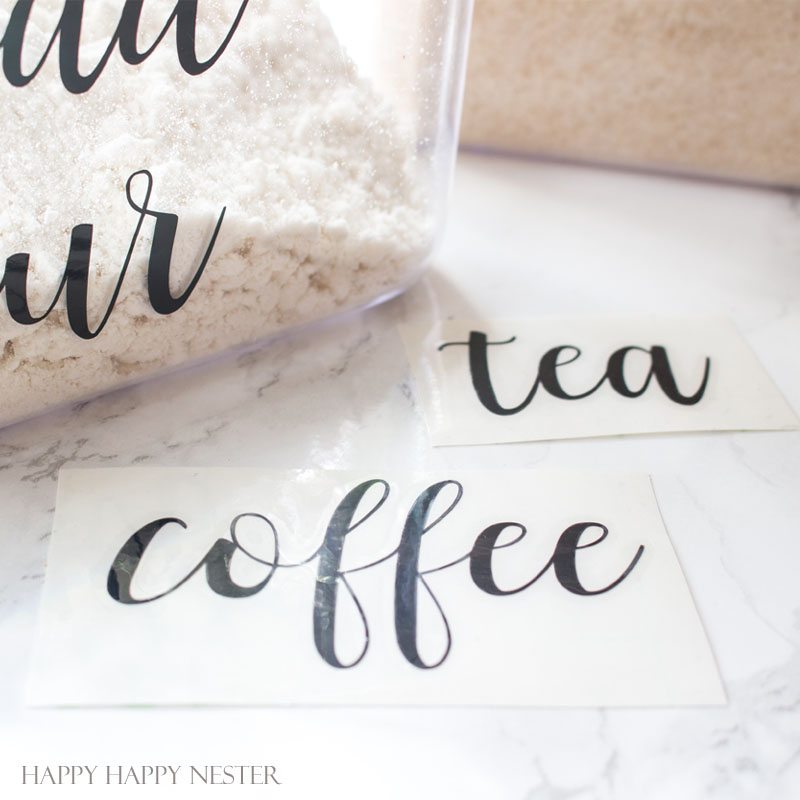
I feel a well-labeled container makes it easy to quickly pick out what you need. I know it seems so obvious that there is sugar in my container, but it just takes some guesswork out. Also when writing on labels it is great to place the expiration dates on them.
If you like the labels in the above photo check out this post by my friend Sam at Raggedy Bits.
9. Use The Spaces
I know that using spaces is an obvious thing, but here is where most kitchen organization fails.
So, if you only store things in one place then you’ll succeed in keeping things organized. Here is what I mean by that, try not to have cereal boxes in one place and your cereal containers in another. Keep your organized containers filled and just have a few extra boxes on hand. Once you start stockpiling, then the whole system gets out of control and your shelves just become a mash-up of boxes. I hope this makes sense.
When doing a kitchen organization it all is about planning. If you don’t realistically figure out your space and the solutions all your organizing will fail to work. So, take the time to follow these steps and be honest about your shortcomings and plan accordingly. I promise an organized kitchen will create a happy environment for cooking and baking!
A well thought out kitchen makes the whole baking and cooking experience so much happier.
Happy Organizing!
Check out these great organizing posts from my friends!
9 Tips For Kitchen Organization – Happy Happy Nester || Bathroom Organization Ideas – Lolly Jane // Textured Polka Dot Utensil Holder – Craftberry Bush // Turn a Closet into a Pantry – Tatertots & Jello
Organizing Your Party Planning – My 100 Year Old Home // Organizing Laundry Supplies – Zevy Joy // Spice Drawer Organization – Finding Lovely // How to Declutter and Decorate a Beautiful Home – So Much Better With Age
How To Organize Kitchen Drawers – Modern Glam // How I Keep My Home Organized – My Sweet Savannah // Whole Home Organization Ideas to Declutter Your Life – Grace In My Space // Medicine Cabinet Organization Ideas and Tips – Twelve On Main
10 Week Organizing Challenge – The Happy House // Fridge Organization and Storage – Inspiration for Moms // How to Organize Your Pantry – The Handmade Home // A Budget Friendly Linen Closet Makeover – The Tattered Pew
Mudroom Lockers Organization – Two Twenty One // Small Pantry Organization Ideas – The DIY Mommy // How to Organize Kids’ Rooms – Cassie Bustamante // 5 Easy Steps To Create An Organized Junk Drawer – She Gave It A Go // Organizing Tips for Traveling with Kids – Pink Peppermint Designs
- My Favorite Cakes - July 5, 2025
- Outdoor Tables and Chairs - July 2, 2025
- My Favorite Floral Desserts - June 28, 2025




Jamie
Such great organizing ideas, Janine! My pantry desperately needs an overhaul!
Hugs, Jamie
Jennifer S. Hadfield
Such great organizing ideas Janine! I love the stations. I pinned it to my organizing board. Thank you!
xoxo
cassie bustamante
i LOVE those stackable rectangular containers- so much better than the round glass jars i have.
Sarah @ The DIY Mommy
So many great tips! I do love labels, and those chalk labels are perfect! Thanks for sharing!
Colette
Ok, now, you come, do my house, ok? Yes?
That bee rug in front of your sink..I love mine so much, its never touched the ground! I think of you whenever I look at it. XO
Andrea
This is really useful post. This post explains how to organize the kitchen in a low budget. Thank you for the post.
happyhappynester
Hey Andrea,
Yay! I’m so happy to hear this post helped you. See you on the blog!
Dora Thomsan
I’m curious to find out more on this and find this really very helpful! Thanks so much for sharing such amazing content on Tips to organise kitchen