
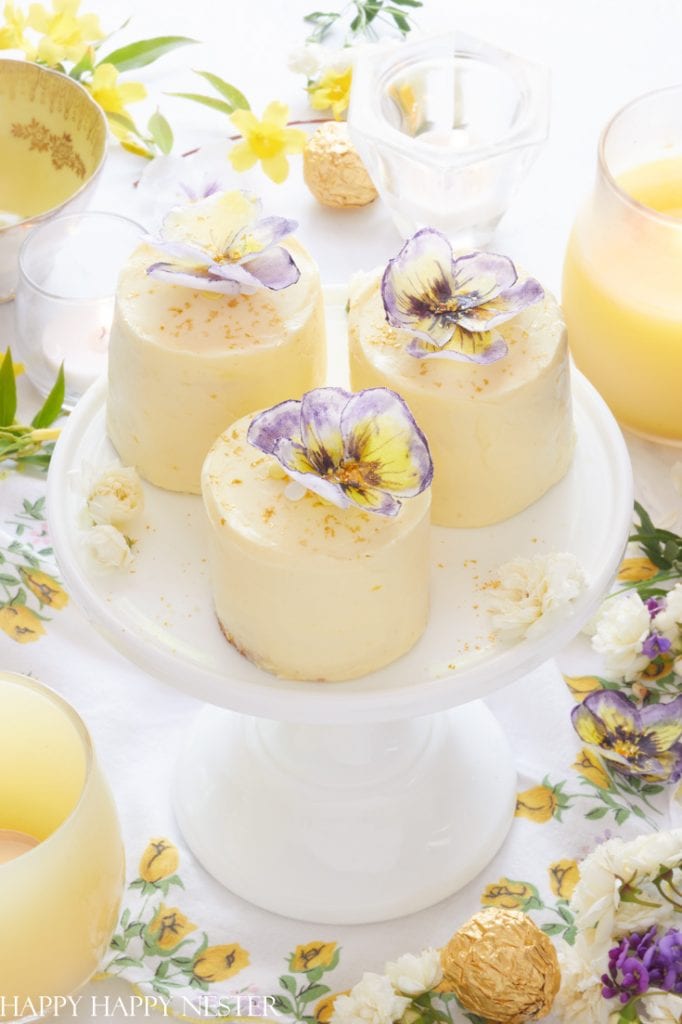
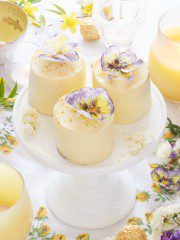
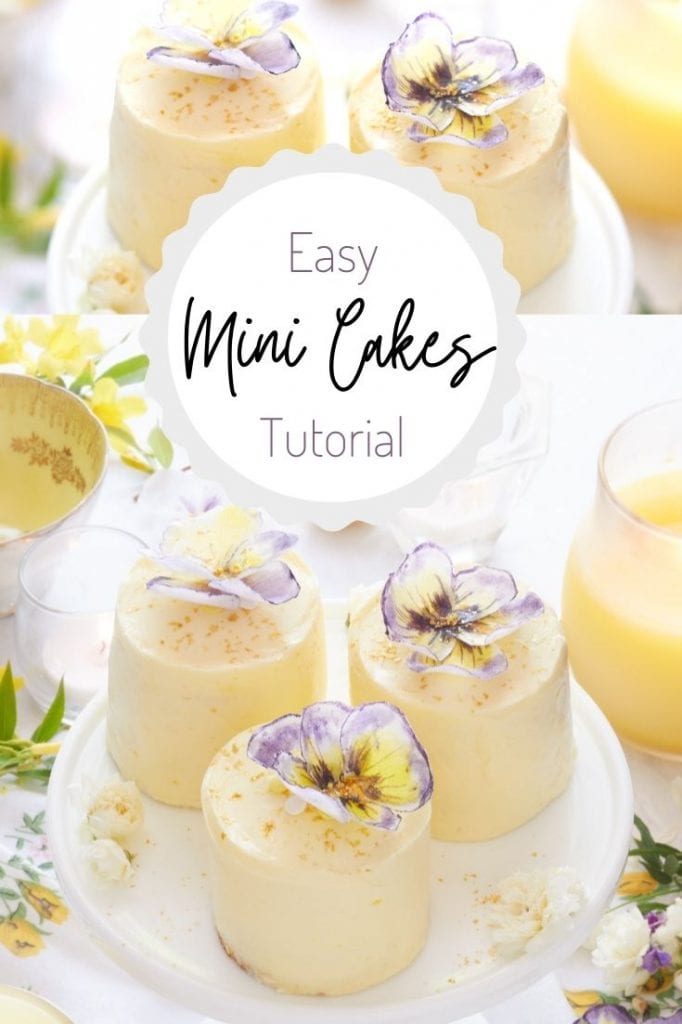
These Mini Layer Cakes are the cutest single-serving dessert. I’m sure you’re wondering how we made these mini cakes. Well, in this tutorial, I share how to make mini cakes which are individual mini cakes. I also include a delicious buttercream frosting recipe that will elevate any dessert!
If you’re too busy to bake a cake, then you’ll find my easy shortcut works great. You can make this spring dessert either with two layers of cake or three layers. And you might be happy to know that these layered mini cakes are similar to the popular petit fours recipe minus the dipped glazed.
I love cake, and lately I’m craving a delicious bite size cake.
So, since I’m feeling a bit lazy, I decided to make these cakes the easy way. Don’t get me wrong, I enjoy making cakes from scratch, but sometimes that’s not doable. So, here is a shortcut that will save you time without sacrificing taste.
Mini Layer Cakes
Another word for these single serving cakes is Petit Fours.
I remember high teas at a place in Seattle called, The Queen Mary. Each of us would get a three-tiered tray full of mini-layer cakes and small cucumber and cream cheese sandwiches.
Well, these small cakes have made a comeback, and they are popping up on Pinterest and social media.
Of course, my daughter first spied them over on Pinterest. She kept mentioning how she wanted me to make them, so I decided to give it a try. She is always sharing the latest trends with me, and she inspires me big time over here on the blog.
5 Different Ways to Make These Cakes
- Make naked cakes with no frosting
- Make it a rustic cake with a thin layer of frosting
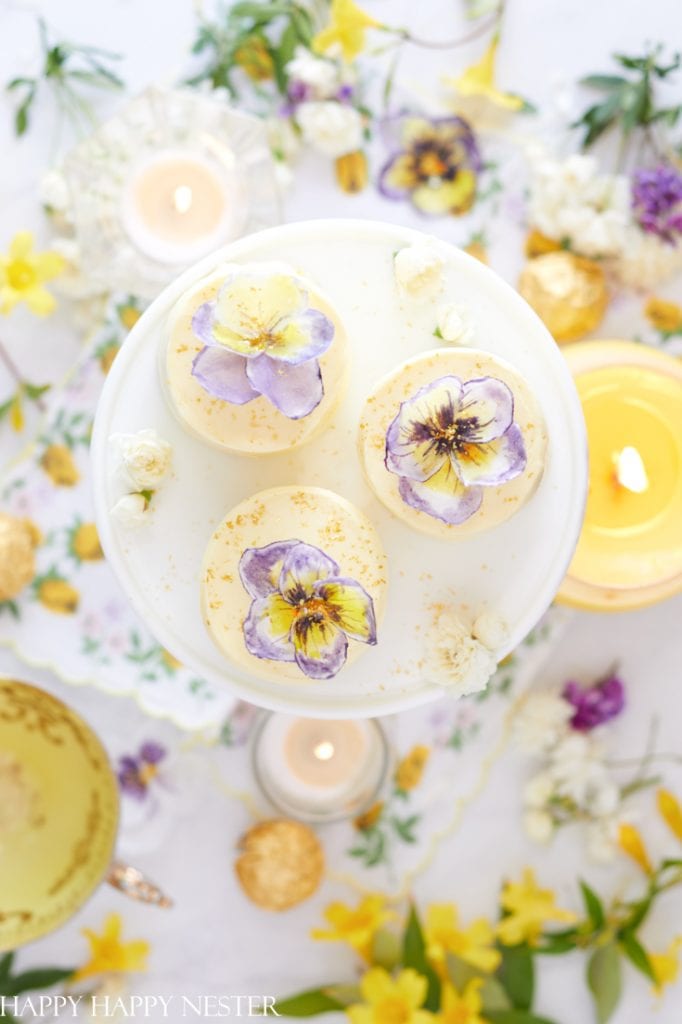
- Make the frosting smooth (like I did)
- Glaze the cakes
- Ombre the cake layers
- Make a glaze and dip the cakes.
A Shortcut to Making Mini-Cakes
Ok here is the skinny on how to make this an easier project.
I bought a yummy pound cake from our local grocery store. I thought, why not let the bakery department do your work for me on this project.
The cake that I bought came in a loaf shape and I ended up cutting off the domed top. If you feel like making a sheet cake it won’t be domed as my store bought pound cake.
And by the way, if you need a recipe for a white cake, I love my Chantilly cake recipe. If you want you can halved the recipe.
How to Make Mini Cakes
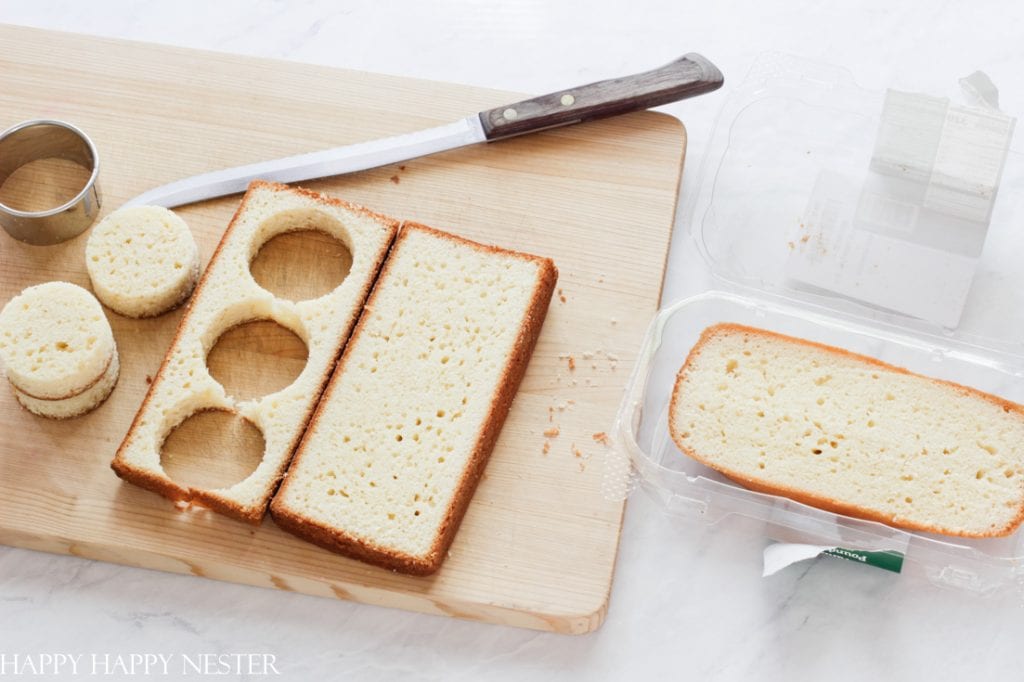
Step 1 – Cut Out Round Circles
Make your mini cake either two or three layers, depending on how high you want to make your petit fours.
Whether you make a sheet cake or buy a grocery store cake, make sure you have thin 1/2 inch layers. I used a serrated knife and cut the pound cake horizontally and I tried to make the layers the same thickness.
And using round biscuit cutters, cut out three round pieces.
Step 2 – Make Sabayon Butter Cream
This recipe is to die for and it is the best butter cream.
And since I cheated with a store-bought cake, I knew that things will taste fine once I add the delicious buttercream frosting. Adding the homemade frosting makes the mini-cakes taste amazing!
This frosting is pure butter with sweetness and a smooth texture.
It is heavenly!
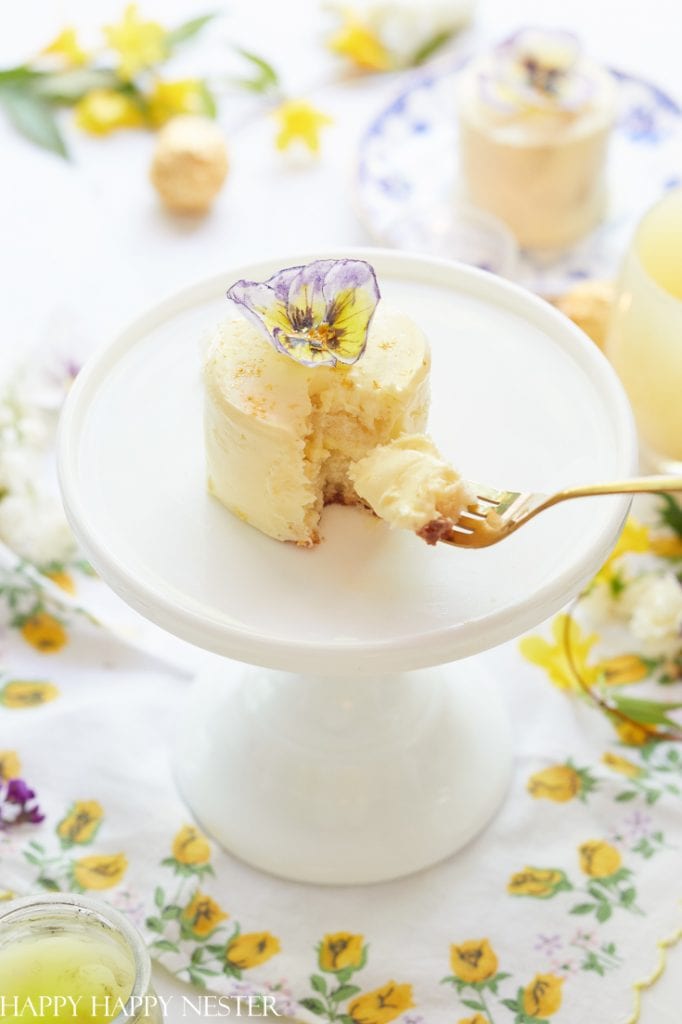
Step 3 – Frost the Cake
Place a round circle on a serving plate and place on a cake turntable. Frost the top and add a second cake layer. Again, frost and repeat until you have however many layers. Please refer to the frosting tips below.
Just for more recipes here is a lovely list:
Important Note About the Serving Size
Note that this recipe is for one cake. The frosting is the perfect amount for this single serving. So, if you need to make more, make sure to get a couple of pound cakes and increase the buttercream to however many cakes you want to make.
To change my recipe servings and measurements, click on the number right next to “Servings” and a slider will appear. Then slide to the number of cakes you want to make. The appropriate measurements will calculate for you.
Easy Mini Cake Recipe
Ingredients
- 1 Store-Bought Pound Cake
Butter Cream Frosting
- 1½ eggs egg yolks
- ⅛ cups milk
- ½ cup granulated sugar
- ½ cup unsalted butter room temperature
Instructions
Butter Cream Frosting
- Whisk the egg yolks in a medium-size saucepan.
- Add sugar and milk to the yolks.
- Place your saucepan over medium to low heat.
- Stir frequently with a rubber spatula. To test if the filling is done, there is a little trick. Take your finger and run it on the spatula, and the mixture should not run into the line.
- Take off the stove and let the filling cool. It should settle into two layers.
- Transfer the filling to a mixing bowl, and while it is cooling, mix the two layers. Then add in small chunks of the room temperature butter.
- The filling should thicken like buttercream. Keep mixing for 8-10 minutes. As the butter cools, it thickens.
- Place the first layer of the cake on a plate and frost the top of the cake.
- Add another layer on top of the first cake and top with frosting.
- Repeat if you are making a three-layer cake.
- Frost the sides of the mini-cake. If you want a smooth frosting, make sure to place the cake on a revolving cake stand and frost with a metal spatula.
Cake Layers
- Cut the top rounded layer off the pound cake. Make sure to cut the top evenly.
- Next, cut as many horizontal layers as you want for your cakes. Make sure to cut them evenly.
- Use a round biscuit cutter and cut your cake rounds from the layers you just cut.
Nutrition
Frosting Cakes – A Few Tricks
If you want to make a smooth cake, I highly recommend you buy and use a metal cake turntable. I finally invested in this one, and I love how smooth the cake frosting came out.
Also, I placed my little cake layers in the freezer before frosting. That way, all the crumbs didn’t come off in the icing. Now, I always freeze my cakes.
Also when icing your cakes, make sure to clean your metal spatula frequently and dip it in a glass of water. This will help make a smooth cake surface.
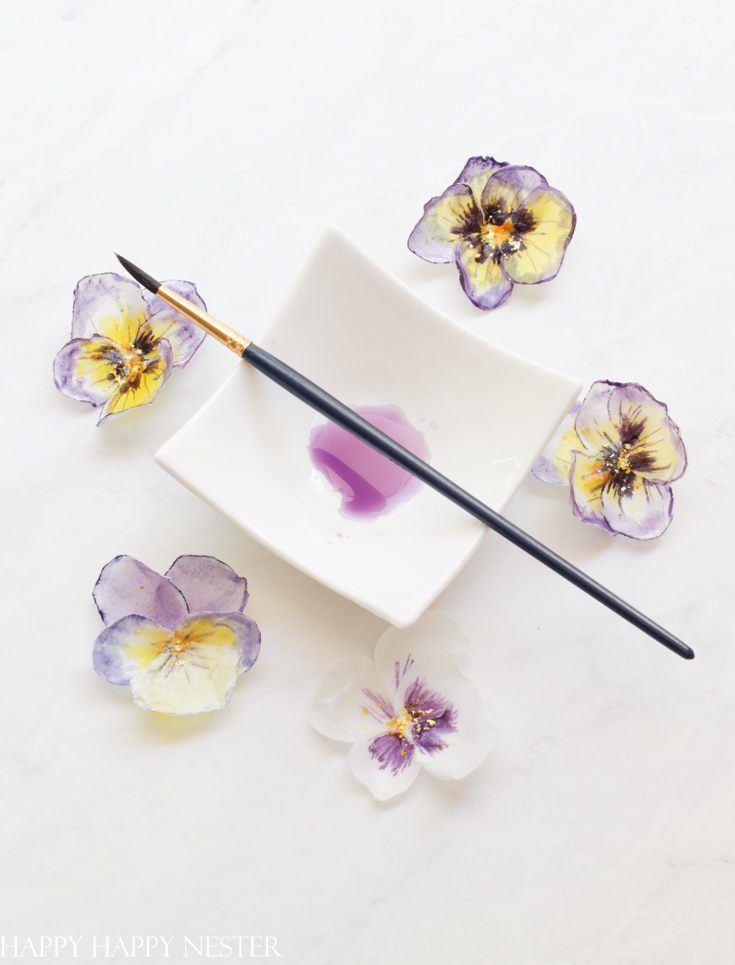
And for a pretty topping, add this cute homemade edible pansy flower. The tutorial is over here, the Wafer Paper Flower tutorial.
And if you are hosting a fun tea with friends, maybe try a few more of my delicious dessert recipes.
Happy Baking! Thanks for the visit to my mini-layer cakes!
Cheers,


- Easy Homemade Breadsticks Without Yeast (25-Minute Recipe!) - July 24, 2026
- Lazy Saturday Morning Breakfast Ideas - July 18, 2026
- Lemon Blueberry Crumble (With Creamy Mascarpone) - July 16, 2026
")


Leave a Reply